While I haven’t bought Portra 160 for a while I do have some rolls in my fridge so between shooting expired films and the ones I really like I pull out a roll of Portra 160 and feed a camera. In this case it was my Pentax MZ6 an all around good camera that I have numerous lenses for. I don’t have much new to say about the film that I haven’t already said. Portra 160 or the camera either. MZ-6 search so on with the show.
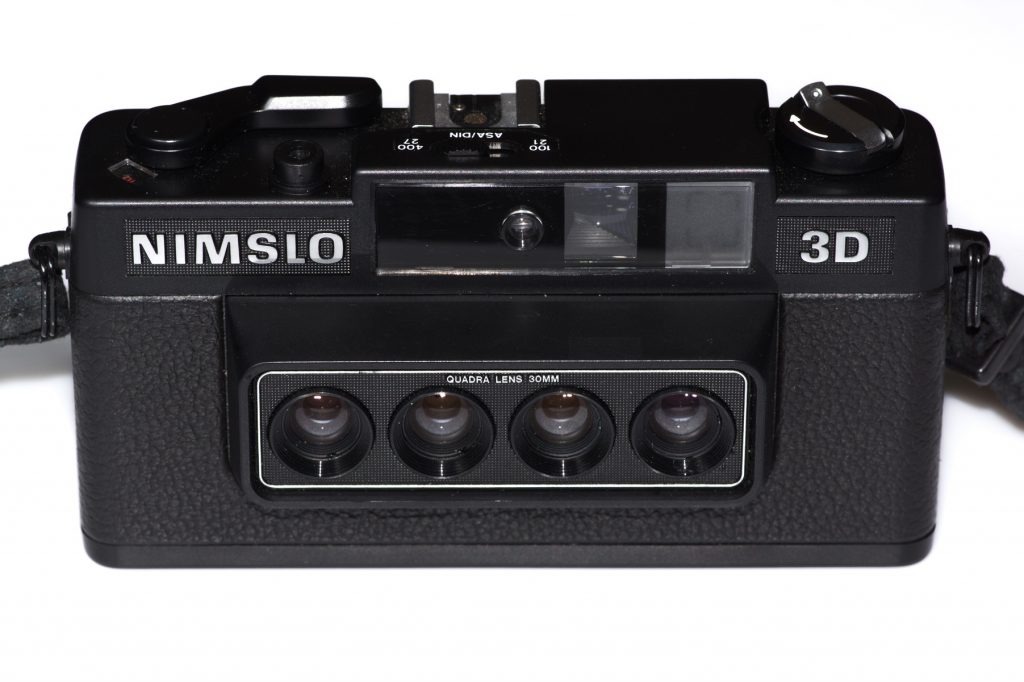
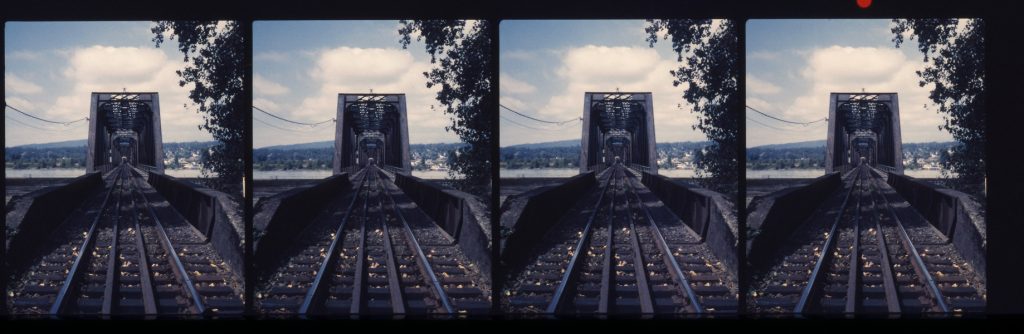
There have been some strange photographic formats but one of the weirdest has to be lenticular prints. I don’t want to go to deep down that path though as I’m using the Nimslo to create animated clips instead. Simply lenticular prints reveal a slightly different view from different pairs of lenses depending on your viewing angle. So changing the angle makes the 2D image appear 3D. In my case I am just using the half frames from each lens as individual viewpoints of the same thing captured at the same time. Not really stereoscopic as both eyes see the same thing.
All that aside the Nimslo came out in the mid 1980’s and never really caught on. There has been a bit of a resurgence due to social media such as Instagram and frankly the cool look you can achieve with these. The four lenses are each f5.6 made of three glass elements with an aperture that can stop down to f22. Shutter speeds can vary from 1/30 to 1/500 second. Both aperture and shutter are automatically set by the cameras exposure system.
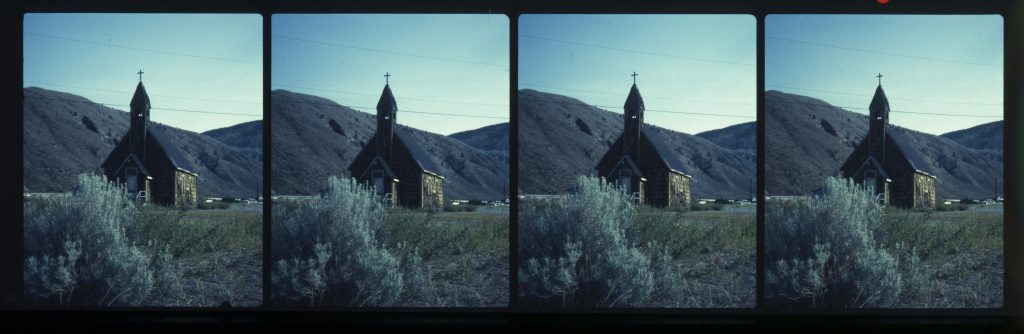
When you trip the shutter what you get is 4 separate images captured at the same time from slightly different angles like this.
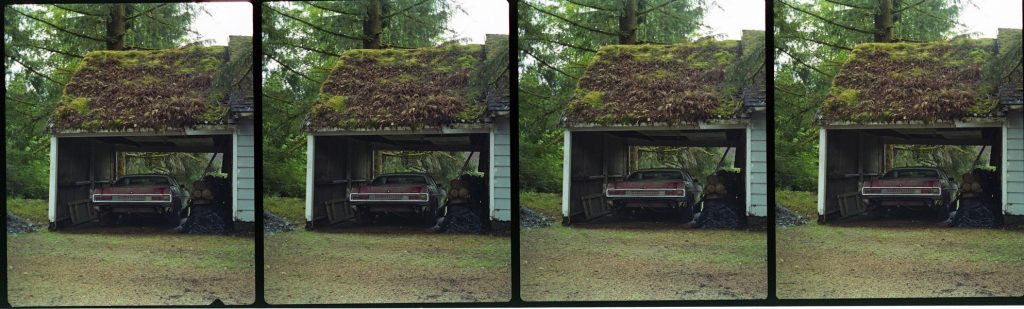
To make an ‘wigglegram’ (a short animation that runs through the frames forwards and then back and repeats) you separate them and then bring them into some sort of photo editor to align them. This is important because there needs to be an anchor point around which the images should appear to rotate.
The result can be saved as an animated GIF like the one bellow or for more control and better quality as a video.
For the best 3D effect its good to have something in the foreground middle distance and background.
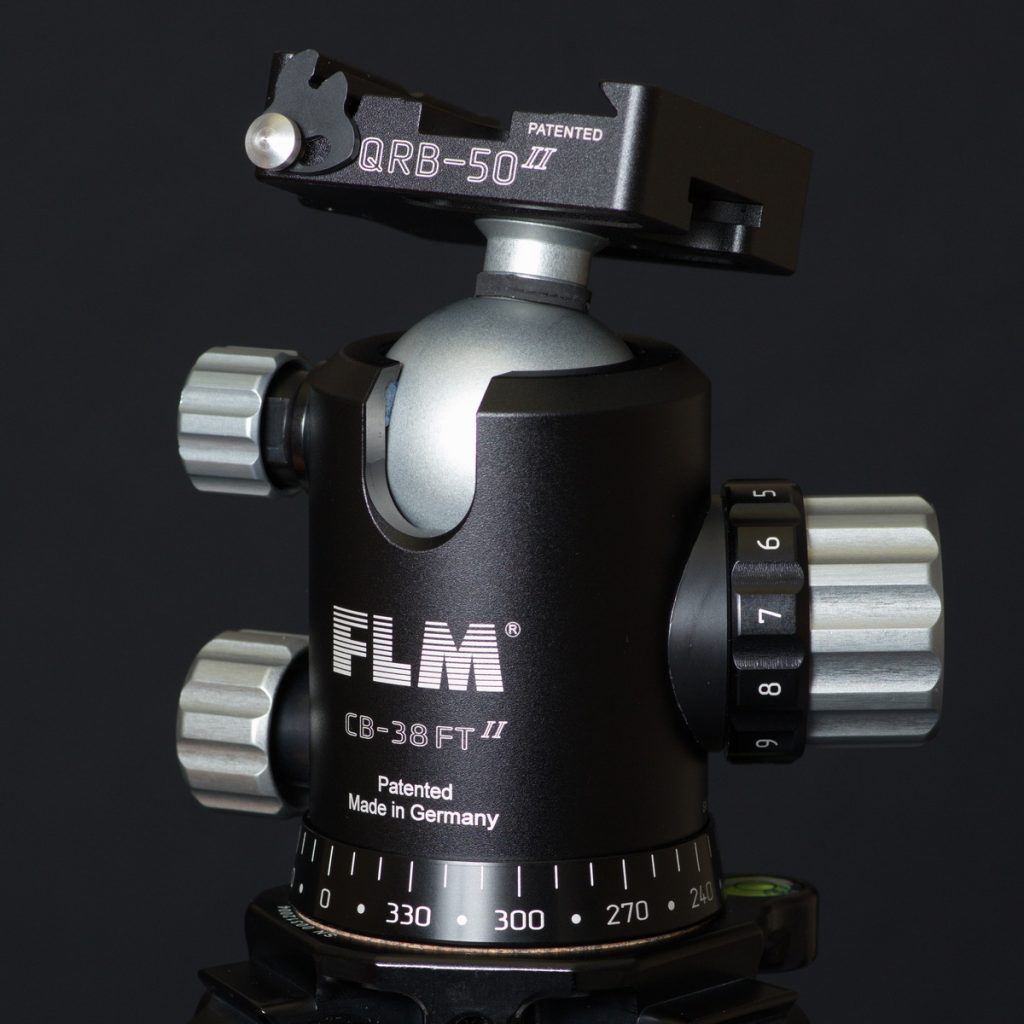
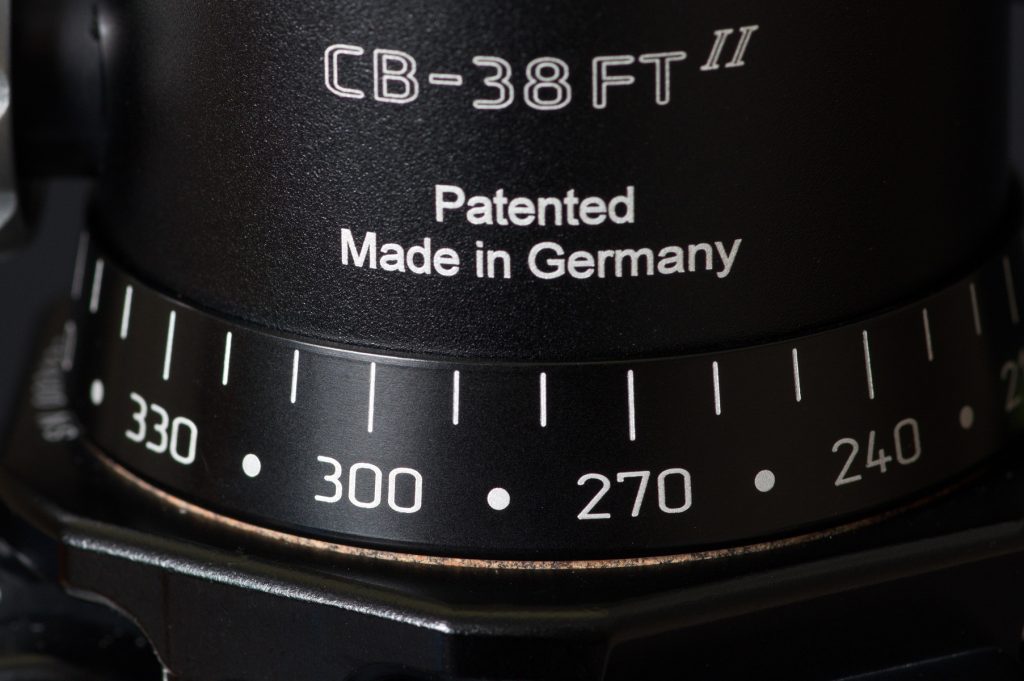
CP30-L4 II tripod and CB-38FTR ball head with QRP-50 Quick plate
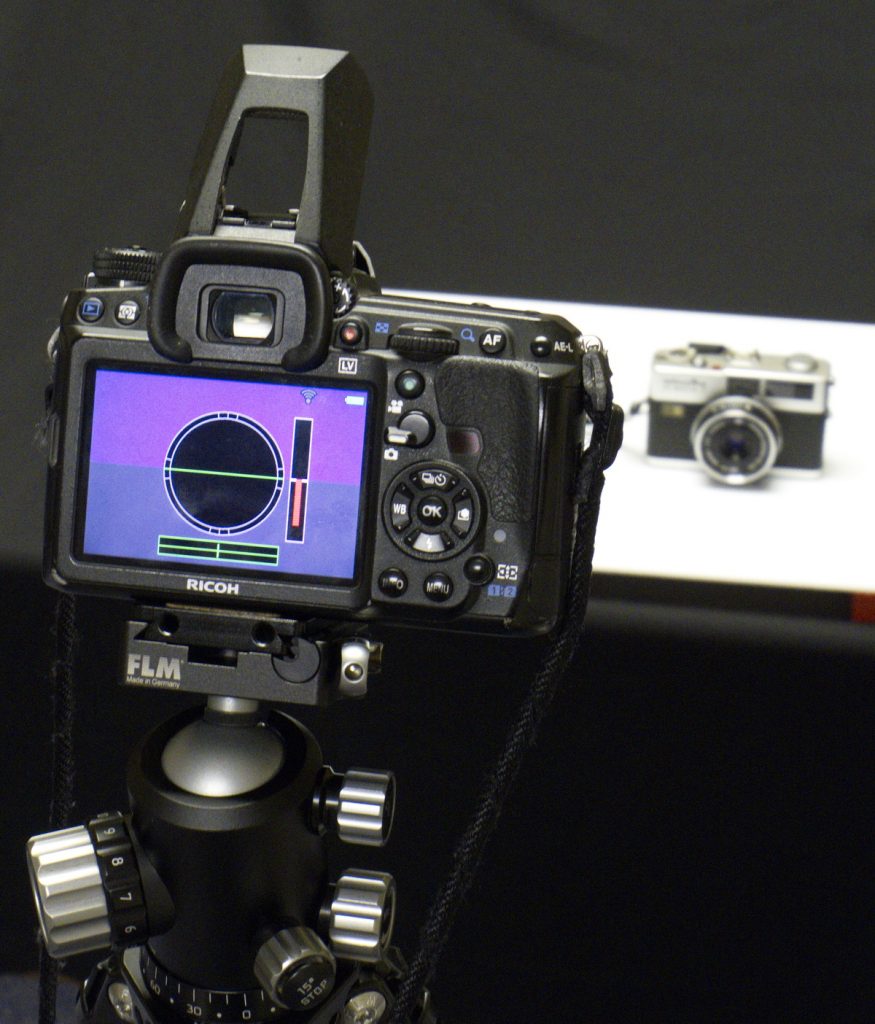
Having recently acquiring a 4×5 field camera it became necessary to up my tripod game. My requirements were that it was able to carry the weight of the camera and lens while itself remaining light. Additionally and the main purpose of a tripod it needed to be stable. After a lot of online researching I decided on an FLM CP30-L4 II set of tripod legs matched with a FLM CB-38FTR ball head from FLM Canada I will go into more detail but the overall impression is that they are incredibly well made items made from premium materials. Its amazing the features and engineering they packed into such a small light package.
The Legs
Starting off with the legs they are made up of four carbon fiber sections that reach a full height of 68.3 inches when fully extended. That’s good because to aid in stability there is no center column. With the ball head and camera on top I think most people would need a step to view the ground glass like that. Fortunately that isn’t necessary because with only two sections extended and the extra height of the ball head the bottom of the camera is at 54.5 inches which is a nearly perfect height for me when I lean forward towards the ground glass. The legs are released and locked with aluminum alloy twist locks that only require about a 90 degree twist.
The action is quick and easy with a rock solid locking and internal O rings to keep out water and debris. The base plate is simple and light with an eye at the bottom to hang extra weight if needed. The leg attachments are machined from aluminum alloy and offer two locked angles with a stop that can be pulled out with a nice positive click.
Additionally the legs can be splayed almost horizontal to place the camera near to the ground.
My tripod also came with a set of spikes that can be swapped for the generously sized rubber feet. All this has a weight capacity of 20kg while only weighing 1.41kg
The Ball Head
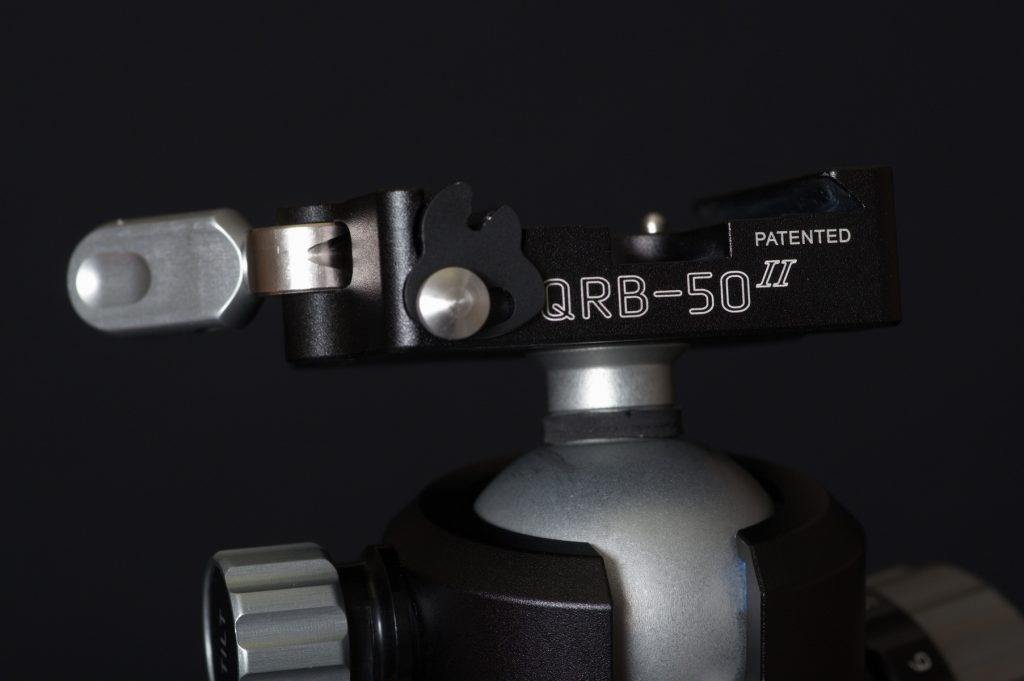
If there was a lot to say about a set of tripod legs then the ball head is going to require its own article. Like the legs the overall impression of the CB-38FTR is of a high quality item and this is true of it from top to bottom. Starting with the base it has numerical degree marking every 30 degrees with a dot in-between for each 15 degree location.
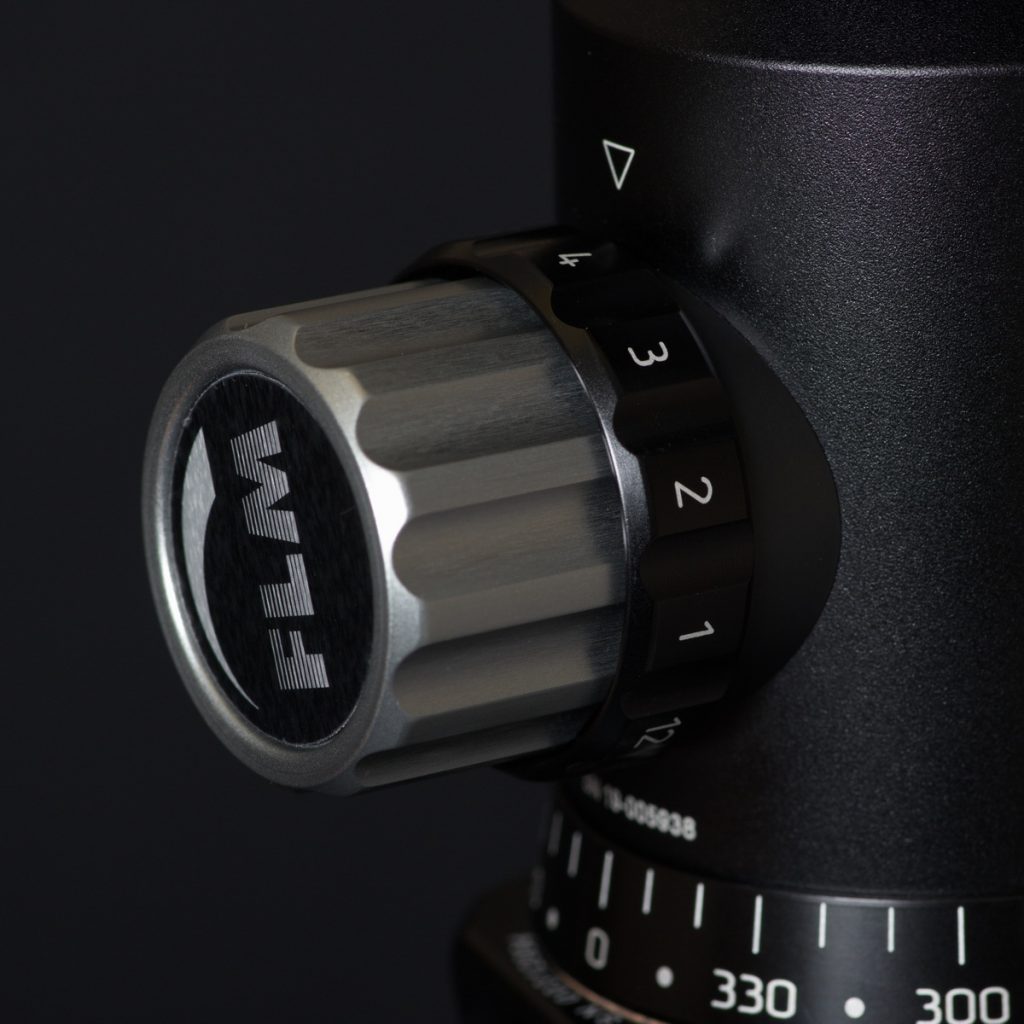
With the pan tension turned out and the 15 degree stop disengaged the head can spin on the base freely and smoothly. The tension adjustment allows for a wide range of resistance it isn’t just a matter of on or off. The last feature of panning is the 15degree stop.
By turning in this knob it engages a click stop mechanism for each 15degree turn of the head. I may take advantage of this feature for accurately doing some side by side images (Yes I know software can stitch things together but I am primarily using this for film) Well that covers the bottom of the head next up is the ball head itself and the tension system for that.
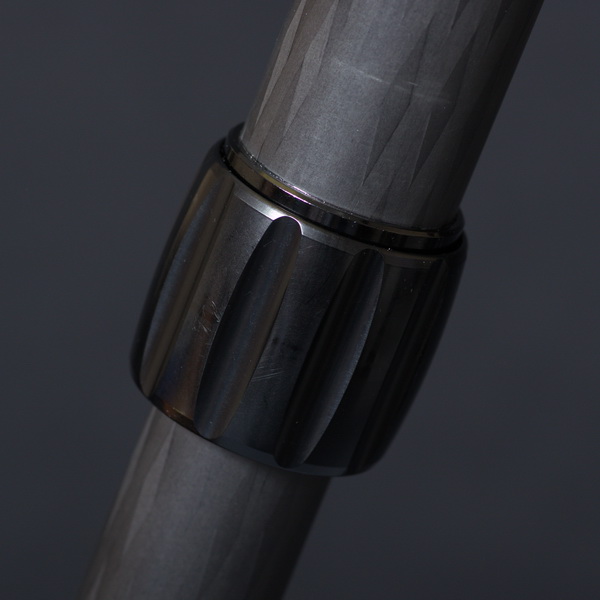
I use the term system on purpose because it isn’t just a simple setting of resistance. Rather than detailing how FLM intends it to be used I will describe how I am using it in the real world. The main tension control has an inner ring that you use to lock in a tension setting. I think of this as the minimum tension that I want. It may not be enough for every extension of the camera but allows the camera to be set up in a neutral arrangement without flopping around or drooping.
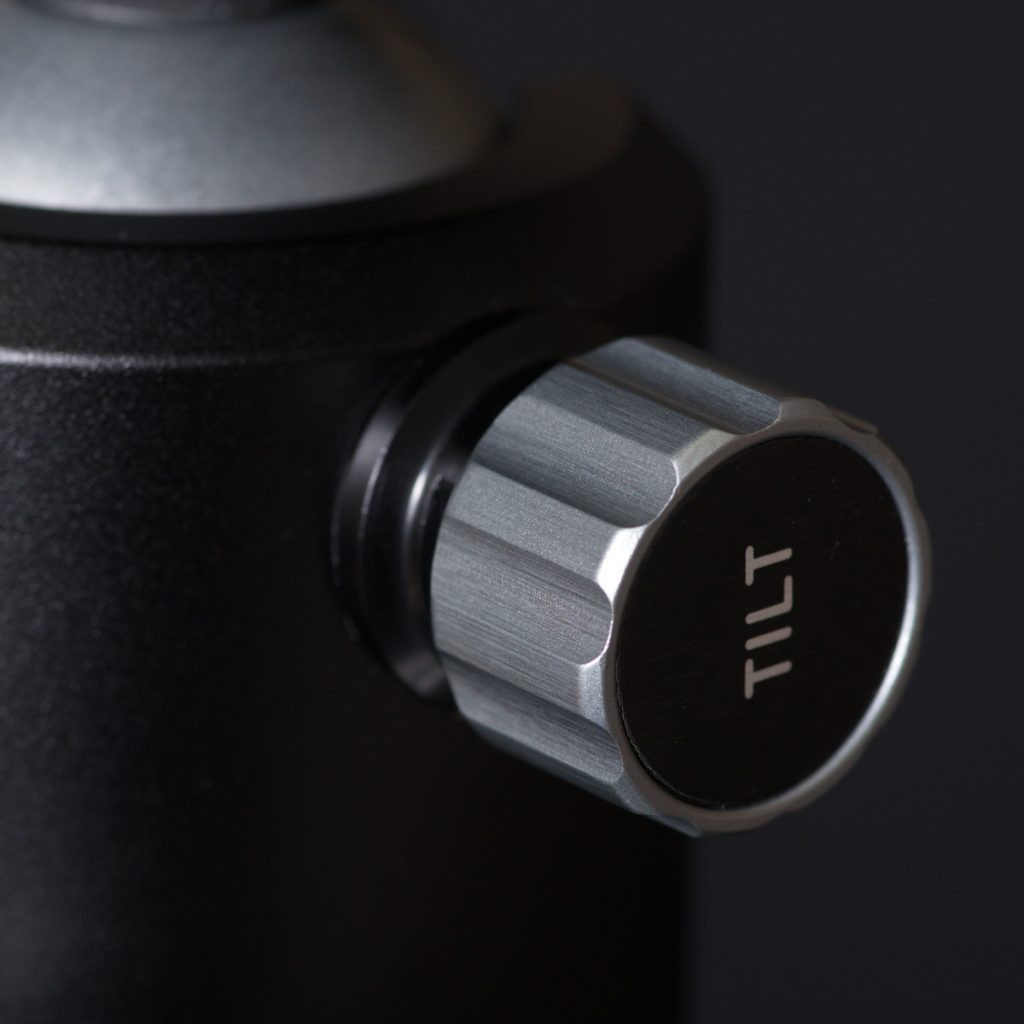
First you set your tension with the outer control knob and when satisfied you turn the inner ring all the way clockwise. Now you can increase the tension on the ball head if you want but backing the tension off ends with what you previously pre-set. To release this setting you need to tighten the tension fully before you can back the locking ring off. (this prevents you from releasing it and having your camera flop down) Like the pan tension control the multi turn of the ball head tension knob allows for a large degree of settings. The ball head is rated for 25kg which is more than enough for my 4×5 field camera with a heavy lens at the end of the bellows. The last thing and it is unique is the tilt lock.
By turning the knob in it increases tension around the central axis of the ball head which limits the movement of the ball to a single plane. The effect of this is to make the head into a tilt head. One thing about this though is that you will want to have the camera pointing in line with this axis for it to be effective.
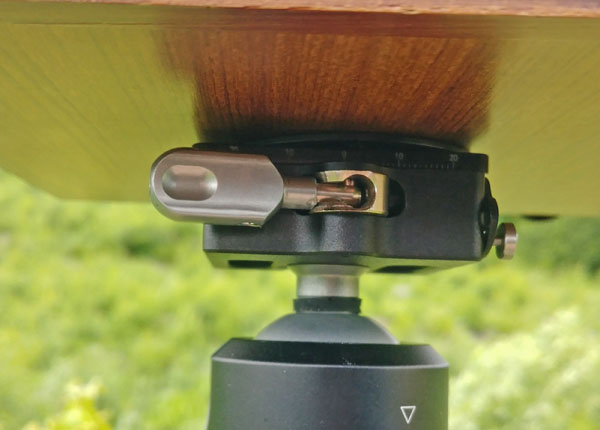
Fortunately the slot at the front of the head is on this axis so to do an alignment tilt the plate down and rotate it so its straight to the rest of the head then tighten the tilt lock.
Phew that is a lot to cover and I haven’t even talked about the unique QRP-50 quick plate system.
Like I said I did a lot of research about the tripod and on this note most of it was misleading. The information and opinions about the quick plate system that I could find were not positive or complained about its complexity. Well they are wrong (its my blog I can say what I want) For starters setting a camera down on it results in a secure capture that only requires a tensioning of the cam lock. Quick and easy. Then releasing the cam and pressing on the front button while tilting and lifting the camera sets it free.
I will grant that if you turn it over to someone that hasn’t used it before it may seem complex considering its purpose is just to attach a camera but once you have used it a few times it is easy and superior to anything else. It makes using a Manfrotto RC2 plate seem like using a pipe wrench when a box wrench is what’s required.
So to summarize I had high expectations for the FLM tripod and head and yet they managed to exceed them. It can not be understated just how nice it is to be able to smoothly point or reposition the camera without struggling with the tripod. I can actually say that using the FLM CB-28FTR in particular improves my overall photography experience markedly.
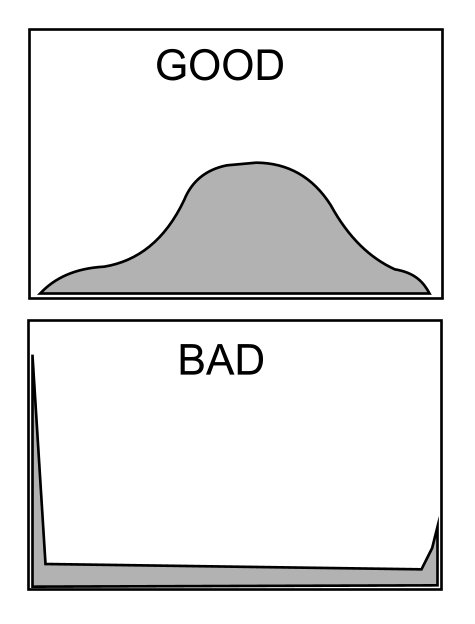
Well I really outsmarted myself this time. I have two rolls of Lomochrome 200 which is marketed as slide film for cross processing. So I figured if I processed it in E6 chemistry rather than cross processing it in C41 I would get some neat slides. Technically they are slides I guess because they aren’t negatives but they are only slightly better than nothing which is not a positive. Here is a straight scan. There are no details in the shadows and no details in the highlights and very little in-between.
If this top histogram represents a good exposure the bottom one represents these shots on Lomochrome 200
I could blame it on the film entirely but it could be the camera too. I shot it in a Lomo LCA+ that I had not used before and shouldn’t really trust. The images look underexposed which doesn’t help matters. I’ve converted a few of the images to strictly Black and White out of kindness.
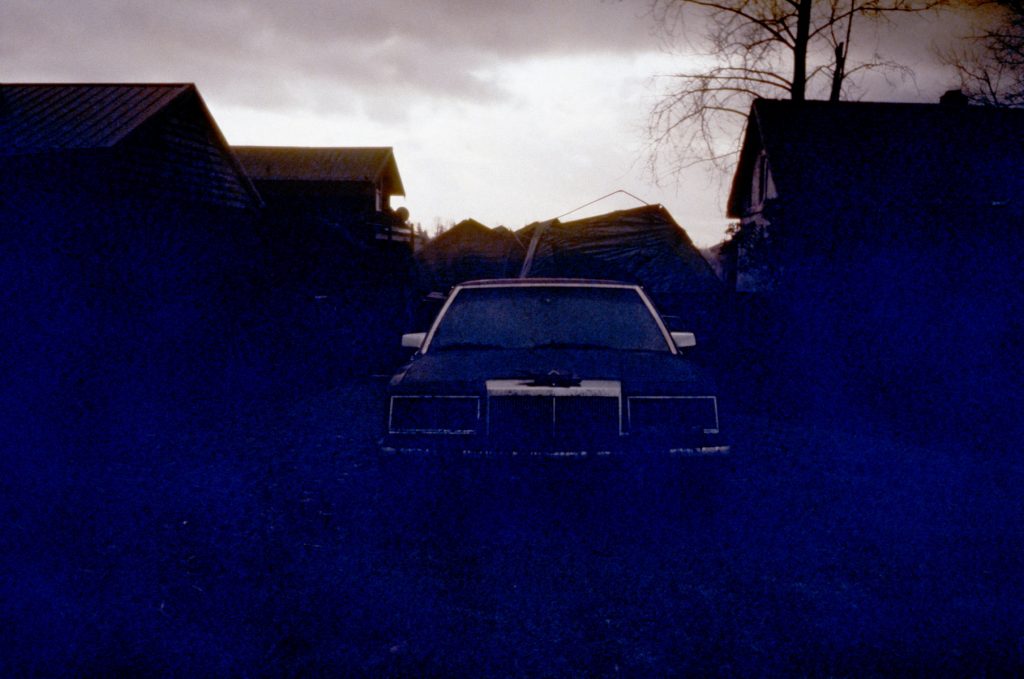
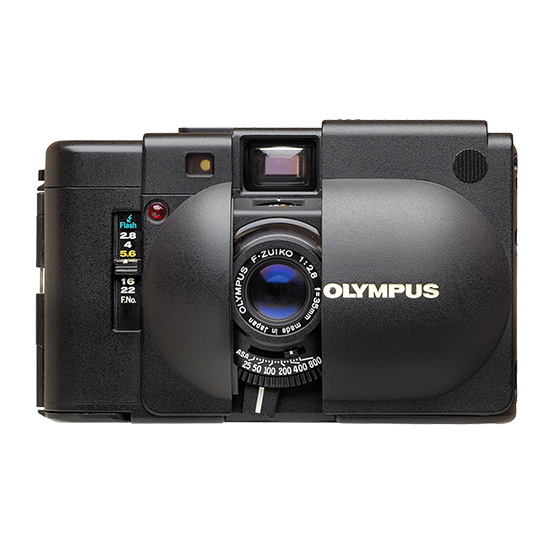
Now long expired I loaded a roll of Ektachrome 100VS in my Olympus XA. The XA is known for its decent exposure system so shooting slides isn’t an issue but I didn’t know how the film would behave or even how it had been stored over the years. I turned out that the slides were thin and looked over exposed. Seeing as I’m not projecting them I took a little license during scanning to improve their appearance.
More posts about the XA can be found by searching my blog Olympus XA
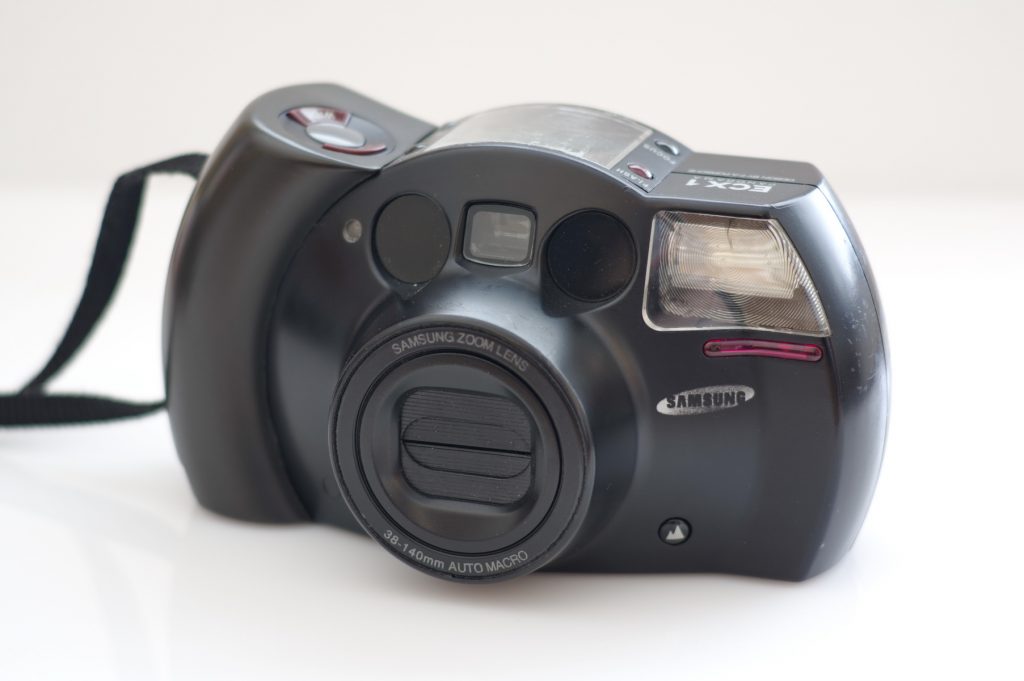
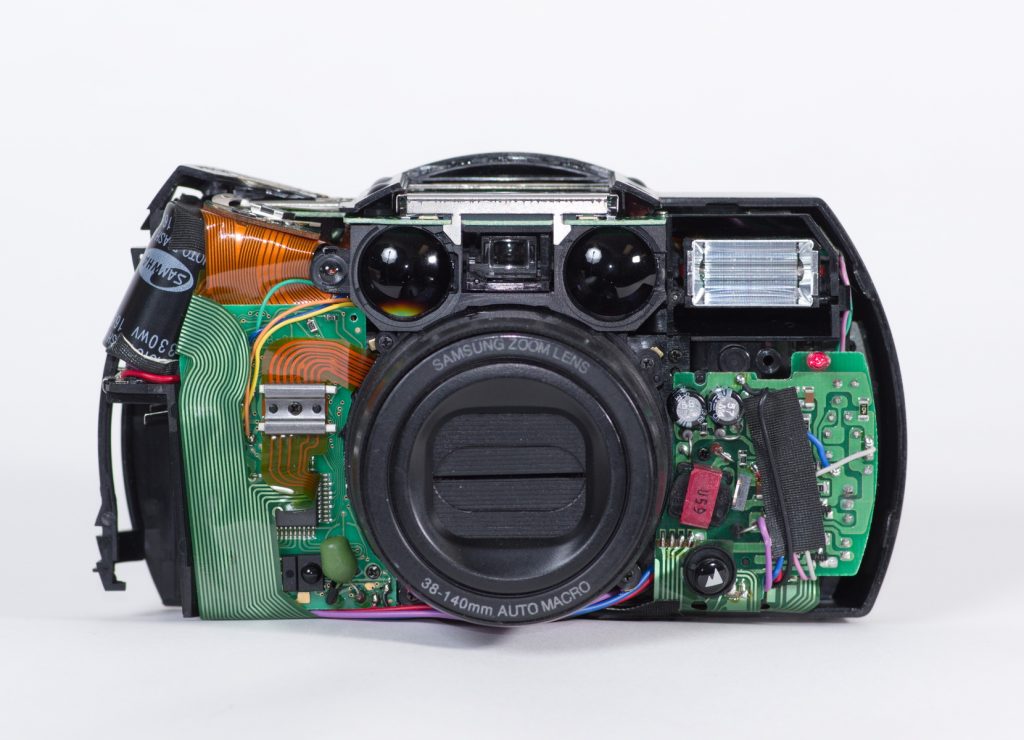
I couldn’t resist picking up this oddity. The Samsung ECX-1 designed by Porsche Design and winner of the 1995 ‘iF’ Product design award is shall we say unique looking. It is jammed with features for a point and shoot camera with notable modes such as “Fuzzy Zoom” Which you might think isn’t a good thing but in this case it refers to the buzzword of the day back in the 1990’s “Fuzzy Logic” A fancy way of saying it used an algorithm to adjust zoom and shutter speed so that you had a better chance of not taking a fuzzy picture. There are more permutations of settings than I care to describe but I do like that it also provides manual focus and multi exposure.
As first received the camera had an issue with a stuck button from a botched repair so I rectified that but should have considered why someone had had it apart in the first place. As it turns out it had issues. It appeared to function properly but inside it was conspiring against me. Images were not merely out of focus it looks like the internal lens elements were out of place and it wasn’t consistent, a few images were in focus which may have depended on focal length settings. The rest took on a painterly look both in softness and colour.
By the time I post this I will have already recycled the camera so that no one else wastes a roll of film but at least for a moment it was nice to have one of the most unique cameras from the 1990’s
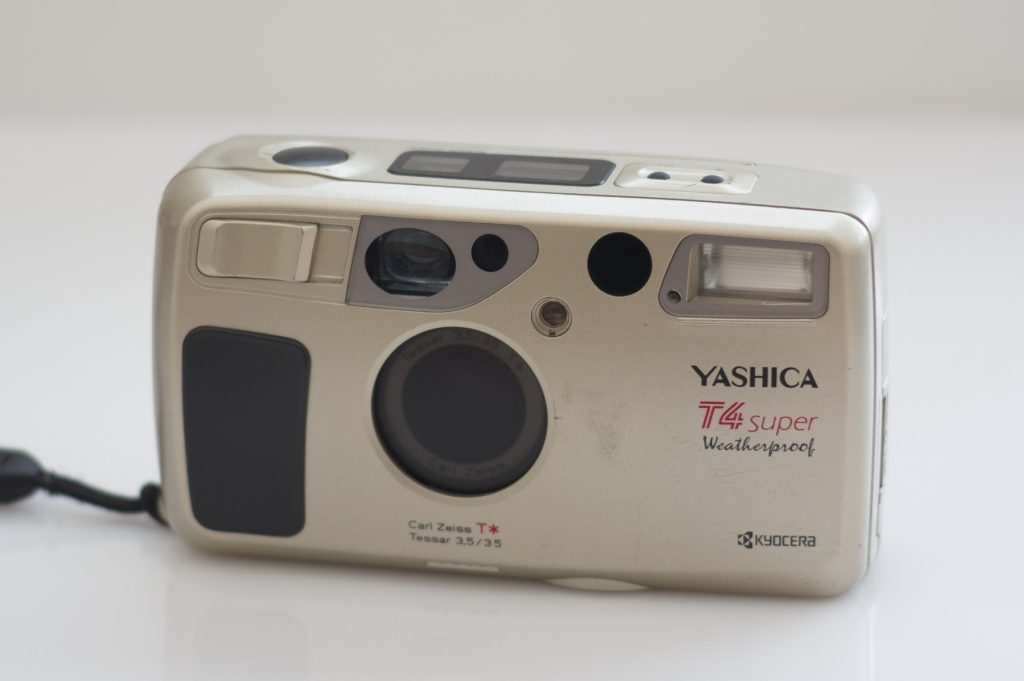
Even back in 1996 when the Yashica T4 super was new it was considered the poor mans Contax T2. The thing is they are both made by Yashica or more precisely Kyocera despite the massive price gap. Granted the Contax is made of titanium while the T4 is made of plastic but they both have Carl Zeiss T* branded lenses. The T4’s lens is a four element Tessar a design found in many cameras with many names but most famous under the Zeiss brand.
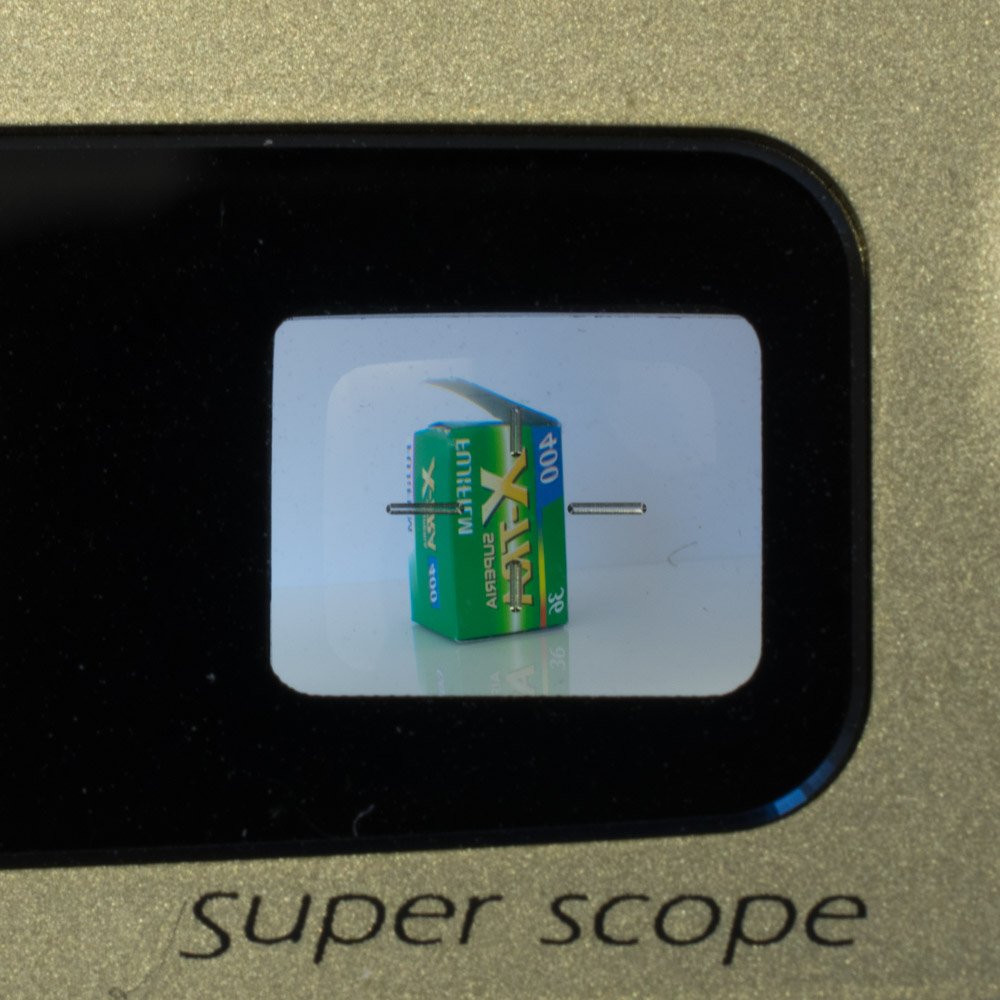
The super scope waste level finder of the T4 is one of those features that you might not always need but is sure nice when you do.
I think that a lot of cameras of this time are pretty good so does the T4 really deserve the “cult” status that it achieved? Maybe as a photographic tool as it is pretty good but it doesn’t justify a large price premium. That being said if you really want a Zeiss T* lens but don’t want to pay Contax prices then this is a good middle ground.
I had the pleasure of borrowing a Minolta Dynax 7 and ran a few rolls of film through it. One of the unique features of this camera is its ability to simulate an STF lens under certain conditions. An STF lens uses a special optical formula that includes a special internal filter to create smooth out of focus areas. The simulation however achieves this by taking 7 exposures on a single frame of film each with a different aperture setting. The blended image has a soft blurry out of focus area while retaining the same degree of sharpness in the areas that were in focus. The aperture is determined by the maximum speed of the lens itself so with a lens with a maximum opening of f1.7 the seven 1/3 stop increments takes you to f2.8 if the lens however has a maximum opening of around f3.5 then it would start at f6.7 and work its way down in 1/3 stops to f3.5.
While I don’t believe there is any other camera that has ever automated this SFT function before I thought it would be fun to see what I could do using my Pentax K-3. Pentax has many unique features in their cameras and the K-3 has an extensive set of multiple exposure settings. I settled on using Multi-exposure with 7 shots set to Average mode for the compositing primarily because that is the number of images the Minolta uses. I then put the camera in aperture priority mode allowing the camera to meter the scene and select the shutter speed but using positive exposure compensation because of the massive amount of backlighting I used during testing of the idea. Then I selected a starting aperture and exposed the first frame. I then increased the aperture by 1/3 stop and took the second frame and so on until all 7 images were composited. And it worked. The total amount of light gathered for all 7 images was approximately the same as a single frame exposed at that aperture but now the out of focus areas were averaged out while the in focus areas remained the same. I should also mention I used a very heavy studio tripod that was weighted down, any movement during or between any of the exposures and the whole thing is for naught. Maybe I should recap because that’s a lot of information.
1. Secure the camera well there can be no movement
2. Set the camera’s drive mode to Multiple-exposure
3. Set the number of exposures your going to use (this is the number of 1/3 aperture steps you will make)
4. Set the compositing mode to average
5. Select your starting aperture (you can either go up or down but the idea will be to either start or end with the lens wide open)
6. Take your first exposure
7. Alter your aperture by 1/3 stop with the control wheel (Allow the camera to change the shutter speed to maintain the exposure)
8. Repeat step 7 until all the frames have been taken.
9. Your done enjoy
Here are two images for comparison the first is a single exposure at f5.6 and the second is 15 exposures from f5.6 to f1.2
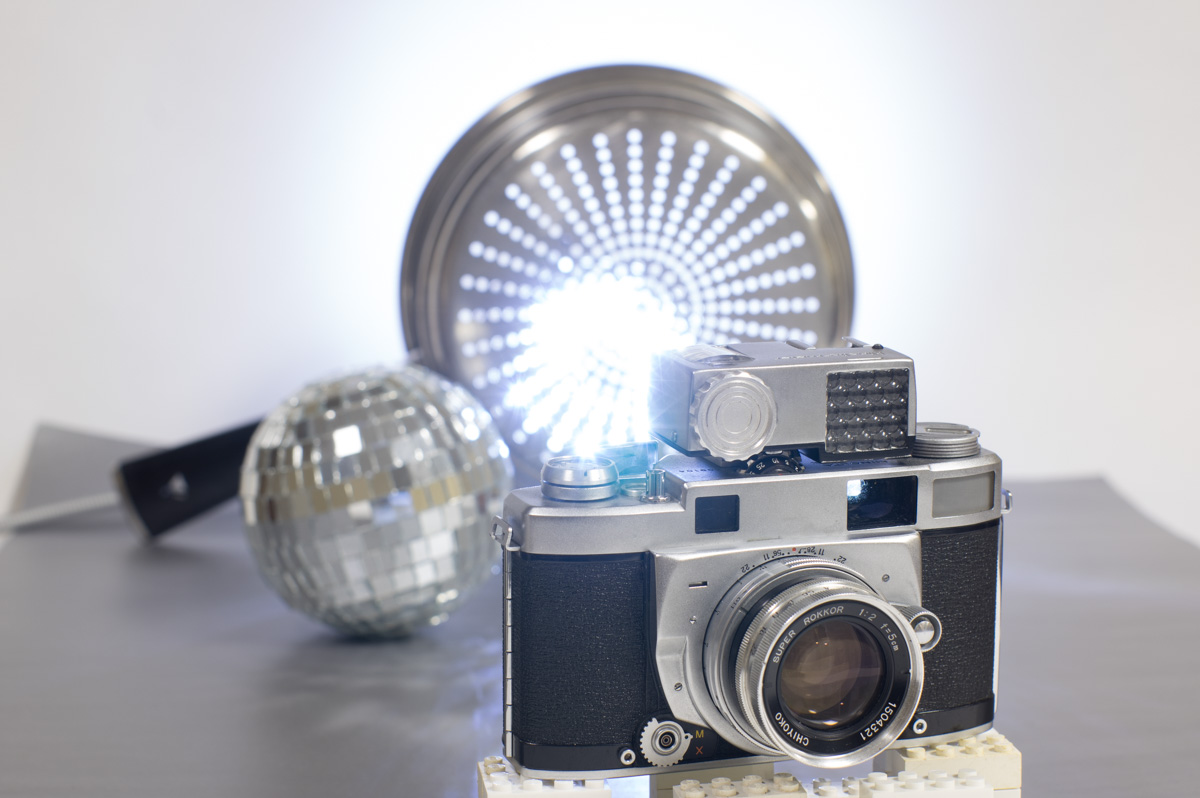
While the in focus areas are roughly the same the background has been averaged out more by using the multiple exposures. You can actually see the steps of each exposure in the overexposed backlight area. This was as extreme of an example as I could create and not something you would likely be taking pictures of. The mirror ball represents a more realistic real world result. You could just take a number of images with varying apertures and combine them after the fact on a computer but I wanted to see how close I could come to recreating the Minolta method in camera. Everything is already there Pentax could just automate the process.
Here are two more examples with a light transmission of f8.0 The first one is a single exposure and the second one is 7 separate ones from f8.0 to f3.5
And just for good measure here is the Pentax 50 1.2 shot wide open because I can.
Here are a few real world examples comparing shooting with single apertures vs multiple exposures.
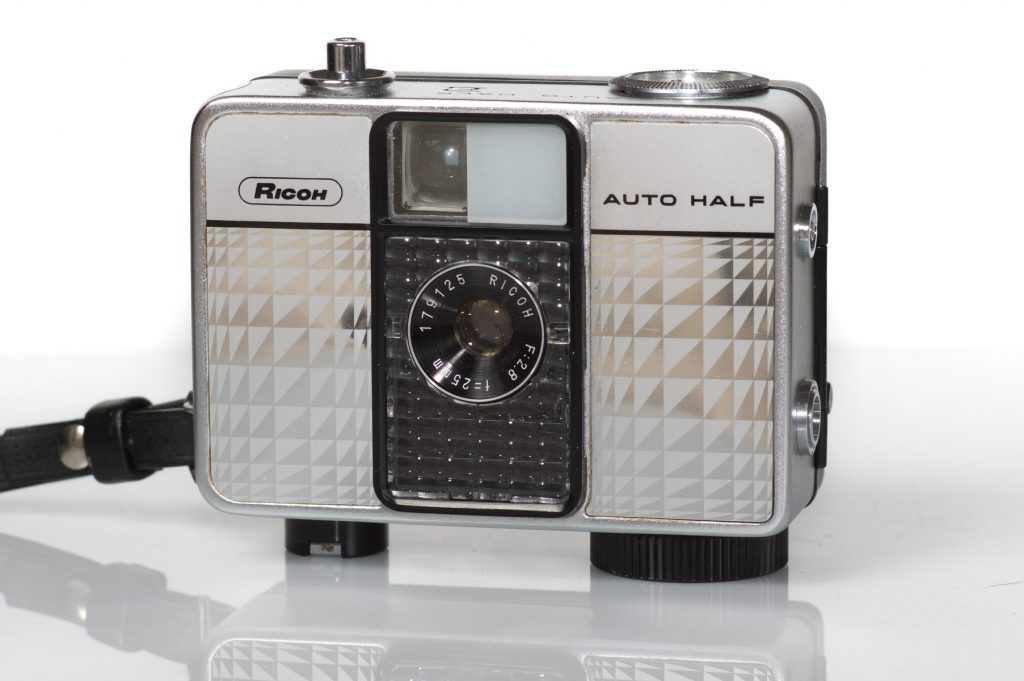
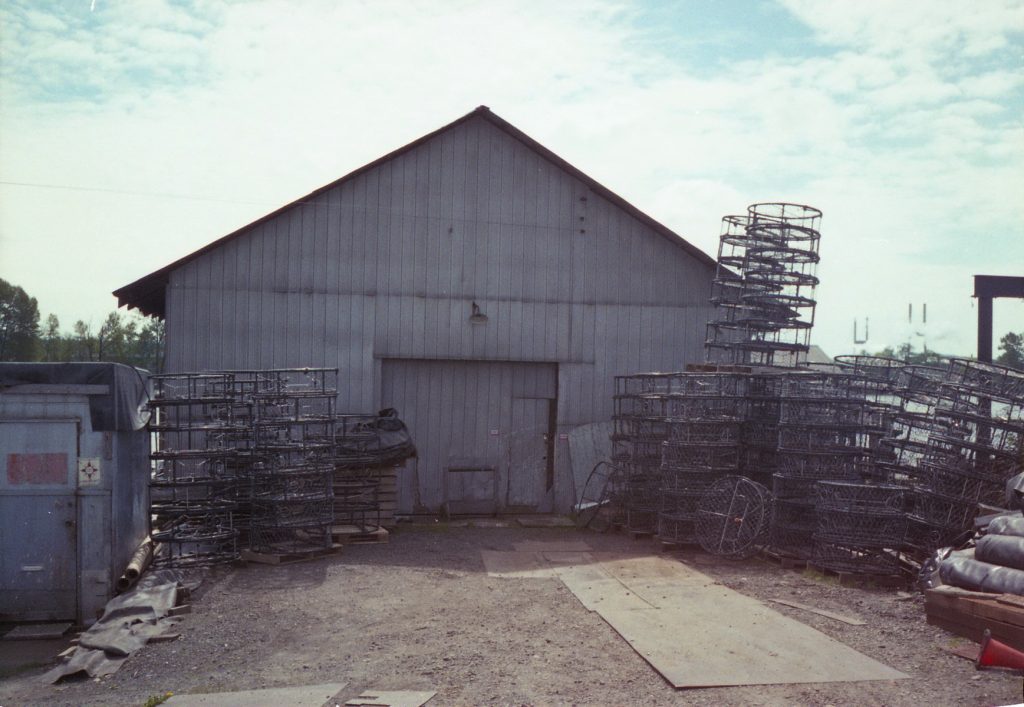
I love it when a camera surprises me. The Ricoh Auto Half did that. With its fixed focus and aged meter I wasn’t too sure what I would get. My expectations though were exceeded.
From Ricoh’s own history page this is what they have to say “…in 1962, rolled out the more advanced and handy Ricoh Auto Half—a half-frame, fully automatic camera with automated exposure, focusing and film-winding functions. Being compact, purse-sized and requiring no manual control skills, the world’s smallest popular-model automatic camera of the times proved to be a huge hit, particularly with female consumers.” And from their manual there is this gem. “When you leave your finger from the Release Button, the film is advanced automatically by one frame with the sound “Z-E-E”.
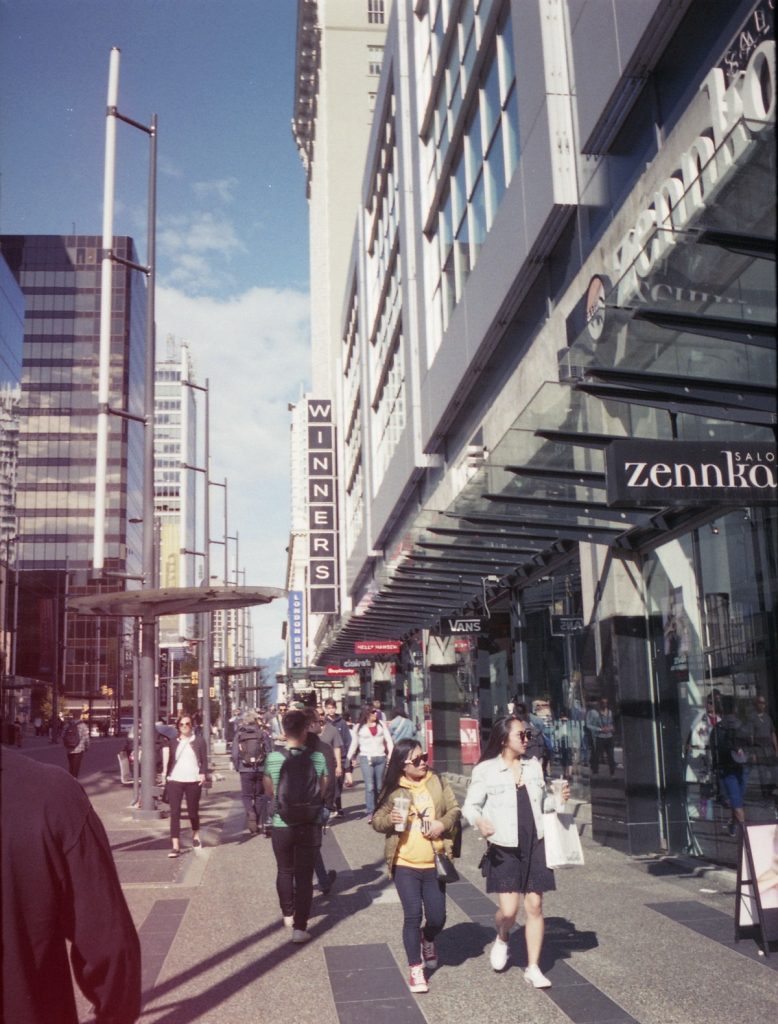
The 25mm f2.8 lens has fixed focus but that proved not to be an issue with any of the subjects I photographed with it. Pretty much anything 5 or more feet out is in acceptable focus. I really like the fact that as a half frame camera the image aspect ratio is naturally vertical “Portrait”. This is a nice change from the ubiquitous “landscape” orientation of most cameras.
Image quality was better than expected with flair only being an issue when I did my normal extreme test of allowing sunlight to hit the lens directly.
I really enjoyed using the Auto Half and because of its small size it will absolutely find a little spot in my camera bag.
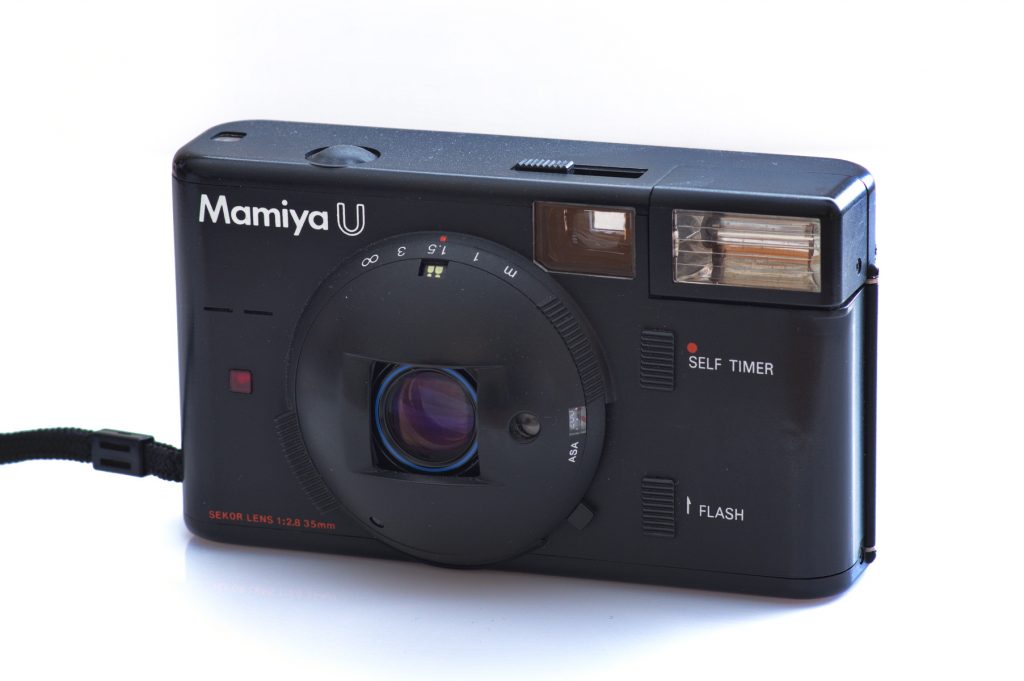
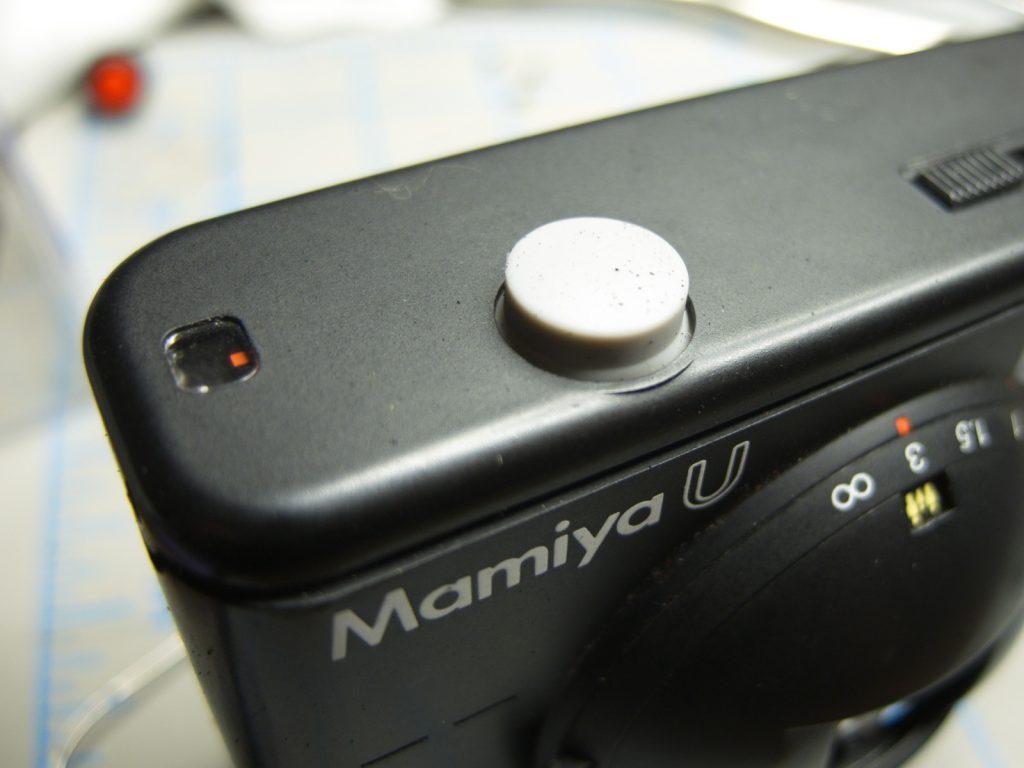
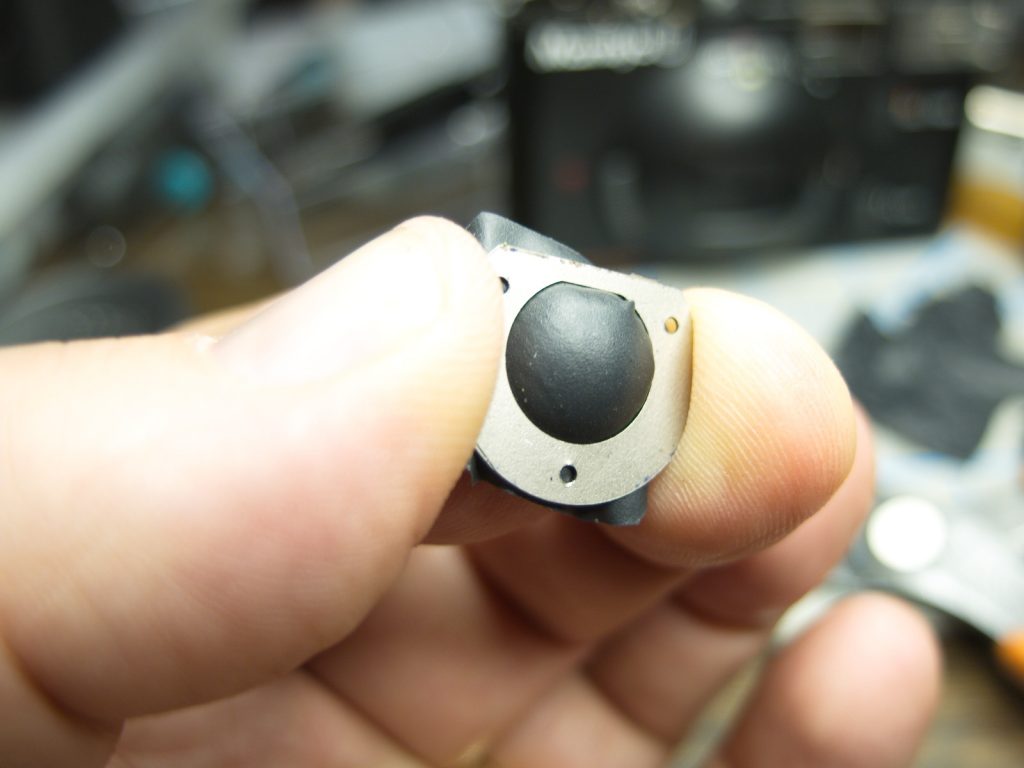
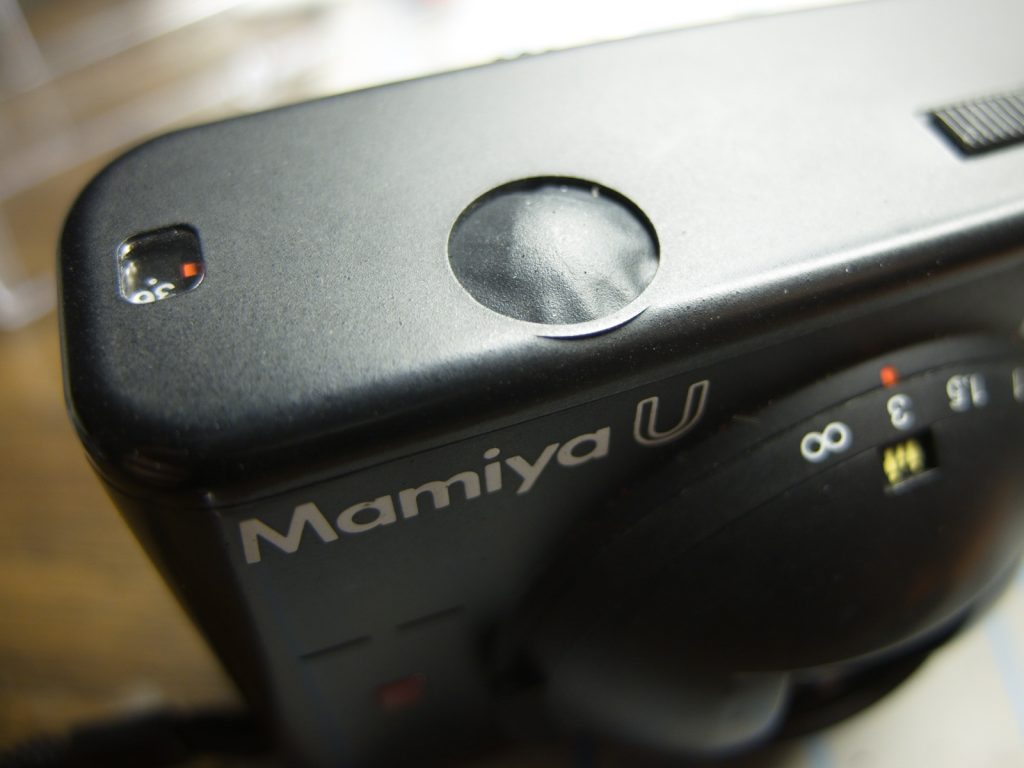
One thing I have found is that almost all Mamiya U cameras suffer from their shutter buttons turning into goo. Its too bad because they are a wonderful 80s design with their lens hump.
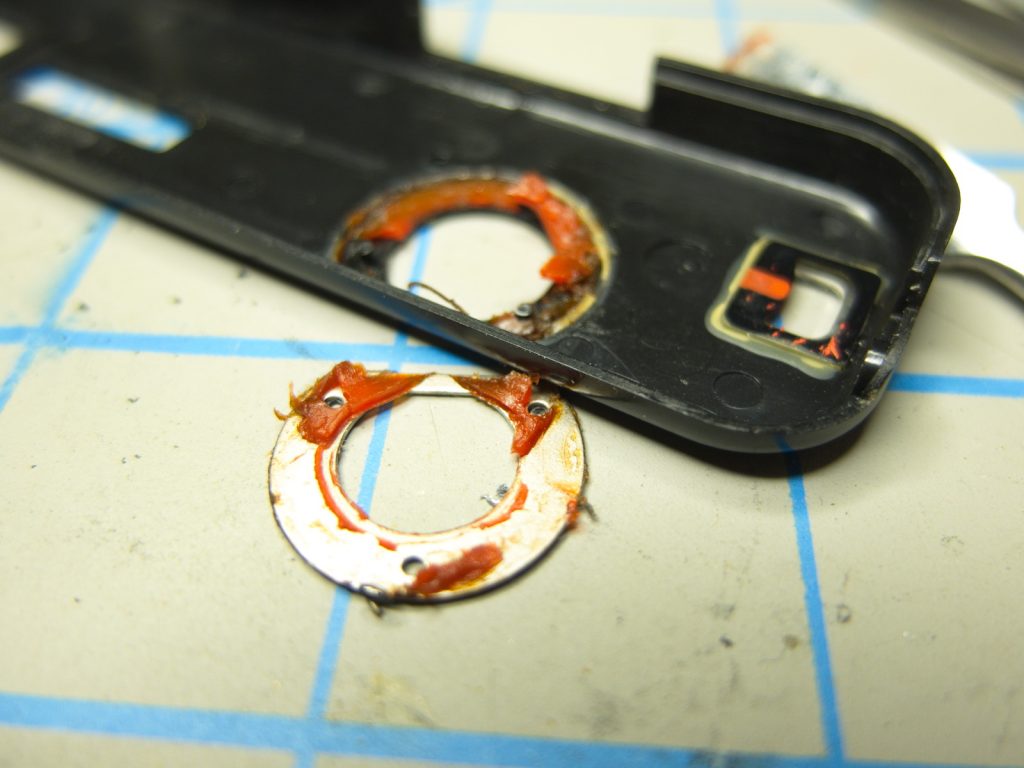
I purchased one in a box at a camera show prior to the necessity for physical distancing. (I add that because in the future I hope that comment was of this time and not in perpetuity) This camera was no exception, with the remains of its button an orange goop, so I set about the task of making a replacement.
My first effort (Yes it required more than one) was to use the rubber from an old lens focusing ring/area/zone/whatever.
Ta da! unfortunately the rubber was too flat and too stiff resulting in the camera wanting to take pictures on its own.
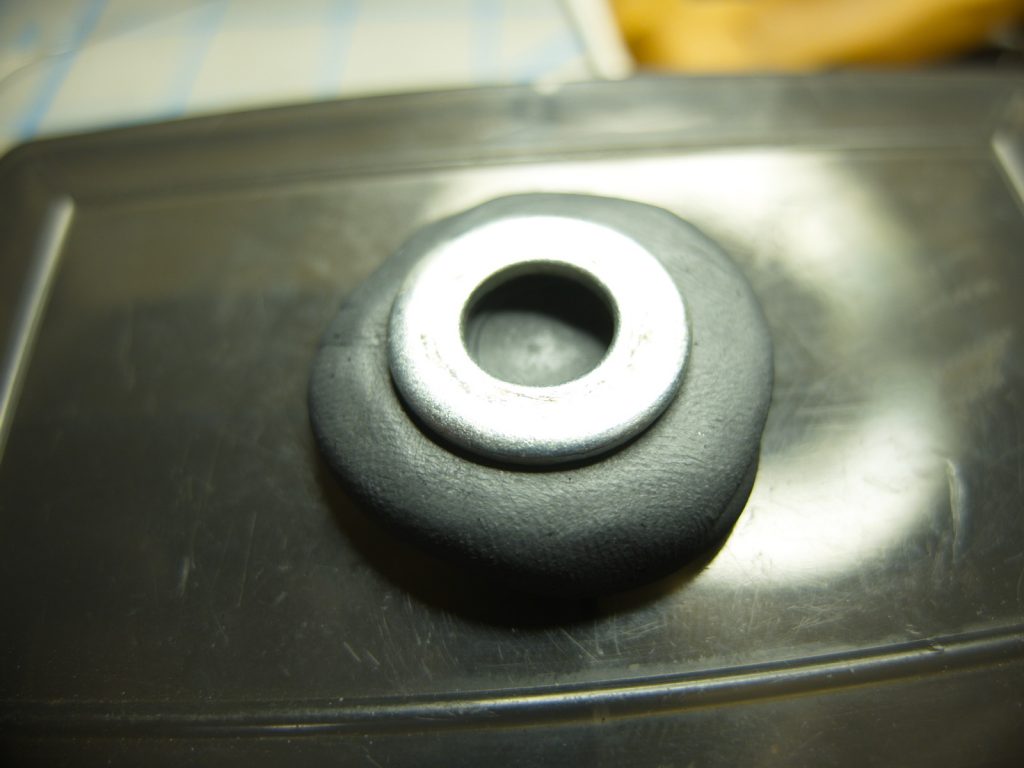
Effort two was to find a camera with a similar size button and transplant it
Looks good but it had the same issue no amount of hollowing it out could make it not constantly trip the shutter as soon as the film was advanced.
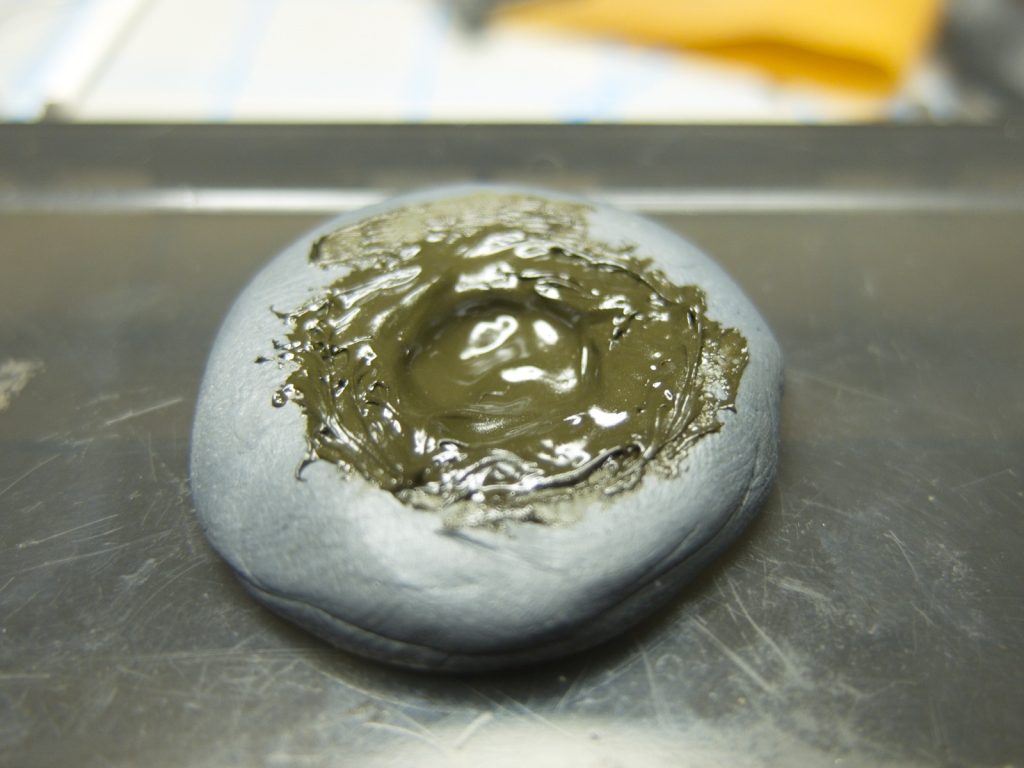
Getting a little desperate I now tried molding a button out of gasket material. Yes it was as sticky and worked as well as it looked, I presume if I had ever put it near the camera.
Effort number four though was getting close I used elastic material that had the right feel but was still a little too stiff.
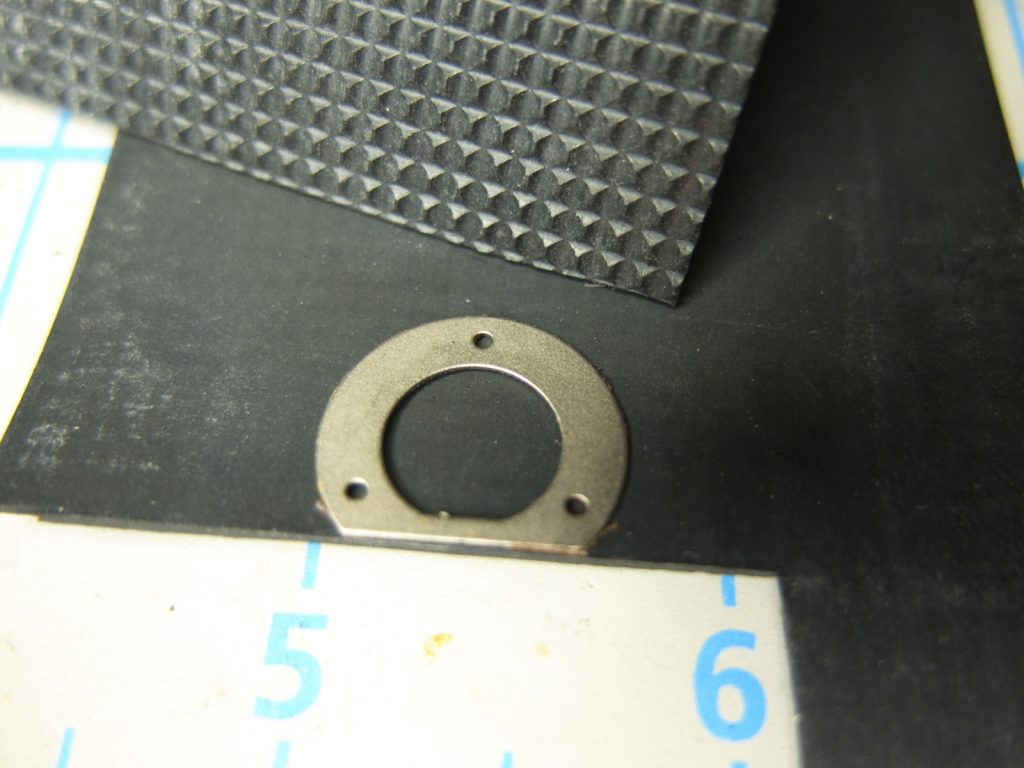
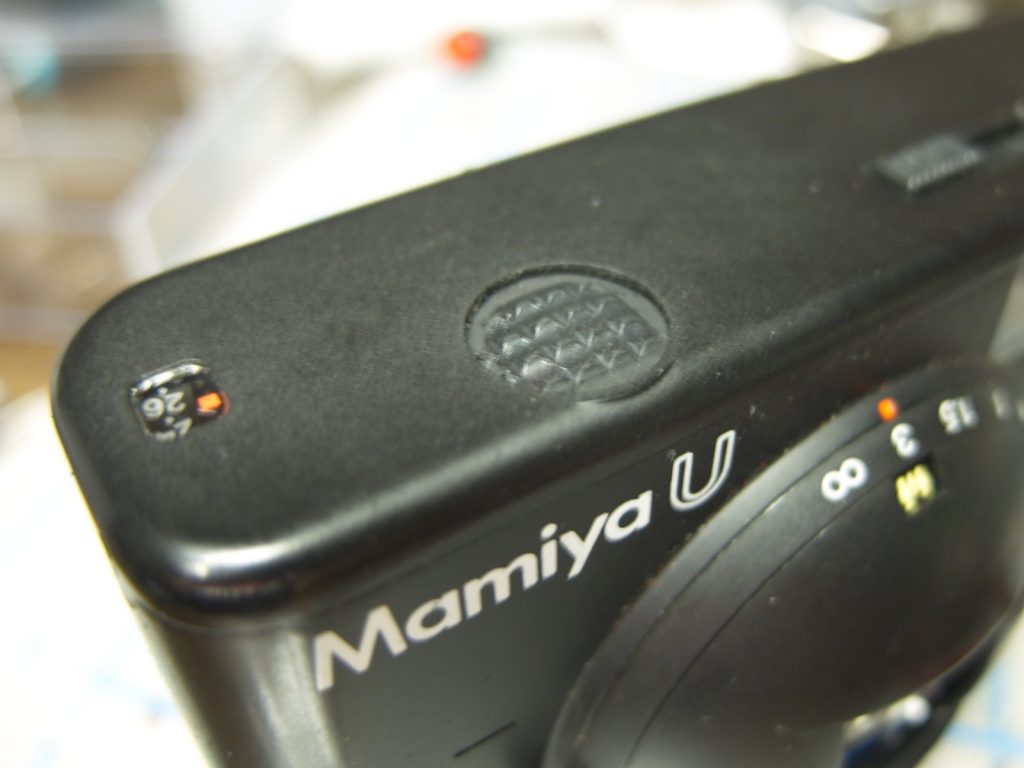
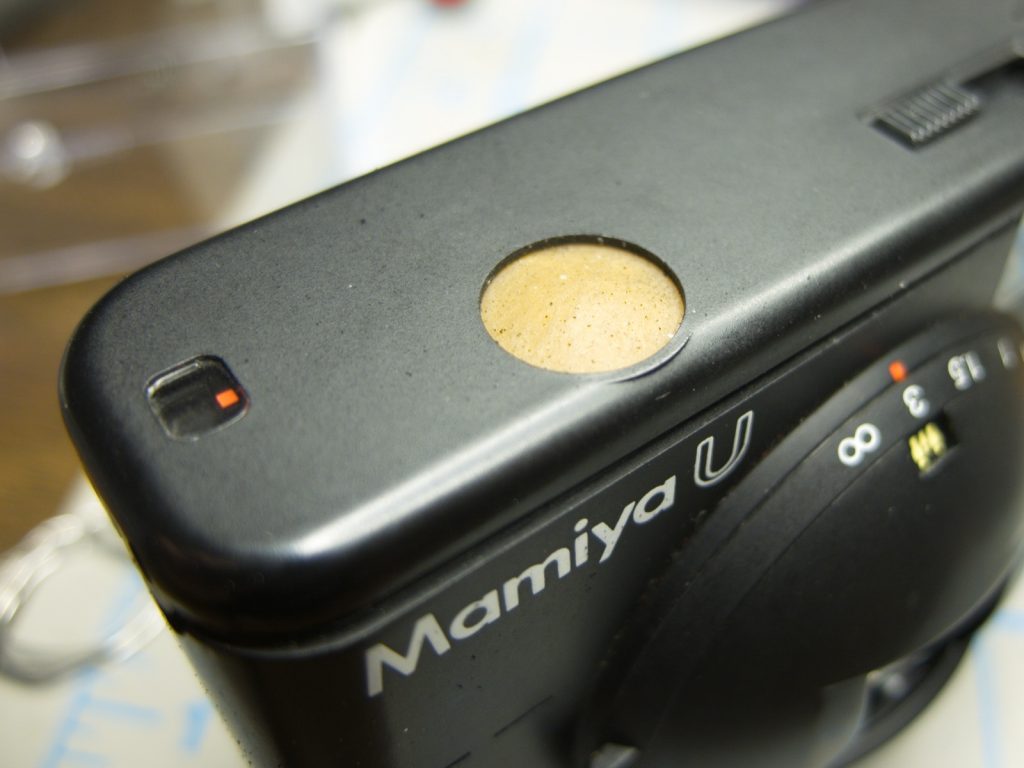
And finally attempt number 5 yielded a working result.
And the winner was a chunk of a nitrile glove. No beauty but it sealed the camera to the elements and functioned.
Now with a functional camera it was time to try out that 35mm f2.8 lens. There isn’t a lot of user control available and the focus is via simple zone settings but the lens has a beautiful blue coating and was a good performer. The 5 element lens was sharp with good contrast. Additionally the use of 2 AAA batteries rather than some now defunct cell is always welcome.