Smooth Transition Focus Minolta 7 and Pentax K-3
I had the pleasure of borrowing a Minolta Dynax 7 and ran a few rolls of film through it. One of the unique features of this camera is its ability to simulate an STF lens under certain conditions. An STF lens uses a special optical formula that includes a special internal filter to create smooth out of focus areas. The simulation however achieves this by taking 7 exposures on a single frame of film each with a different aperture setting. The blended image has a soft blurry out of focus area while retaining the same degree of sharpness in the areas that were in focus. The aperture is determined by the maximum speed of the lens itself so with a lens with a maximum opening of f1.7 the seven 1/3 stop increments takes you to f2.8 if the lens however has a maximum opening of around f3.5 then it would start at f6.7 and work its way down in 1/3 stops to f3.5.
While I don’t believe there is any other camera that has ever automated this SFT function before I thought it would be fun to see what I could do using my Pentax K-3. Pentax has many unique features in their cameras and the K-3 has an extensive set of multiple exposure settings. I settled on using Multi-exposure with 7 shots set to Average mode for the compositing primarily because that is the number of images the Minolta uses. I then put the camera in aperture priority mode allowing the camera to meter the scene and select the shutter speed but using positive exposure compensation because of the massive amount of backlighting I used during testing of the idea. Then I selected a starting aperture and exposed the first frame. I then increased the aperture by 1/3 stop and took the second frame and so on until all 7 images were composited. And it worked. The total amount of light gathered for all 7 images was approximately the same as a single frame exposed at that aperture but now the out of focus areas were averaged out while the in focus areas remained the same. I should also mention I used a very heavy studio tripod that was weighted down, any movement during or between any of the exposures and the whole thing is for naught. Maybe I should recap because that’s a lot of information.
1. Secure the camera well there can be no movement
2. Set the camera’s drive mode to Multiple-exposure
3. Set the number of exposures your going to use (this is the number of 1/3 aperture steps you will make)
4. Set the compositing mode to average
5. Select your starting aperture (you can either go up or down but the idea will be to either start or end with the lens wide open)
6. Take your first exposure
7. Alter your aperture by 1/3 stop with the control wheel (Allow the camera to change the shutter speed to maintain the exposure)
8. Repeat step 7 until all the frames have been taken.
9. Your done enjoy
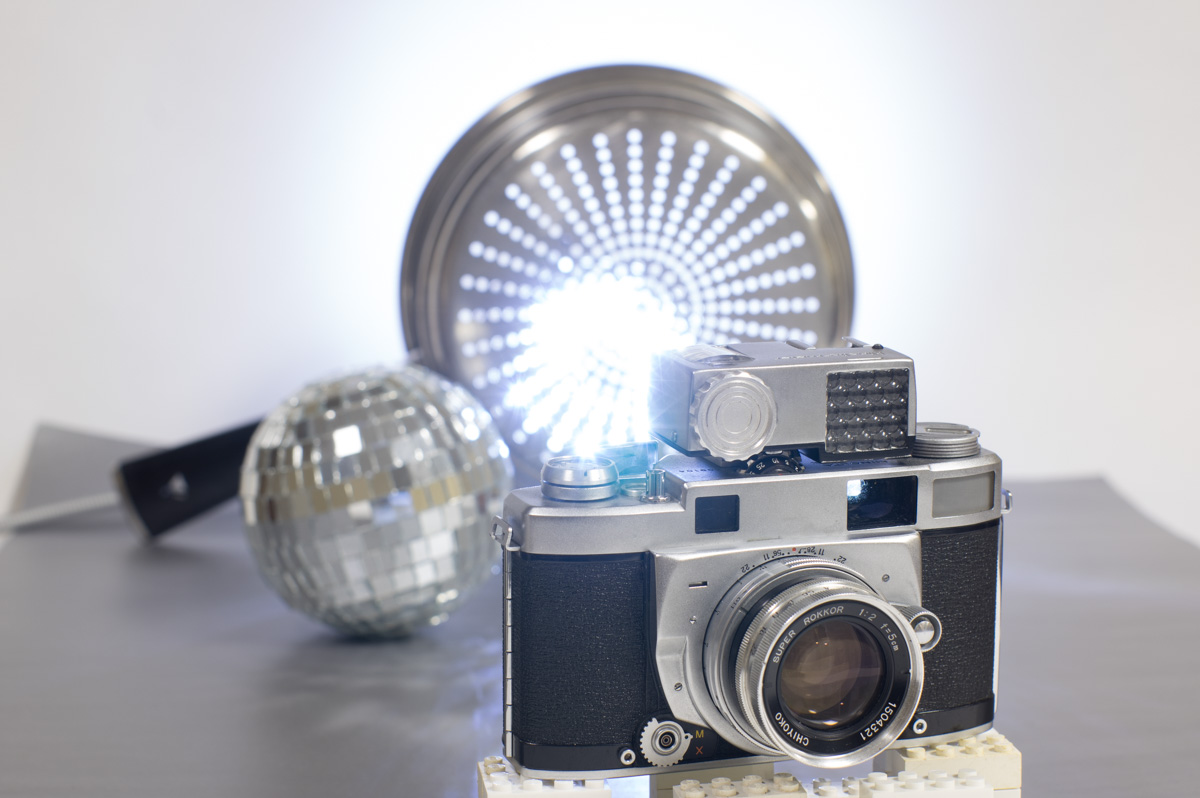
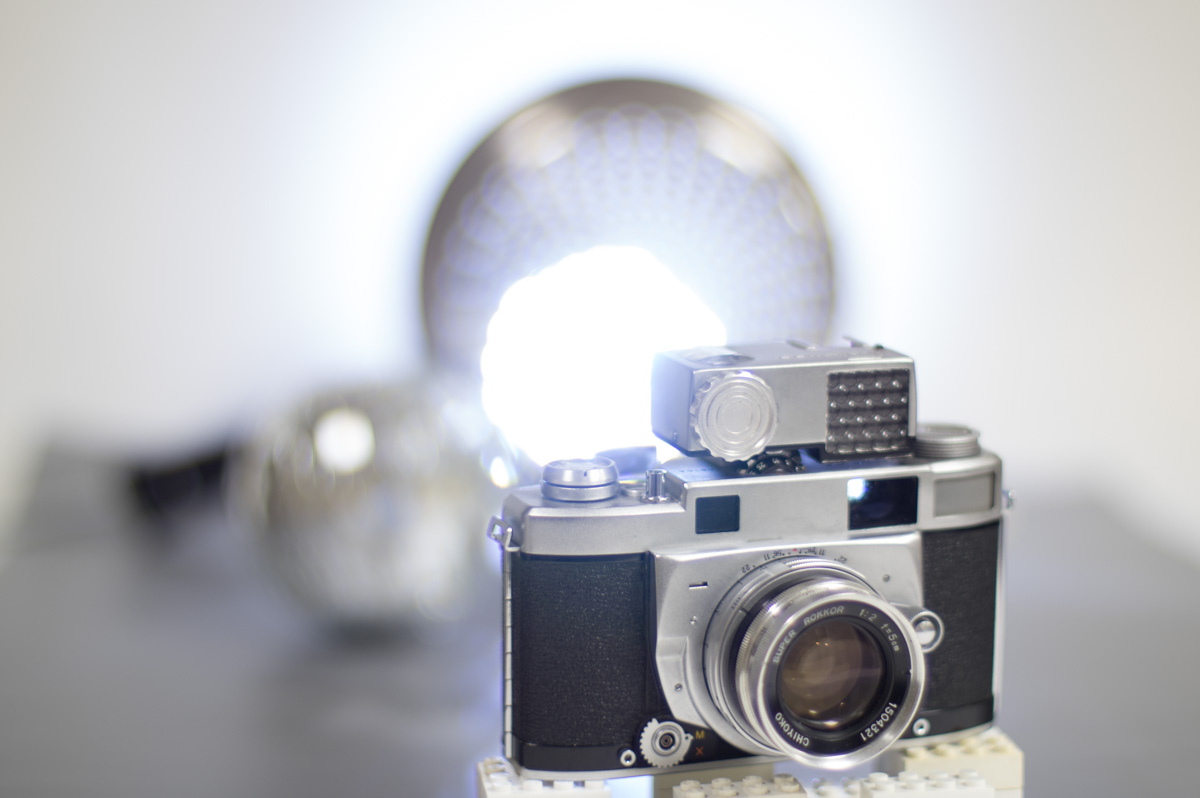
Here are two images for comparison the first is a single exposure at f5.6 and the second is 15 exposures from f5.6 to f1.2
While the in focus areas are roughly the same the background has been averaged out more by using the multiple exposures. You can actually see the steps of each exposure in the overexposed backlight area. This was as extreme of an example as I could create and not something you would likely be taking pictures of. The mirror ball represents a more realistic real world result. You could just take a number of images with varying apertures and combine them after the fact on a computer but I wanted to see how close I could come to recreating the Minolta method in camera. Everything is already there Pentax could just automate the process.
Here are two more examples with a light transmission of f8.0 The first one is a single exposure and the second one is 7 separate ones from f8.0 to f3.5
And just for good measure here is the Pentax 50 1.2 shot wide open because I can.
Here are a few real world examples comparing shooting with single apertures vs multiple exposures.

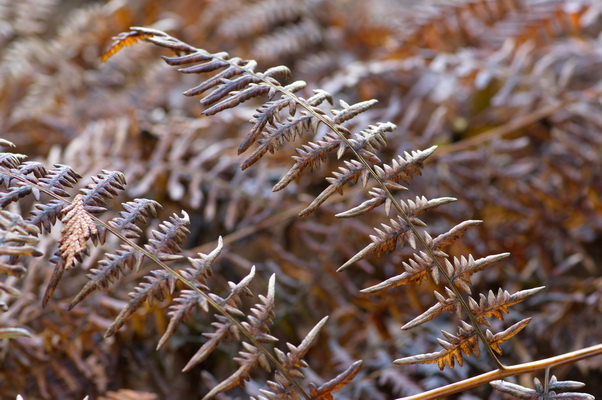
f5.6 
STF 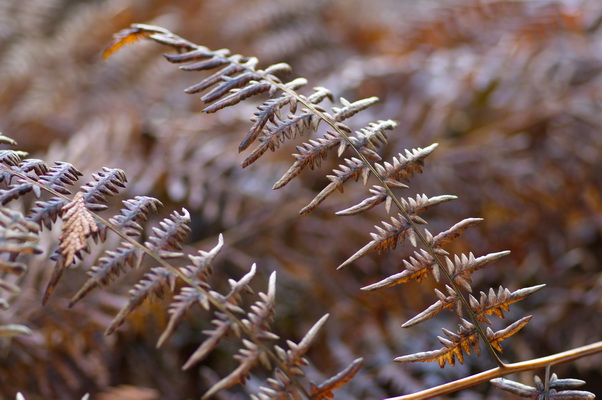
f2.8 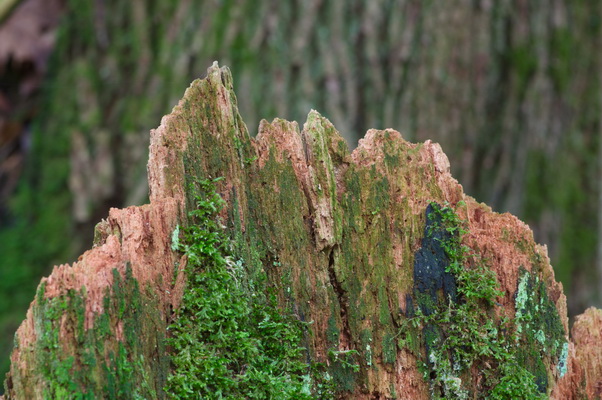
f10 
STF 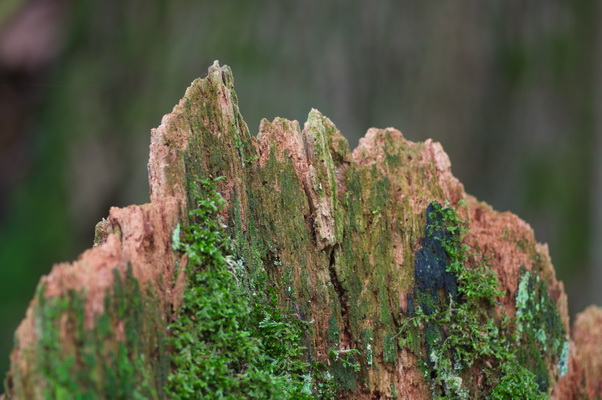
f2.8
