Cell phone milestone, 2000 images
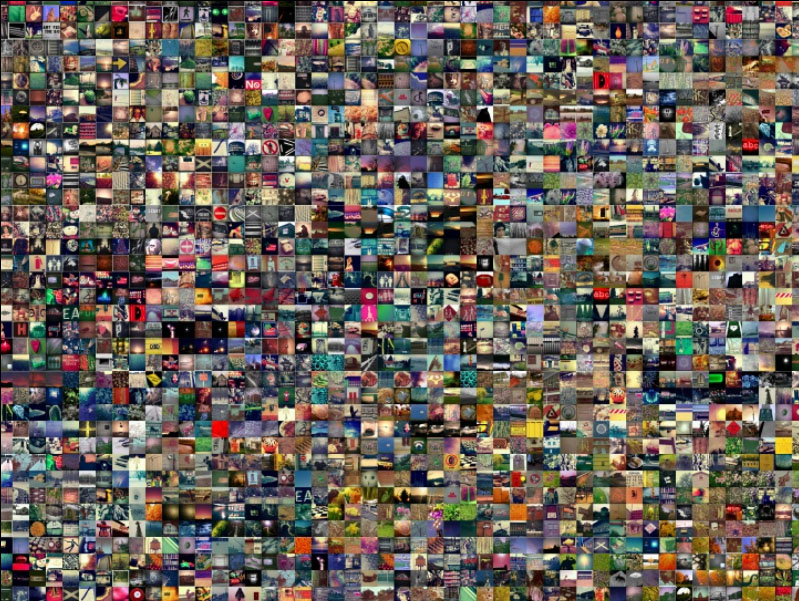
I’ve reached another milestone in my cell phone image postings. I have gone past 2000 images and have many more to go. One unfortunate side effect of my work-flow is that it generates duplicates. My solution to this was to export all the images to a thumb-drive and to then run a piece of software called Visipics. What this software does is find all the duplicates and provide the option of deleting the second copy. The reason for the thumb-drive relates to my not wanting to run the software on the original files until I fully understood the software. It did an amazing job as I ran it several times while adjusting settings, each time allowing the software to look deeper at the images for duplicates with minor variations. You do need to use some caution as if you use too lenient a setting it can pair images that are very similar but still unique. You can see the result of my cell phone image progress here. Cell zoom I still need to add a few more to create an even 2400 and to replace some with better images. The most difficult part will be locating any remaining duplicates as this is like a giant game of Memory, fortunately the cards are turned over.
Yashica Electro 35 images (April 2012)
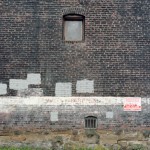
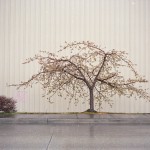
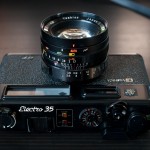
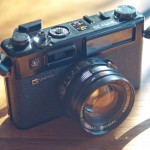
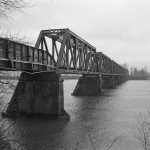
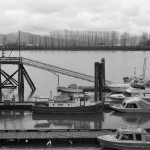
Here are some of the recent images taken with the Yashica Electro 35 GT and Kodak Ektar 100. For more information about the camera you can see these posts October 2010 and the more detailed April 2012 Yashica Electro 35GT
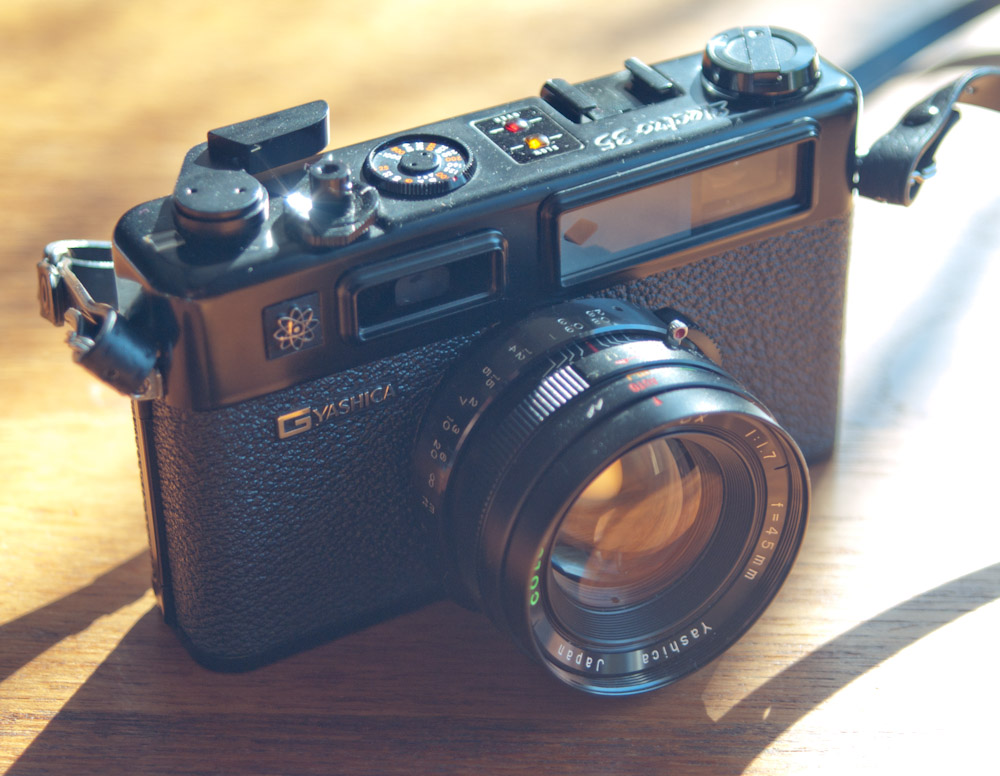
Yashica Electro 35 GT
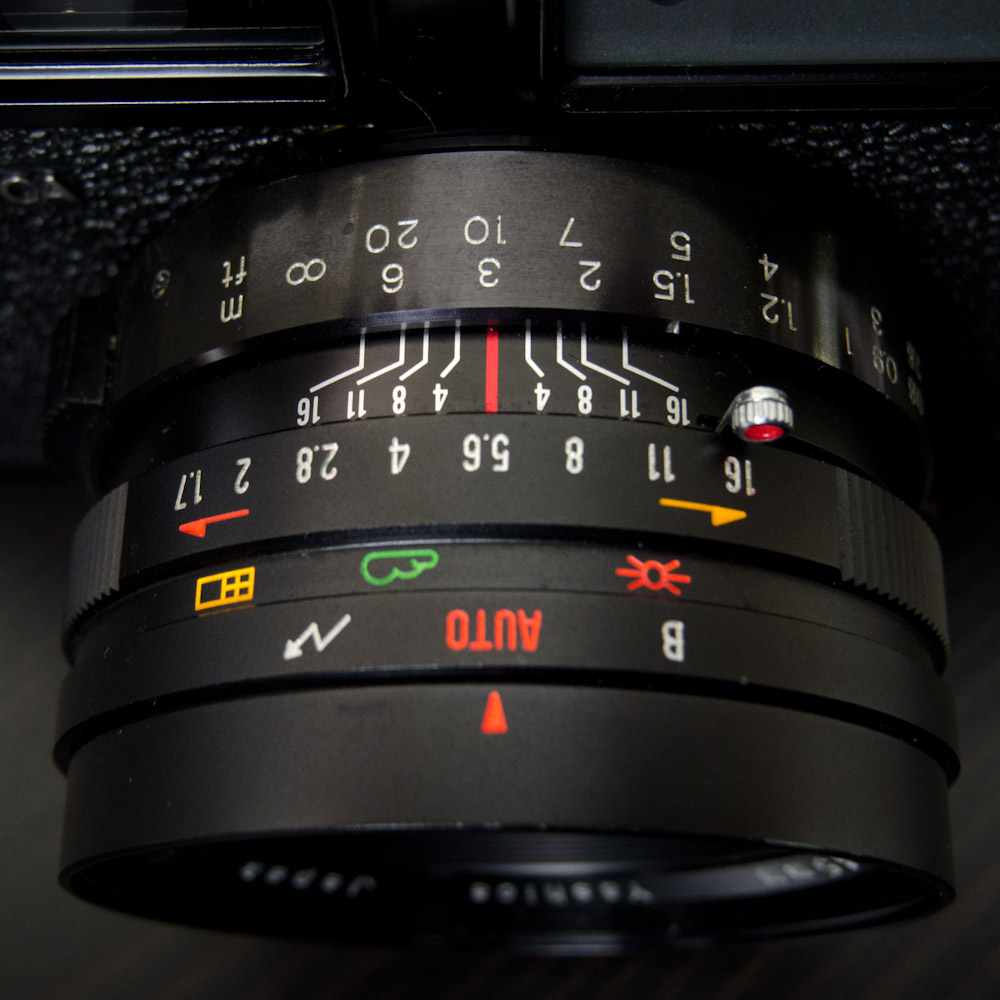
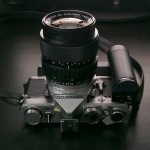
I’ve owned several Yashica Electro 35 models but I’ve pared them down leaving me with the Electro 35 GT and GX. The GT stands out in the Electro line with it’s all black body. It is a great looking camera as well as performing. The lens of the 35 GT is a 45mm f1.7 stated to be 6 elements in 4 groups. It’s strictly aperture priority with no shutter speed indication beyond the slow speed or over exposure warning arrows. The shutter speed is determined electronically during the exposure rather than being predetermined. In practice this means that during longer exposures the camera reacts to changing light conditions, extending or shortening the exposure time.
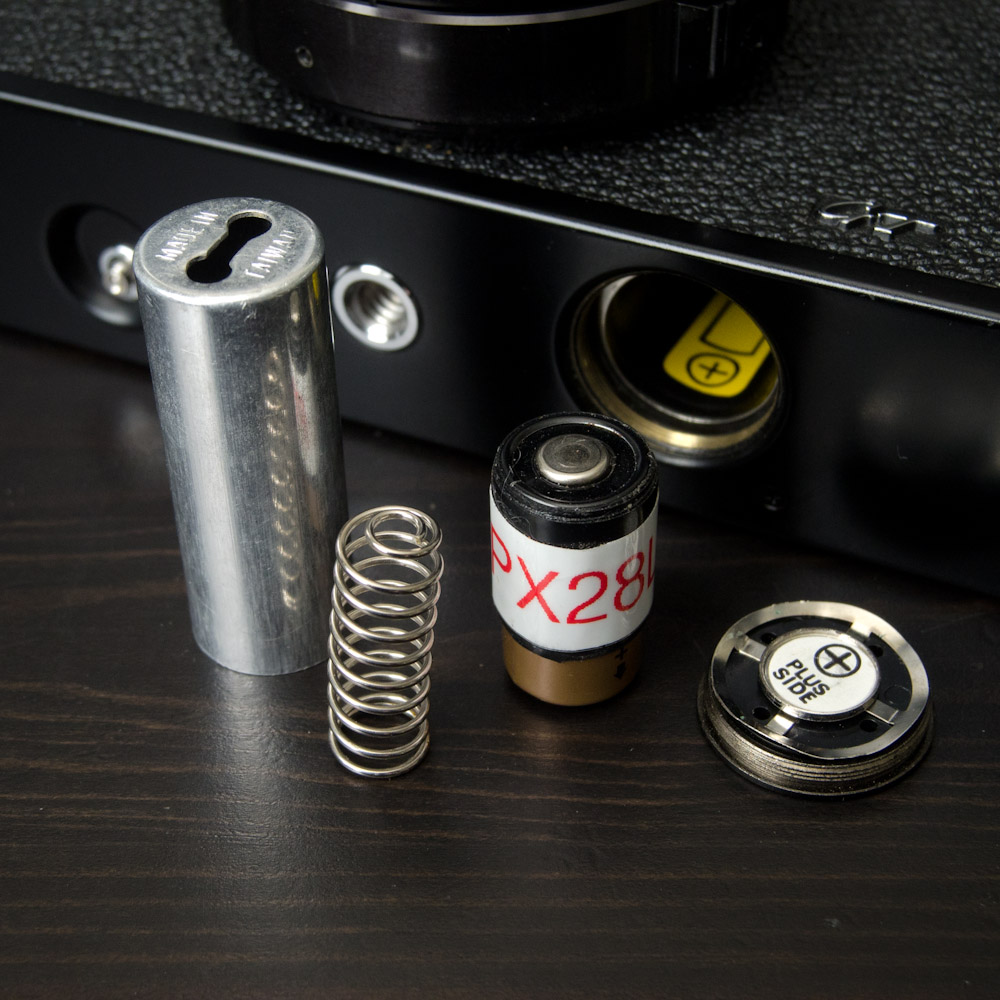
Originally when the camera was released in 1969 batteries containing mercury were prevalent with there characteristic of maintaining a constant voltage throughout there discharge life. Now mercury batteries are unavailable so an alternative is required. My solution was to use a 6V alkaline battery with a home made adapter of a similar size to the original TR164 battery. This difference in voltage is likely to cause some variability in the exposure but as I shoot colour negative film with a large latitude and the fact that I scan all my film rather than printing optically I don’t really see it.
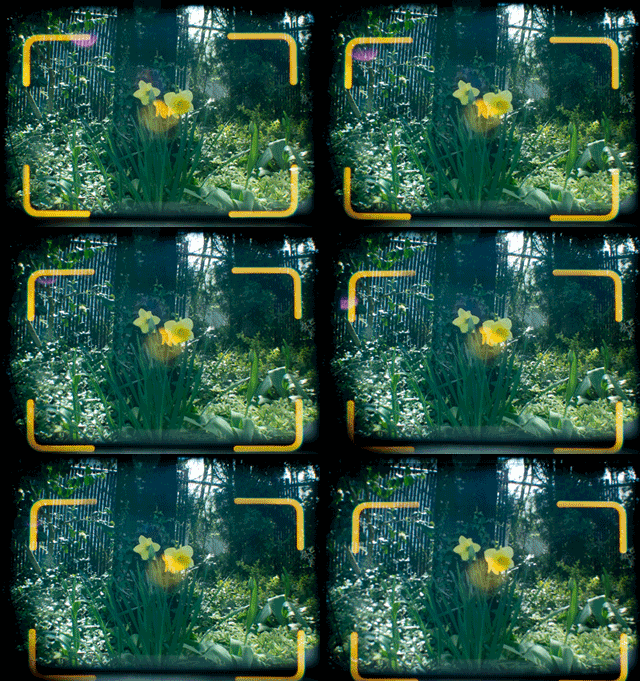
Being a rangefinder the camera has a small diamond shaped focus patch. A rangefinder works by linking the focus of the lens to the position of the patch relative to the main viewfinder, so as you change the focus of the lens the rangefinder patch moves horizontally. When the item in the main viewfinder and the patch are horizontally aligned the lens is focused to that distance. This works well with views that have vertical elements but can be difficult with small repeating patterns or horizontal lines. A field of flowers can be a difficult thing to focus within because of all the similar elements. Here is an animated view through my Yashica Electro 35 GT however because you are able to actually place your eye closer there is a lot more area around the frame lines that would be visible. You can also see the built in parallax correction as the frame-lines move down to compensate for closer focusing.
Shadows (Lightroom editing)
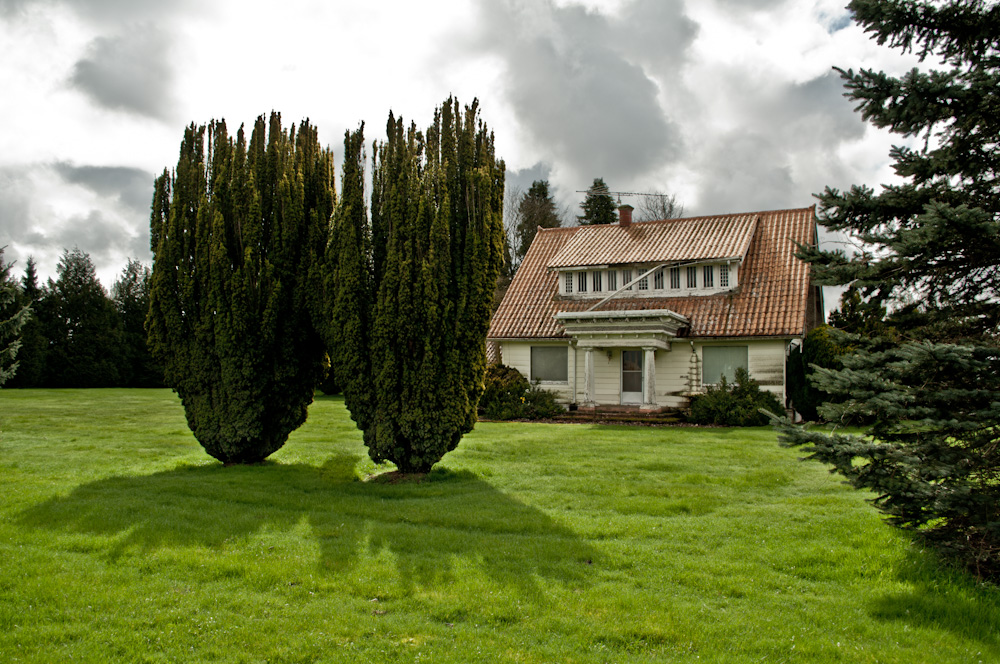
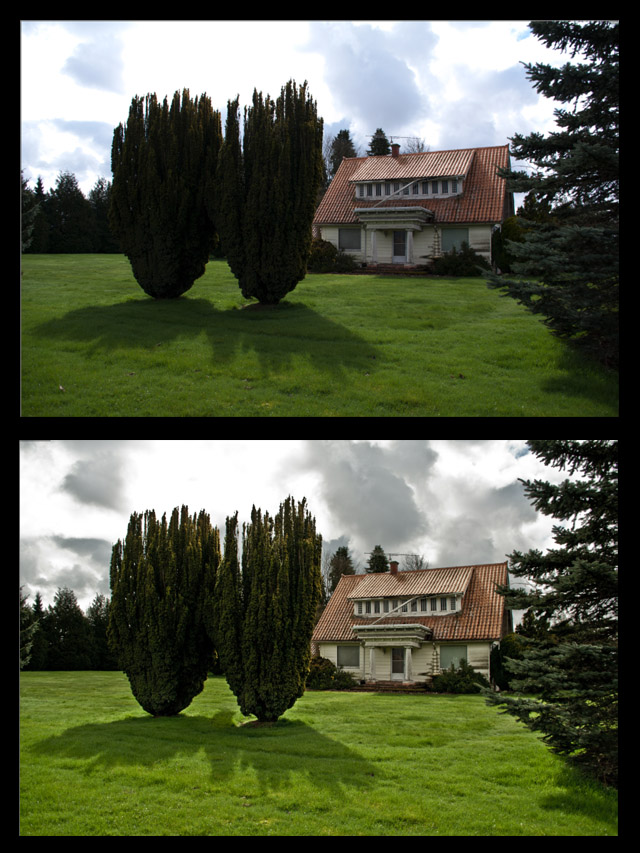
I wanted to see just how far I could edit an image in Lightroom and whether I could achieve the effect I wanted without the need to go into a more advanced editing program and this is the resulting image.
Whether what I did was good or not is not the point, the point is that by using local adjustments, the healing brush, graduated filters and overall image adjustments I was able to create the image I wanted without leaving Lightroom. There are definitely areas within the software that could stand improvement but I don’t think Adobe has much appetite for that as they won’t want to create a situation where people feel Lightroom is all they need and have them forgo buying the much more expensive Photoshop.
Here is the before and after, hopefully most of my edits will be unnoticed except for the most obvious one of course.
Exhibition at the Reach “Bearing Witness”
Even if you have nothing more than 10 minutes to spare, there is no reason not to pop in to the Reach Gallery Museum in Abbotsford and take in this exhibition. The exhibit is comprised of works from the permanent collection of the Vancouver Art Gallery and is a mix of works on paper and photographs. Specific to photographs and the reason that I think any photographer in the area with a moment to spare should stop by is the inclusion of works by historically important photographers, such as Robert Frank, Margaret Bourke-White, Robert Capa and others. It covers documentary to conceptual photography but for me the one image that I’m drawn to most is the monumental Edward Burtynsky Three Gorges Dam Project, Wan Zhou #6, Yangtze River, China 2002 . It depicts life literally on the edge as the people recover the building materials around them. There is just so much going on in that image. You know it’s real despite it’s depiction of a separate existence so different from our own sense of how life is lived.
While it is a small exhibition it does provide an opportunity to look at images from some photographic masters, The exhibit runs until June 10, 2012 and is free as always at the Reach.
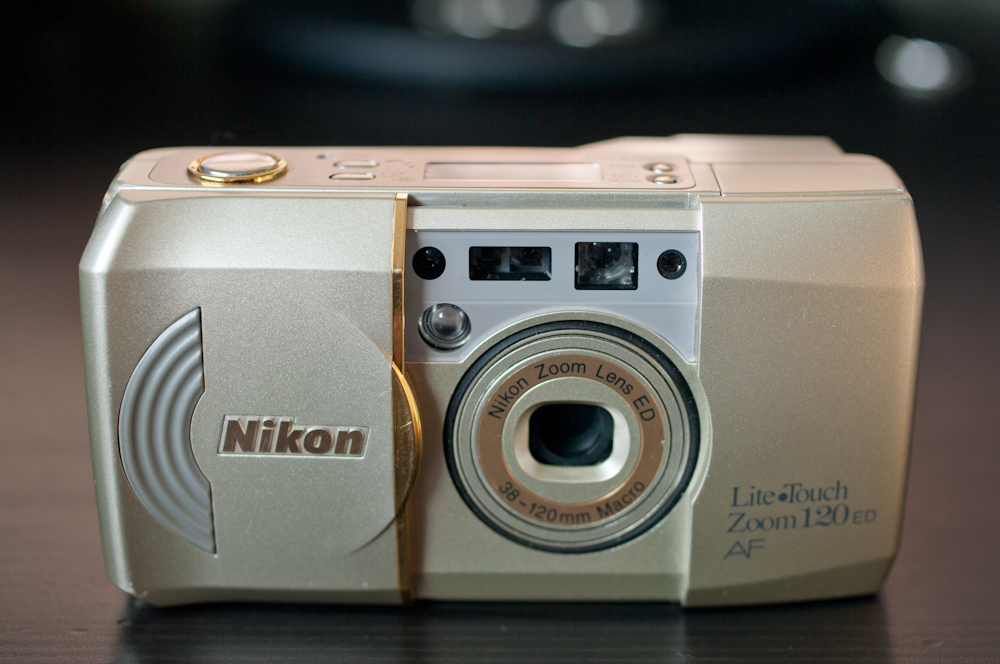
Nikon Lite-Touch Zoom120ED
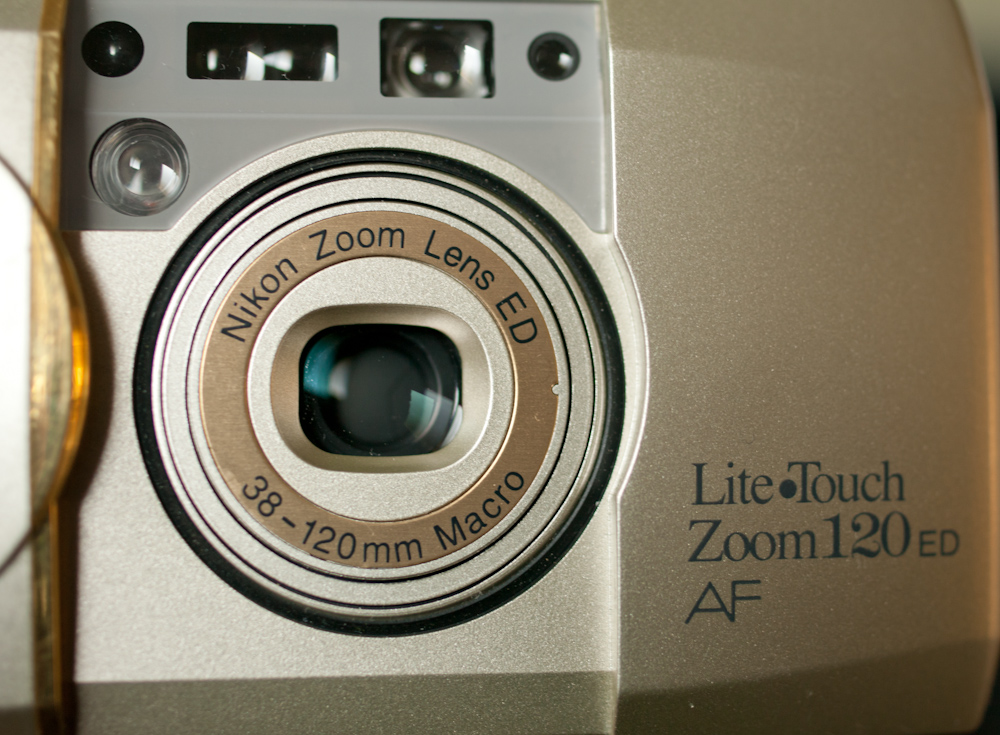
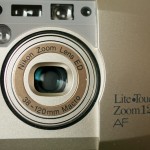
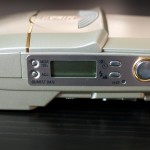
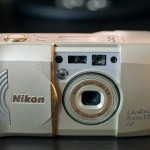
Great naming Nikon very descriptive you should have thrown in AS for the apherical elements though that would have really capped it off and then you could have saved on paper by not even writing the specifications. Except I have no idea what Lite Touch means in this context, and I’m frankly afraid to Google it. You can also tell this is a good camera by the gold coloured trim (sarcasm).
So the lens as described has ED, (no not difficulty extending) extra low dispersion glass elements and also aspherical molded glass elements, but what this really means beyond the marketing is that the lens will tend to have better correction for distortions. And I think the results bear this out, I was quite pleased with the quality of the images from this camera and its several useful controls, I particularly like the infinity focus setting. Of course the lens may provide decent image quality but some of that may also be the conservative nature of it’s range. 38-120mm is neither that wide nor that long and the maximum aperatures of 5.3 to 10.5 aren’t just not fast but are slow (yes I know I could have written that clearer but Nikon could have made the lens faster and then I wouldn’t have had too).
Three later models took the zoom out to 130,140 and 150 mm before Nikon stopped developing new point and shoot 35mm film cameras around 2002.
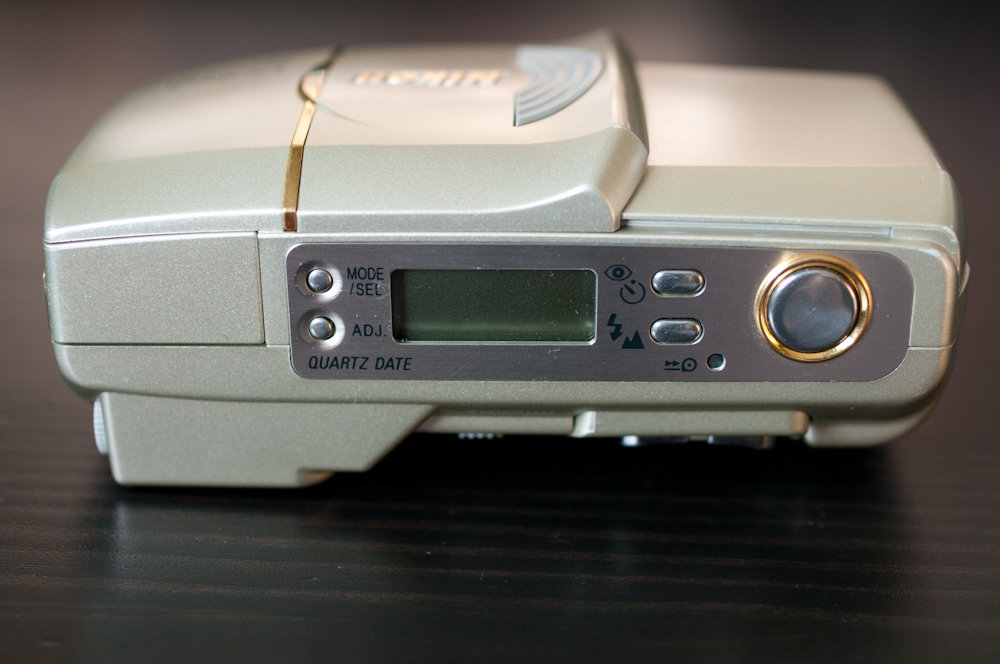
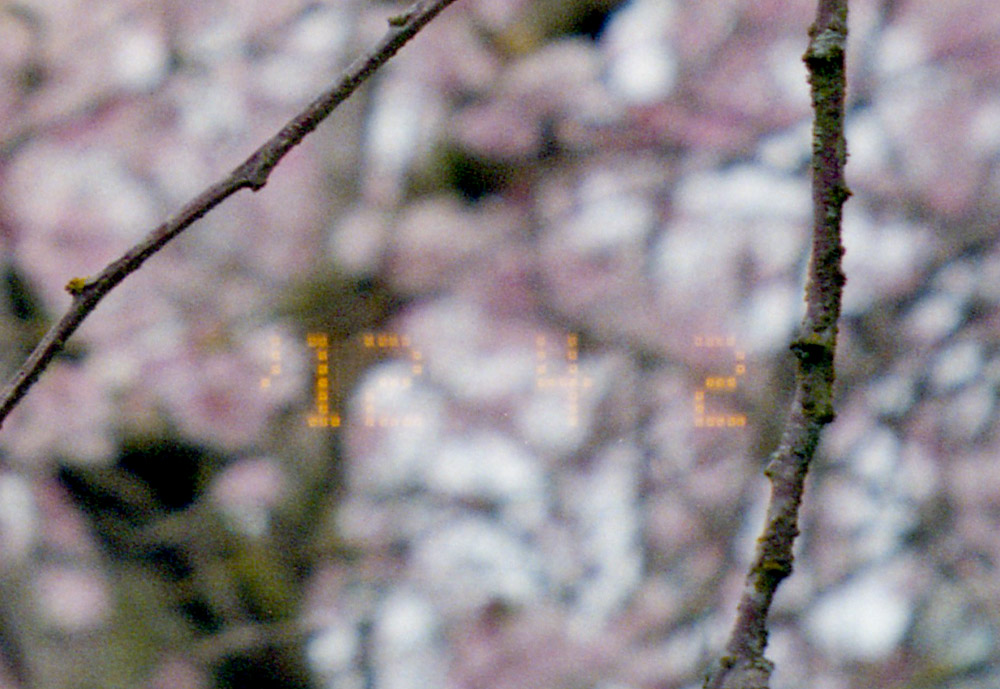
One final point, don’t you miss the ability to irrevocably imprint the date on your images, I know I do. This is the true embedded data forget EXIF.
#Polaroid
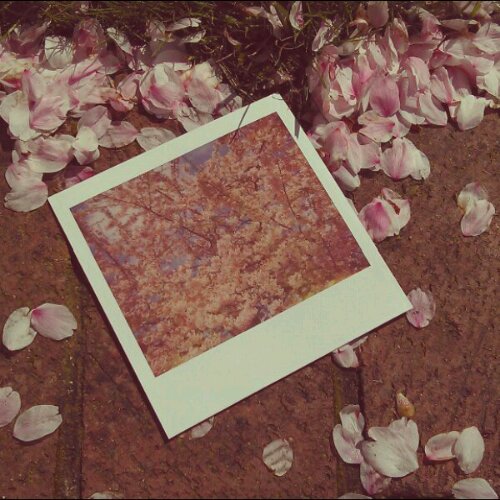
I like the idea of being able to post to my blog from where ever I am. I already upload images to Mytubo, Instagram and the “Facebook” so why not my blog. It works to a degree, from Instagram rather than posting the image it posts a link back to Instagram, not all that surprising really. From my Android phone itself I can blog with the WordPress app including editing existing posts as I did here adding the image to the post from Instagram. http://instagr.am/p/JYBngIPUnN/
Layout is a problem though as the images no matter how I handle them seem to overlap the menus on the right, still more work there.
Olympus OM-1 metering
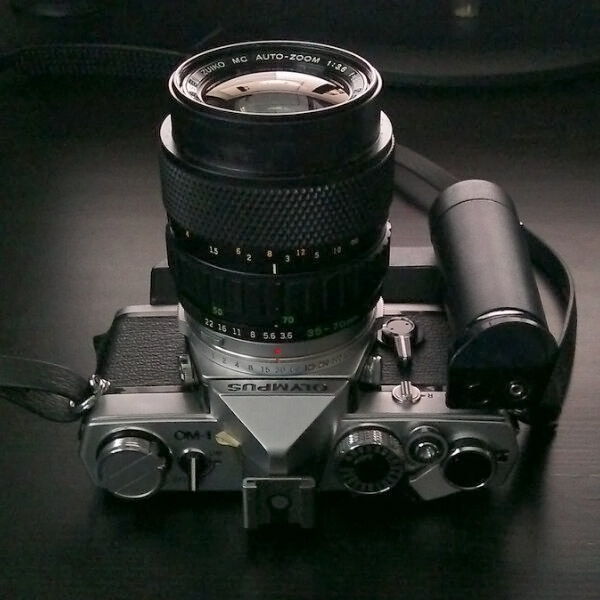
There is plenty of good information about the Olympus OM-1 and the other cameras in this series on the Internet so I don’t feel that I need to cover that ground. I will however take a moment to discus the metering and how it is measured and presented to the user.
The OM-1 has TTL metering (Through the lens) that is provided by two Cds cells placed internally around the eyepiece. A certain portion of the light passing through the viewfinder prism falls on these cells causing their internal resistance to drop. This effects the circuit causing the meter needle to move. Other parts of this circuit are the ASA dial, on off switch and of course the shutter speed and aperture linkage. All these variables contribute to the position of the meter needle. This meter requires batteries to operate but the camera it self is entirely mechanical allowing you to shoot without the meter.
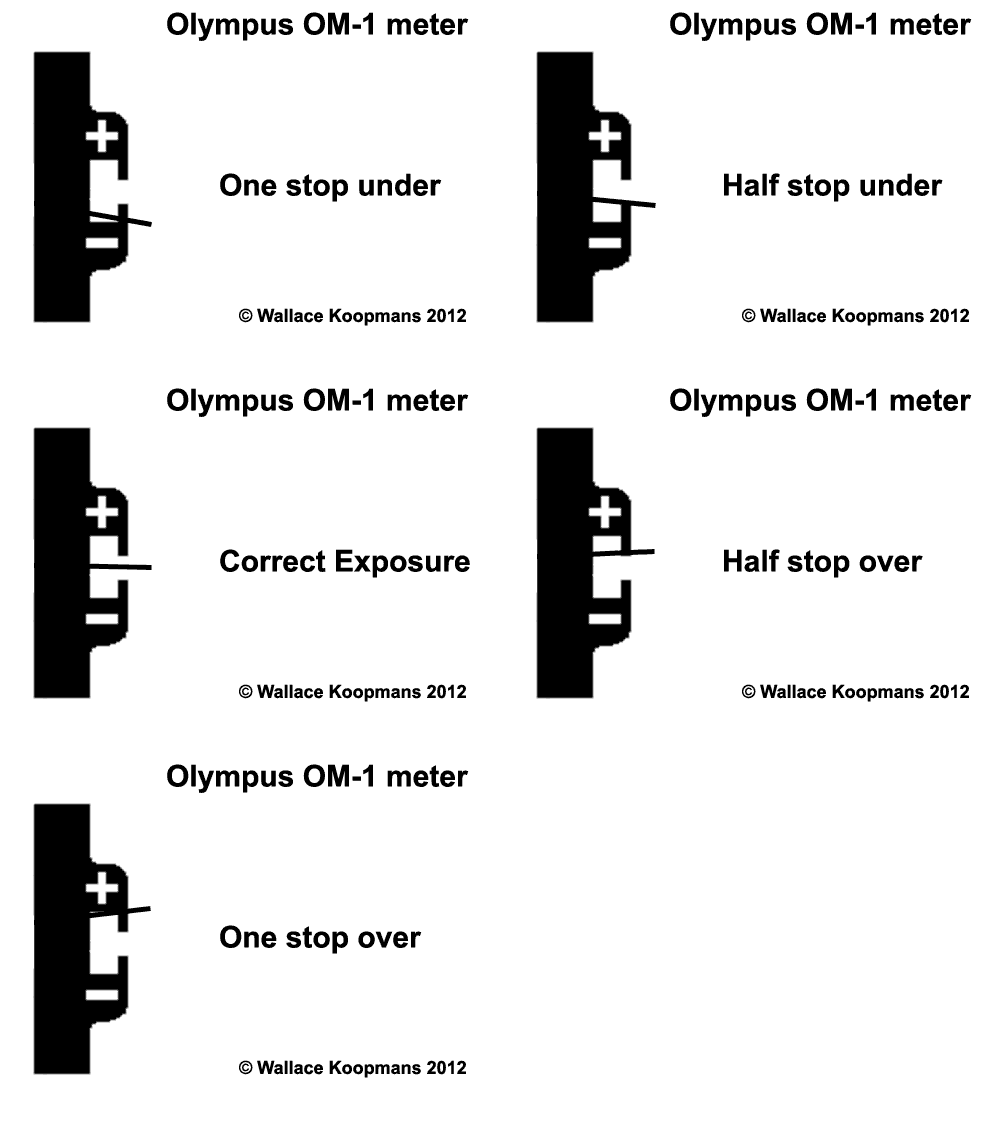
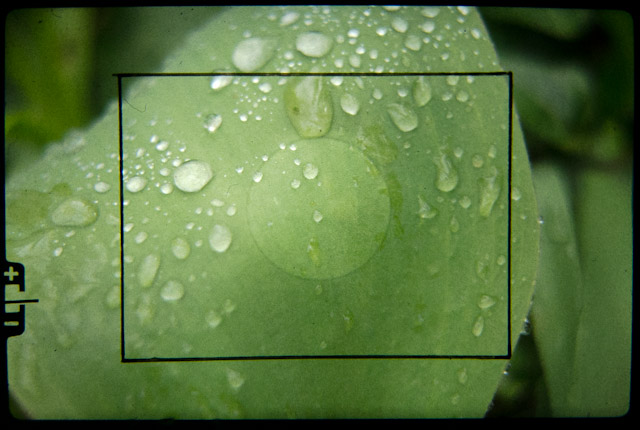
The meter itself is located on the left hand side of the viewfinder and gives an indication of proper exposure for an average scene. As you make changes to the aperture and shutter the needle moves correspondingly. As the lens remains at it’s maximum aperature prior to actually taking a picture these changes are transferred from the lens to the camera via a mechanical linkage. In addition to centering the needle you can determine +-1 EV of adjustment in half stops by comparing the needle to the markings in the viewfinder. I’ve created this animation to show these.
My camera has an interesting focus screen that does not have the standard central focus micro-prisms or split image but is essentially a matte screen with a finer circular matte at the center and frame lines that are well within the image. I believe this was the all matte type that someone has customized with frame lines for either astrophotography or as Ted Samzadeh of Omnilargess has suggested for medical imaging. In any case the fine matte screen provides an exceptionally clear and unobstructed view.
Here are some of my ubiquitous sample images from my OM-1 taken with the Zuiko 35-70 F3.6 or the 28mm F 3.5 Zuiko as these are the only two lenses I currently own. Duncan Turner of DLT Photographic has now lent me a Vivitar 55mm macro in OM mount so that should be an interesting lens to try out with this camera.
My Gursky moment
When you take a photograph, unless you arrive blind folded and close your eyes, you can’t help but be influenced by what you’ve seen before. That is the nature of photography, we try to recreate what we like whether it’s preserving an instant for the future or duplicating the now. I can say this because I do it too.
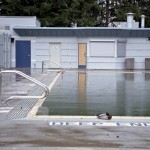
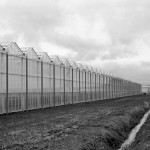
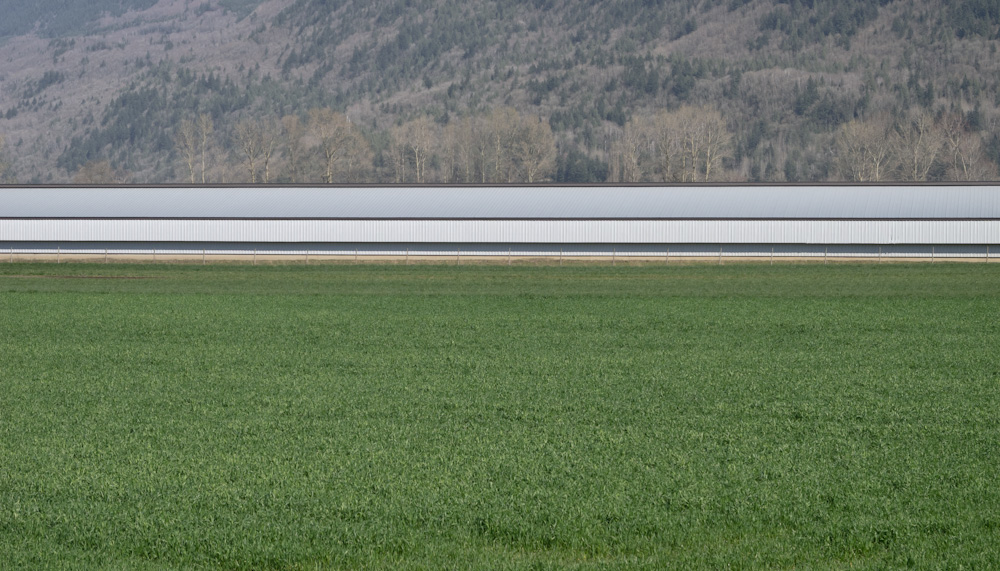
Case in point this image, I took this picture while out on a bike ride with my daughter. The moment I saw this long building I knew the way it ran horizontally would mimic the look of the Rhine river in Andreas Gursky’s “Rhine II“ Do I wish that I could say I just saw this building and took an interesting picture, yes, but to deny that in a sense this is an attempt to capture my own piece of someone else’s vision would be wrong.
So in a world so full of imagery how do you create a personal style and is that absolutely necessary. Is there anything wrong with being a “collector” of images or refining a type of image? I don’t think so if it serves the purpose of the photographer. Knowing that you’ve created something good and then wanting to share it is rewarding. An image like “Rhine II” isn’t valued at millions of dollars because it is such a good photograph but because of everything else surrounding the world of contemporary art.
So take another picture of blossoms or a bird or whatever interests you and enjoy the doing, and the knowledge that it’s yours.
