Oahu images Part 2 “Architecture”
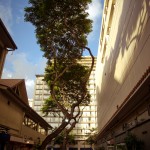
More images from Oahu, this time with buildings as the focus.
Polaroid a week (22)
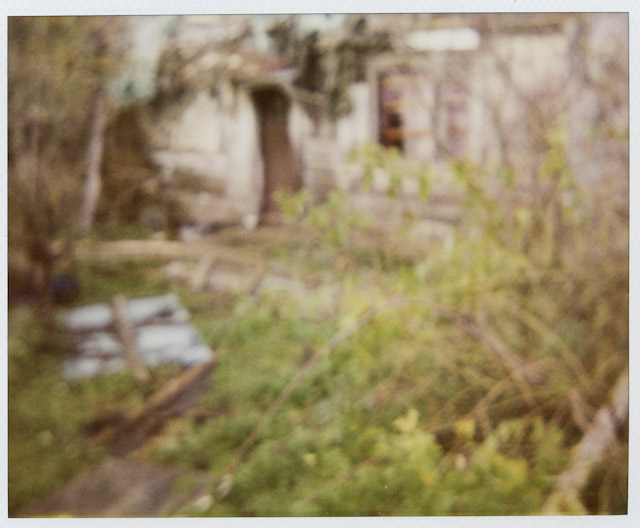
Well Polaroid a week has slipped to something closer to Polaroid a month but as long as I still have some left I will press on. The scarcity of original Polaroids compels me to post the images no matter how they turn out. So here is my latest one with it’s mysterious defocusness (it’s my blog I can make up words if I want).
And this is what I saw with my Cell phone.
Oahu Images Part 1 “Water”
Among my many trip pictures are some less personal ones that I thought were worth sharing. These images all have the ocean in common.
Balconies
On a recent holiday I was struck by the number of balconies at the various hotels and the repeating patterns that they made. While I didn’t devote much time to photography these were easy and all around.
It’s OK to Use Program Mode with a DSLR
I’ve always assumed that other people used the Program mode on their cameras as I have but recently I’ve come to realize that there is some derision associated with using Program mode. An amusing anecdote relayed to me was how someone misunderstood the P to be for Professional and they couldn’t figure out why they didn’t get better results with it.
Some people may tell you that you need to shoot in aperture priority or shutter priority or even manual mode if you are a serious photographer but I disagree. If you are using a modern DSLR from almost any manufacturer you are using the most sophisticated metering systems that have ever existed. I’m not advocating slavishly setting the camera to Program or some Auto mode and letting it do all the thinking but there is no reason not to take advantage of Program mode.
My first SLR I bought for myself was the Minolta X700 which was also my first introduction to Program mode. At the time it seemed wrong to turn over so much to the camera and I tended to use the camera in Aperture priority instead and only used the exposure compensation when I felt a scene needed it. Now though I use Pentax DSLR’s and use them almost exclusively in Program mode. I have the camera set to use what is called the MTF program line, what this means is that the camera attempts to select the apertures that give the best resolution results for the lens that is mounted on the camera. I consider this the starting point, pointing the lens at a subject and metering, the camera will give you feedback about what aperture and shutter would give an average exposure. Changing either shutter or aperture at this point results in a corresponding change in the other in order to keep the exposure the same. If you think that there needs to be an adjustment to the exposure then a change to the exposure compensation will move the camera settings to create an exposure that differs from the program line by the amount you select. After taking a picture or when evaluating a scene for exposure you can then review the image and look at it’s histogram to see if your happy with what is essentially the data that you just captured.
So what does this all really mean? Well I see it as working together with the camera as apposed to believing that I always know what is best. You should always be aware of what shutter speed, aperture and ISO are set at but there is no reason for general photography to not allow the camera to get things started. Of course there will always be exceptions like when controlling depth of field or the shutter speed is of primary importance but even these can be done within Program mode. With practice in what ever mode you choose will come the confidence to make changes and the freedom to create art without dwelling on the technical. This should be the ultimate goal, to attain a level of proficiency so that the act of photography doesn’t intrude into the image making. If Program mode (I’m not referring to any sort of Auto mode) allows you to create good images then that is OK, after all it’s all about the results, no one looks at a print and says “I think they had the camera on Program”.
P.S. It’s a good thing WordPress has a spell checker I need that more than I need a light meter.
Minolta Vectis S-1
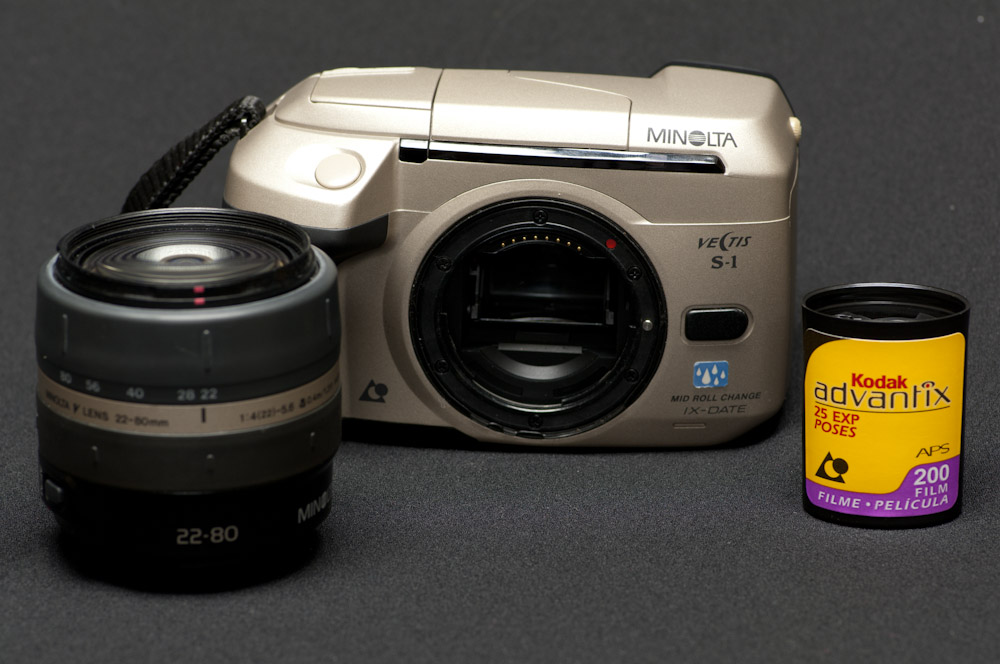
What can one really say about a camera that was a dead end and used a dead end film. Why even bother with this blip in the history of photographic equipment? What possible relevance could this have to today? Nope I can’t come up with a reason either but if I don’t who else is. The Minolta Vectis S-1 is an SLR with interchangeable lenses that used APS film. APS film was, yes I’m using past tense despite the fact that you can still buy it at this time, a smaller film than the more common 35mm. APS film became available in 1996 but never stood a chance as we stood on the verge of the digital photography revolution that would eventually take over from most film formats. It’s main claim was convenience and not quality as it had a film area that was only about 55% of a 35mm negative. That smaller size does live on in the form of most consumer DSLR’s and is referred to as APS-C which was also one of the aspect ratio’s available with the film.
What the Minolta Vectis S-1 offered was a small SLR with all the controls you would expect plus weather sealing. Despite it’s dead end status it does appear that some early DSLRs, such as the Olympus E-300, took design elements from it only a few years later.
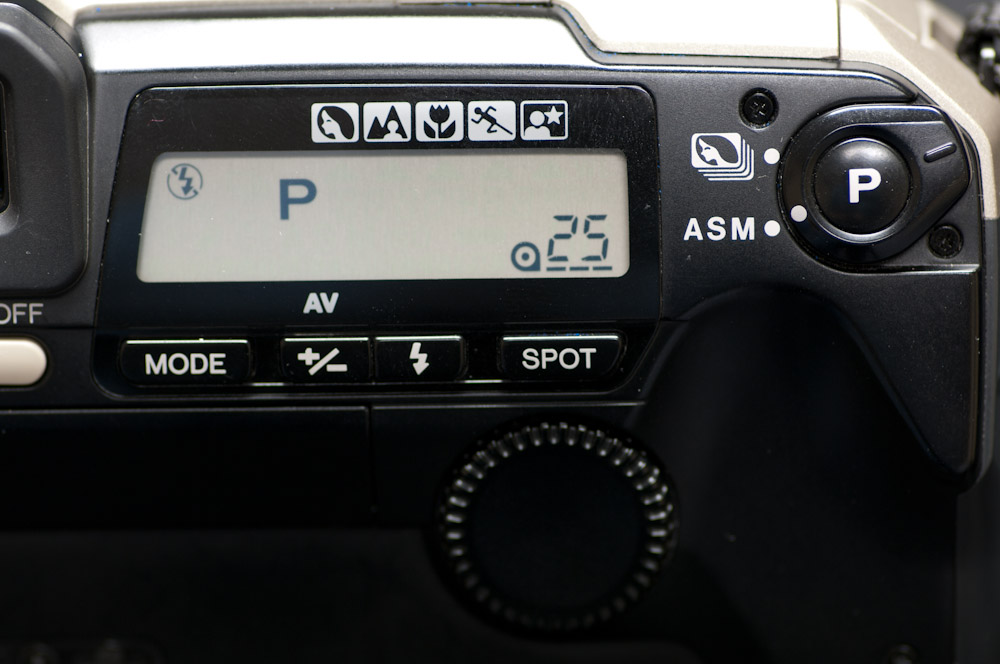
You can see from this shot of the rear controls that the camera afforded such things as aperture and shutter priority as well as exposure compensation. The ergonomics are very good on this camera and it’s size allows for easy carrying something I value today with smaller digital cameras as apposed to some current DSLR’s that seem to equate physical size to capability. All this is irrelevant of course because it’s not really a camera you would want to use when so much better image quality is available so much cheaper through digital cameras.
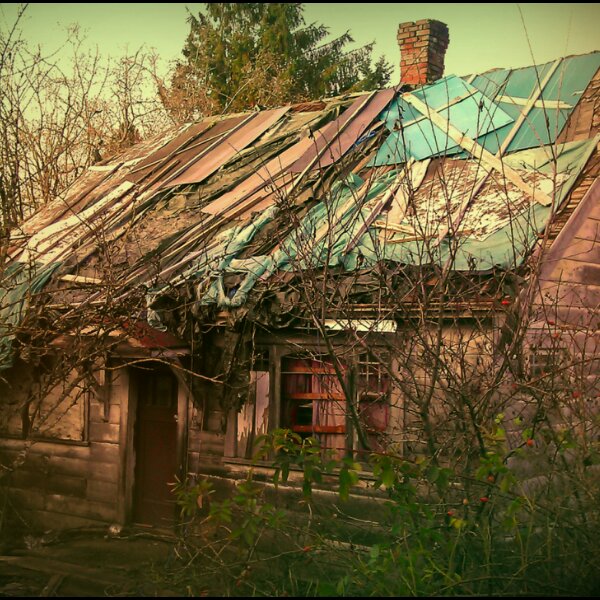
All that said here are some images I shot using the Minolta Vectis S-1.
A quick note on dust and scanning film.
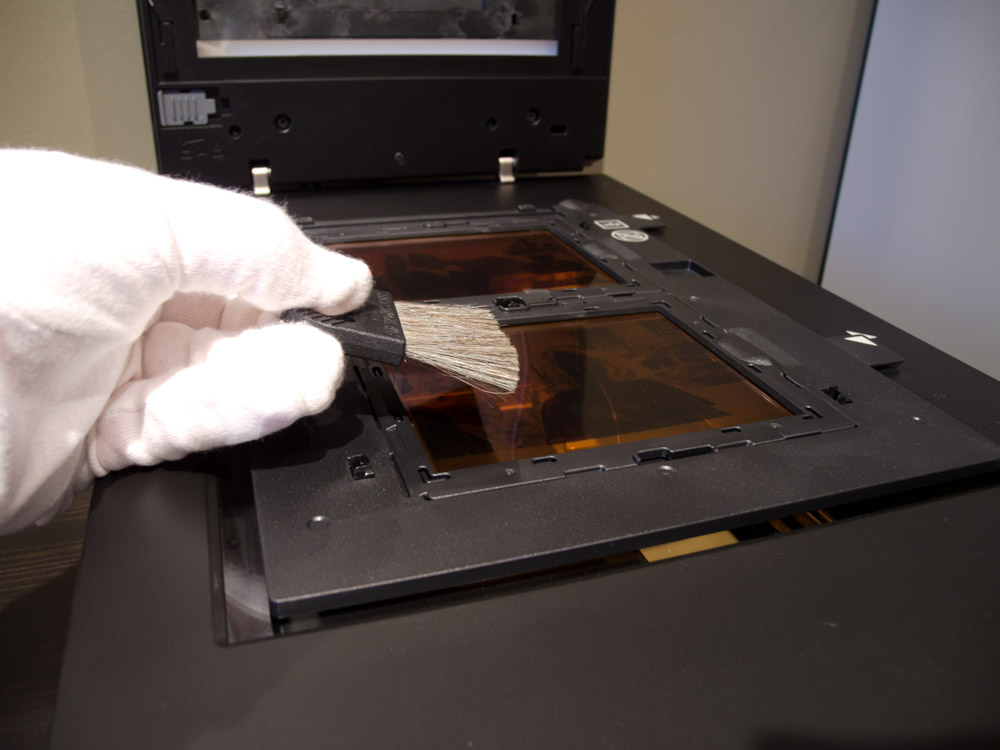
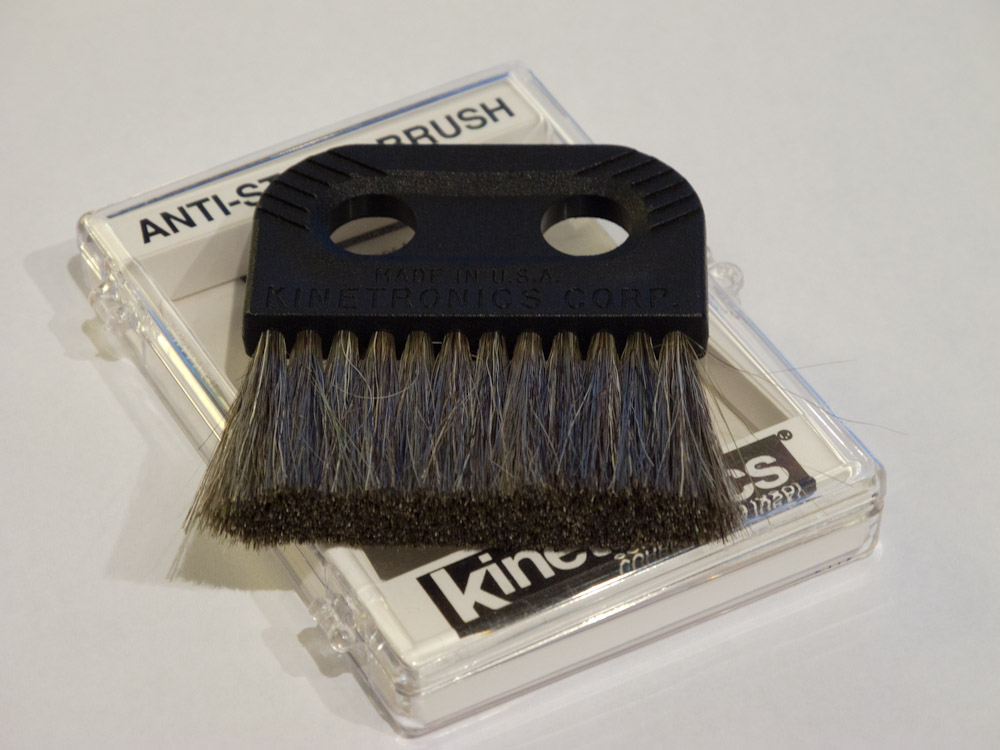
Only computer monitors appear to be more of an attractant to dust than film. If there is any static charge on the film dust will stick to it like glue. So I recommend Acme brand (If Acme exists I don’t think they actually make Anti-static brushes but you can Google it if you want). In any case I use an anti-static brush which dramatically improves the effectiveness of any air blower. I also have another one that I use for removing dust from the front element of lenses, this is often enough as the less contact you have with a lens element the better in my opinion. Another thing that I use to reduce the dust in the area where my scanner is, is an electrostatic air cleaner which uses the static charges it develops to pick dust out of the air as it passes through. It’s not easy keeping dust out of your scans but it’s effort that you don’t have to spend later in post processing.
If the best camera is the one with you what if you have two?
Part of the fun of photography for me is playing around with different cameras so I often have more than one with me. A side benefit of this is that I regularly have similar images from two different devices to compare. Sometimes the difference can be striking and you think maybe I’ll just make this one disappear other times it leaves me with the quandary “Just what is good enough?” If an image will never be printed and it contains all that you want to convey then is say, a cell phone camera good enough? I think the answer is yes but how do you know that at the time?
What if you come across something that you want to print and you are restricted by the camera. Let me be clear, cell phone cameras have some serious limitations at this time. One they don’t have an optical zoom or any way of altering the focal length other than expanding the image digitally which looks like crap to put it mildly. Another is they have limited dynamic range, you are just not going to get any detail in shadow areas without over exposing the highlights. Also a major frustration for me is the shutter lag, or the time from when I actually tell my camera to take a picture and it does. It’s horrible with my HTC Evo 3D I’ve had to develop a one second anticipation plan. See the motion, feel the motion be the motion press the shutter, crap I missed it.
I see it this way, cell phone cameras are ideal for social media and online sharing. They do not replace a dedicated camera for all things but compliment them. Why not when you see something really cool take a picture with a “camera” and then share your experience with a cell phone. Maybe I’m taking this too seriously but I know I won’t feel that way when I really want to take a picture and I have the right tool to do it.
Here is where for me good is good enough. One is shot with my Nikon P7000 and one is with my HTC Evo 3D, not necessarily in that order.
Fuji EXR
Previously I borrowed a Fuji F200EXR from Duncan Turner of DLT photographic , the point of which was for me to evaluate the technology that Fuji refers to as EXR. What this technology essentially does is capture two separate exposures at the sensor level at the same time by using half the total photo sights for each exposure. The trade off of this is a reduced resolution, to half of the total. The benefit is a greater dynamic range. In the case of the F200EXR the resolution drops from 12mpixels to 6 Mpixels when used in EXR dynamic range mode.
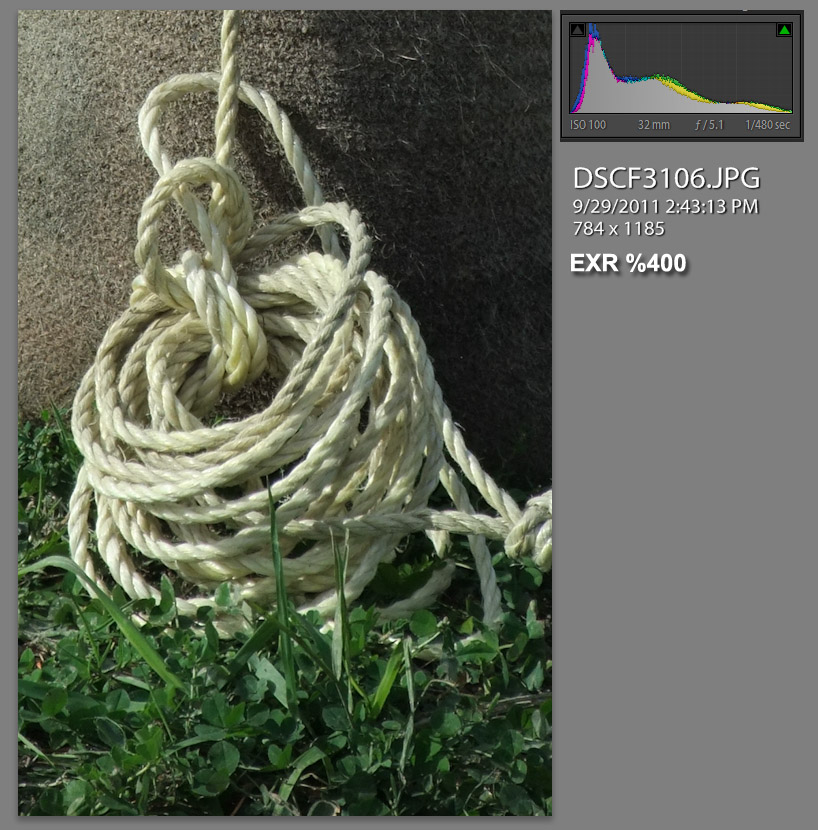
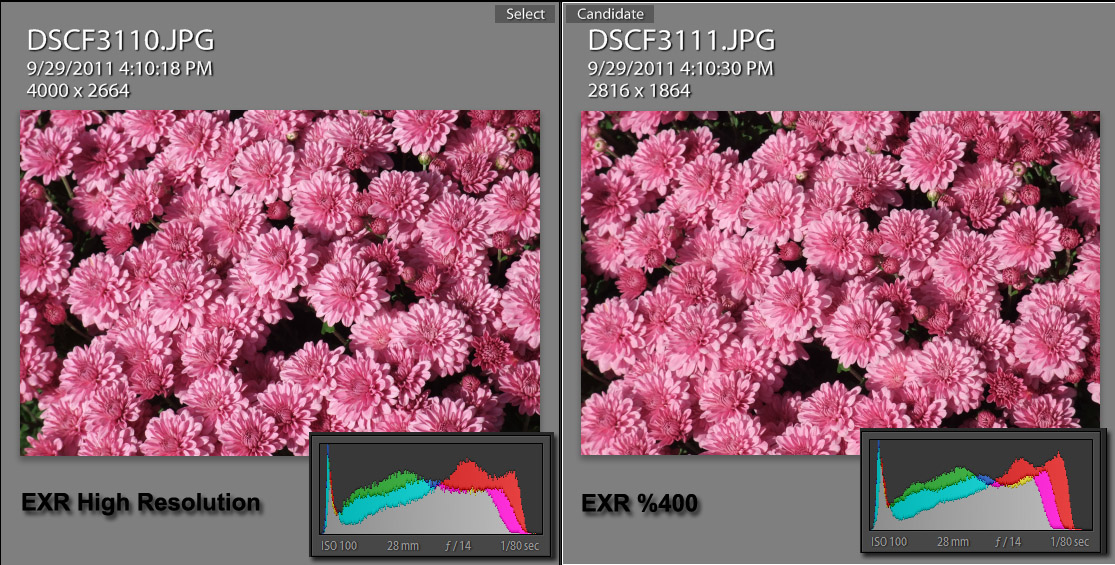
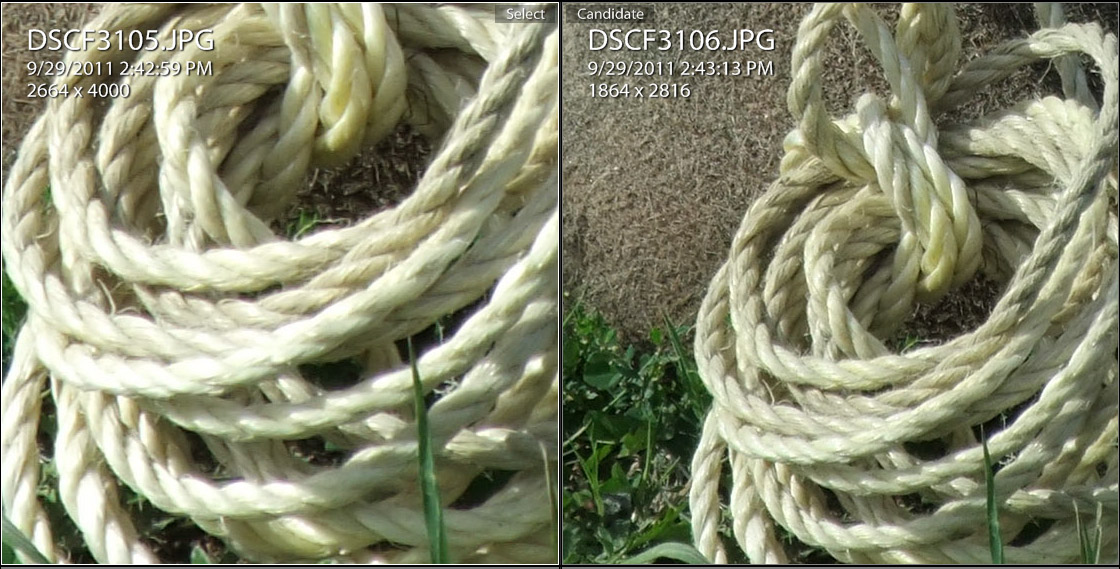
This isn’t a lab or a studio test of EXR for this camera but as close to a practical real world usage as I could make it. What I found was that the difference was subtle and it was really only necessary to go into EXR mode under harsh lighting, such as a shaded forest with bright sky in the back ground. In EXR %400 mode a similar exposure allowed for some retention of highlight detail where in full resolution mode some highlights were clipped. As there is no RAW shooting mode for this camera all images where jpegs. And here is the thing, I don’t think that the EXR results would be superior to a similar camera that allowed RAW shooting. With a slight under exposure bias to preserve highlights followed by some image adjustments during RAW conversion I think that all the stated benefits of EXR could be duplicated. In fact even the high resolution jpegs from the the F200EXR can be adjusted to produce similar results with the right exposure (again a slight under exposure to preserve highlights)
There are subtle differences between the two modes but is it enough to justify the drop in megapixels? I will answer that “No”. Both modes produce good results with the trade offs mentioned. So what do I think this means in relation to the new Fuji X10 that is being released and soon to be available? I think that the camera will need to stand on it’s other merits such as it’s fast F2.0 lens and it’s optical viewfinder because if you need to look this hard to see a real difference, your time could be better spent taking pictures. I hope I’m prove wrong when the X10 arrives as an advancement in camera technology is worth a bruise to my ego.
High Resolution mode, notice the clipped highlights on the histogram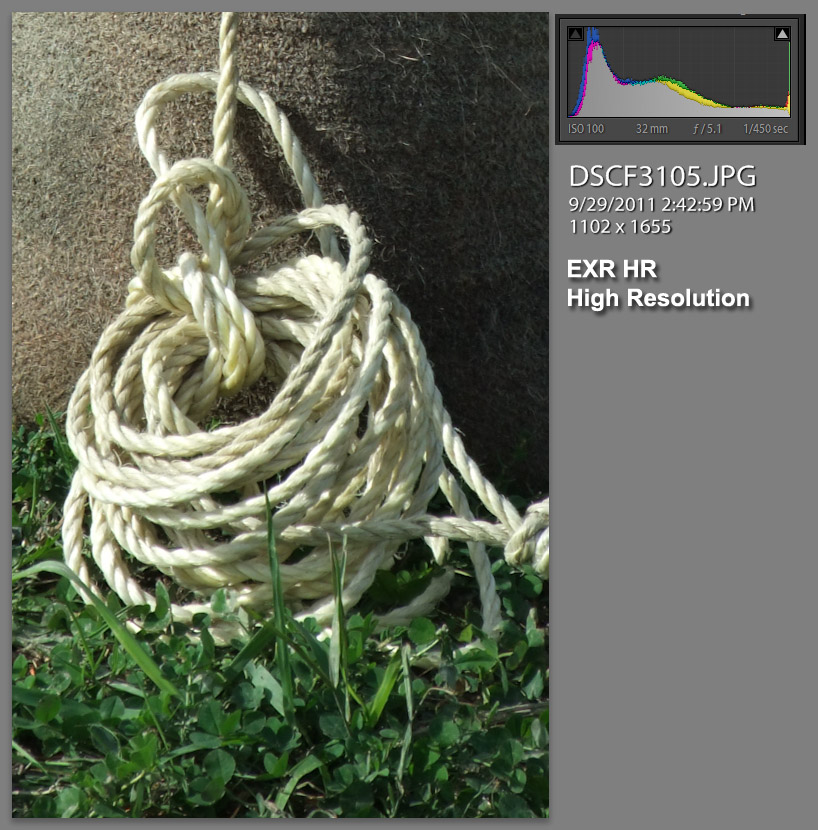
Zoomed in High Resolution on the left EXR on the right
