May
25
2019
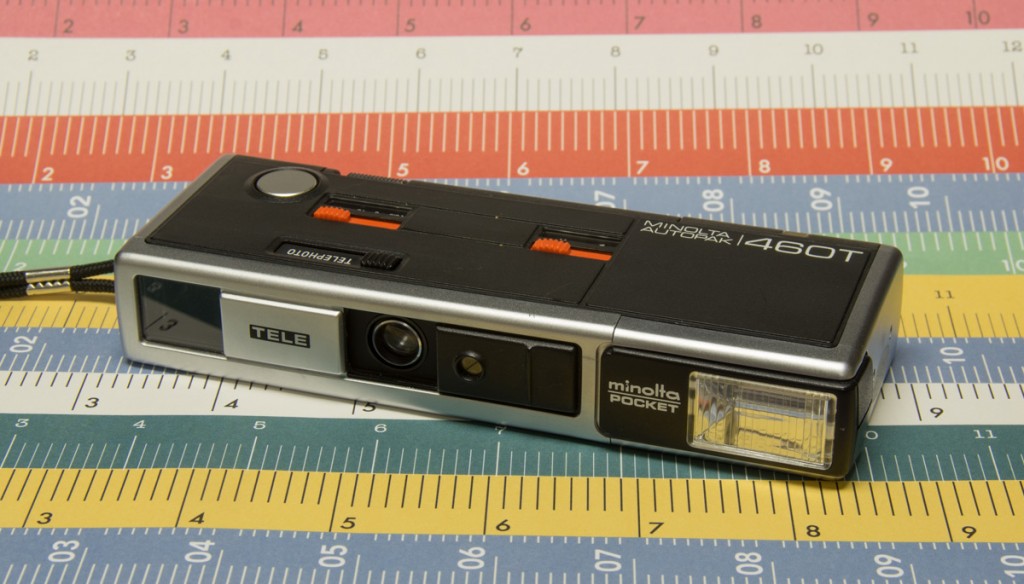
Most 110 film cameras are notable for their lack of notability but the Minolta Autopak 460T is an exception particularly due to its lens(s). It has a 26mm f3.5 and a 43mm f4.7 lens when set to telephoto. It does only have a fixed shutter speed of 1/200 second but the apertures can be stopped down to f8 for the normal lens and f13.2 when set to Tele as well as some value in-between which I’m not certain of but if your using 110film you cant be that choosy.
I’ve always struggled with scanning 110 film. I’ve tried holding it flat on my scanner with little success and I’ve tried using a modified slide duplicator but this time I just laid it out on a piece of frosted plexiglass and took pictures of it with a macro lens lighting it from behind with a flash. The results are much better although they need to be converted from a negative to positive and colour corrected something my primary image management software Lightroom is not well suited for. 
However here is a Lightroom preset you can use as a starting point if you choose to attempt something similar. Negative Conversion Template
Just place this file in the user presets folder for Lightroom and the next time you launch Lightroom it can be found under user presets.
no comments | posted in Cameras, Photography
May
19
2019

The Pentax 24EW remains a camera that seems to find its way into my bag when I travel. It’s not that it has a fantastic telephoto capability and its not because it’s small and light (195g), there is one reason and one reason only and that is that it has that 24mm wide angle. I really like 32mm wide angles and I like 28mm wide angles even more so it stands to reason that I would like 24mm the most. It has a 7 point passive autofocus system which works very well under almost every situation that you would use a camera like this however if necessary you can set it to spot focus or infinity for landscapes. The lens while going from 24 to 105mm has apertures of 4.9 to 12.5 and is constructed from 7 elements this is of course the compromise that you make in order to have a lens like this in your pocket. The first image in the gallery was under very low light and at 24mm which shows the most extreme example of vignetting you will get from this camera. I’ve posted numerous times about this camera before Pentax 24EW
no comments | posted in Cameras, Photography
May
4
2019
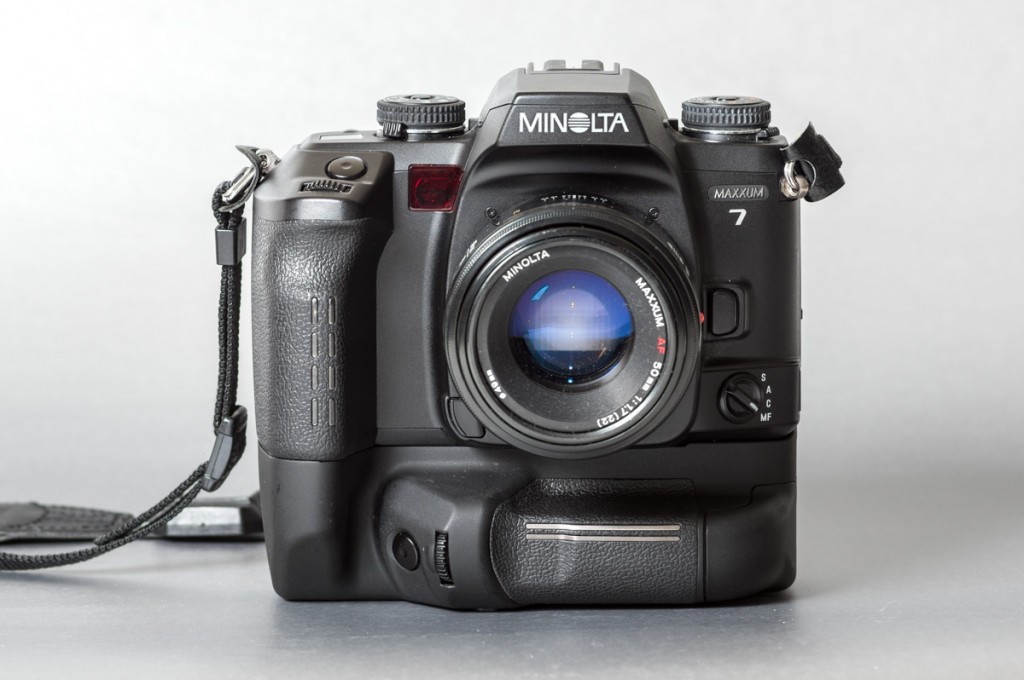
I had the opportunity to borrow a Minolta Maxxum 7 recently. What a fantastic camera. It’s now nearly a 20 years old model but many of the controls and features remain familiar today on high end interchangeable lens cameras. Things such as front and back control dials for aperture and shutter settings, an exposure compensation dial and even a flash compensation dial. The stand out feature though has to be the large LCD on the back that provides a myriad of information. It has enough area to display everything you need to know while your shooting. My favourite use of the LCD though has to be the ability to view what the 14 segment honeycomb metering system is measuring. This is performed by pressing the AE-lock button followed by the DISP button. Each segment is then displayed as one of three shades with addition information inside. If the segment is white it references positive EV above +1 and if its black it denotes -1 EV or lower in the middle is grey for values between those two. If the value in a segment exceeds +3 then it will just have a + sign and if it is below -3 it has a – sign. It really looks better and is more intuitive than I can describe so maybe a picture is better.
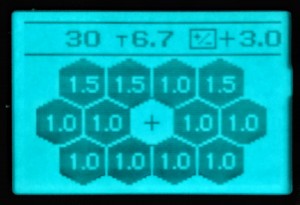
Now 14 segments may not constitute a full image but it is enough information to evaluate your exposure.
Another great use for that big LCD is for looking at the recorded shot data. Not just what you are currently up to but it retains the history of 11 parameters for up to 7 rolls of film. After I shot my two rolls of film I was able to go back and see what setting I had used for each shot. We take this for granted with digital cameras but its a fantastic feature for use with film. I rarely have the patience to record exposure details manually.
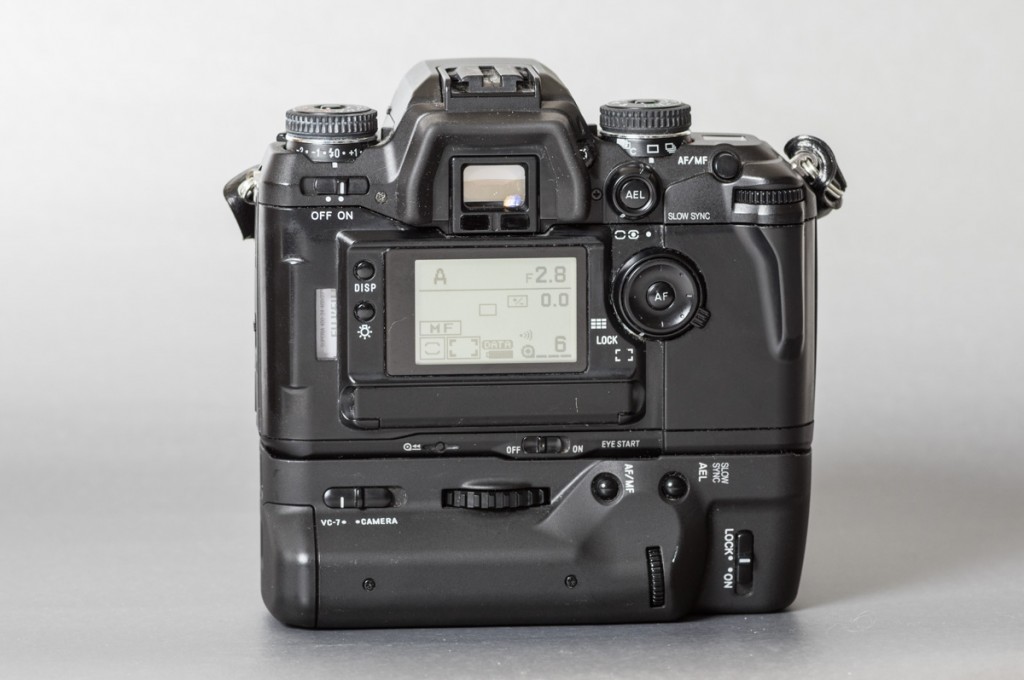
There are many more controls I won’t be going over, there is always a manual for that but a few interesting things are located when you flip down the cover below the LCD and press the custom button. This brings you into the menu for those features that are needed less frequently such as whether to leave the film leader out after the roll rewinds among other things. Its Custom function 25 though that is interesting and unique to this camera, it allows you to set the user preset 3 to one of two purposes. The first being a user present obviously but it can also be changed to STF mode. Despite this menu being in plain language I realize that STF may not be overly descriptive so I will give you a moment to guess what it stand for….times up it stands for Smooth Transition Focus. Okay great but what is that Wallace? you may be asking to which I will say that is worthy of its own blog post at a later date.
I have been using the camera with the battery grip and ergonomically speaking it feels great. Every control has a unique feel and placement such that you can operate the camera completely by feel in the dark with a little practice. Did I mention that the LCD on the back has a nice indigo backlight? I did now. In contrast though there is a tiny little LCD on the top plate that provides shutter and aperture information. This might be okay when working on a tripod in good light but its a little limited. I felt that I needed to say at least one negative thing about the camera, done.
The camera has a fantastic multiple exposure implementation. Unlike many other cameras all you need to do with the Maxxum 7 is set the drive mode to the red multiple exposure setting and that’s it. Each time you press the shutter it takes another exposure without advancing the film. Additionally it keeps a tally and displays how many exposures you’ve done up to 9. You can keep exposing after those 9 but the camera no longer will keep count. You can even turn the camera off and on during a multiple exposure sequence. Of course you don’t want to forget it in that mode or you will end up with some unintended results.
The shutter reaches a fast 1/8000 of a second and it can fire off up to 4 frames per second. I’ve covered some of the highlights of the Maxxum 7 but to sum it up its a feature rich camera with excellent controls that feels fantastic in the hand. I do prefer it with the VC-7 grip which has the added benefit of allow the use of AA batteries instead of expensive lithium ones in the main body. Having also borrowed a Nikon F5 which is a tank of a camera I can say that the Maxxum 7 has more features and is better laid out and easier to use. The F5 though feels like you can use it to hammer nails. I will finish off with some images and mention again that I will be doing a separate post about the Smooth Transition Focus feature. (If I have already posted it when you read this you will find the link here ————–)
no comments | posted in Cameras, Photography, Uncategorized


