FLM tripod and ball head
CP30-L4 II tripod and CB-38FTR ball head with QRP-50 Quick plate

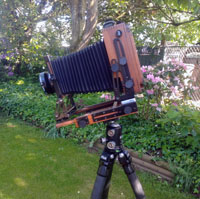
Having recently acquiring a 4×5 field camera it became necessary to up my tripod game. My requirements were that it was able to carry the weight of the camera and lens while itself remaining light. Additionally and the main purpose of a tripod it needed to be stable. After a lot of online researching I decided on an FLM CP30-L4 II set of tripod legs matched with a FLM CB-38FTR ball head from FLM Canada I will go into more detail but the overall impression is that they are incredibly well made items made from premium materials. Its amazing the features and engineering they packed into such a small light package.
The Legs
Starting off with the legs they are made up of four carbon fiber sections that reach a full height of 68.3 inches when fully extended. That’s good because to aid in stability there is no center column. With the ball head and camera on top I think most people would need a step to view the ground glass like that. Fortunately that isn’t necessary because with only two sections extended and the extra height of the ball head the bottom of the camera is at 54.5 inches which is a nearly perfect height for me when I lean forward towards the ground glass. The legs are released and locked with aluminum alloy twist locks that only require about a 90 degree twist.
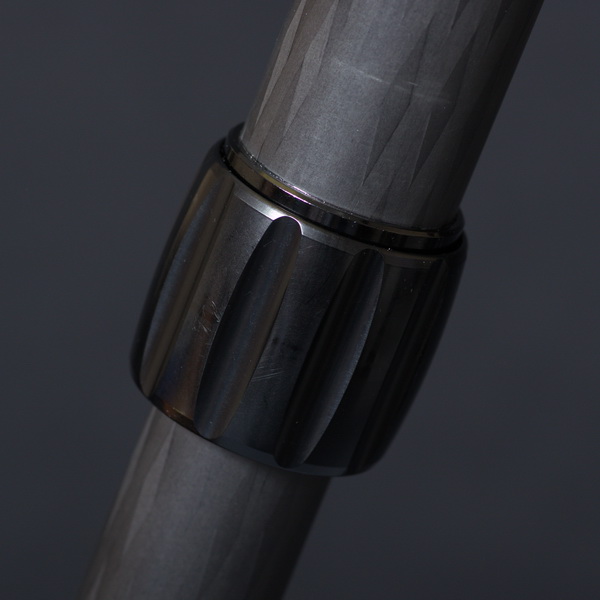
The action is quick and easy with a rock solid locking and internal O rings to keep out water and debris. The base plate is simple and light with an eye at the bottom to hang extra weight if needed. The leg attachments are machined from aluminum alloy and offer two locked angles with a stop that can be pulled out with a nice positive click.

Additionally the legs can be splayed almost horizontal to place the camera near to the ground.

My tripod also came with a set of spikes that can be swapped for the generously sized rubber feet. All this has a weight capacity of 20kg while only weighing 1.41kg
The Ball Head
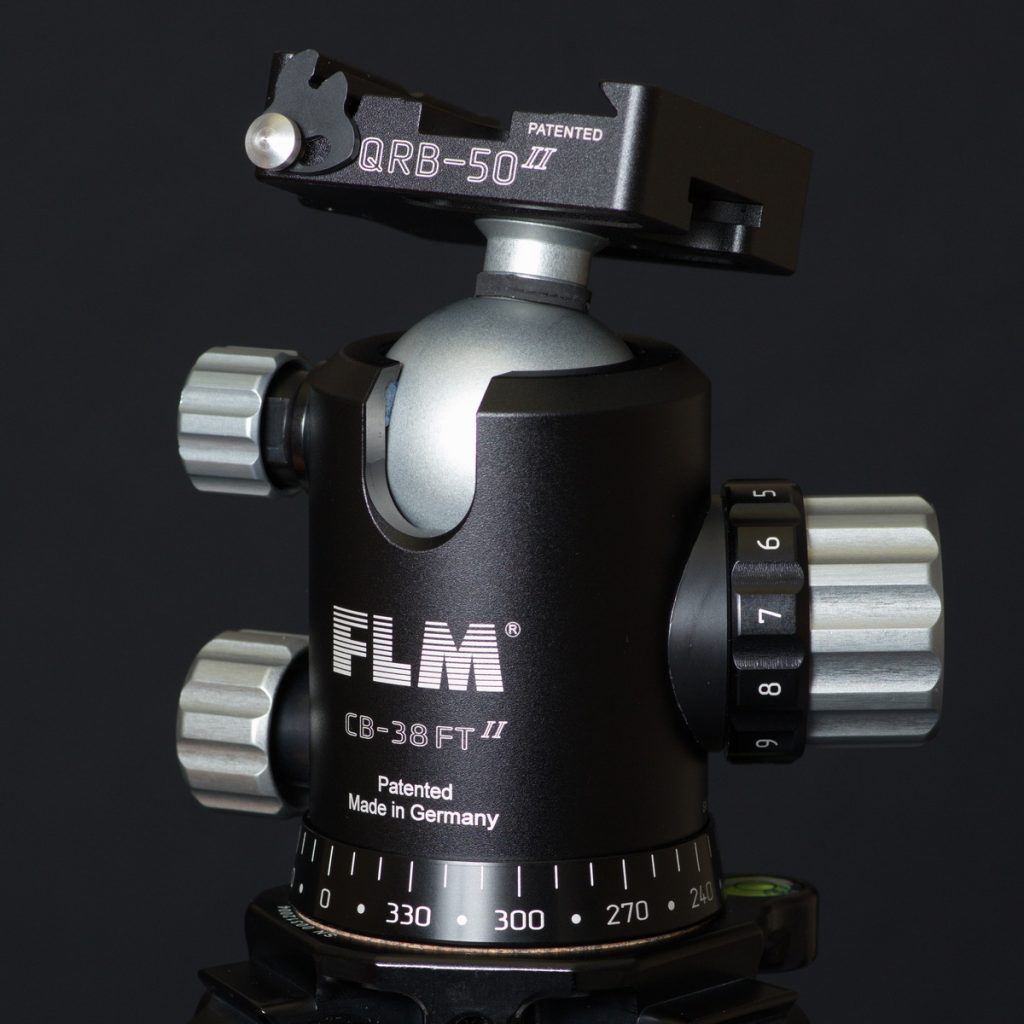
If there was a lot to say about a set of tripod legs then the ball head is going to require its own article. Like the legs the overall impression of the CB-38FTR is of a high quality item and this is true of it from top to bottom. Starting with the base it has numerical degree marking every 30 degrees with a dot in-between for each 15 degree location.
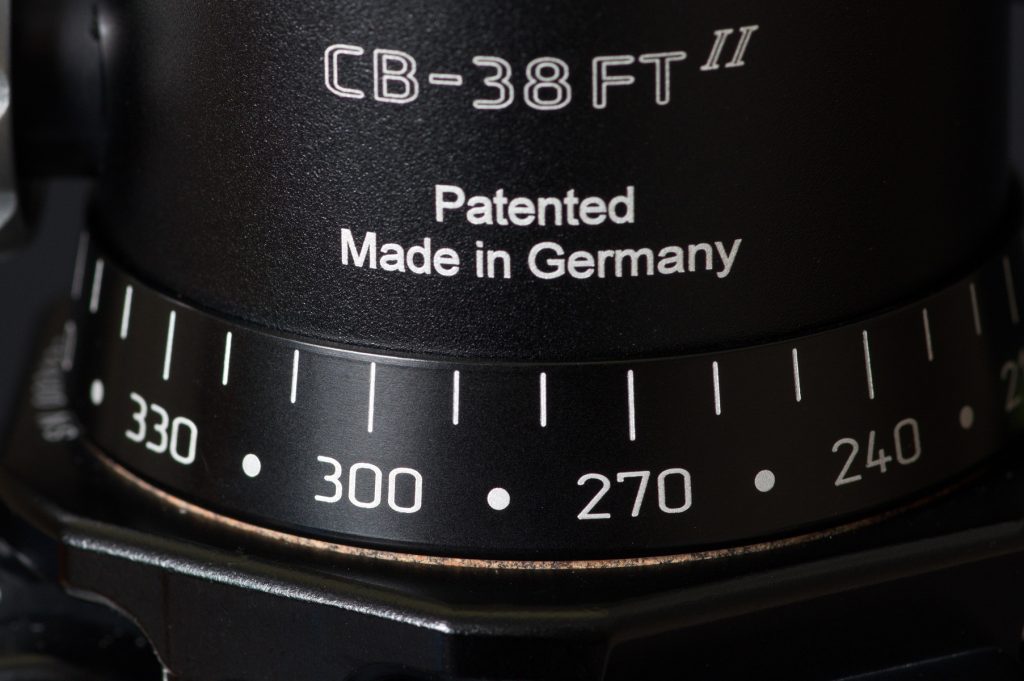
With the pan tension turned out and the 15 degree stop disengaged the head can spin on the base freely and smoothly. The tension adjustment allows for a wide range of resistance it isn’t just a matter of on or off. The last feature of panning is the 15degree stop.
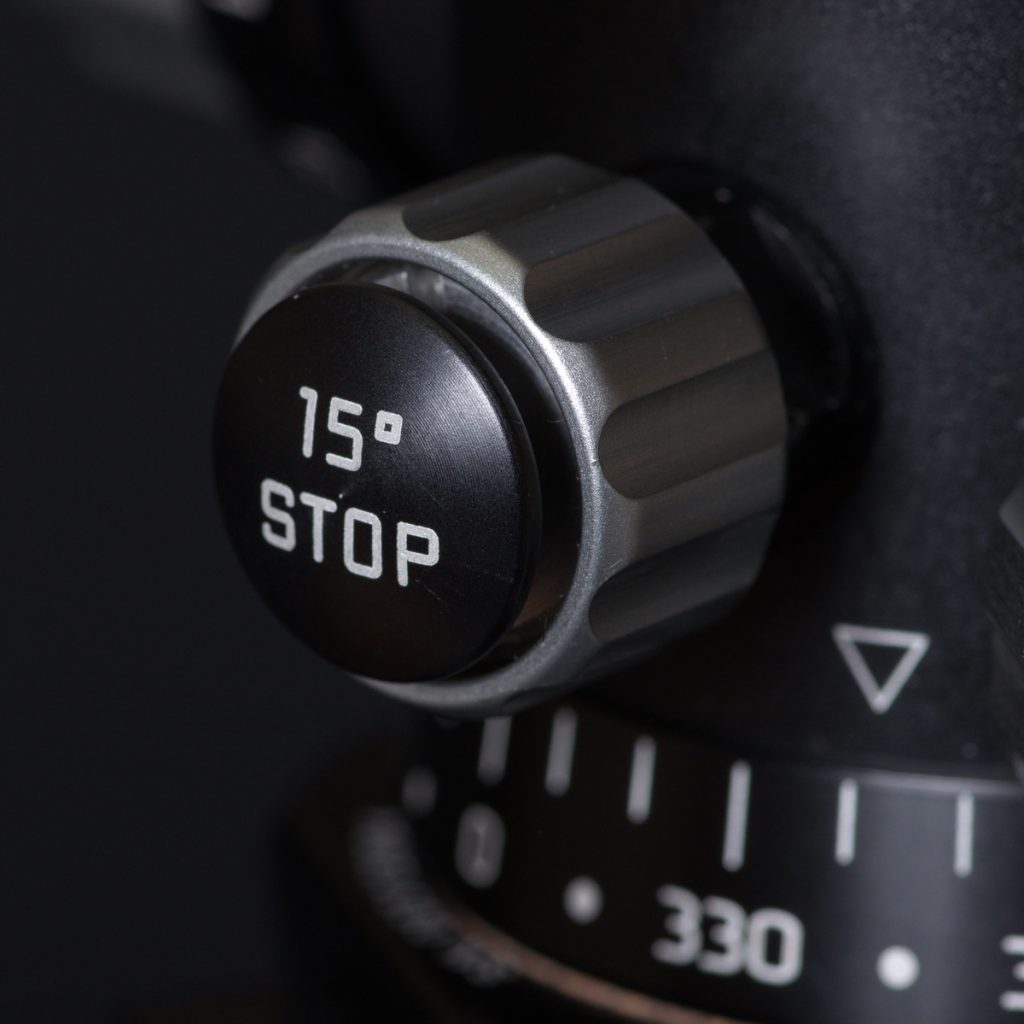
By turning in this knob it engages a click stop mechanism for each 15degree turn of the head. I may take advantage of this feature for accurately doing some side by side images (Yes I know software can stitch things together but I am primarily using this for film) Well that covers the bottom of the head next up is the ball head itself and the tension system for that.
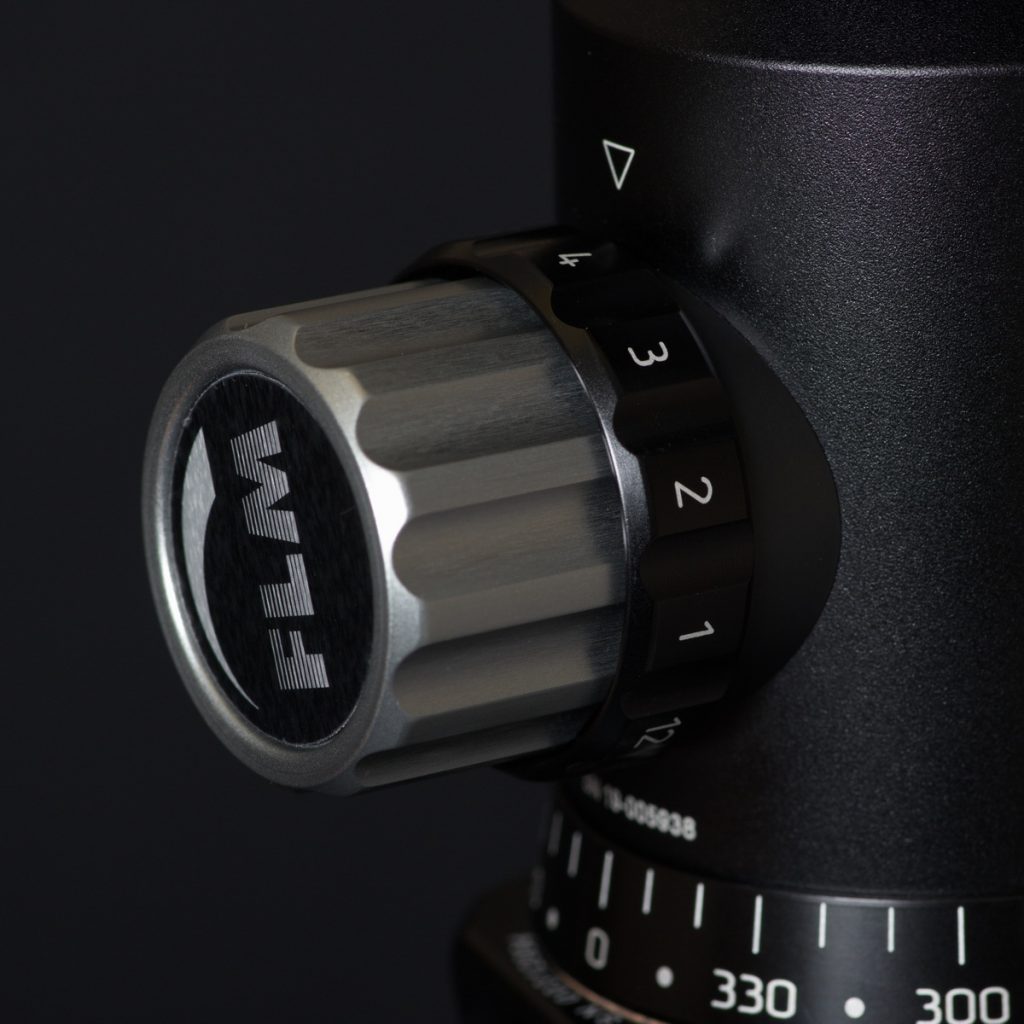
I use the term system on purpose because it isn’t just a simple setting of resistance. Rather than detailing how FLM intends it to be used I will describe how I am using it in the real world. The main tension control has an inner ring that you use to lock in a tension setting. I think of this as the minimum tension that I want. It may not be enough for every extension of the camera but allows the camera to be set up in a neutral arrangement without flopping around or drooping.
First you set your tension with the outer control knob and when satisfied you turn the inner ring all the way clockwise. Now you can increase the tension on the ball head if you want but backing the tension off ends with what you previously pre-set. To release this setting you need to tighten the tension fully before you can back the locking ring off. (this prevents you from releasing it and having your camera flop down) Like the pan tension control the multi turn of the ball head tension knob allows for a large degree of settings. The ball head is rated for 25kg which is more than enough for my 4×5 field camera with a heavy lens at the end of the bellows. The last thing and it is unique is the tilt lock.
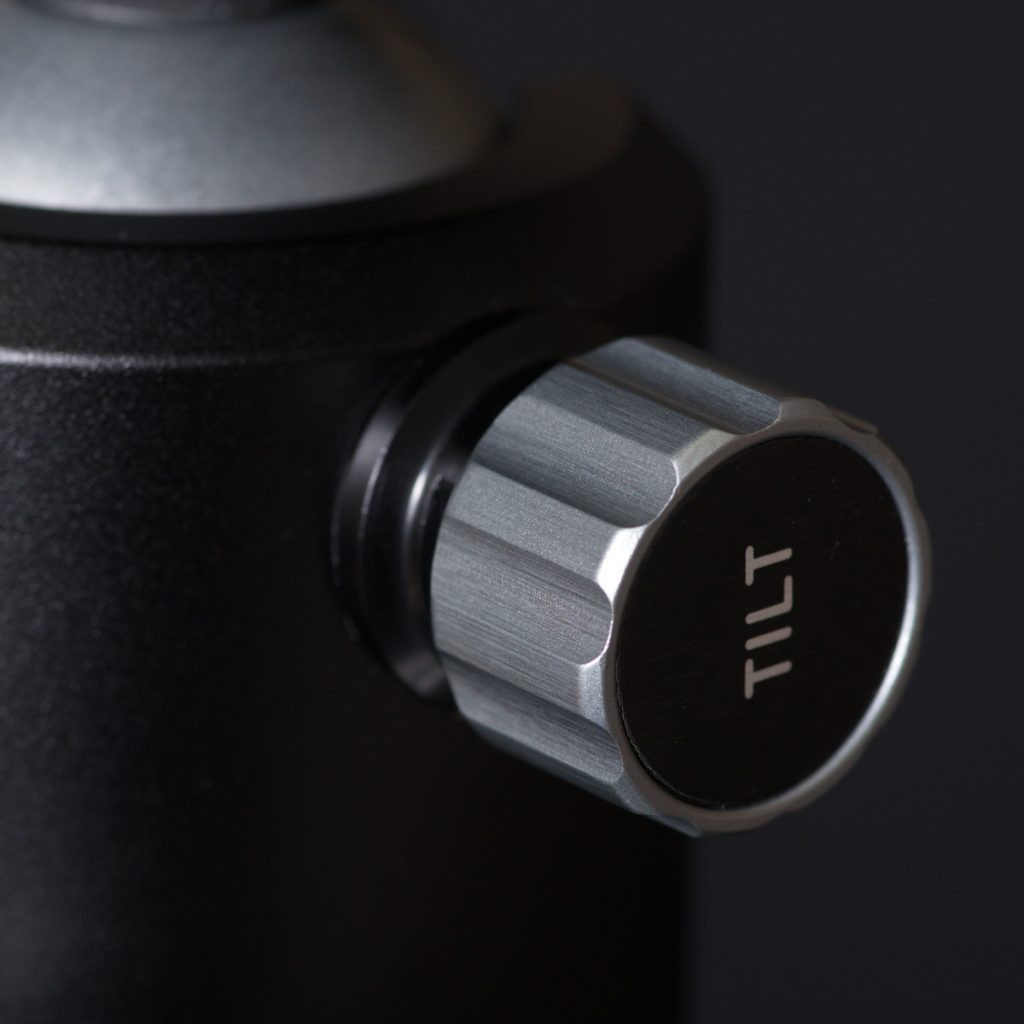
By turning the knob in it increases tension around the central axis of the ball head which limits the movement of the ball to a single plane. The effect of this is to make the head into a tilt head. One thing about this though is that you will want to have the camera pointing in line with this axis for it to be effective.
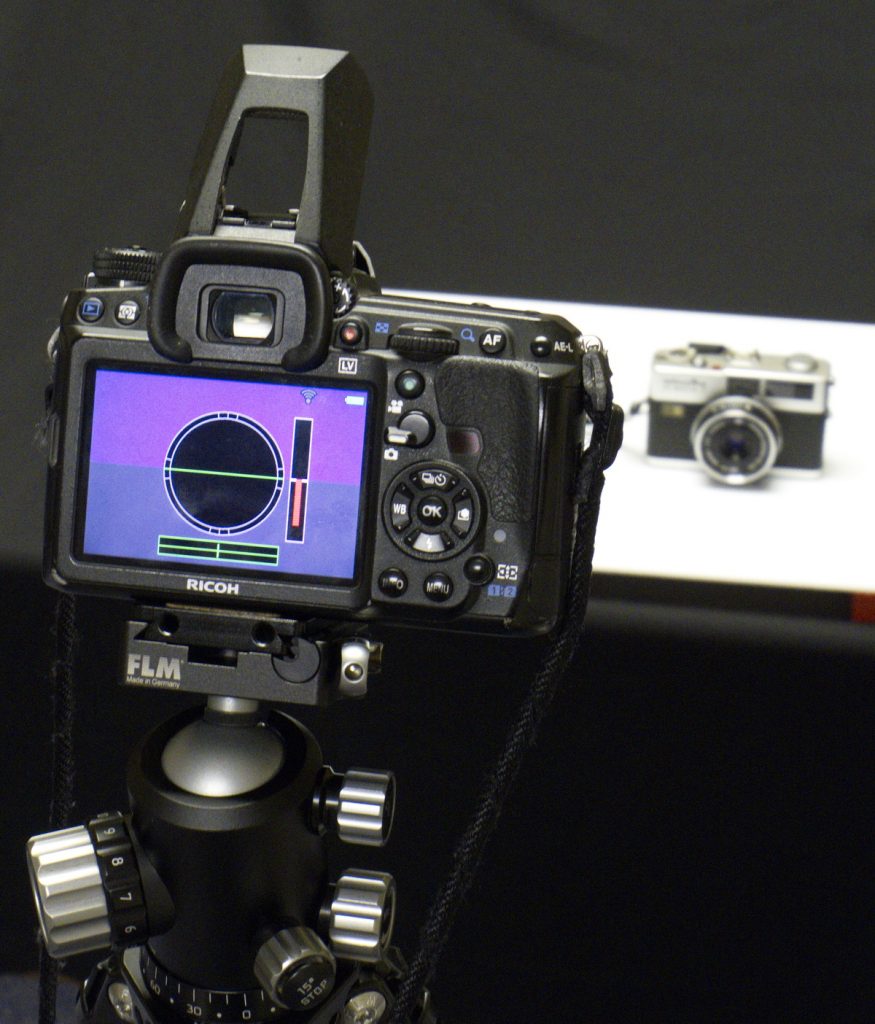
Fortunately the slot at the front of the head is on this axis so to do an alignment tilt the plate down and rotate it so its straight to the rest of the head then tighten the tilt lock.
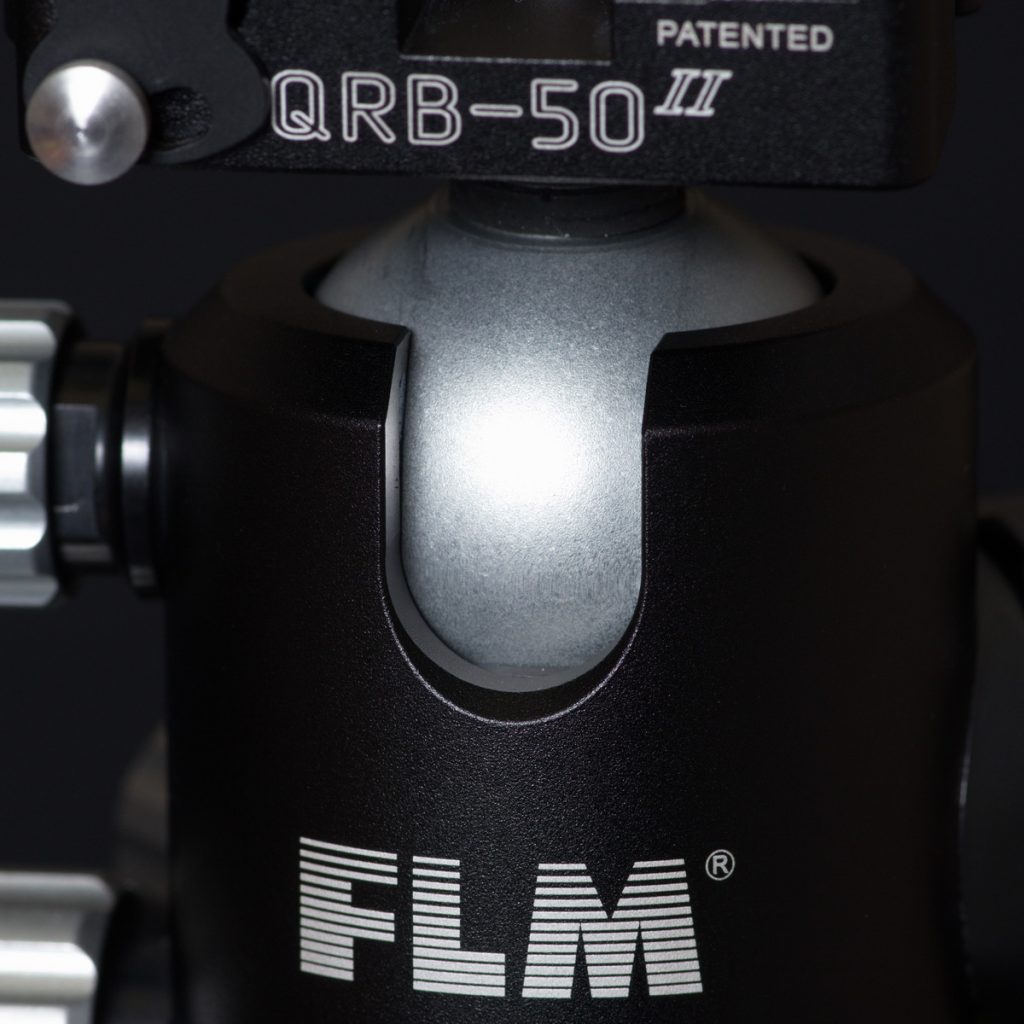
Phew that is a lot to cover and I haven’t even talked about the unique QRP-50 quick plate system.
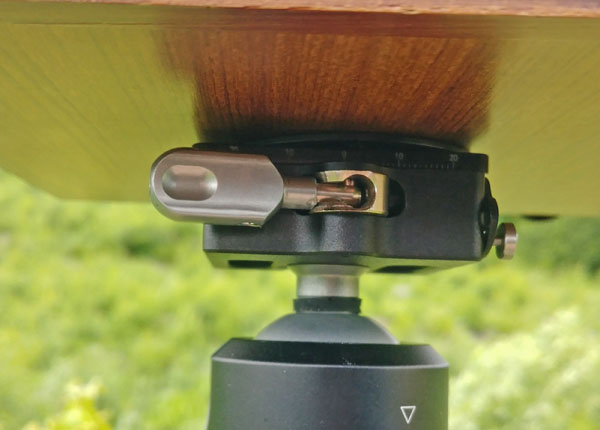
Like I said I did a lot of research about the tripod and on this note most of it was misleading. The information and opinions about the quick plate system that I could find were not positive or complained about its complexity. Well they are wrong (its my blog I can say what I want) For starters setting a camera down on it results in a secure capture that only requires a tensioning of the cam lock. Quick and easy. Then releasing the cam and pressing on the front button while tilting and lifting the camera sets it free.
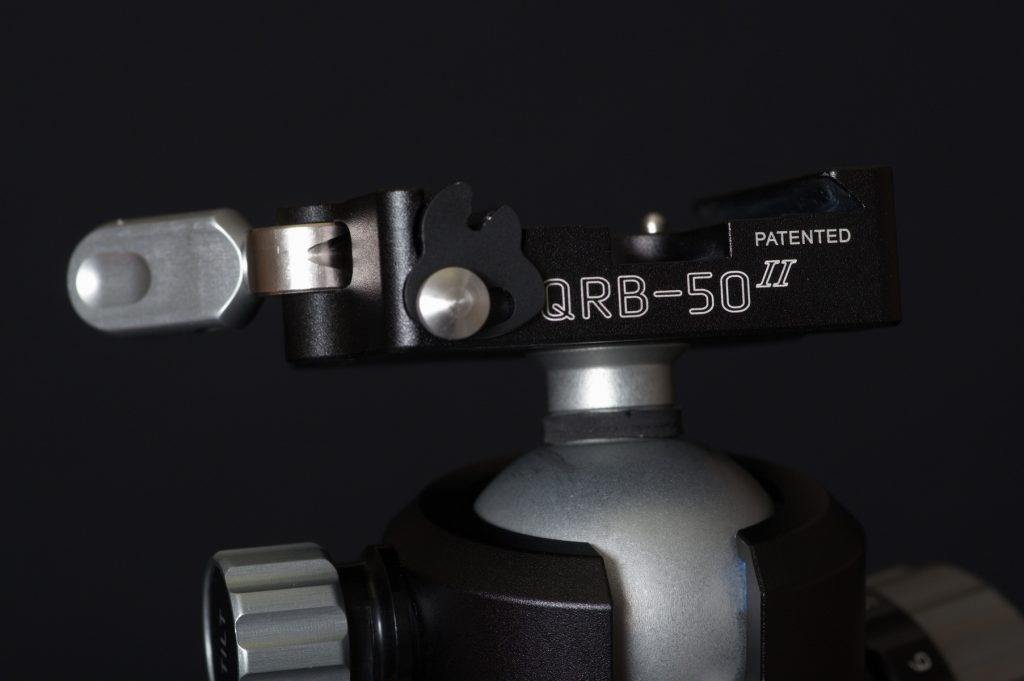
I will grant that if you turn it over to someone that hasn’t used it before it may seem complex considering its purpose is just to attach a camera but once you have used it a few times it is easy and superior to anything else. It makes using a Manfrotto RC2 plate seem like using a pipe wrench when a box wrench is what’s required.
So to summarize I had high expectations for the FLM tripod and head and yet they managed to exceed them. It can not be understated just how nice it is to be able to smoothly point or reposition the camera without struggling with the tripod. I can actually say that using the FLM CB-28FTR in particular improves my overall photography experience markedly.
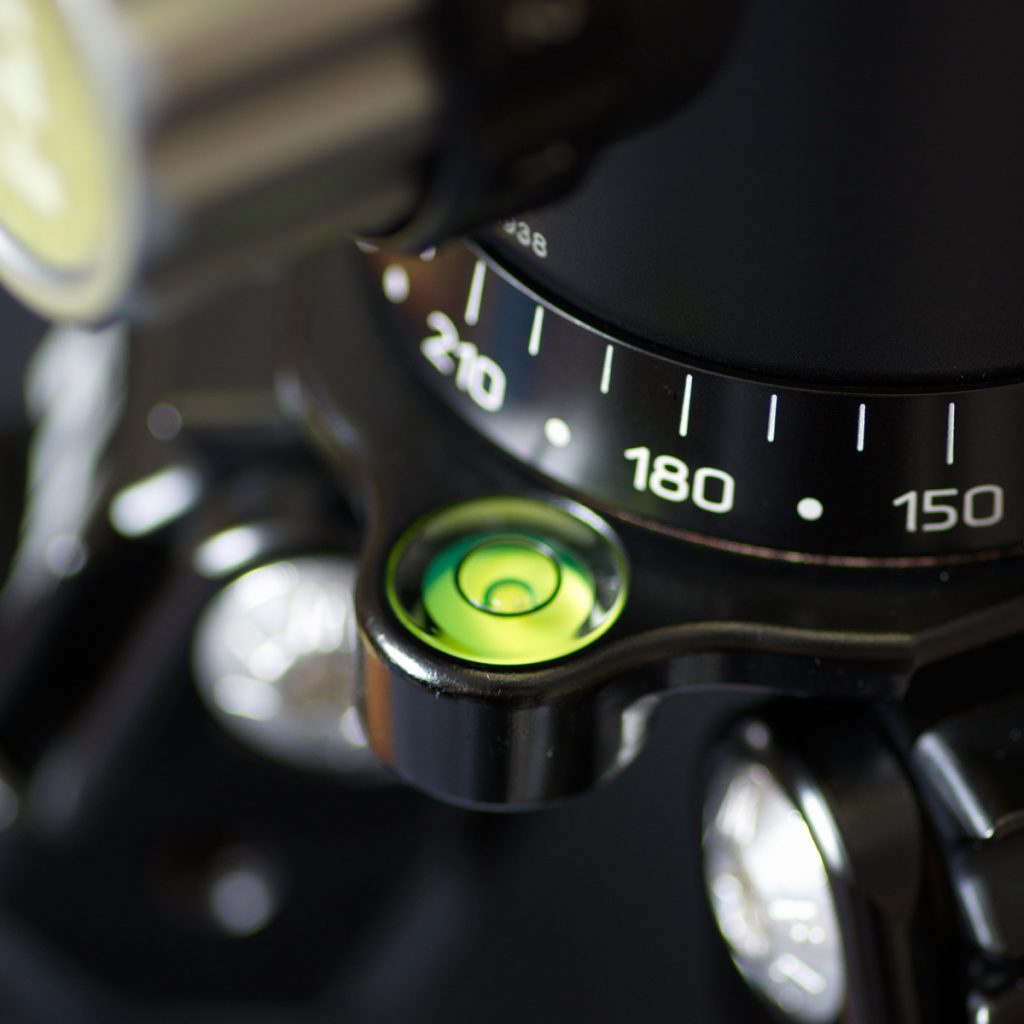
It has a level built into the base as well
