Mar
14
2012
This is one of my all time favorite cameras, it has that certain look that defines the fixed lens rangefinder form.
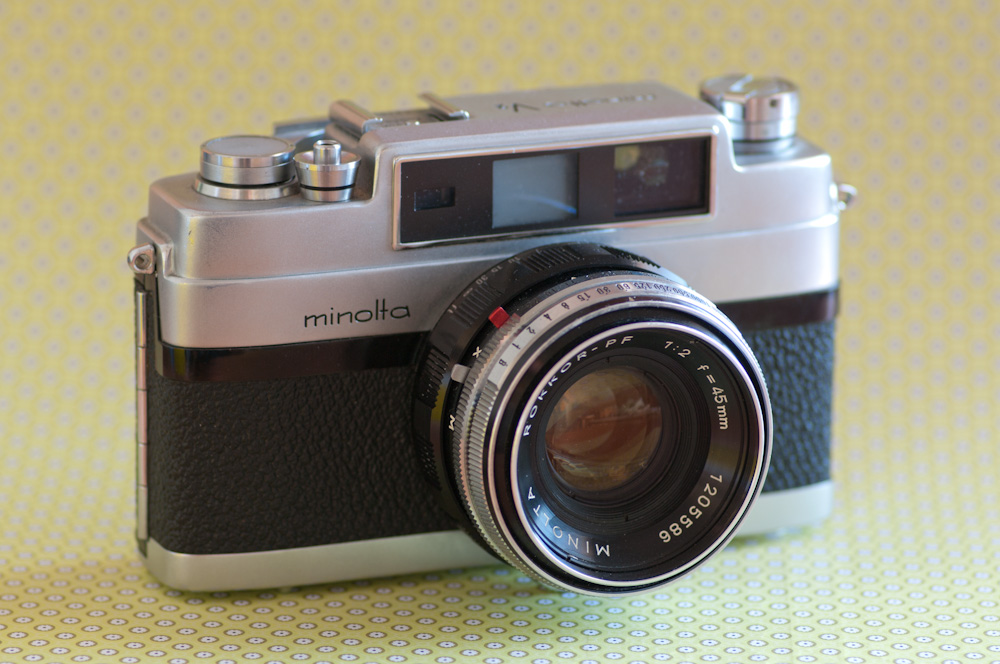
Every aspect of this camera is nicely done right down to the black band on the shutter release and film rewind that match the film advance leaver.
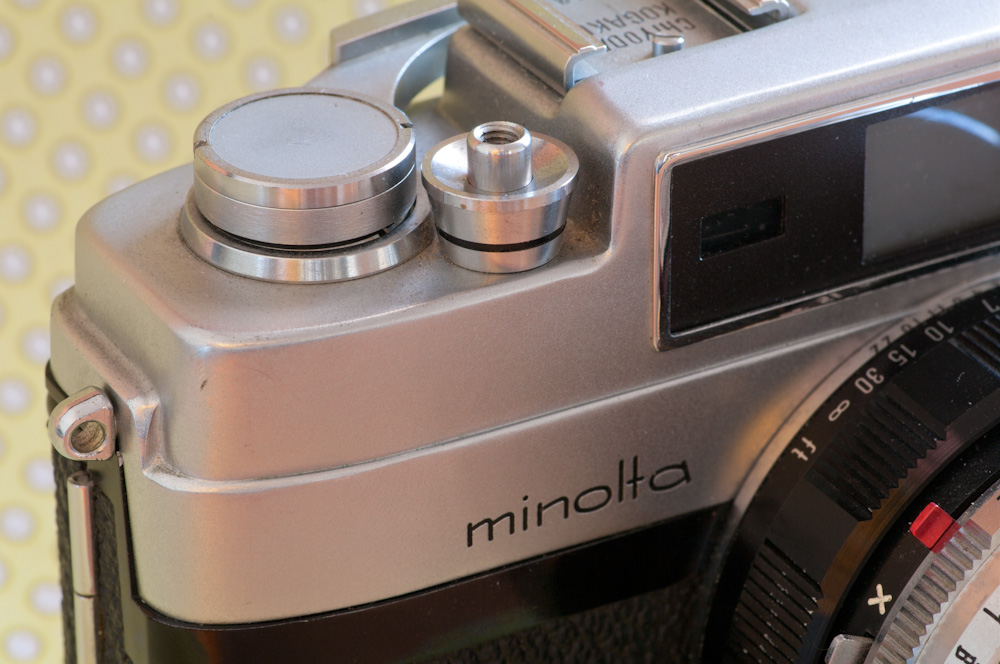
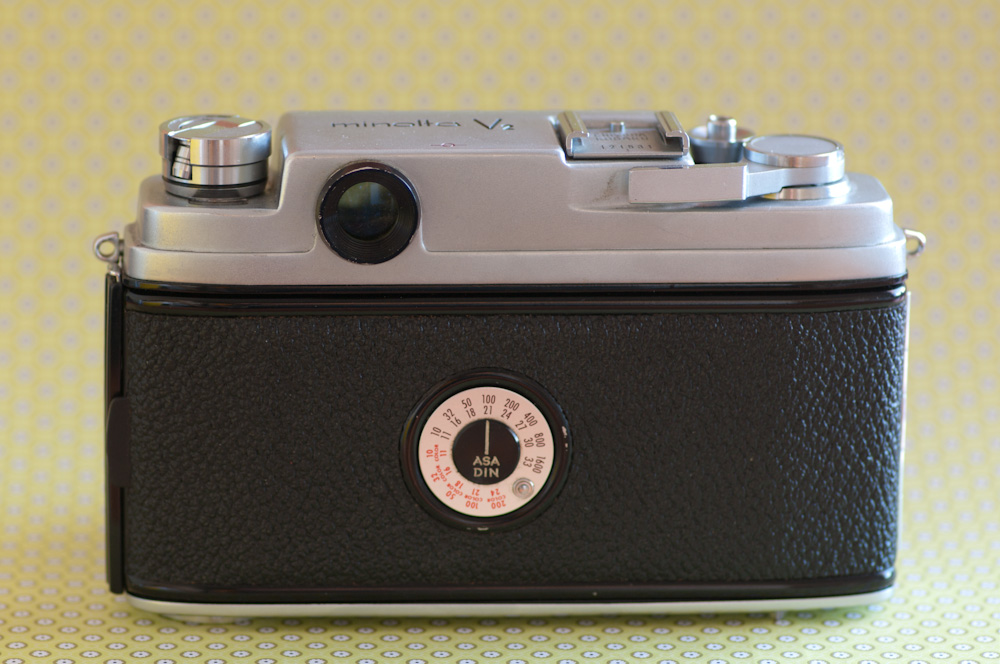
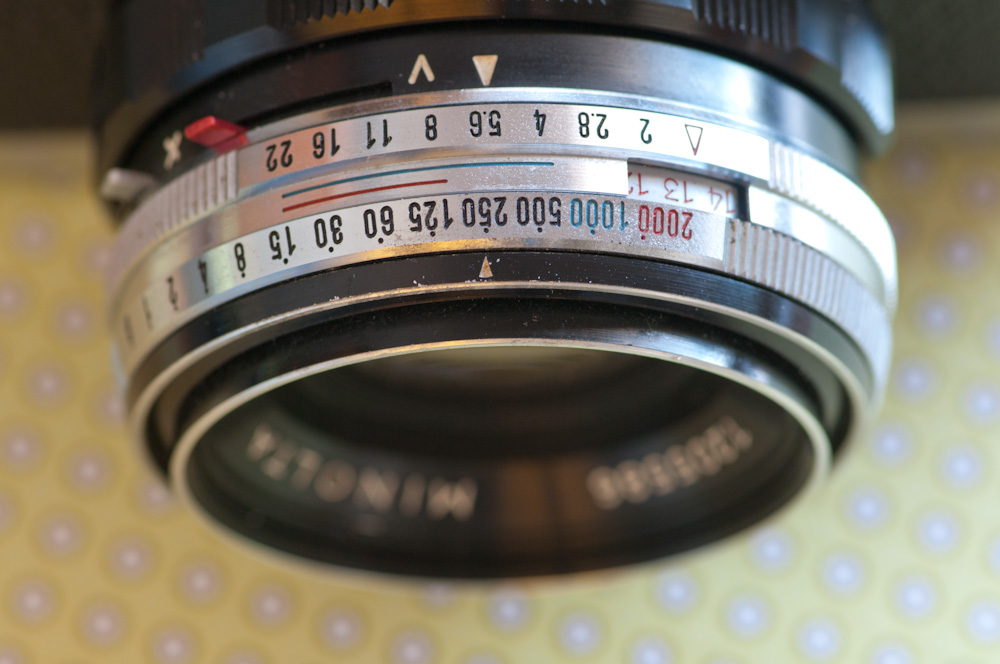
The defining technical detail of this camera must be it’s shutter which is capable of 1/2000 of a second. This was quite an achievement in 1958 with a leaf shutter. To reach this speed though the aperture is limited to maximum opening of f8. Both shutter and aperture control are on the lens with a small window providing the EV number for that combination. The same EV can be maintained will changing shutter and aperture by turning both dials together.
The viewfinder framelines automatically adjust for close focusing and the focus patch is a nice contrasty rectangle. Unfortunately my viewfinder frame is slightly askew which results in crooked horizons if you adhere to it as i did with my last roll of film.
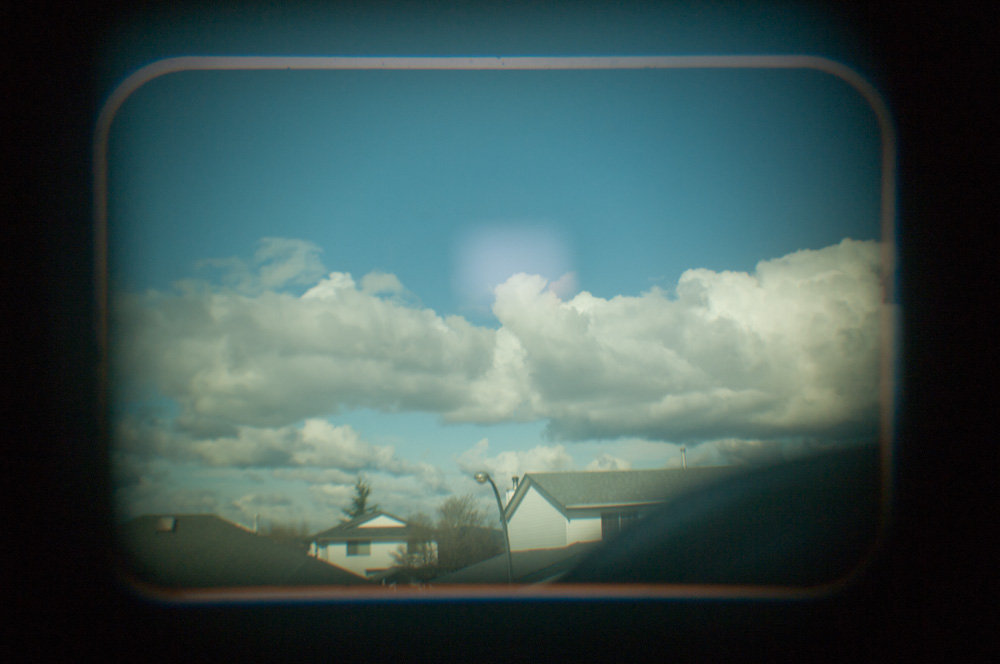
In the second part I’ll show some sample images and discuss the camera some more.
2 comments | tags: camera, film, Minolta | posted in Cameras, Photography
Mar
11
2012
I’m going to share with you a method I use to create a reasonably effective film grain look with digital files. Yes there is software that can do this and some of them do a pretty good job but not always and why not use what you have. Lightroom for instance provides the ability to add grain to an image but it does this across the entire image without regard to exposure which is not the way that film looks I’m sorry to say Adobe.
To begin with here is an image I shot at ISO 3200 with my Pentax K7 1/8000 sec and f2.8, even though the image has been down sampled you can still see the digital noise that will become our “film grain”.

I then take this file and use the in camera processing to make these adjustments.
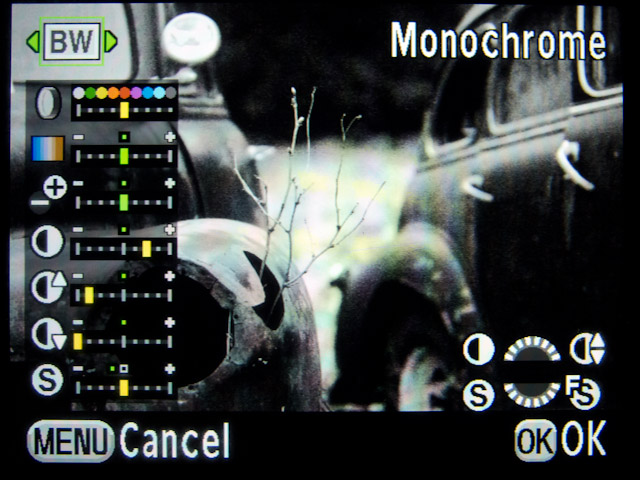
Custom Image Monochrome/Filter Effect Red/No Toning/
High Low Key Adjustment (here you can effect the image’s overall brightness while maintaining the highlights and shadows)
Contrast +2 (the film I’m trying to mimic is more contrasty than the digital capture)
Highlight Contrast -3/Shadow Contrast -4 (Here we want to reduce some of that contrast we just added but only in the shadows and highlights)
Set sharpness to zero as we already have a grainy image and we don’t want to over emphasize this and create something unnatural.
We also want to ensure that High ISO noise reduction “NR” is turned all the way off just prior to processing the image.
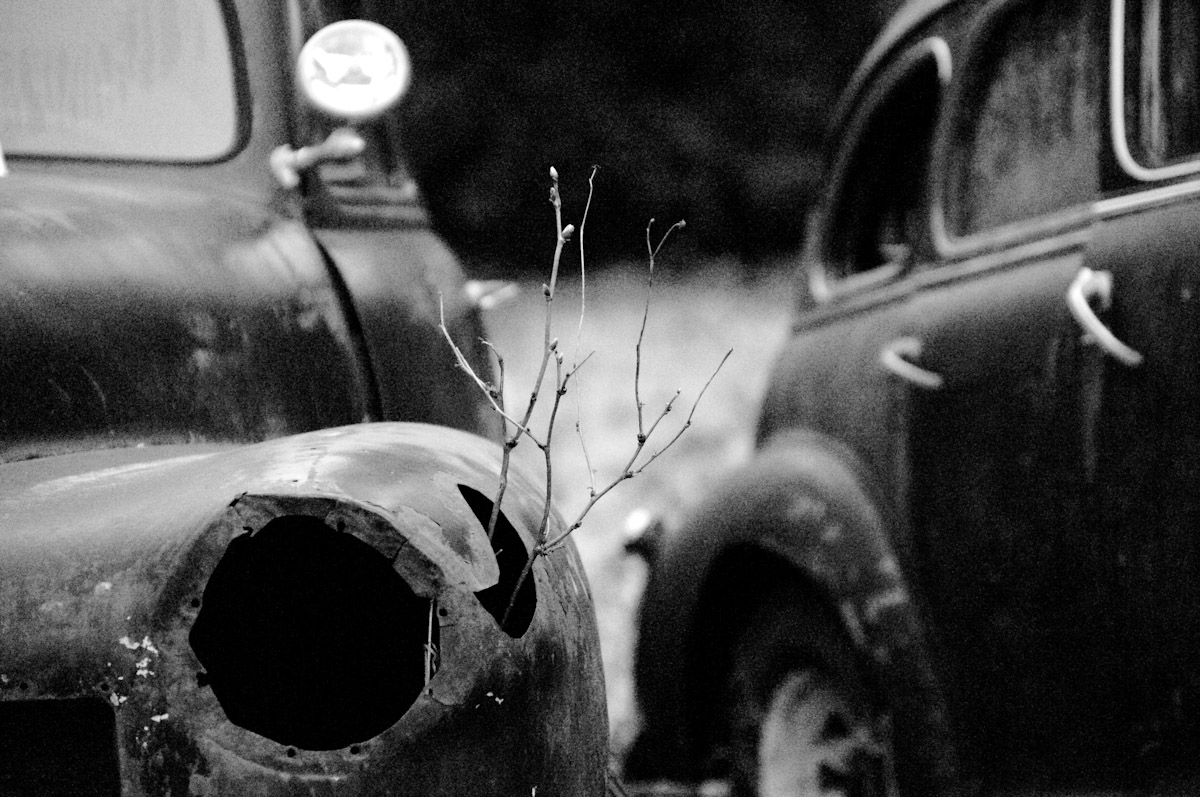
And the resulting image made to mimic Kodak PX125 otherwise known as Plus-X
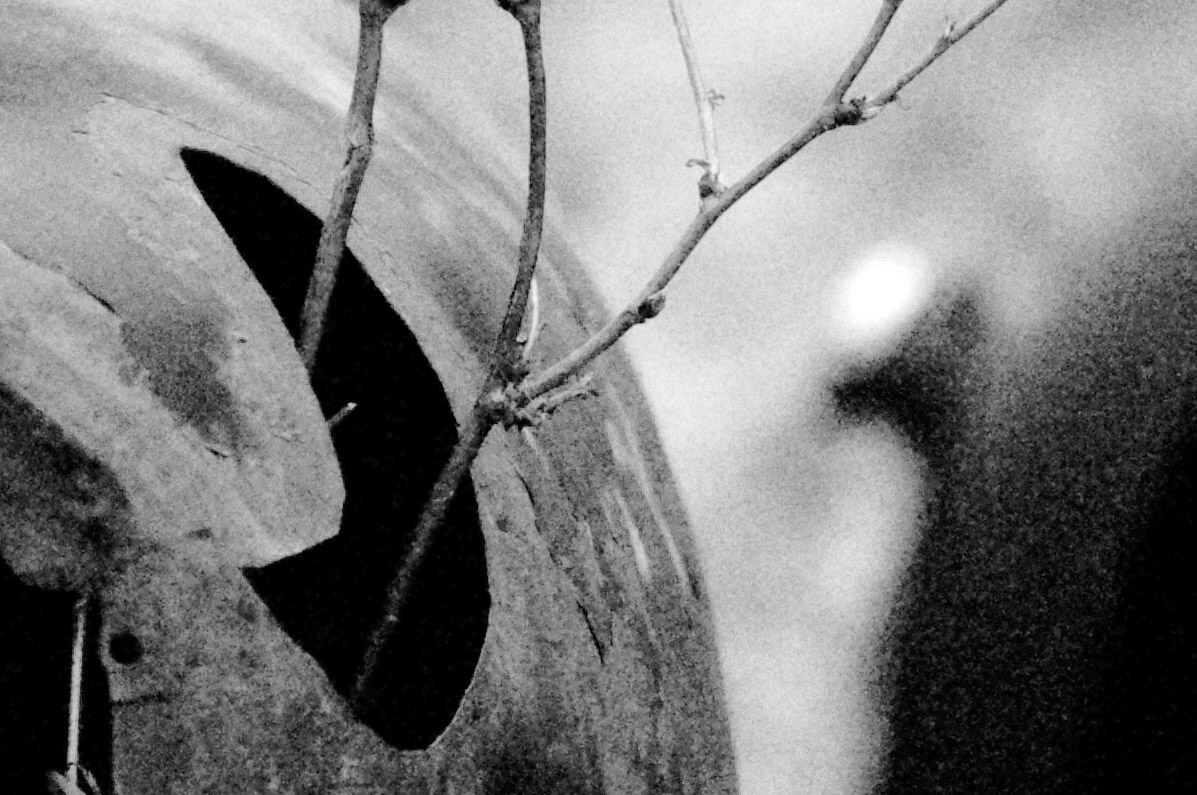
And a 100% crop (There will be some compression due to the reduction in file size for the internet)
This is just one example of what can be done but it all started with taking a RAW image shot at high ISO.
And a few more examples
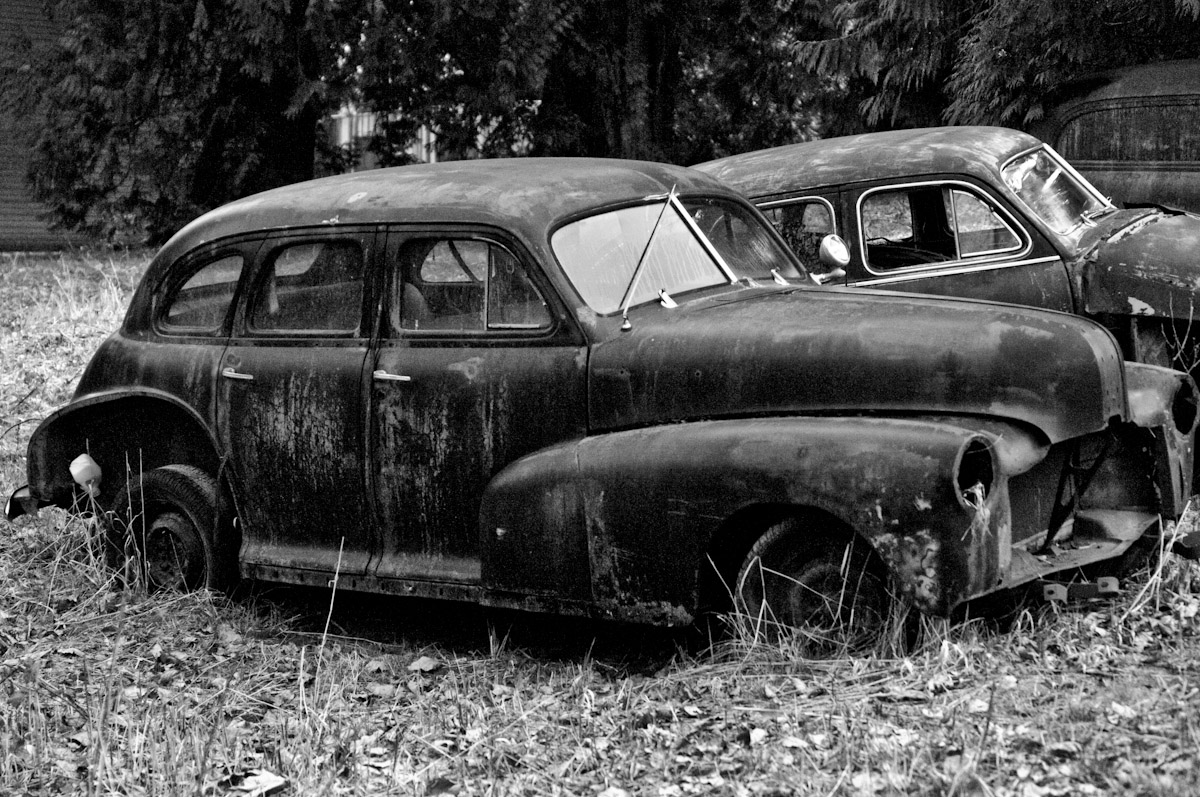
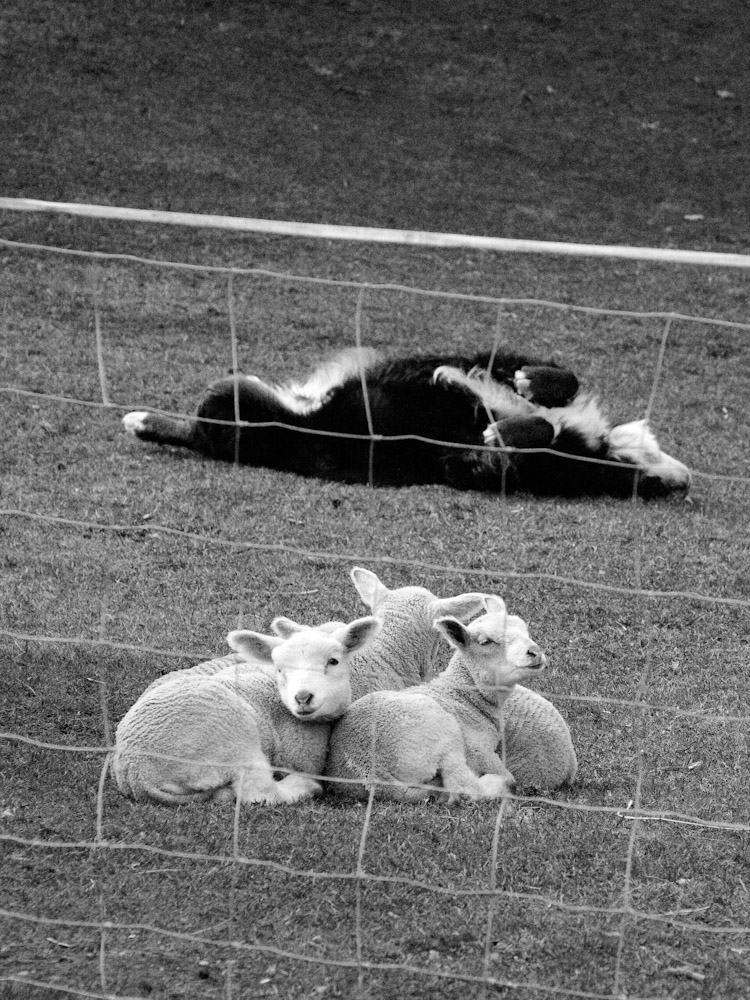
and a detail from the above image shot at 1600 ISO and processed in a similar way.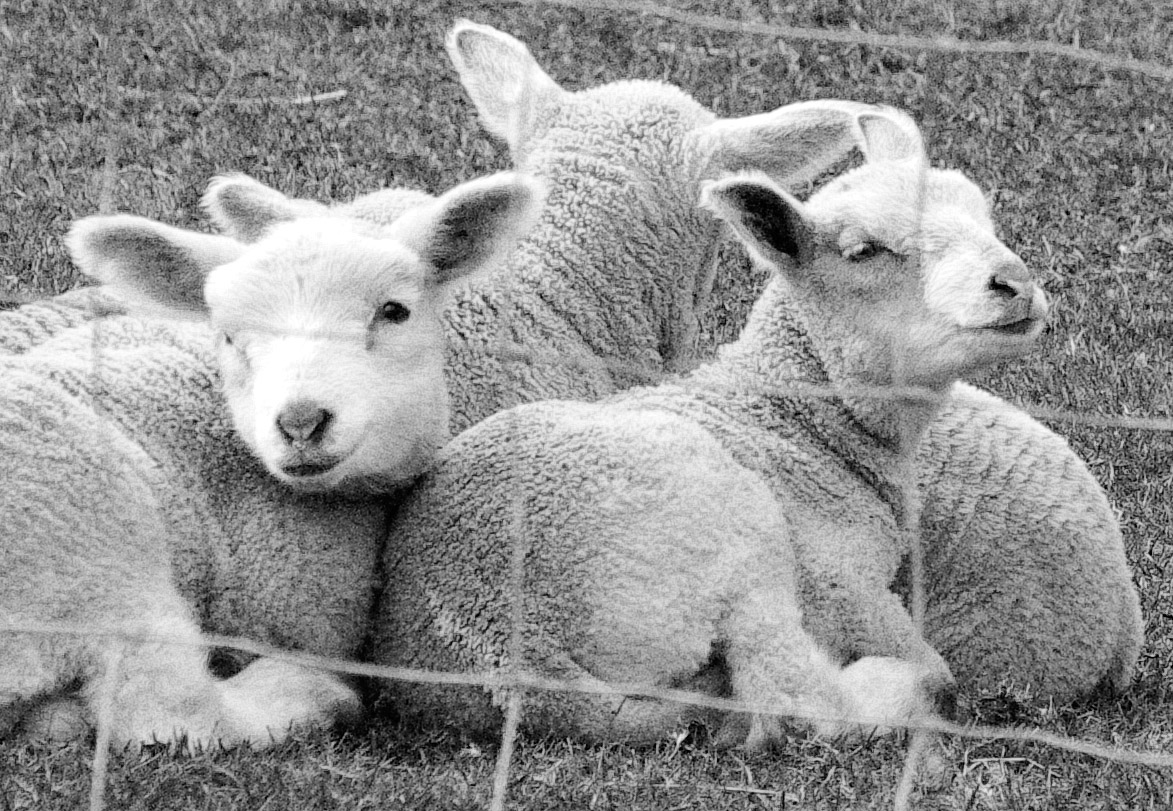
One final note, you may have noticed that I mentioned I shot that first image at 1/8000 of a second at f2.8 at an ISO settingof 3200. As sensors improve there is less and less noise at higher ISOs so this technique may not work as well into the future. If for instance it took an ISO of 6400 to achieve this result I would already have to stop down the lens to F4 as my shutter is limited to 1/8000 of a second as are most high end DSLR’s. In this case I’ve created a situation where I’ve overridden the noise reduction technology but that too may not always possible. Have fun and experiment.
I used this technique back in December of 2009 to create this set of images Bellingham
2 comments | tags: Digital, film, grain, noise | posted in Photography, Processing
Mar
8
2012
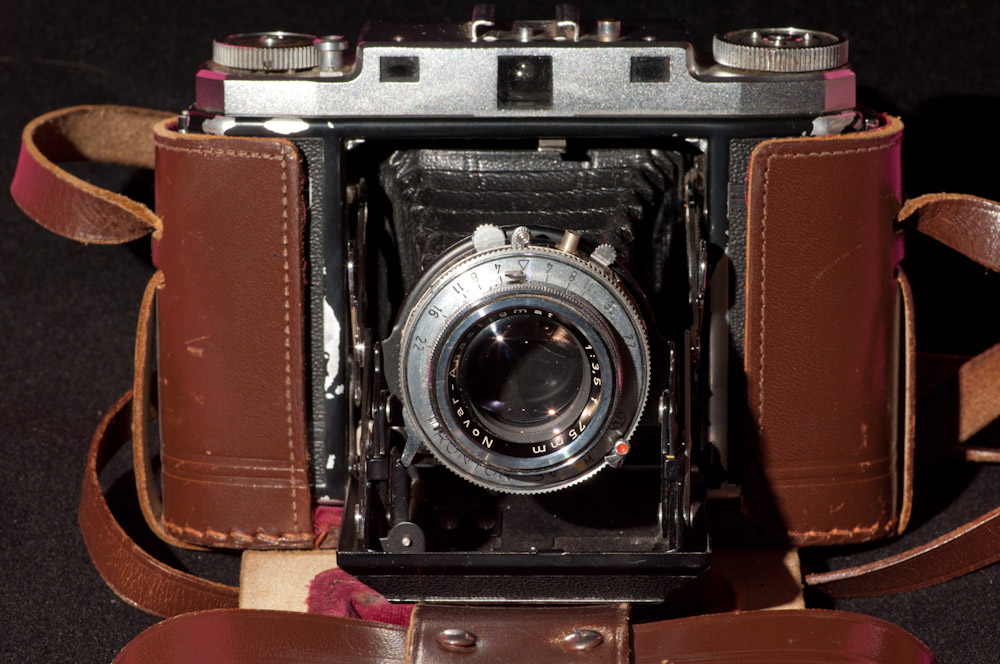
The Ikonta M creates a square negative on 120 film, yeilding 12 images per roll. Advancing the film requires viewing the frame number through the window on the back as is common for cameras of this age. The shutter itself resides with the lens at the end of the bellows but there is a shutter button on the body that releases it through a linkage. The shutter button is locked out until you advance the film, mostly preventing double exposures. Did I or didn’t I advance the film already?
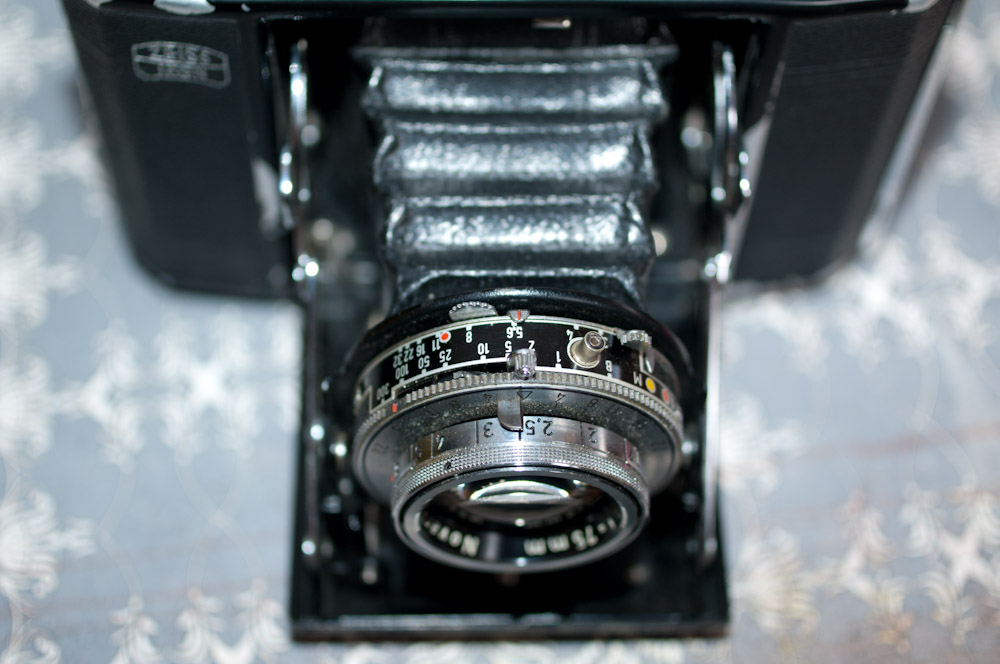
My favorite feature of this model though has to be it’s uncoupled rangefinder. By uncoupled I mean that it doesn’t actually change the focus, you have to remember to do that as well, but it indicates the distance on the rangefinder adjustment wheel.
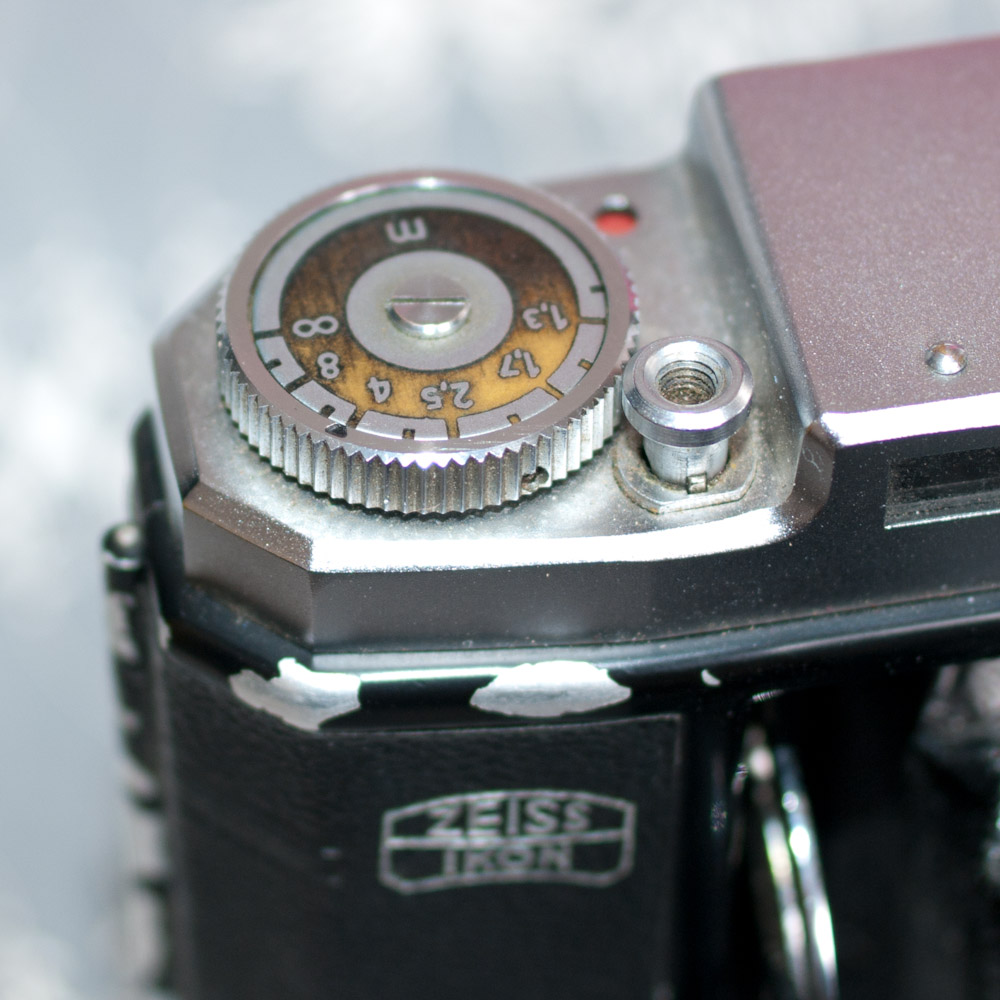
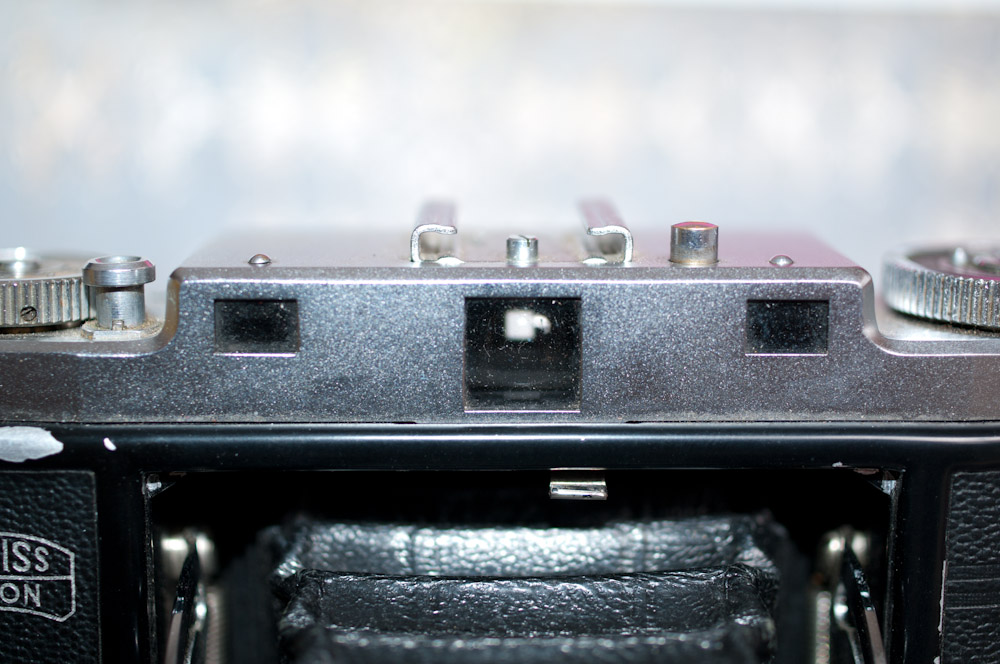
The rangefinder view is a magnification of the center allowing for more precise focusing, while framing is done in a seperate viewfinder. This is as combersome as it sounds; Find the distance with the rangefinder, transfer that distance to the lens, frame the image with the viewfinder, hey where did everyone go? These quirks though are what makes a camera like this interesting, if I just wanted pictures I would use a DSLR and be done with it.
3 comments | tags: camera, Zeiss | posted in Cameras, Photography
Mar
5
2012
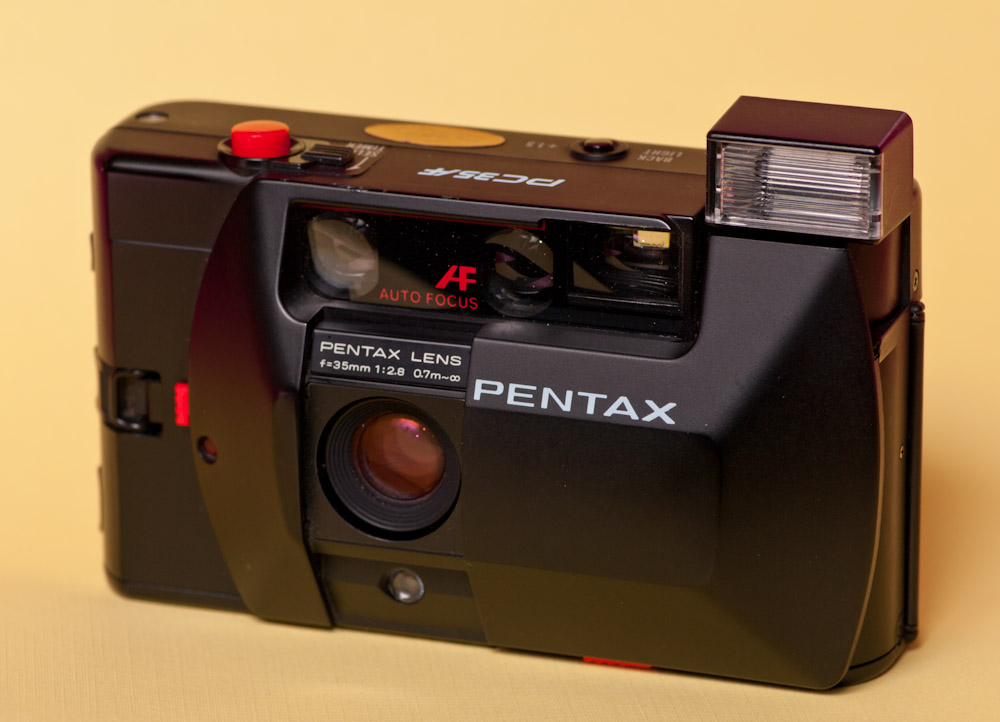
The Pentax PC35AF is yet another of the many 35mm fixed focal length cameras that where around in the 1980’s. Although slightly larger than the Olympus XA series of cameras it has a similar clamshell design and look. The PC35af though is an autofocus camera that still required manual winding of the film via a thumb wheel on the right hand side.
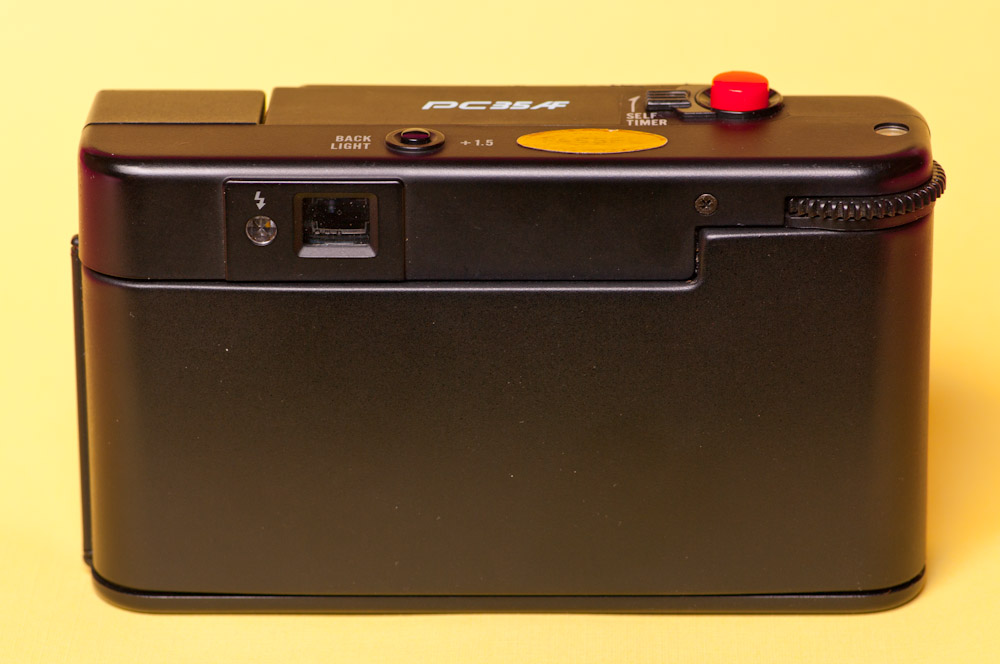
One nice thing about this camera is that it takes two regular AA batteries to run all it’s functions. The lens is comprised of 5 elements and has a respectable F2.8 maximum aperture . I like the minimalist design of the camera particularly when the clamshell is closed, it is however made of a somewhat slippery material and you need to be careful when holding it.
Operation is simple with only a +1.5 stop backlight over ride and the ability to lock focus and recompose. As I’ve stated many times I like the 35mm focal length finding it to be versatile and this camera does a decent job with several caviets, one is that the film speed is limited to a maximum of 400 ISO and the other is the lack of aperture or shutter control.
And now the requisite sample images.


1 comment | tags: film, PC35Af, Pentax | posted in Cameras, Photography
Mar
3
2012
So I’ve replaced the rear element of my lens that I’m claiming to be the thinnest pancake lens in the world and there is a definate improvement in the performance. I am now calling it the Wallalux Mark Ib 55mm f8.0 soft focus Multicoated pannenkoek lens. If that’s too much to say then just call it the W.

And here are some shots taken with it
2 comments | tags: lens, Pentax | posted in Cameras, Photography
Mar
2
2012
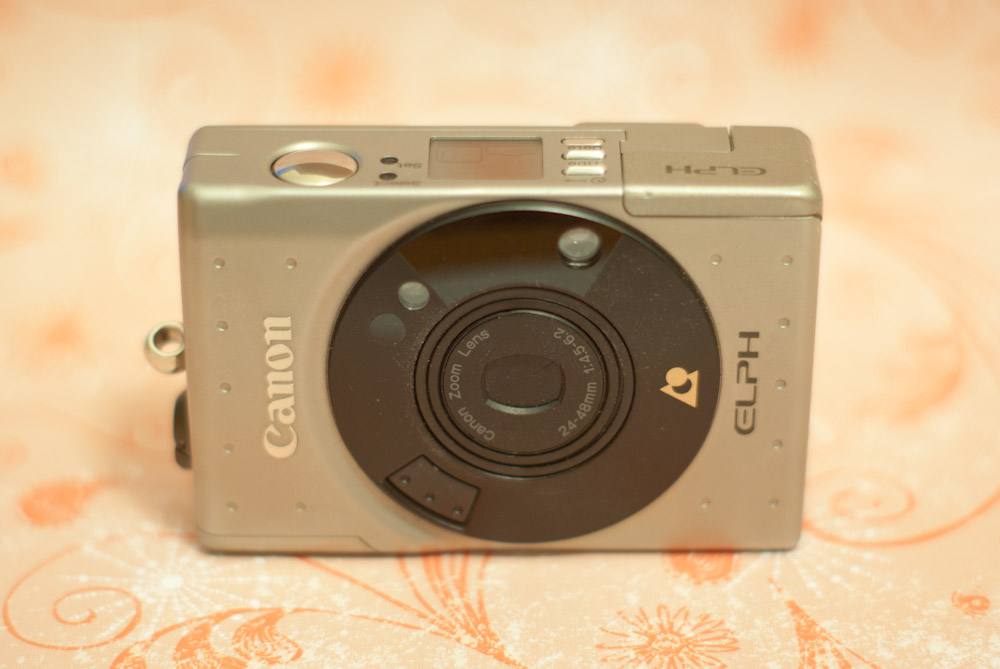
The canon Elph is a very diminutive yet substantial APS film camera that came out in 1996. So many camera’s since have used the Elph moniker but this was Canon’s first as well as their first APS camera. It only has a 2 times zoom and a very pedestrian F4.5 maximum aperture but these are the sort of compromises that were made to create such a small camera. It weighs 180 grams but feels like so much more, I think because of how dense it is. The shell is made from a stainless steel alloy according to Canon and based on the small nicks and dings in my second hand copy it can take quite a beating. It has few features for creative control such as a +1.5 EV backlight exposure compensation that is determined by the camera and not user selectable. It does allow slow speed flash sync and with a half press of the shutter you can focus and recompose.
This camera in my opinion is an important milestone in the miniaturization of cameras as well as design, so many digital point and shoot cameras since have had similar styling that it’s hard not to see this as the precedent of the form. As for the images produced they are actually not bad as long as they are viewed at a reasonably small size such as 5×7″ which was really the intent of these cameras, to be small and carry anywhere camera to document life, before digital cameras and cell phone cameras ever came to market. The Elph IX240 even came with a case that had a belt loop so you could carry it on your hip, at a time I might add when cell phones didn’t.
5 comments | posted in Cameras, Photography, Uncategorized
Feb
28
2012
I’m not a corporation so I think I can make a claim like that without the need to back it up, this is the Internet right?
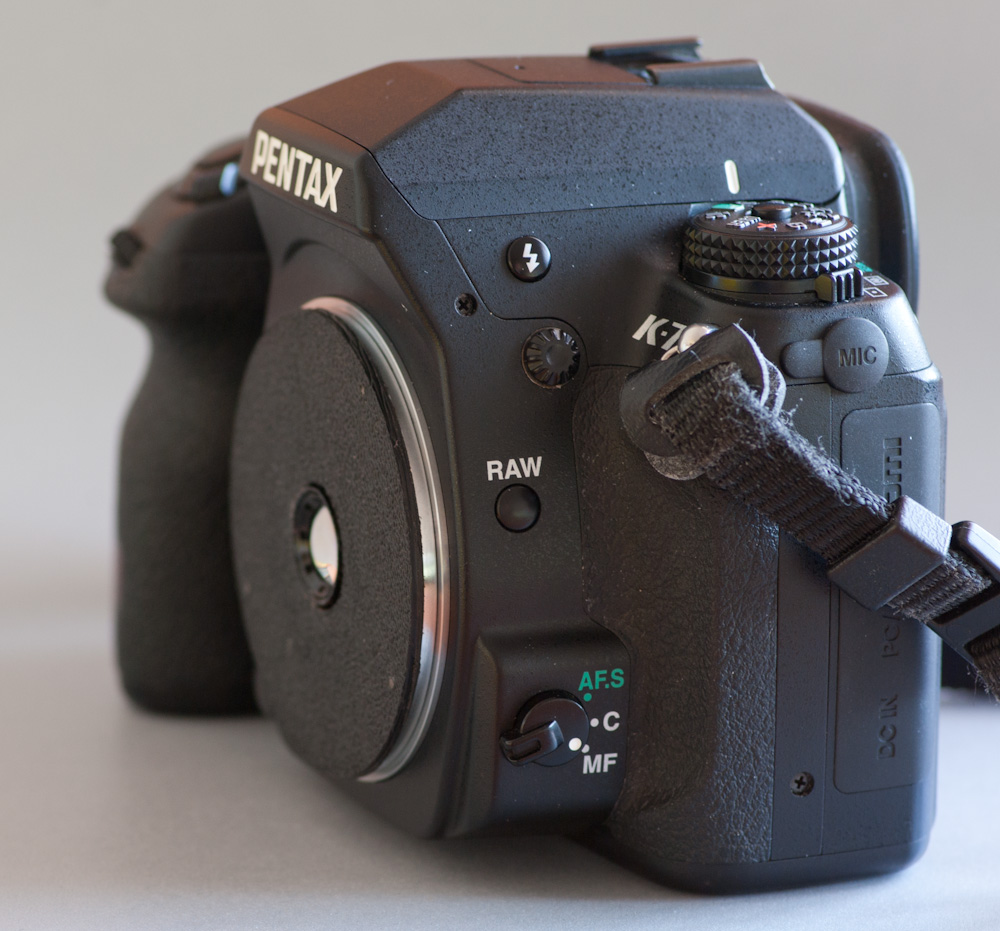
Introducing the Wallalux 55mm (Mark I) pannenkoek lens in K-mount
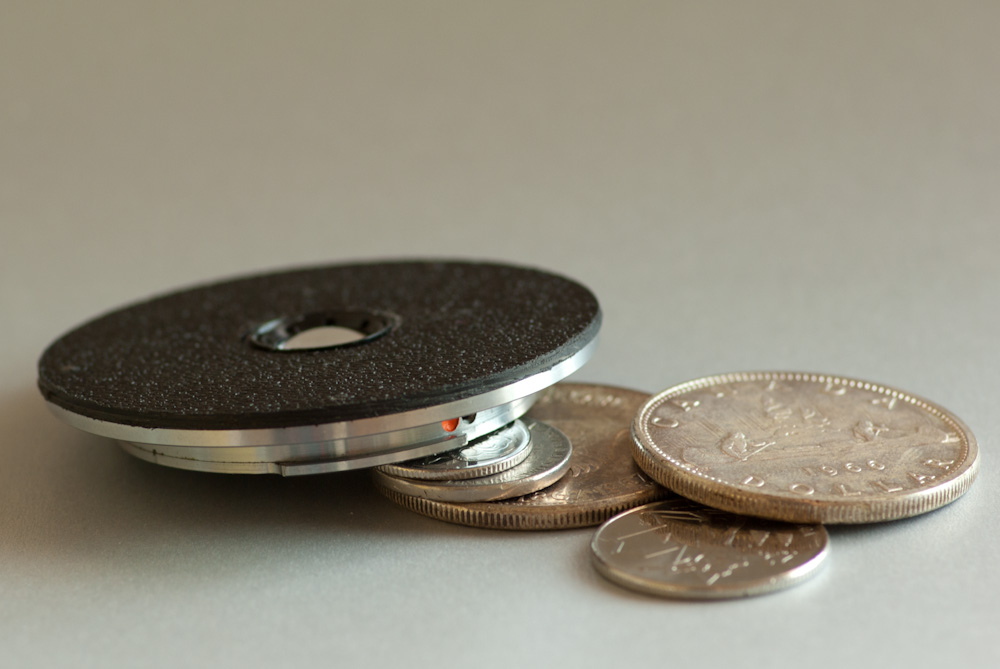
Your awestruck right? Recently Pentax announced the smc PENTAX-DA 40mm F2.8 XS, which may be the worlds thinnest interchangable lens, so I decided to see if I could beat that. Granted my lens has a fixed aperature of about f8.0 and can’t actually be focused and it’s 55mmish focal length works out to about 82mm on an APSc camera. So let me just recap here it’s an 82mm equivelent f8.0 fixed focus lens, but it is really thin.
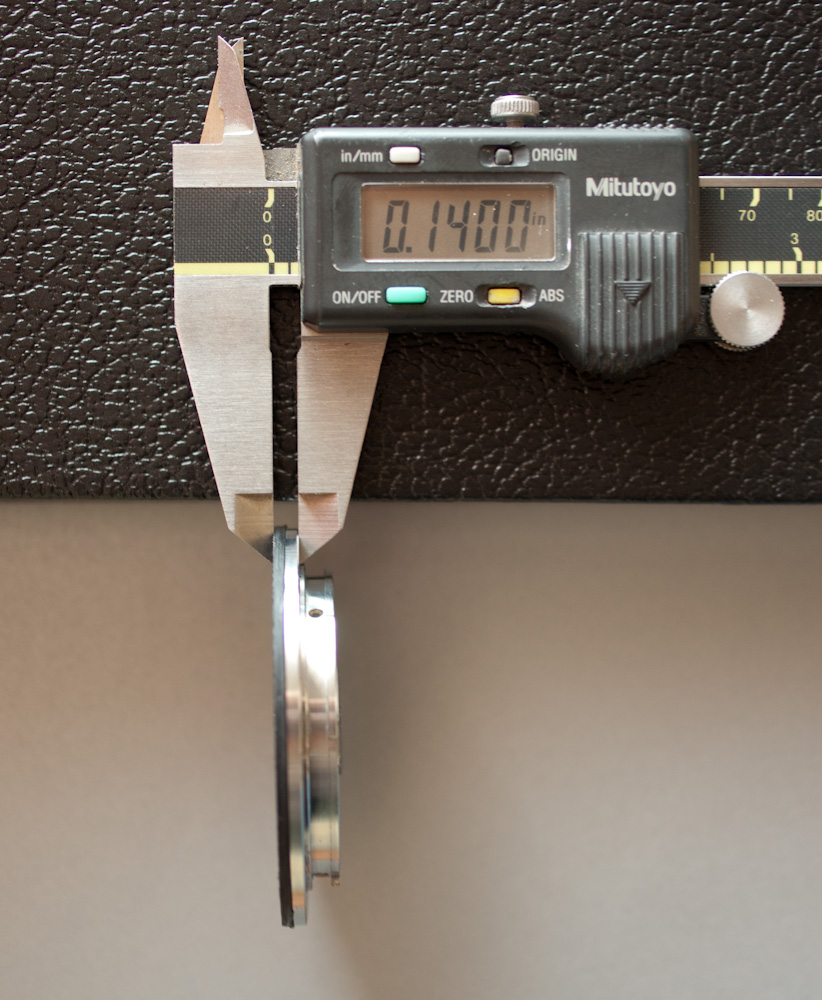
Yes that’s 0.14 inches or 3.55mm thick, this is the amount of the lens that protrudes outside the camera, which is less than the 9.2mm of the Pentax lens
But your probably wondering “Yes it’s thinner than a cracker but does it take better pictures?” Well I’m here to tell you that taking pictures with a cracker is ridiculous (I will have to try that though) and that it does indeed work. Keep in mind this is the Mark I version and by the time I get to the Mark IV it will be amazing with all the latest technology (we’re still on the Internet right?) That or I will just build something else entirely which seems more likely.
Here are a couple sample images taken with the Wallalux 55mm (Mark I) pannenkoek lens, enjoy.
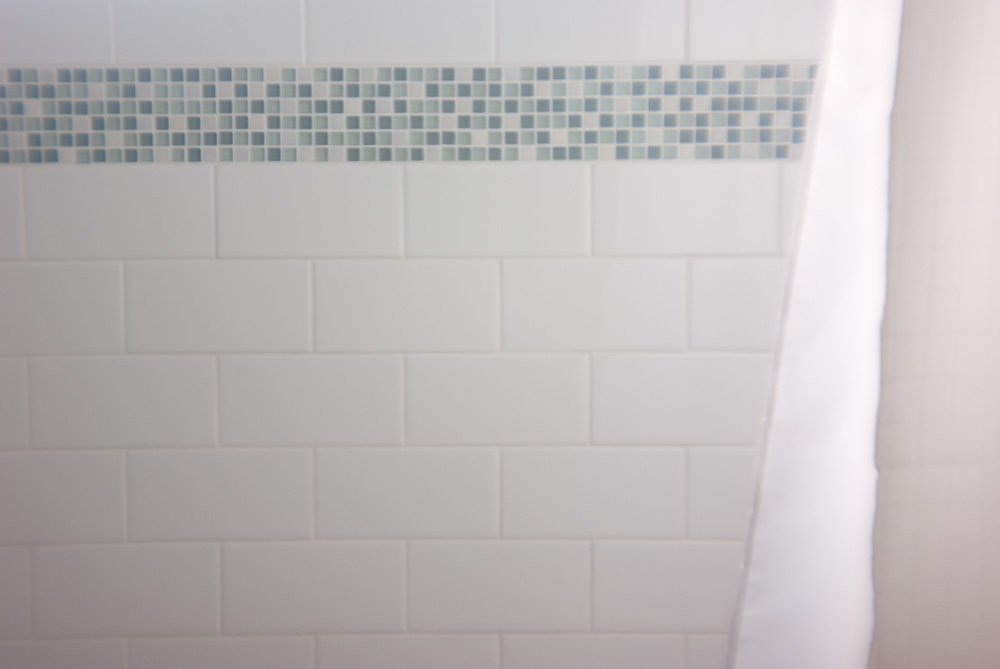
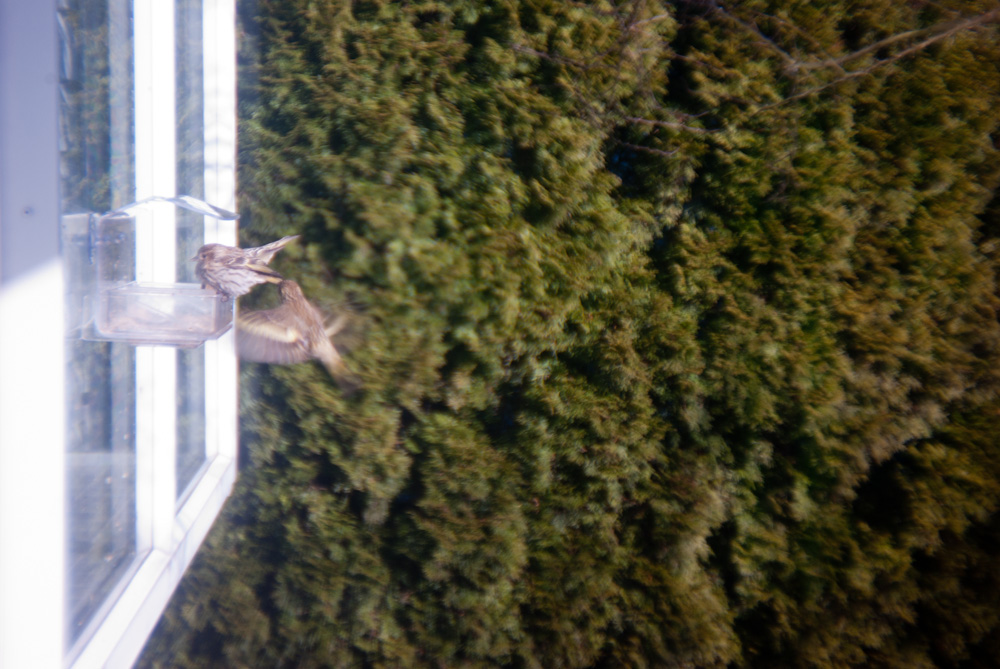
Any aberrations you see are likely caused by the rear element I am using to make the lens work with the K-mount registration distance, I’m hoping to replace that element in the Mark Ib.
6 comments | tags: K-mount, lens, Pentax, Photography | posted in Cameras, Photography
Feb
26
2012
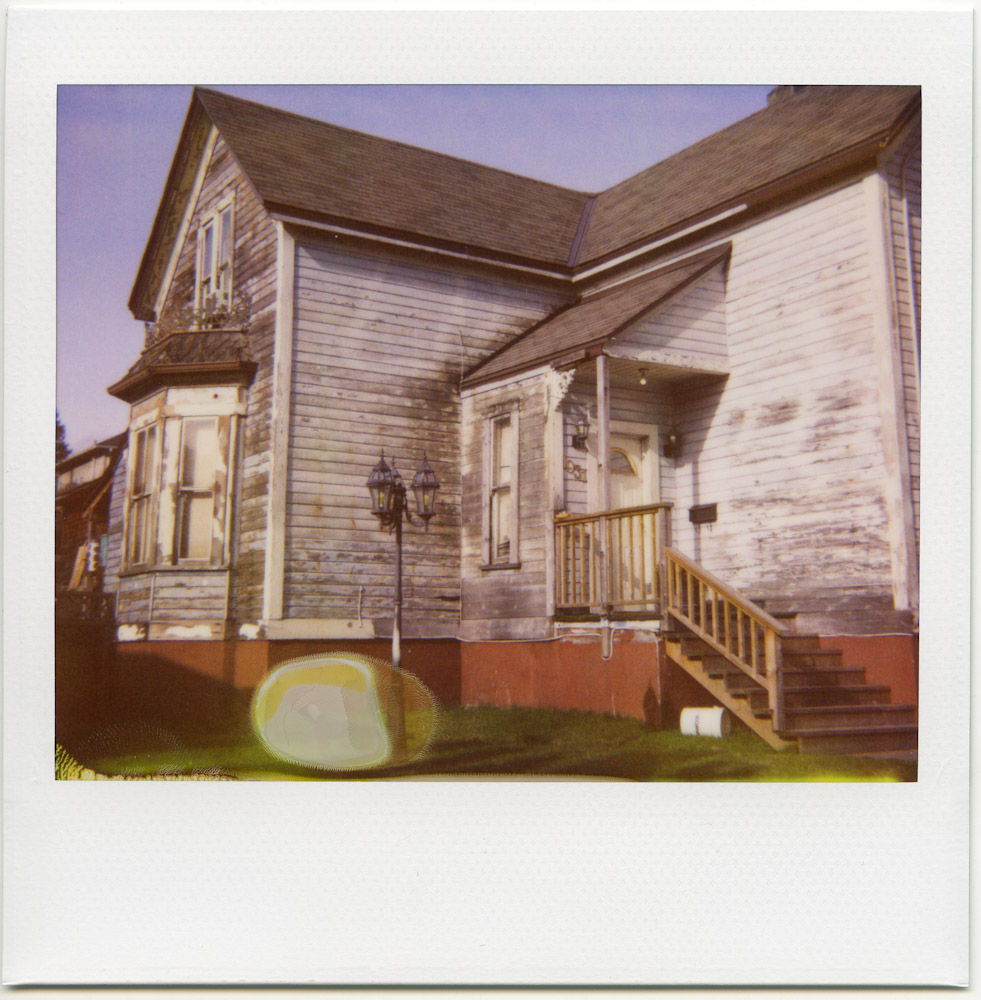
Sometimes things don’t go exactly right with Polaroids and the chemicals that develop the image either dry up or aren’t spread correctly and the result can be some interesting stuff as seen in this detail. Benoit Bandelbrot would be pleased I think.

2 comments | tags: film, polaroid | posted in Cameras, Photography, Processing
Feb
24
2012
As I’ve posted before I like the Leica Mini finding it does a great job as a point and shoot. I unfortunately used some pretty poor film in it this last time and didn’t really end up with too many keepers. These four shots are my favorites and stand out from the rest mostly because they turned out. Note to self outdated Kodak 400 is to be avoided.
3 comments | tags: film, Leica, Photography | posted in Cameras, Photography, Processing
Feb
22
2012

While scanning some old negatives I came across a fragment of a contact print I would have done as a teenager. When I was in my late teens I converted my parents camper into a dark room. It took quite a bit of effort to get it dark enough that I could do colour prints from slides. Without running water I used a large 5 gallon jug with a spout as my water source. I also repourposed a heater from an aquarium to keep a constant temperature for my liquids and measured the temperature with a thermometer for wine making. Looking back it was a lot of effort but also a wonderful experience. I printed both black and white and later the more demanding colour Type R process. Type R was a way of printing directly from a positive slide to a positive print without the need for an inter-negative. I loved the black borders this gave my images. These papers are no longer made so this process is no longer possible, but printing from a scanned slide now produces equally as good results with a lot less effort.

You can see on the right side of this 8×10″ Type R print the two holes from the clip I used to hang it to dry.
no comments | tags: film, printing | posted in Photography, Processing


