Jan
9
2012
All of these shots except the apple were done with the Pentax SMC A 28mm lens on the Pentax K10D. For the apple I used the SMC A 70-210 F4. The 28mm on my APSC cameras gives an equivalent field of view as a 42mm lens would on 35mm film, which lies somewhere between the 35mm of many film point and shoots and the 50mm “normal” prime that came with many film SLR’s. Once in lightroom I played around with the images trying to get a film like look based on other shots I took that day with the Pentax MV and 400 ISO film. Between using the older glass and the processing I think I created images that look like they could have come from a film point and shoot camera which was my intent. The preset can be downloaded by right clicking on the link and selecting save as. Wkoopmans Colour Film P&S template One of the problems with creating this preset is adding the grain. Lightroom added the ability to introduce grain to an image with Lightroom 3 but it is a simple solution that works best with black and white film. The grain of colour film is more complex with different amounts of colour mottling that Lightroom has no answer for.
3 comments | tags: Digital, film, Lightroom, Pentax, template | posted in Photography, Processing
Jan
5
2012
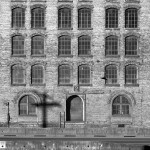
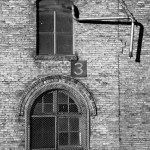
The B.C. sugar refinery warehouse building is very photogenic and I couldn’t pass it up when I was at the Vancouver waterfront recently. There is little point to me writing about it’s history as there is an excellent article in the Vancouver Sun that covers it all. Sugar Coated History
3 comments | tags: Digital, Nikon, p7000, Photography, Vancouver | posted in Photography
Jan
2
2012
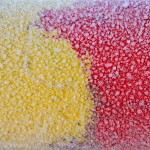
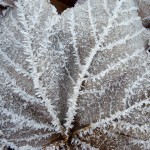
No Mulberry bushes though, I don’t even know what they look like. But these were all shot one morning with my Nikon P7000 when I went for a walk, on a cold…
no comments | tags: Digital, frost, Nikon, p7000, Photography | posted in Photography
Nov
20
2011
I’ve always assumed that other people used the Program mode on their cameras as I have but recently I’ve come to realize that there is some derision associated with using Program mode. An amusing anecdote relayed to me was how someone misunderstood the P to be for Professional and they couldn’t figure out why they didn’t get better results with it.
Some people may tell you that you need to shoot in aperture priority or shutter priority or even manual mode if you are a serious photographer but I disagree. If you are using a modern DSLR from almost any manufacturer you are using the most sophisticated metering systems that have ever existed. I’m not advocating slavishly setting the camera to Program or some Auto mode and letting it do all the thinking but there is no reason not to take advantage of Program mode.

Minolta X-700 Mode dial
My first SLR I bought for myself was the Minolta X700 which was also my first introduction to Program mode. At the time it seemed wrong to turn over so much to the camera and I tended to use the camera in Aperture priority instead and only used the exposure compensation when I felt a scene needed it. Now though I use Pentax DSLR’s and use them almost exclusively in Program mode. I have the camera set to use what is called the MTF program line, what this means is that the camera attempts to select the apertures that give the best resolution results for the lens that is mounted on the camera. I consider this the starting point, pointing the lens at a subject and metering, the camera will give you feedback about what aperture and shutter would give an average exposure. Changing either shutter or aperture at this point results in a corresponding change in the other in order to keep the exposure the same. If you think that there needs to be an adjustment to the exposure then a change to the exposure compensation will move the camera settings to create an exposure that differs from the program line by the amount you select. After taking a picture or when evaluating a scene for exposure you can then review the image and look at it’s histogram to see if your happy with what is essentially the data that you just captured.

Pentax K-7 Mode dial
So what does this all really mean? Well I see it as working together with the camera as apposed to believing that I always know what is best. You should always be aware of what shutter speed, aperture and ISO are set at but there is no reason for general photography to not allow the camera to get things started. Of course there will always be exceptions like when controlling depth of field or the shutter speed is of primary importance but even these can be done within Program mode. With practice in what ever mode you choose will come the confidence to make changes and the freedom to create art without dwelling on the technical. This should be the ultimate goal, to attain a level of proficiency so that the act of photography doesn’t intrude into the image making. If Program mode (I’m not referring to any sort of Auto mode) allows you to create good images then that is OK, after all it’s all about the results, no one looks at a print and says “I think they had the camera on Program”.
P.S. It’s a good thing WordPress has a spell checker I need that more than I need a light meter.
3 comments | tags: Cameras, Digital, Photography | posted in Cameras, Photography
Nov
4
2011
Previously I borrowed a Fuji F200EXR from Duncan Turner of DLT photographic , the point of which was for me to evaluate the technology that Fuji refers to as EXR. What this technology essentially does is capture two separate exposures at the sensor level at the same time by using half the total photo sights for each exposure. The trade off of this is a reduced resolution, to half of the total. The benefit is a greater dynamic range. In the case of the F200EXR the resolution drops from 12mpixels to 6 Mpixels when used in EXR dynamic range mode.
This isn’t a lab or a studio test of EXR for this camera but as close to a practical real world usage as I could make it. What I found was that the difference was subtle and it was really only necessary to go into EXR mode under harsh lighting, such as a shaded forest with bright sky in the back ground. In EXR %400 mode a similar exposure allowed for some retention of highlight detail where in full resolution mode some highlights were clipped. As there is no RAW shooting mode for this camera all images where jpegs. And here is the thing, I don’t think that the EXR results would be superior to a similar camera that allowed RAW shooting. With a slight under exposure bias to preserve highlights followed by some image adjustments during RAW conversion I think that all the stated benefits of EXR could be duplicated. In fact even the high resolution jpegs from the the F200EXR can be adjusted to produce similar results with the right exposure (again a slight under exposure to preserve highlights)
There are subtle differences between the two modes but is it enough to justify the drop in megapixels? I will answer that “No”. Both modes produce good results with the trade offs mentioned. So what do I think this means in relation to the new Fuji X10 that is being released and soon to be available? I think that the camera will need to stand on it’s other merits such as it’s fast F2.0 lens and it’s optical viewfinder because if you need to look this hard to see a real difference, your time could be better spent taking pictures. I hope I’m prove wrong when the X10 arrives as an advancement in camera technology is worth a bruise to my ego.
High Resolution mode, notice the clipped highlights on the histogram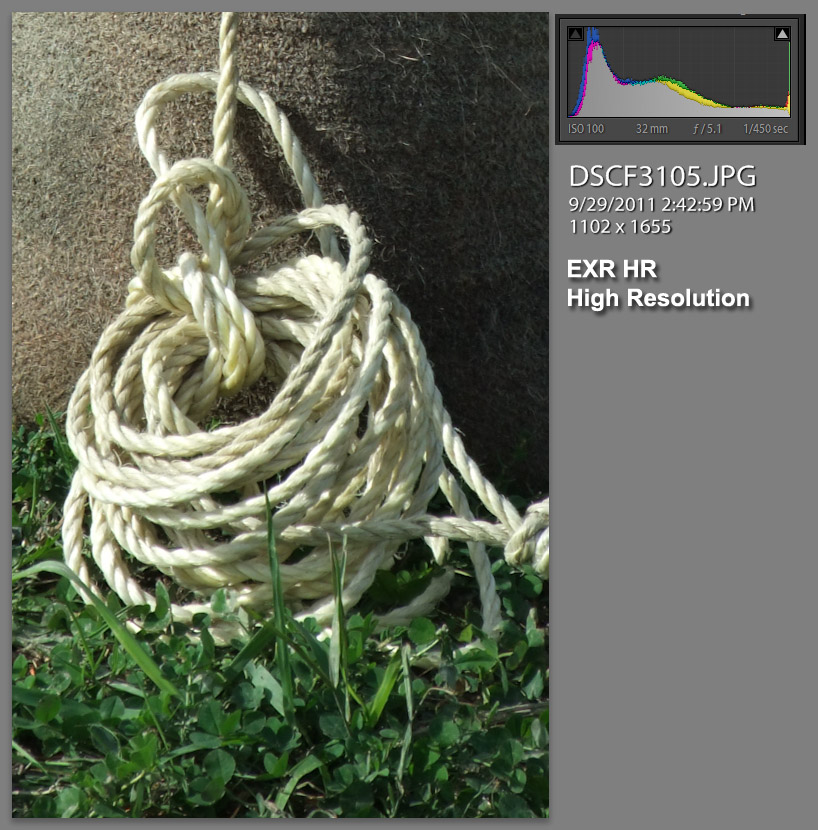
EXR High Dynamic Range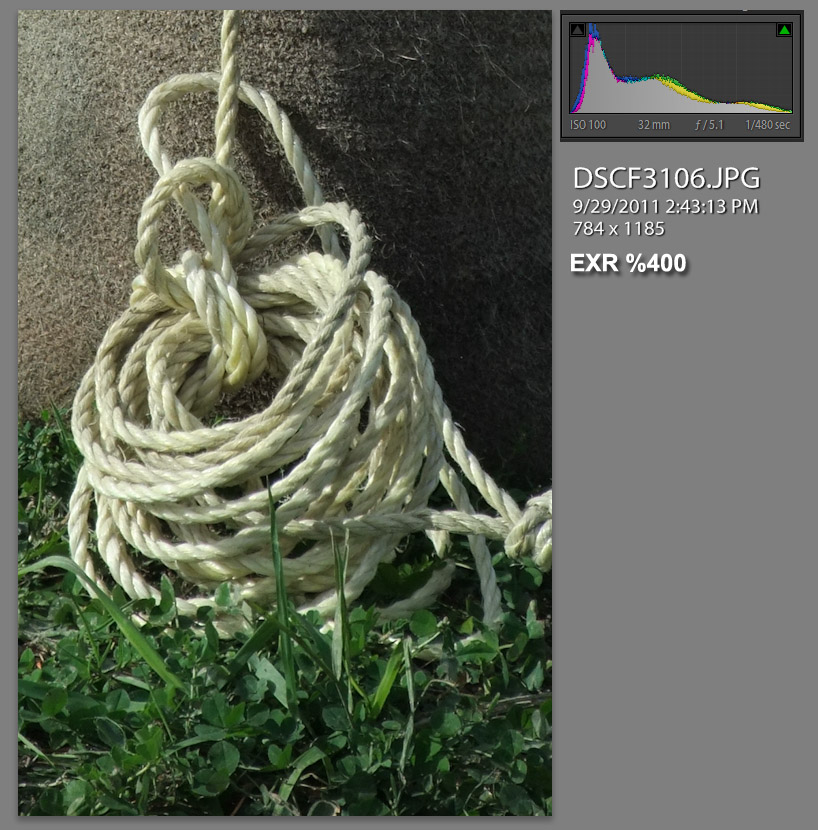
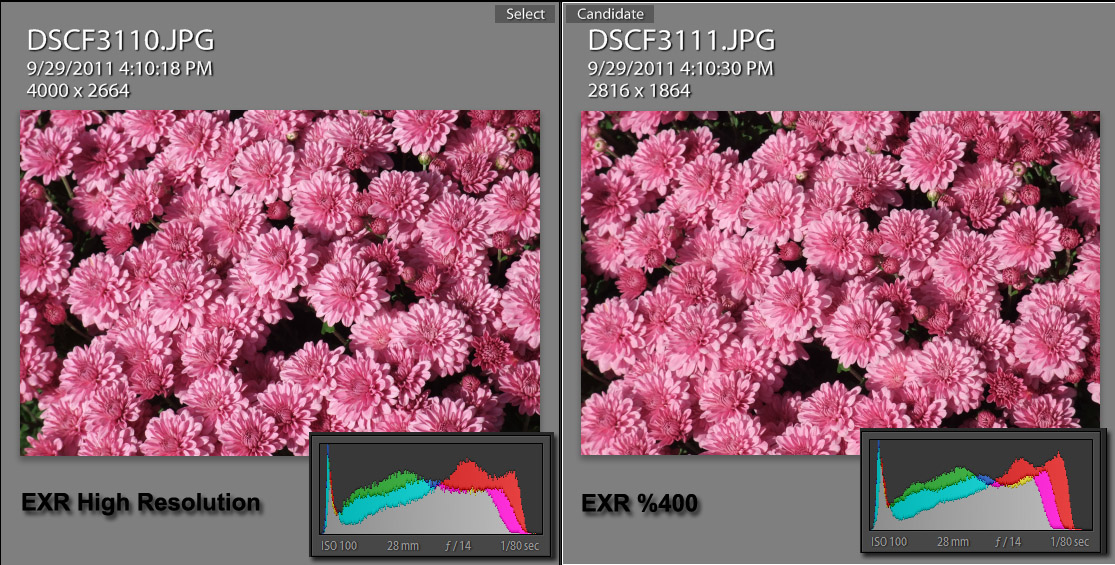
Zoomed in High Resolution on the left EXR on the right
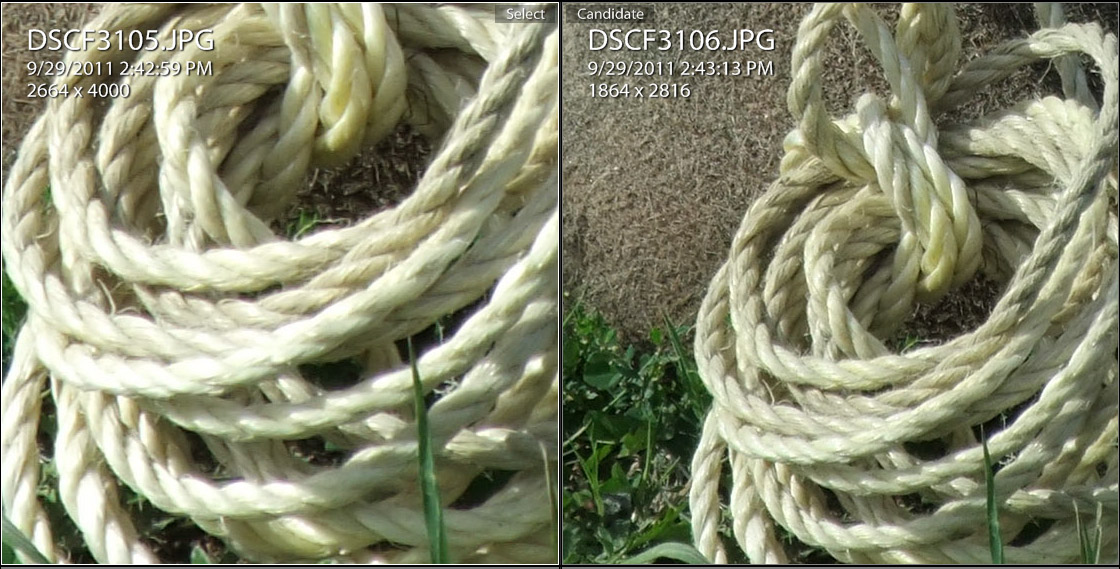
1 comment | tags: Digital, EXR, Fuji, Photography | posted in Cameras, Photography, Uncategorized
Sep
23
2011
These files where shot as Jpegs in camera and imported into Lightroom.
The thumbnails link to full size samples but because of file size restrictions I have had to compress the original files to under 2Mbytes each. This is a small amount of compression as the original files are not much bigger so any effect of the processing should be minor.
6 comments | tags: camera, Digital, Pentax Q | posted in Photography, Uncategorized
Sep
13
2011
I wanted to share this process I use to create Faux-laroid images using the in camera filters of the Pentax K-7. Most of the information is contained in the images but I will add words as required.
While in playback mode the filters can be accessed by pressing the down arrow key of the four way controller. This reveals this screen

Select the Digital Filter and press the OK button of the four way controller. The next screen allows you to select a filter effect. Here I have applied the custom filter with these settings. Soft Focus 1, Tone Break Yellow, Shading -2
Once you set the filter parameters and select OK you will be presented with the option to save the file or continue applying filters, select the option to continue.

The next filter that I apply is the colour filter set to yellow with the strength set to 2 out of 3

This is followed by adding a frame

After this filter is selected it’s time to save the results.

And the comparison with a real Polaroid Spectra image

While the result isn’t exact and there is room for more experimentation the result is nearly as good as what can be done on a computer and is quite fast. In fact now that you have one done like this you can use it as a preset for processing other files the same way. By selecting Digital Filter when reviewing this already processed image you are presented with the option of recreating the effect.

After selecting this option you then scroll through and select the file you would like to process.

This takes the file from this….

To this

As you can see combining the filter effects provides quite a bit of flexibility and if you leave those processed images on your memory card you can use them as presets for applying to other images, information about that can be found in a previous post. K-7 Filter Presets
1 comment | tags: Digital, filters, K-7, K7, Pentax | posted in Photography, Processing
Aug
19
2011
That’s really only a working title, I haven’t actually named this image yet.

As is always the case with my large images a computer screen is not the intended mode of output. So here are some detail crops to help envision the scale.


1 comment | tags: Digital, Photography | posted in Photography
Aug
18
2011
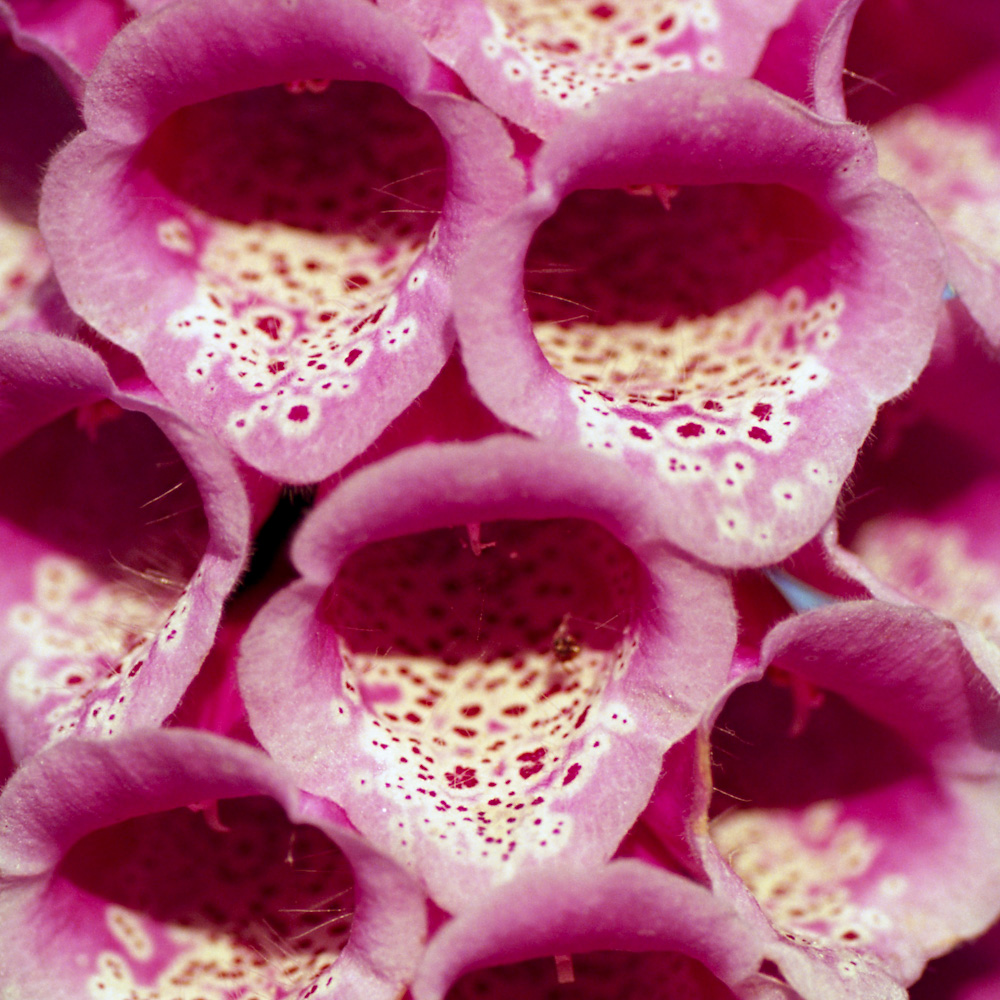
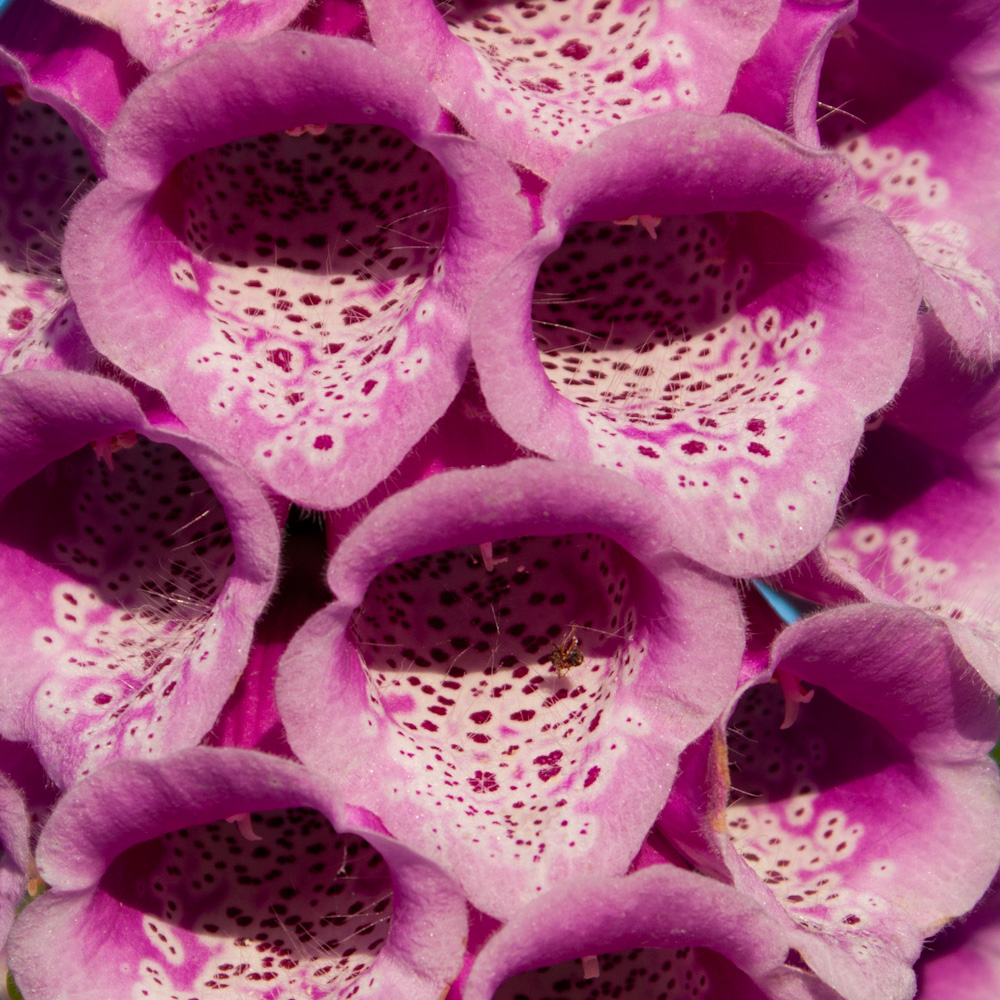
These two images represent some of the struggle I’m having in getting digital files to have a pseudo film look. There is more to it than grain and shallow depth of field. The way that colours are rendered particularly in the shadows differs. The biggest difficulty though is that when you get it right for one image it can’t be directly applied to another. I will keep trying and keep shooting film too, not that I would stop even if I got it perfect.
Here is film (Ektar 100)
And here is digital. I have obviously stopped the aperture down further in addition to the different relative sensor size on the digital image giving a greater range of things that are acceptably in focus but that aside the difference is still apparent despite my efforts.
no comments | tags: Digital, film | posted in Cameras, Photography
Aug
11
2011
Here are some images from July that I liked but never made it into any posts. It’s never too late for pictures. Some of the processing may be a bit heavy but sometimes I just adjust for the moment I can always change things later.
2 comments | tags: Digital, Photogarphs | posted in Photography, Processing


