The Pentax IQZoom 200 thankfully marks the upper limits of the super zoom point and shoots and possibly the depths of how bad a lens can be. Everything else about the camera is run of the mill for the time but the lens is a 48-200mm f5.1 – f13 abomination with 11 elements. Coupled with a shutter only capable of a 1/400 of a second minimum shutter speed your almost guaranteed to have blurry images. Thankfully that might hide some of the chromatic aberration which look like a 3D anaglyph they’re so bad. Even in good light with 400 ISO film at f13 it might only select a shutter speed of 1/125 of a second which is far too slow for hand holding such a light 200mm lens without a lot of care. Its just an ill conceived idea and little wonder by the time digital cameras became mainstream people were ready for an alternative. And 48mm isn’t very wide which leaves the usefulness of the entire camera in question. Sure if your at the beach on a bright day and you want to take a fuzzy picture of a sandcastle in the distance this might be the camera for you. Having now run a roll of film through it the question is now what do I do with the camera. It does provide a couple nice features like multi exposure which you can see in the flag picture and spot focus. Even taking that into consideration I cant think of a situation where I’m going to think ‘Hey I should really grab that IQzoom 200 monstrosity’.
One thing about one camera: The Pentax IQ Zoom 200 cost $349 US in 1999 which was enough money to get you an entry level SLR with a kit lens. At the same time saving you from the embarrassment of owning this camera.
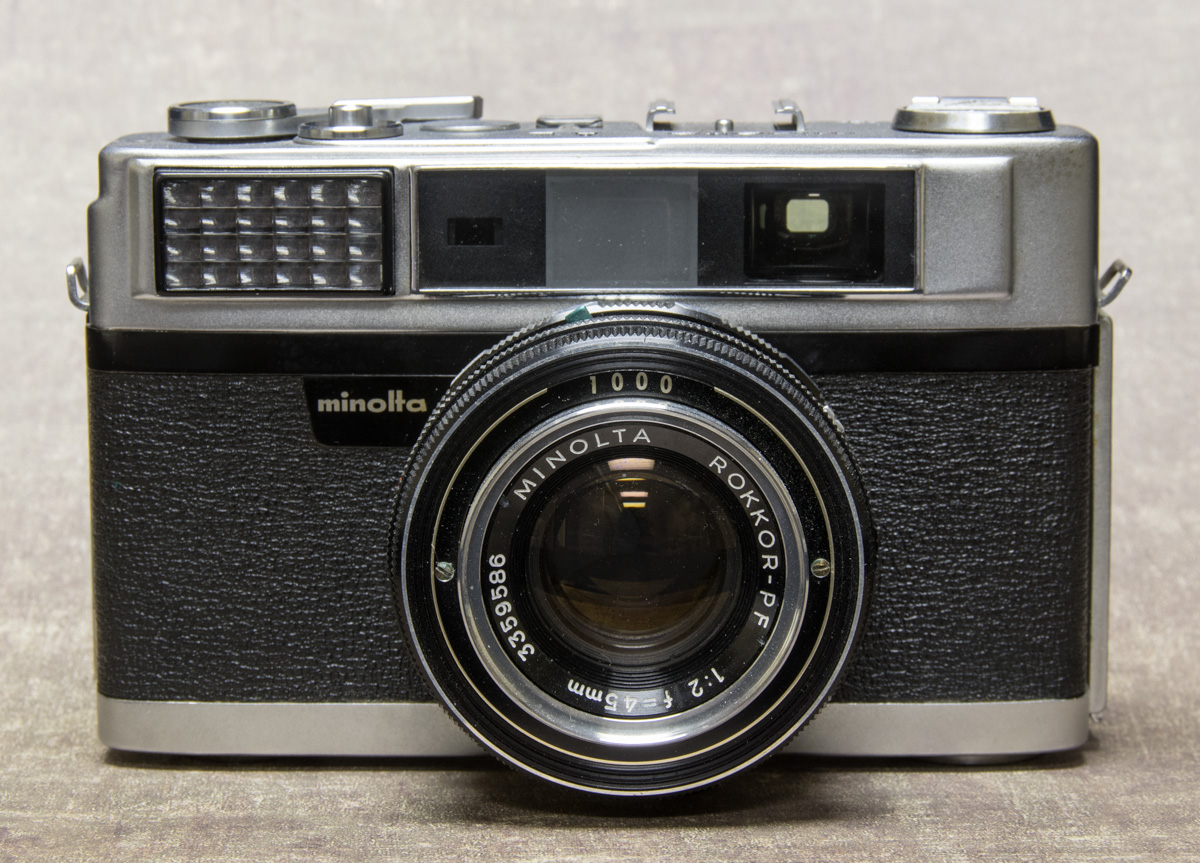
If you have read more than a few of my blog posts you may be aware that when it comes to film I will shoot just about anything I can get my hands on. This can produce some interesting and unpredictable results but it also allows me the chance to test out cameras without a huge investment. No one wants to waste a roll of some fantastic and now rare slide film only to find out the shutter on the camera didn’t work. Fortunately the AL worked. The AL has a matched needle exposure system which means that as you adjust the shutter speed and aperture for a given film it changes a small arm in the top window where there is also a small needle that varies depending on the light hitting the photcell on the front of the camera. The cell is meant to be used as a reflective meter so you need to get close to the object that you are measuring. When the arm and the needle align that indicates that the settings match the reading. Me I just ignore old meters and adjust the shutter and aperture based on more accurate readings from a digital camera or general exposure settings based on experience. The lens of the AL is a relatively fast F2 45mm but suffers from chromatic aberration and low contrast. Well as best as I can tell from this expired film anyway. The shutter though does go to 1/1000 of a second which is nice. I’ve seen it posted several times online that it is similar to the Minolta A5 but I think that other than both being Minolta rangefinders that is erroneous. The A5 has a slower F2.8 lens and slower maximum shutter speed of 1/500 second as well as no meter, these are great enough differences in my mind to disqualify it from comparison. Minolta A5 getting back to the AL its a nice solid camera that has that 1960’s aesthetic (not surprising since its from the 60’s) If you want the 1970’s feel and a slightly better camera have a look at a Minolta 7s either way Minolta made some great rangefinders over the years and they all can be enjoyed today.
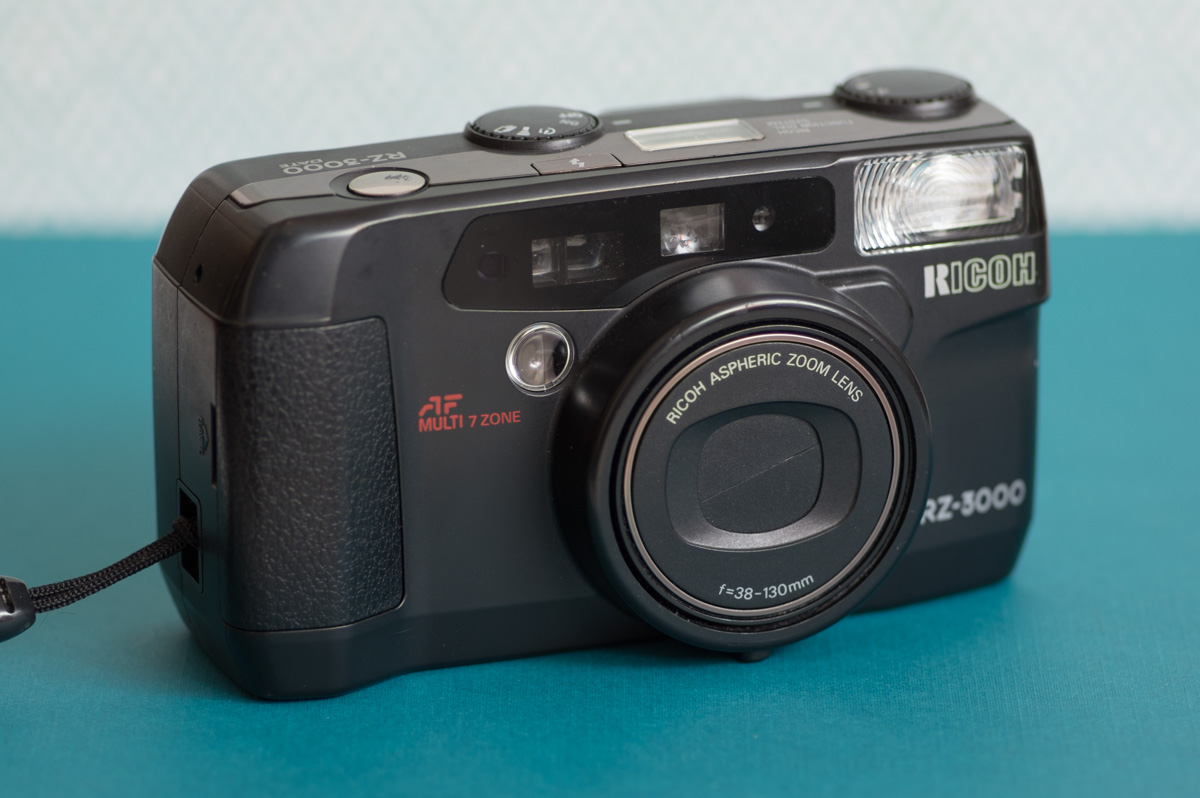
The Ricoh RZ3000 for what it is can only really be faulted for its need for specific expensive batteries otherwise it is a fantastic camera. It takes two CR123-A batteries to power it. The RZ3000 has a seven focus point AF system although they are clustered in the center it is more than the 3 offered by most of the competitors at the time. And better yet if you want to use a single central focus point it can be selected on the main operating dial rather than through some presses of a small button. You can also set the focus to infinity with the main dial which is convenient when shooting through glass or when you want to make sure the camera doesn’t lock focus on something in the foreground. The lens on the RZ3000 is a 38-135 f 4.5-f9.5 six element in three groups. So I guess that could be added to the fault list as 38mm isn’t as wide as I like a lens to start but the trade off tends to be overall image quality. I’ve written about this camera before here Ricoh RZ3000
My second go around with the Yashica T4 zoom with some better film, Kodak Portra 400 to be precise. You can see my previous post about this camera here Yashica T4 Zoom with some information about how to set it to spot focus and other things. So I wont go into that on this post. What I will reiterate is that the Yashica T4 zoom has a 28-70mm f4.5 to f8.0 lens comprised of seven elements in six groups. With better film and some decent light I found that the lens produced nice sharp images. At the wide end of 28mm there is distortion in the corners and vignetting as well but overall the results are very good for a point and shoot. One thing that is hard to quantify is the feel of the camera in use and for this the T4 Zoom is above average. It sits nicely in one hand and feels secure with the rubber ridge on the front. Without this its ‘bar of soap’ design might make it prone to dropping. As it is though it slips nicely into a pocket or small space in a camera bag yet handles well. There may be a little of a halo effect with this camera sporting the T4 and Zeiss badge but in reality it is just a good point and shoot not something that stands out above the rest of the crowd or warrants an exorbitant premium price.
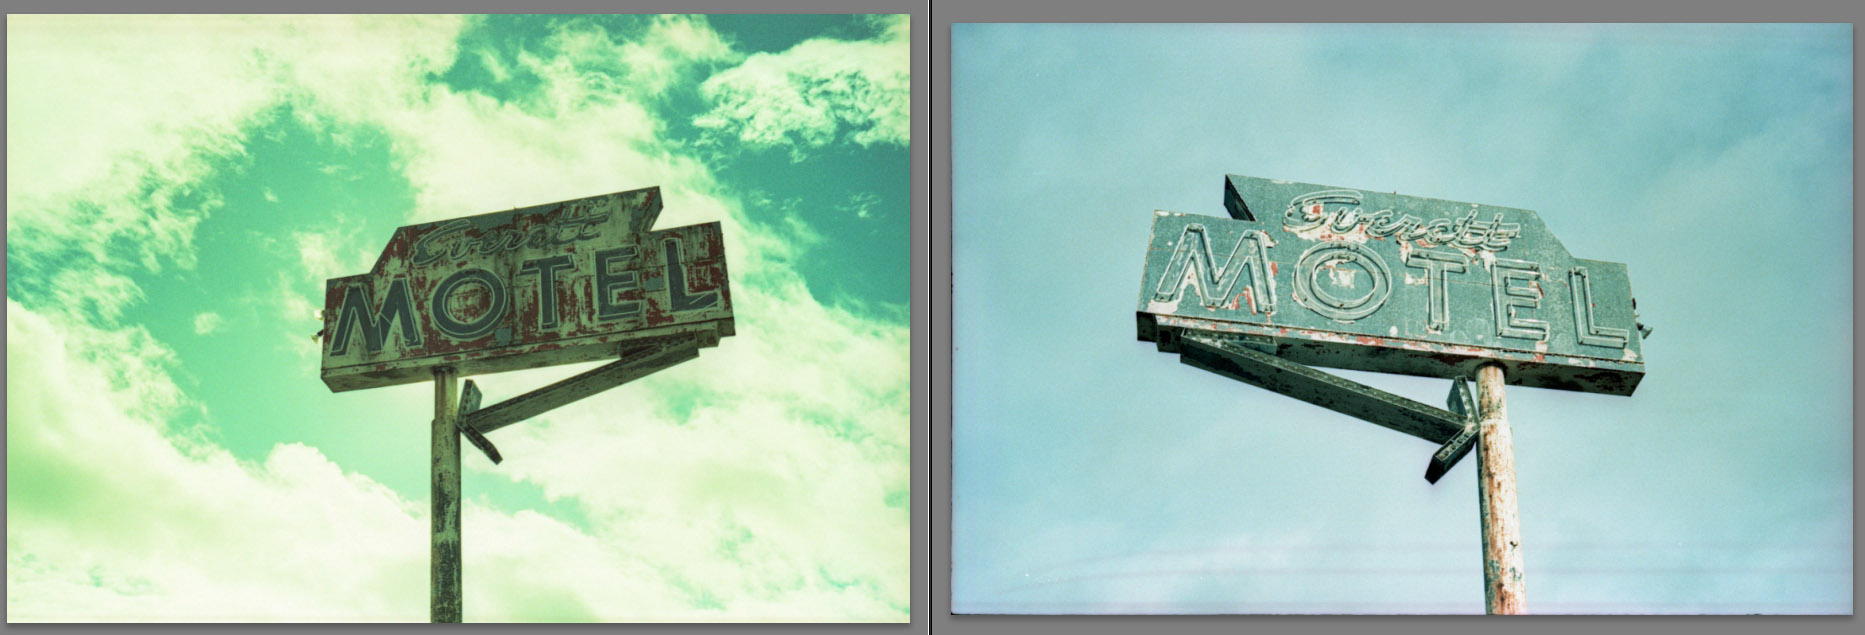
I had a roll of Agfa Precisa 100 which is a slide film meant for E6 development however I opted to develop it in C41 color negative chemistry. This is commonly referred to with the self explaining name ‘cross processing’ As with many things ‘film’ I like the somewhat random nature of the results. Some images turned out with very little to tell them apart from an image processed normally to other images having severe colour shifts. Part way through the roll I also opened up the back of the camera for a little bit of a light leak across some frames. Doing this of course you loose some images and you risk ‘damaging’ what might have otherwise been a good image. On the flip side you can get some interestingly effected images that would be hard to achieve any other way. You might be able to get a faux light leak result with some photo manipulation but someone needs to create the baseline of what would happen in the real world.
The shift in colour was quite unpredictable as can be seen from these two images of the same sign. The one on the left was taken shooting into the light and the one on the right was taken away from the light. The shift towards green isn’t equal across the entire image but happens primarily in the blues of the sky. That image is as scanned with no effort made to hide the effect through adjustments.
I’m happy with the results and continue to be enamored with the Olympus 35SP which has risen to be my favorite rangefinder camera. More about this camera here Olympus 35 SP
While many people think of a 50mm lens on 35mm film as being the normal focal length that approximates what the human eye would see the actual diagonal of a 35mm film frame is around 43mm which means that the 42mm lens on the 35SP is much closer to the ideal normal lens than 50mm is. One more reason the Olympus 35 SP is an awesome camera.
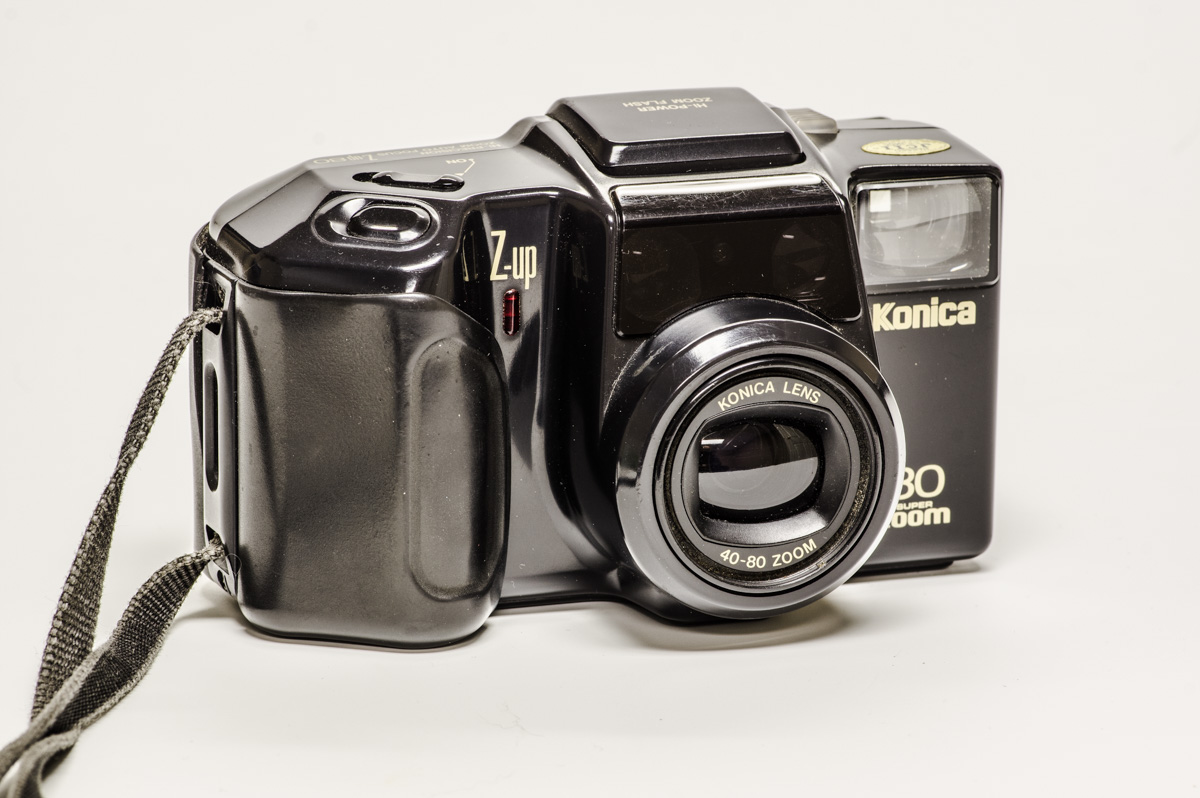
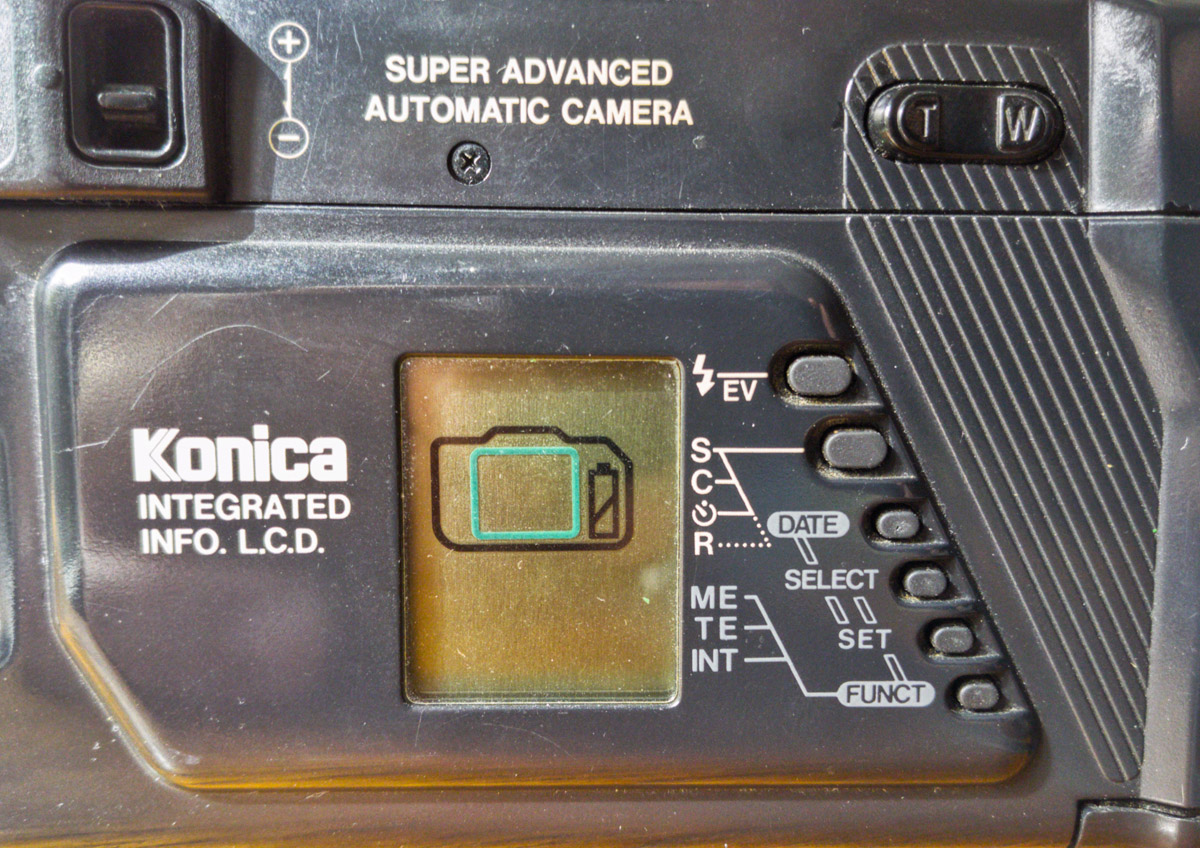
Well now we know what the camera the Cylons would give Darth Vader for his birthday looks like, if those two sci-fi worlds collided. Konica made some very strange looking cameras and this is no exception. The idea of a 40-80mm zoom is also out of the norm not very wide and not very tele. However the Konica Zup80 has a bunch of tricks up its sleeve that transcend its weird visage. It has a number of multiple and timed exposure modes that you just cant find on other film cameras not even SLR’s.
The maximum aperture of the lens is f3.8 – 7.2 and the shutter under normal operation goes from 1second to 1/500second
For multiple exposures you press the function button on the back until the arrow on the LCD points to ME (Multiple Exposure) then press the set button to select the number of times to expose the film (2-39) and then finally press select to finalize your choice. The frame counter will count down from the total number of exposures set.
The two samples above show the movement of the boat on the water through a number of exposures and the lower one unfortunately shows that I bumped the tripod while trying to take the second of two exposures.
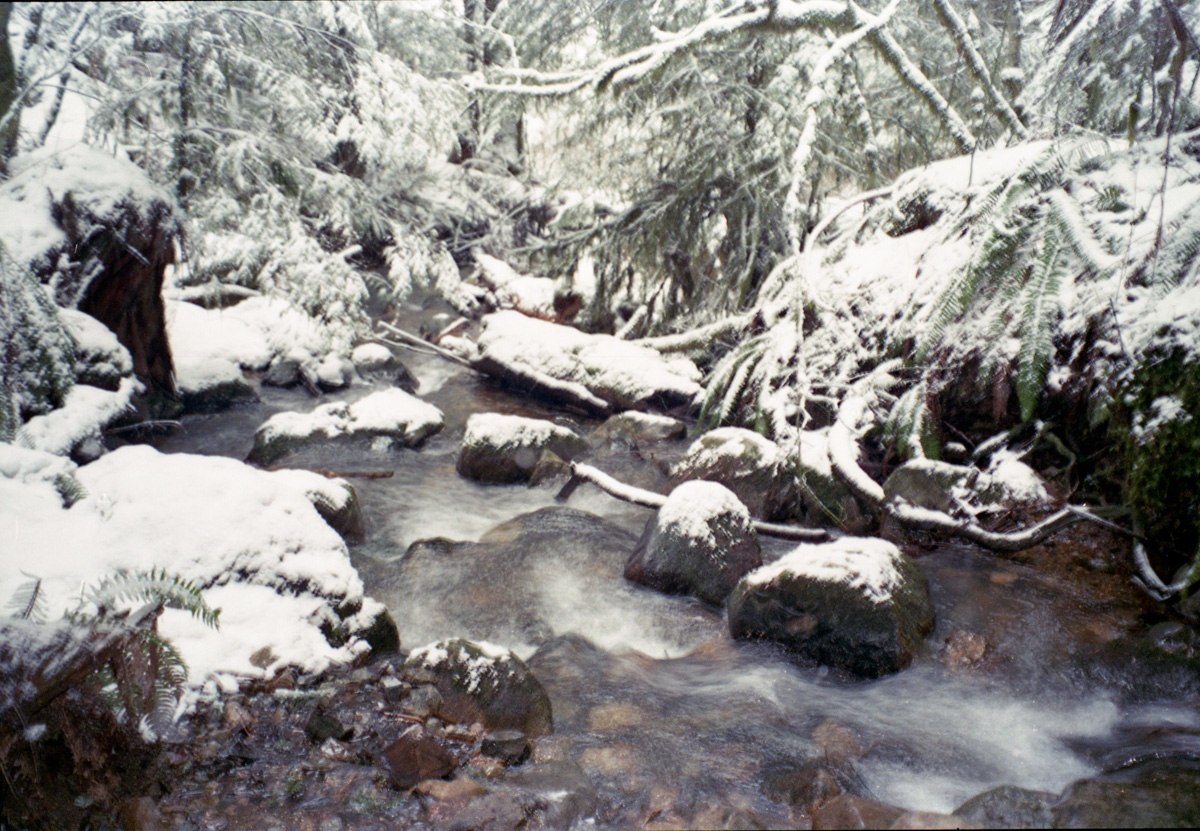
For timed exposures press the function button on the back until the arrow on the LCD points to TE (Timed Exposure) you can set the time all the way from 2 seconds to 99 hours
The above two examples of timed exposure show playing with an LED flashlight and the international space station crossing the sky against a star field
The third unique mode is IN (Interval Timer) In this mode you set the number of frames to take and the interval between them again from hours to a minimum of 10 seconds. Considering that a roll of film only has 24 or 36 frames that is an expensive way to do time-lapse but back when this camera came out there weren’t so many options. I didn’t try this one out mostly because I wanted to save the film for other experiments.
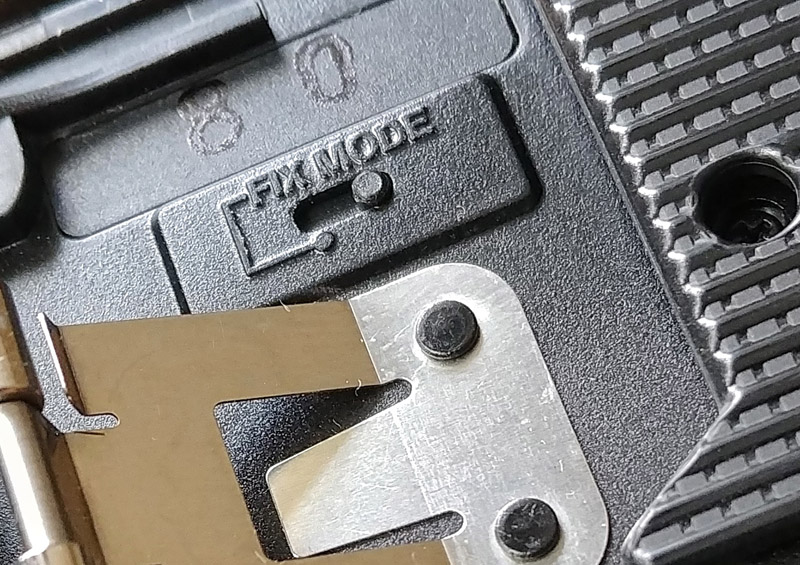
For each of these modes after they are done the camera reverts back to standard single frame shooting, however it is possible before loading the film to set the fixed mode switch inside the camera so that it doesn’t reset, but don’t forget that you last set the camera to take that 3 hour exposure. Even with it set though you can make changes of course through the function button.
So despite its weird looks the ability to set long timed exposures, with countdowns I might add, and the ability to easily set a number of multiple exposures make this a fun camera to play with. I look forward to the next go around with it.
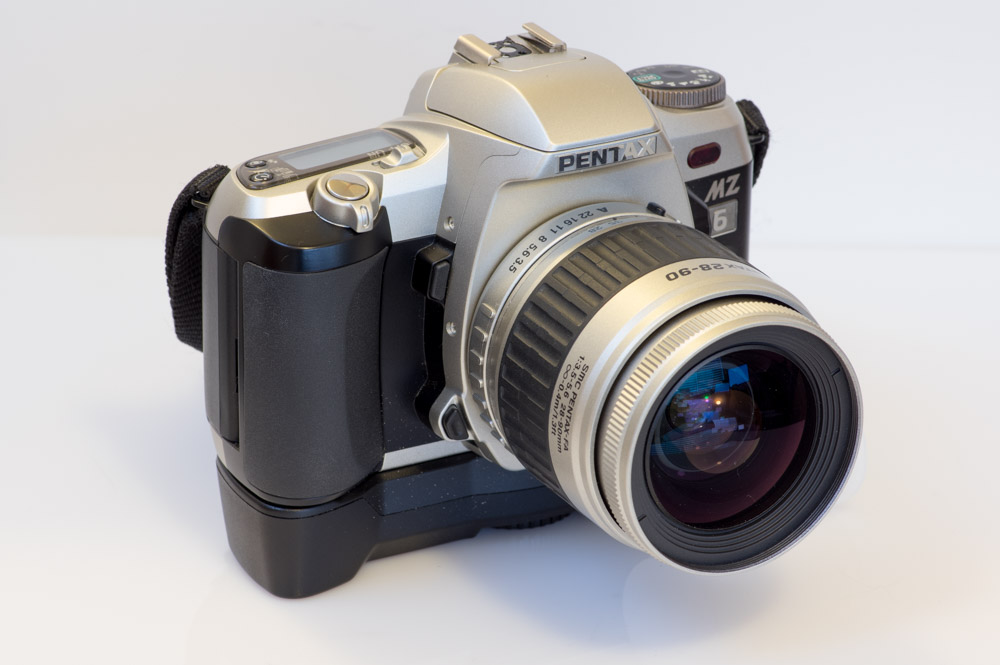
While I enjoy using rangefinder and point and shoot cameras there is no doubt for versatility its the SLR that wins. That’s why when I have the space and can spare the weight I like to bring along an SLR on trips. In this case the camera was the Pentax MZ6 one of the last film SLR’s produced by Pentax and full of all the features you need in a small light package.
I haven’t shot much of the Kodak Portra 160 mostly because it seems like an odd sensitivity. It has a Print grain index of 79 at a magnification ratio of 17.9 while Ektar is 66 and Portra 400 is 89. With only a marginal improvement in granularity over the Portra 400 it makes choosing it more about needing the slower ISO at which point the Ektar comes into play. Then the choice is more between their colour rendition the more punchy saturated Ektar vs the more muted skin tone friendly Portra.
Different films often say ‘load film in subdued light’ but few of them require it to the degree that Rollei CN200 does. Each roll that I have shot so far has had ‘unwanted’ light strike the film while it is inside the canister. I placed unwanted in quotes because I could have been more careful to prevent it if it really mattered to me more. I like the randomness that can occur. What appears to happen is that the tang of the film leader sticking out of the canister works like a light pipe allowing the film to transfer light from outside to inside. The most clear evidence of this is the way that the first 12″ or so of the film is exposed to sunlight in a diminishing fashion.
The reason that this may occur with CN200 is it is an unmasked film. Unlike most negative colour films it does not have the same orange brown color mask but its base is clear as you would see with slide film. An interesting side effect of the lack of the normal C41 mask is that the film can be optically printed with Black and White paper the same as normal Black and White film. A quick check on the Internet as of January 2018 and this film is not available through any retailers I can locate which is a shame. Posts that actually talk about the Yashica Electro GX can be found by a search of my blog here “Yashica GX”
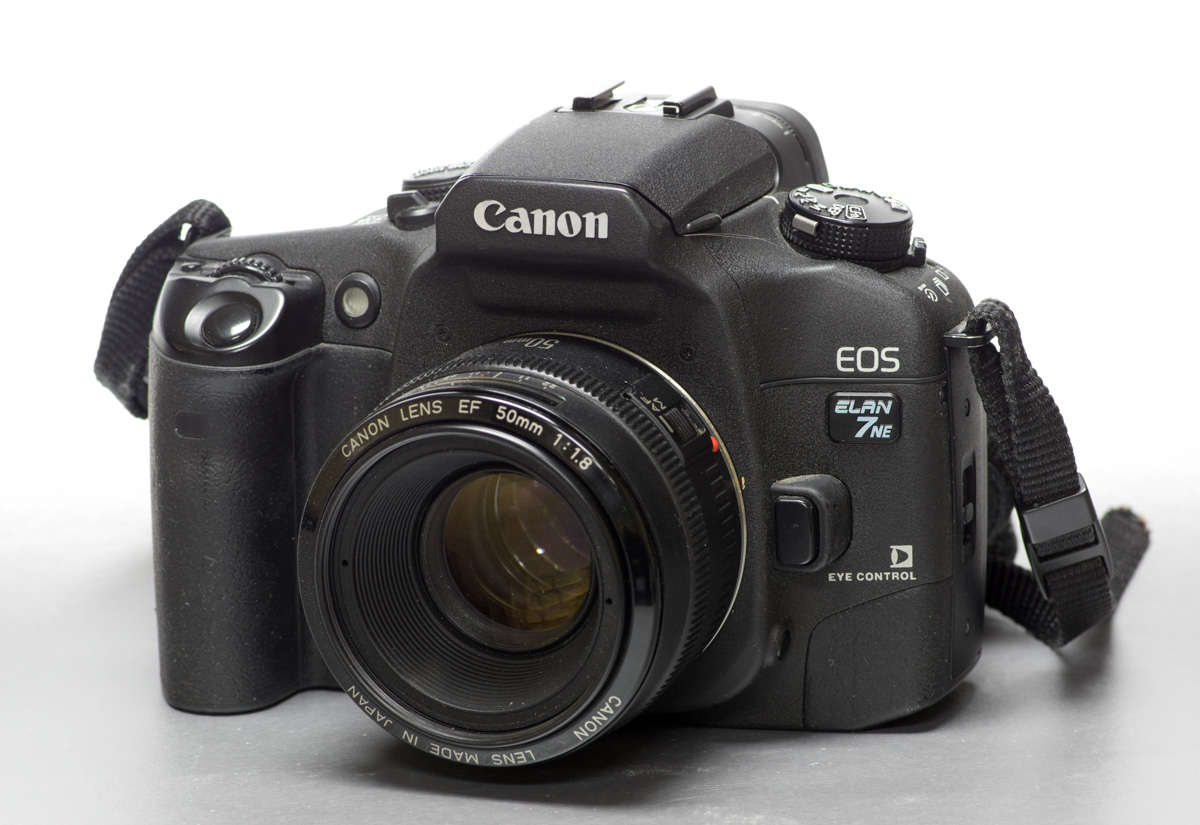
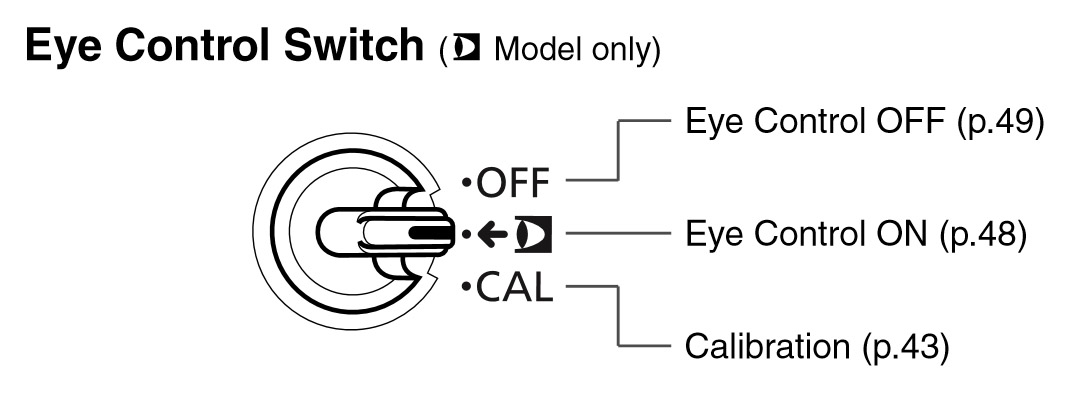
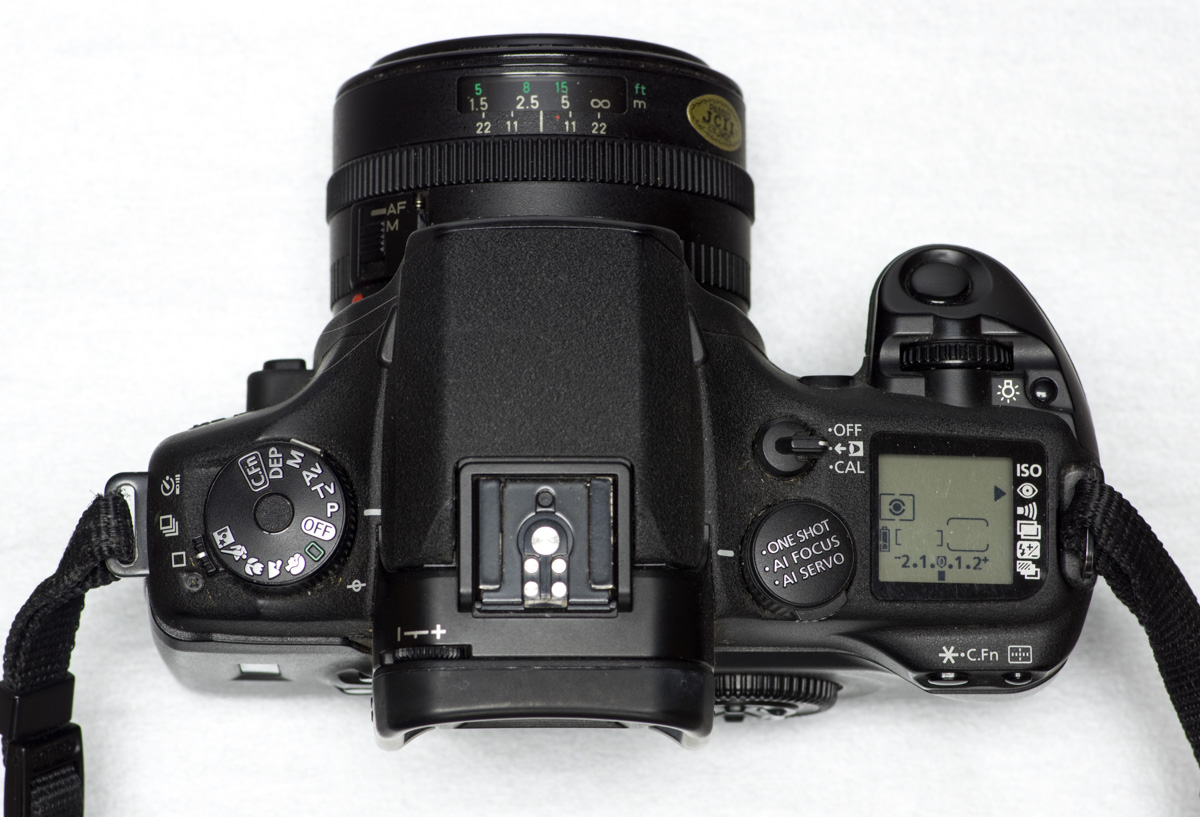
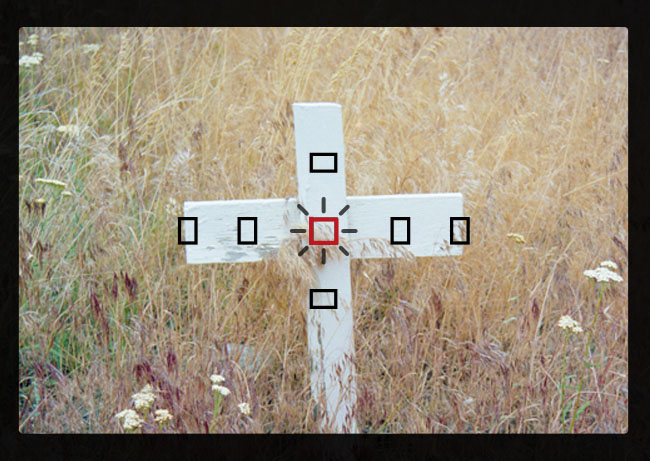
The Canon Elan 7ne has a very interesting feature. It can select from its seven focus points by determining where the photographer is looking. If your thinking in terms of modern facial recognition through processing stop right there. It uses a more intrusive system of shining an infrared beam into your eye and using the resulting reflection to compare it to a sort of look up map you create during calibration of the system. That’s why it works best if you make sure to delete any previous calibrations before trying to use it. If you do calibrate the system it works quite well but feels awkward to look at the focus point you want. I think that may be because normally you try to take in the entire scene in the viewfinder not concentrate on one tiny spot. The procedure for calibrating is a little involved so I will leave that to the manual, though it can be turned on and off easily with a switch on the top of the camera.
The focus points are all near the center so for a lot of instances they will all cover the main subject which defeats the purpose of being able to select a focus point by looking at it.
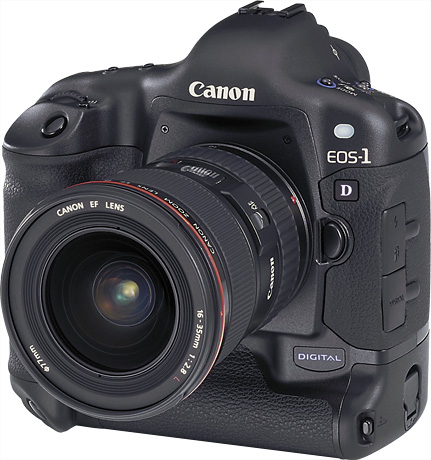
The Elan 7ne was released in 2000 around the same time as the Canon 1D a 4mpixel digital SLR and although they continued to release some Small plastic ‘Rebel’ SLR’s for a few years this was pretty much the end of the line for film camera innovation as their attention turned fully to digital.
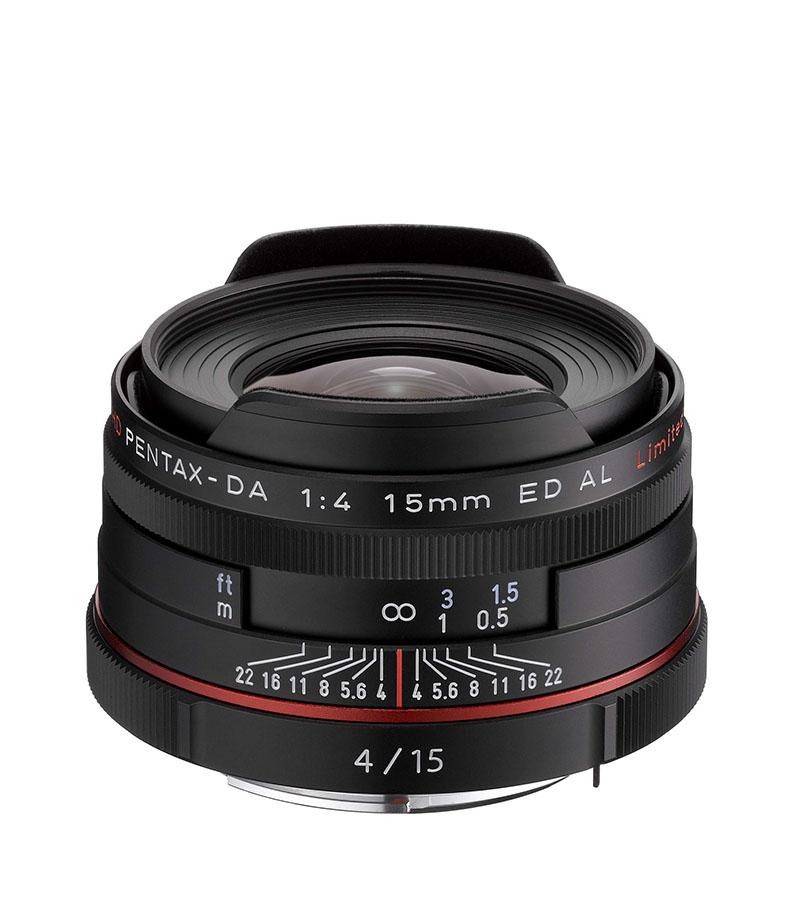
While Ive owned the DA12-24 f4 lens for some time and have often used it when travelling it tends to feel too large at times, so when the opportunity came up to purchase an excellent used copy of the HD Pentax DA 1:4 15mm ED AL Limited locally from another Pentax photographer, I jumped at the chance. The name may be long but the size and weight savings are 189grams vs 430grams and a length of 39.5mm vs 87.5mm. After taking it on several trips I feel I have a pretty good sense of its strengths and weaknesses. I will start of with what is its weakest point and that is chromatic aberrations. Despite having an Extra-low dispersion and a hybrid aspherical lens element it does suffer from chromatic aberrations away from the center of the image.
Fortunately they can be greatly mitigated in software such as Adobe Lightroom which I use extensively.
The same can not be said however for the coma distortion in the extreme corners. If you can imaging a comet with its tail this is what is happening to the image in the corners which tends to look ‘smeary’ across the effected area.
When compared to the DA12-24 or the DA*16-50 at 15mm or 16mm respectively its a very similar result for the CA but slightly worse for the coma so there is a marginal trade off of image quality for size.
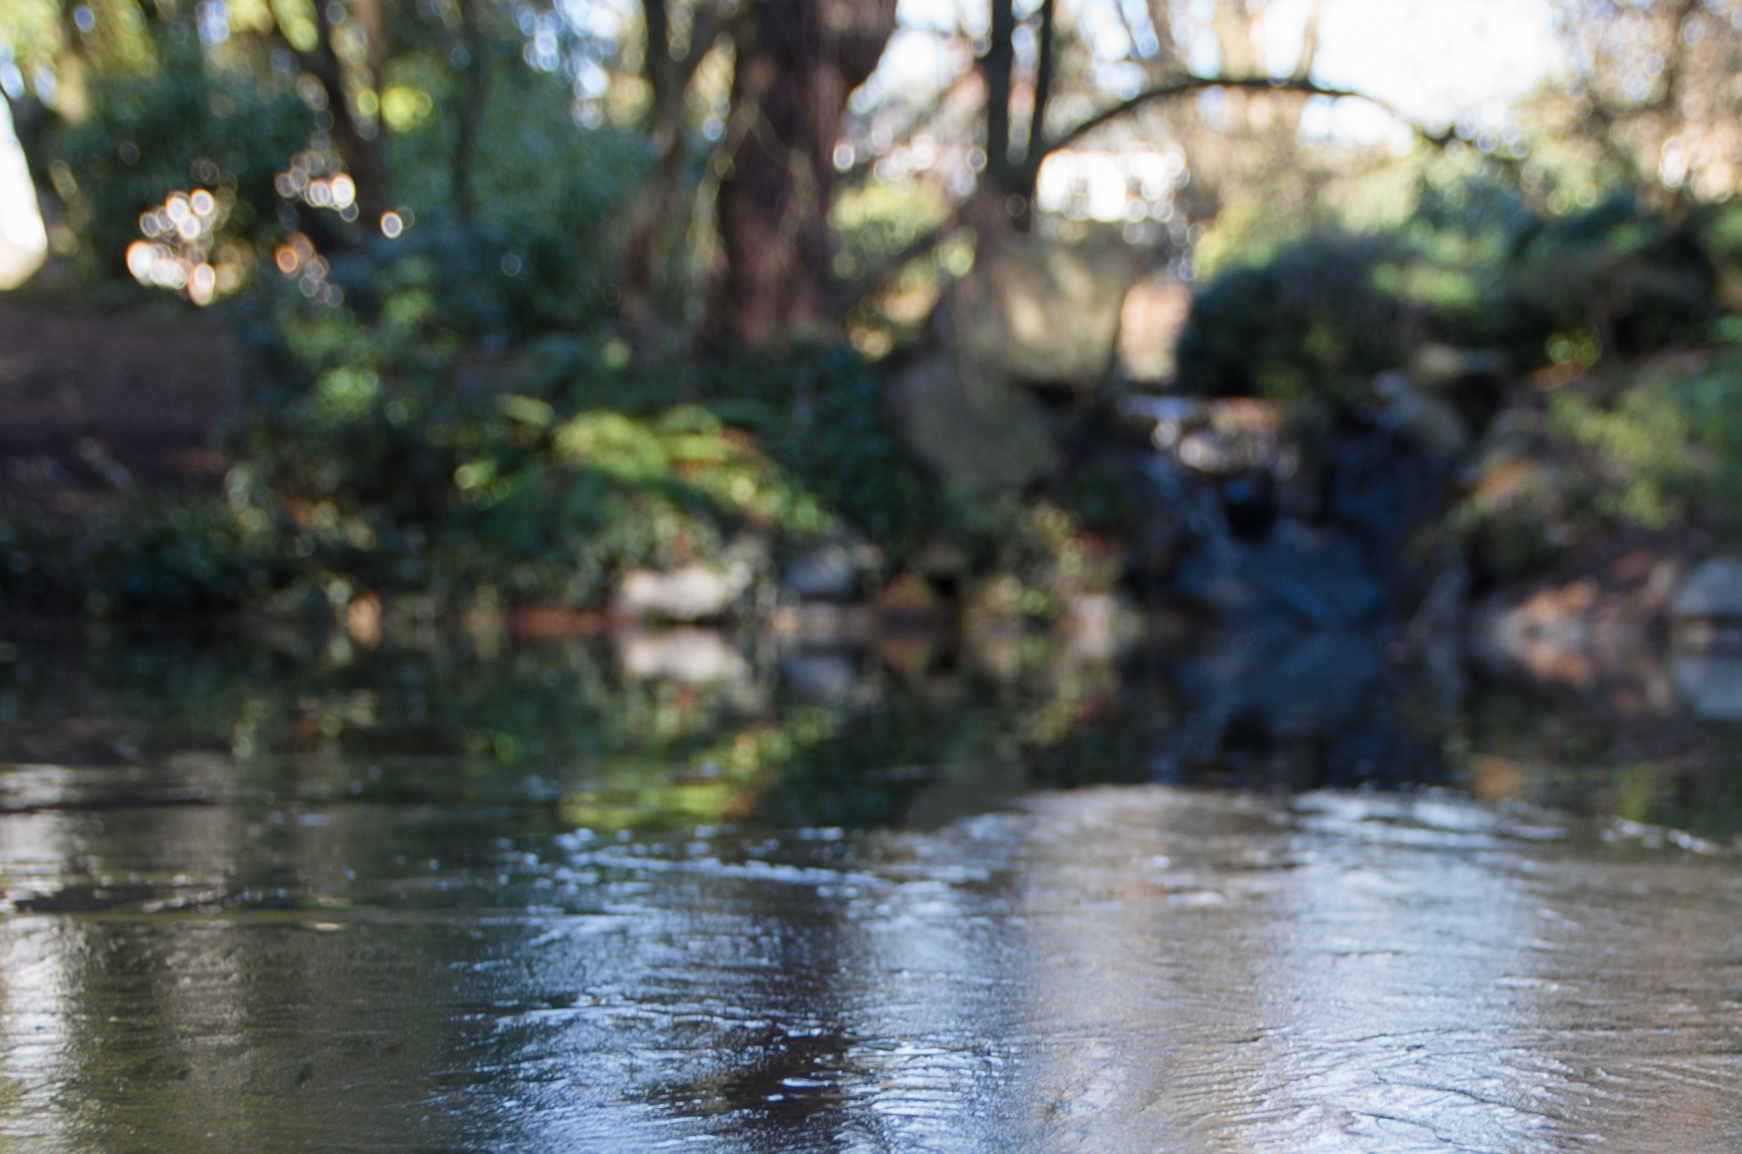
These distortion issues away from the center aside the lens renders a sharp image and a nice smooth background when focused on something close. This is enhanced by the use of rounded aperture blades that are the most useful and effective around f5.6.
Like the other Limited series lenses from Pentax this is a wonderfully constructed lens made from high grade aluminum without a hint of play anywhere while still being silky smooth to manually focus.
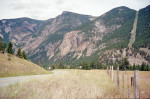
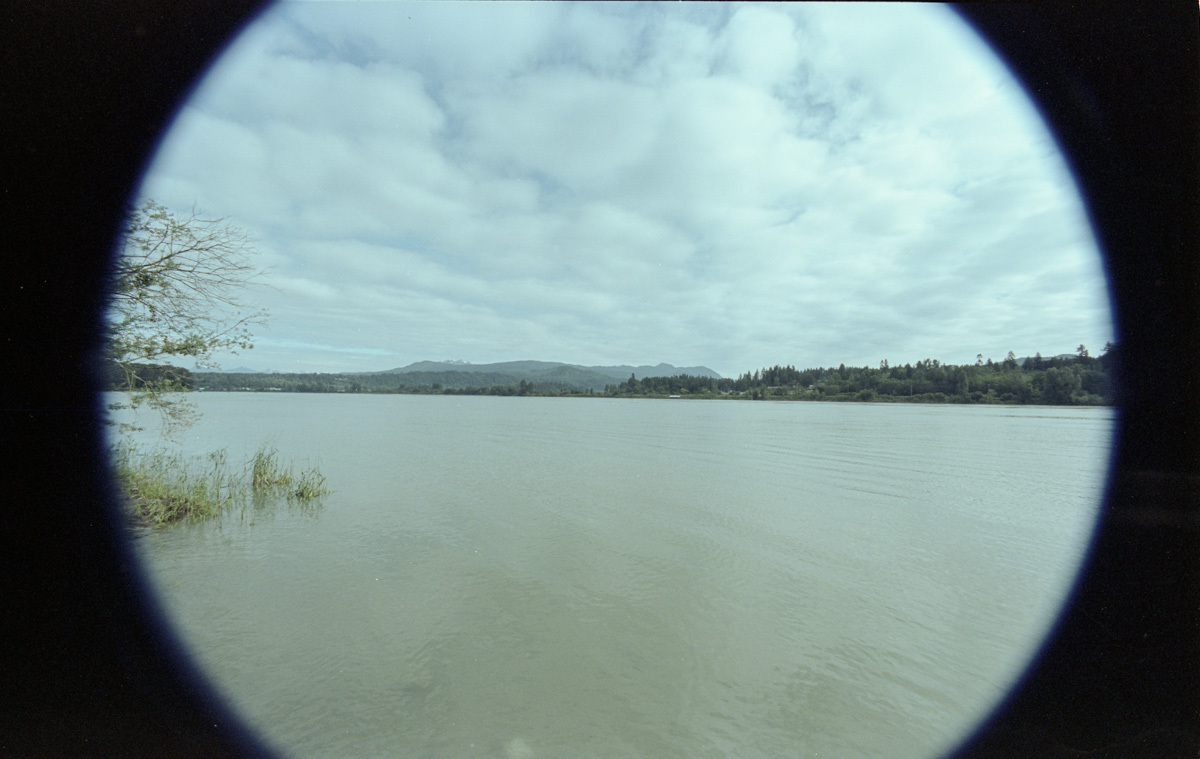
As for its image circle it is definitively a lens for use with APSc cameras as you can see from this test shot on 35mm film.
In summary the HD Pentax DA 1:4 15mm ED AL Limited is a good lens optically and a great choice as a wide angle when small size is paramount.