Oct 8 2017

Disposible film camera harvest

Dispossible_film-7861

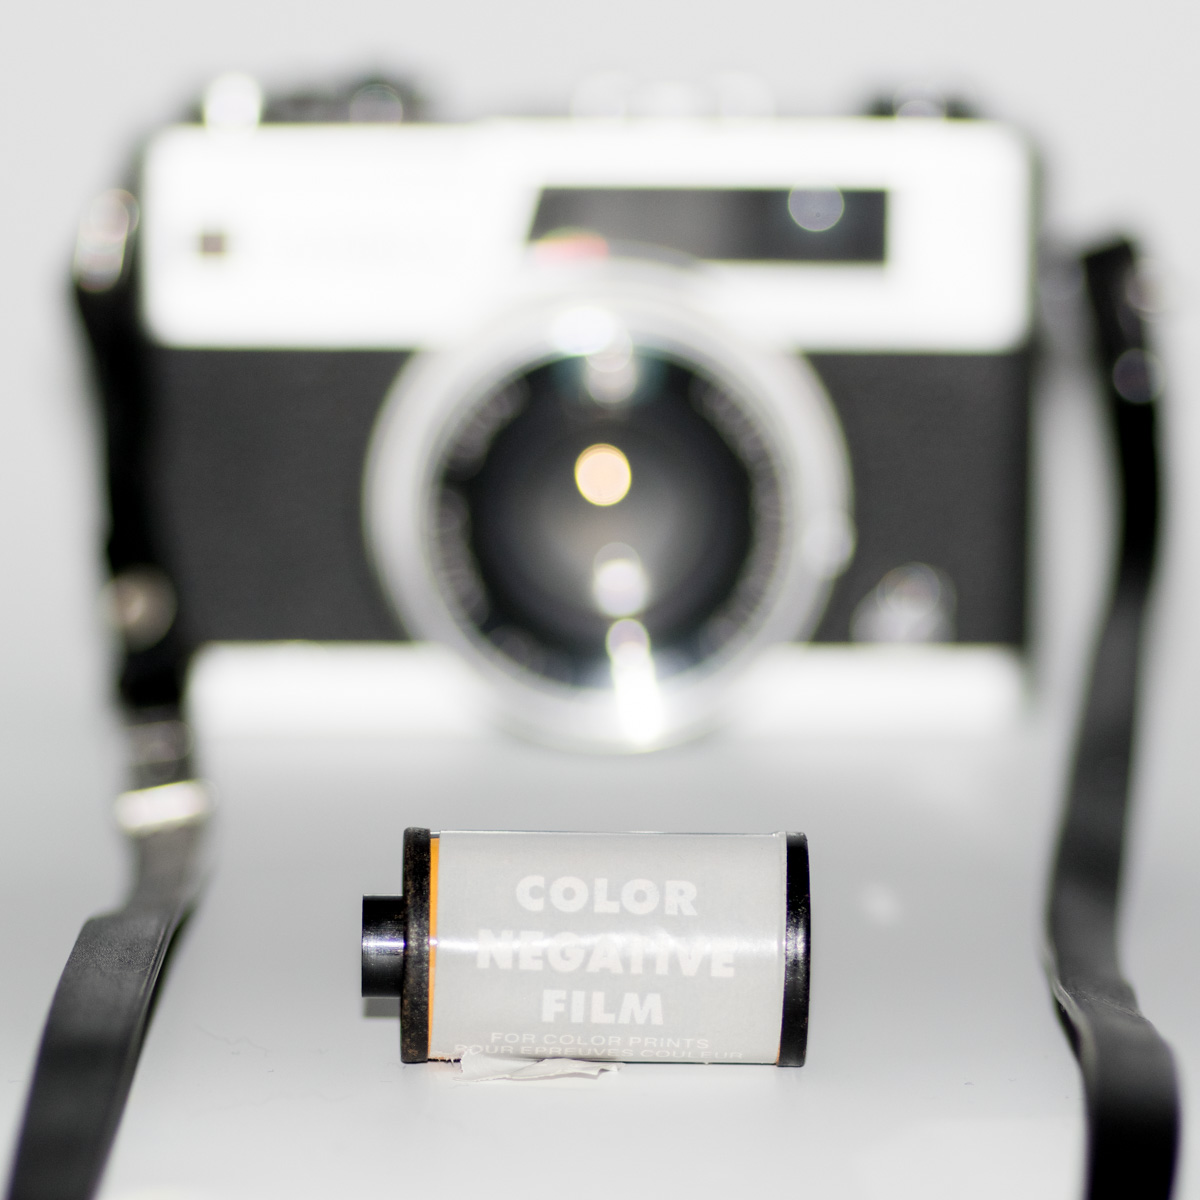
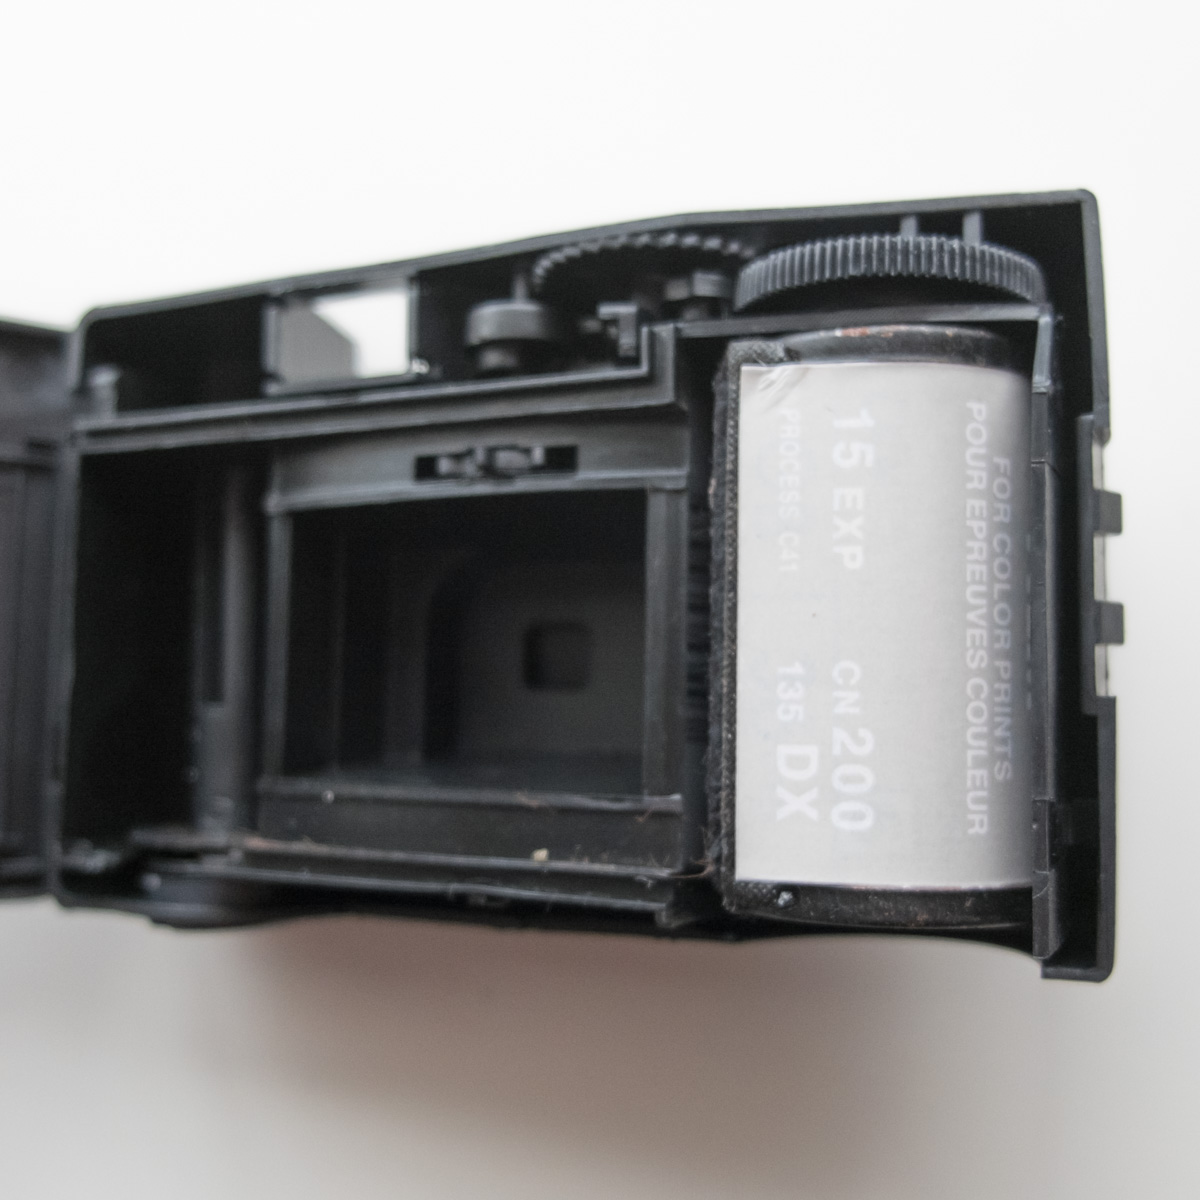
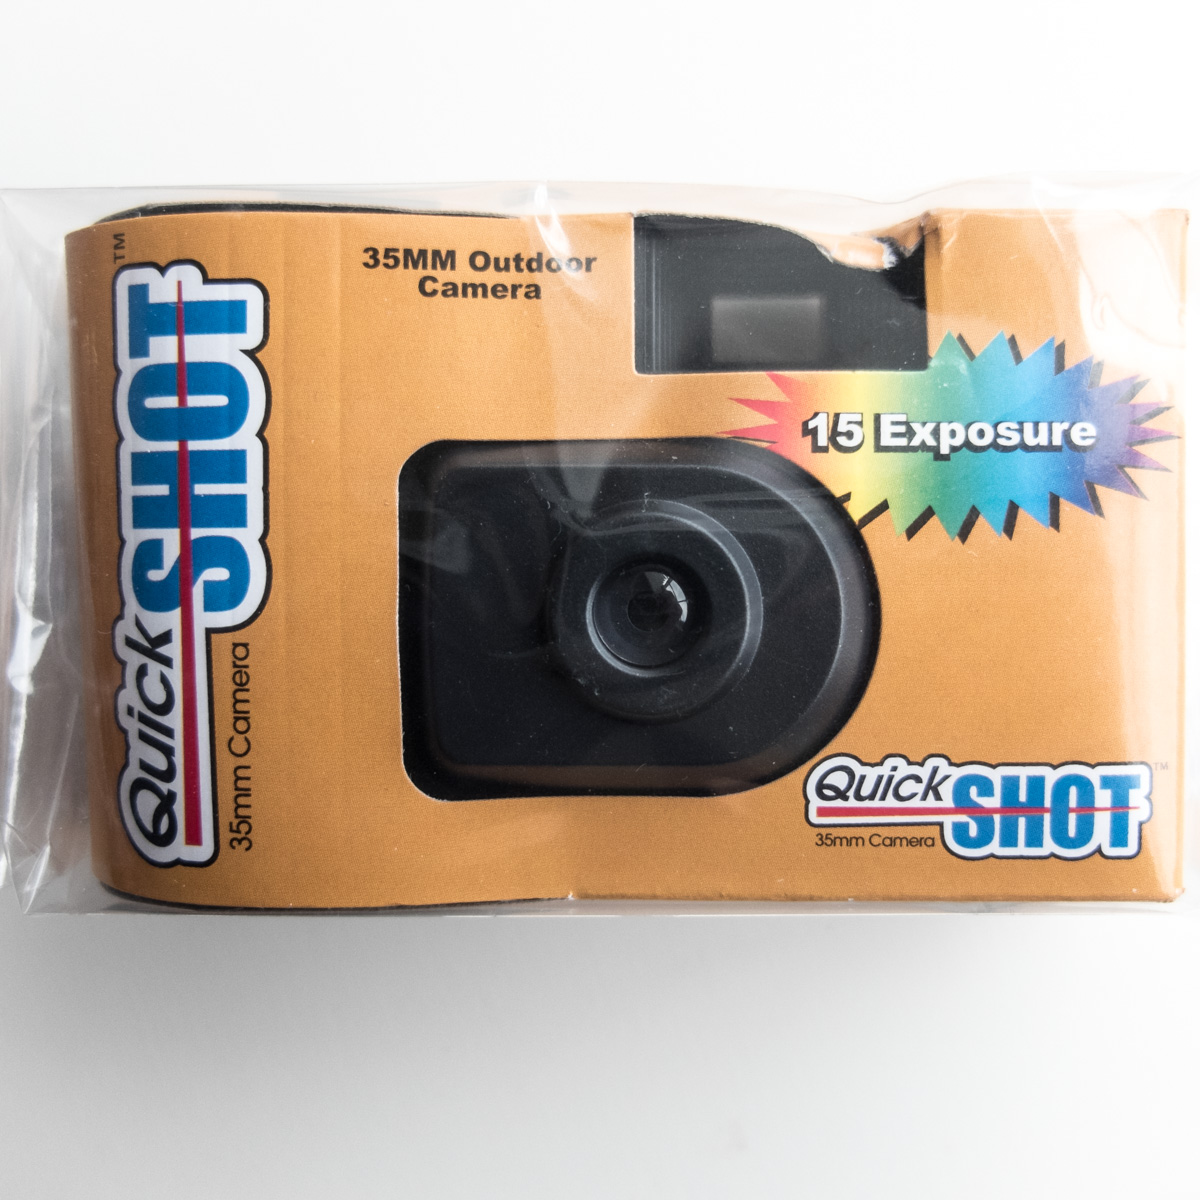
Disposable cameras have their place but nestled inside them can be some fun random films.  I acquired a few similar disposable cameras of dubious quality so I decided to rip one open and pull out its heart.  Mentioned previously here Thrift Store DisposableDispossible_film-5387

The first thing you need to do though is get the film back into the canister.  The way that disposable cameras work is that rather than a separate rewind action all the film starts outside the canister and is wound back in as you advance the film.  I accomplished this, without taking unwanted pictures, by winding and tripping the shutter while the camera was inside my changing bag.  Any suitably dark sack will do or even a finger over the lens.

Dispossible_film-5389

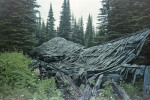
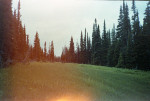
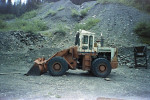
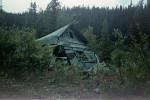
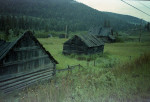
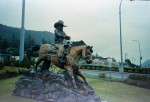
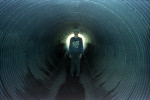
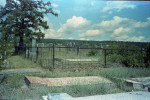
With the expired Italian film recovered from the Chinese camera I put it into my Japanese Yashica GX and here is what I got shooting around my neck of the Canadian woods.

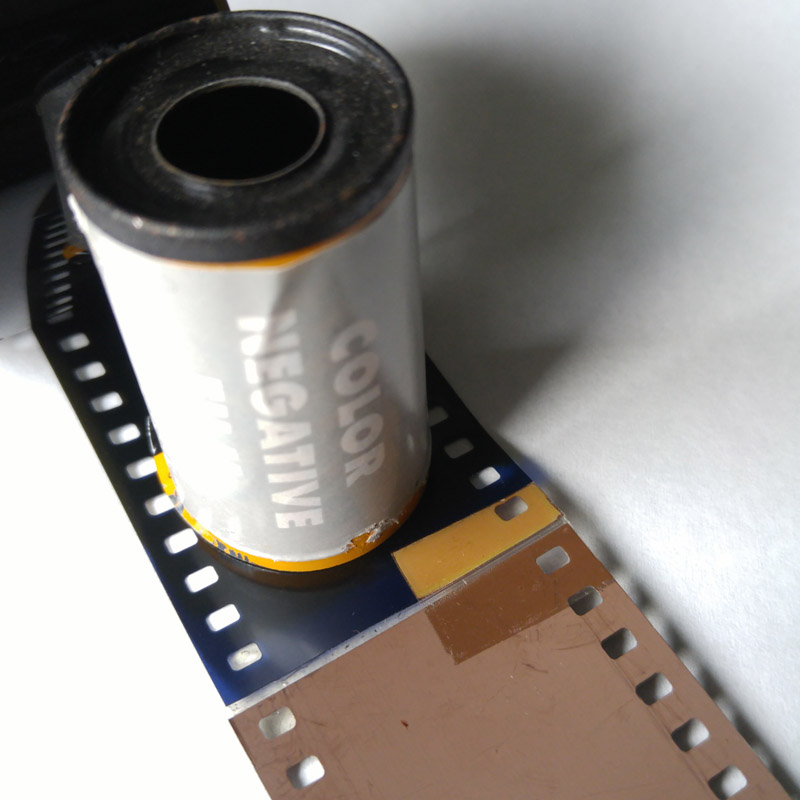
One last thing I found when taking the film out of the developing tank was that a short piece of dummy film was taped to the end presumably to maximize every piece of emulsion that gets exposed.

20170805_134732


Sep 24 2017

Medium format Panoramic Home brew

_K3_1714

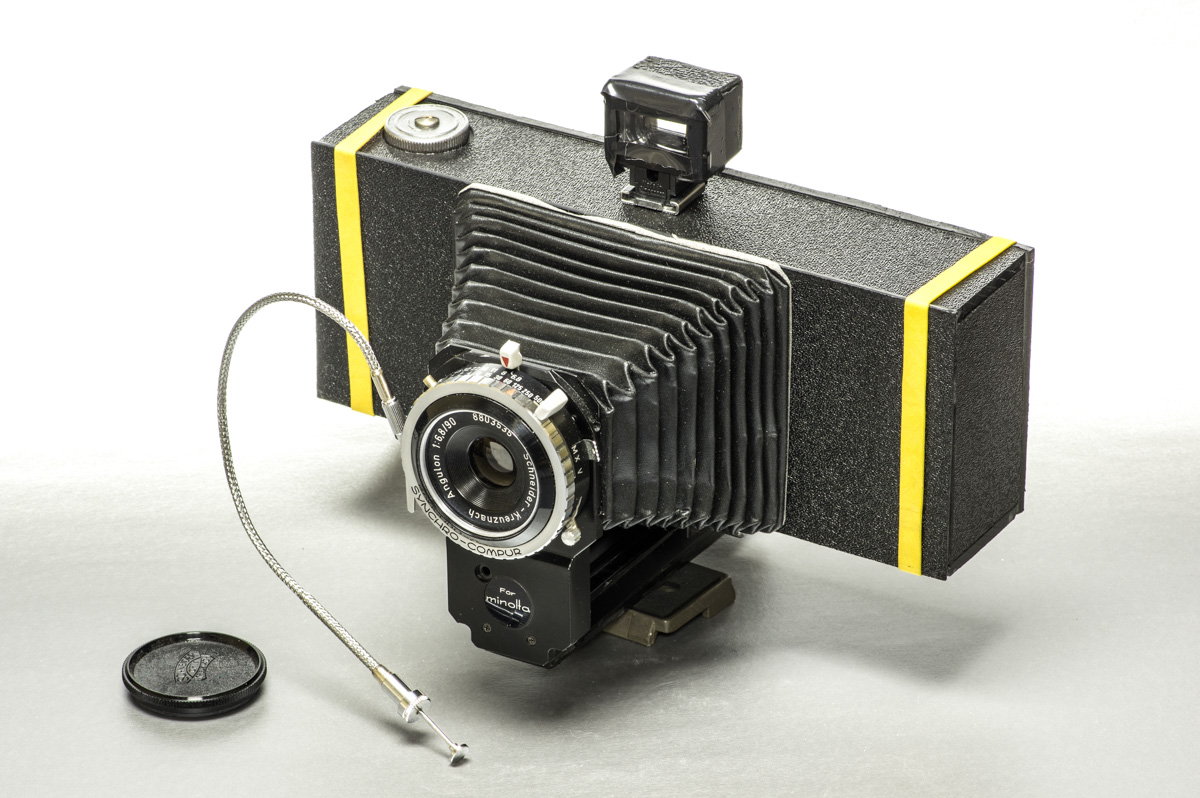
I really like the look of panoramic images and the way it forces you to think differently about composition.  So while I’ve had a few 35mm faux panoramic cameras I wanted a medium format one.  Rather than spending a lot of money I though why not make my own from what I had on hand.  The key component that even makes an idea like that feasible is that I was given a Schneider Kreuznach Angulon 90mm f6.8 lens and shutter a few years back.  Around this vital element I gathered my other parts.  There is a sliding rail from a Minolta macro bellows, the bellows from a Polaroid Pack camera I had altered into the Frankenroid , the film holders and winders and mask from a defunct Agfa Medium format camera, an empty pack of Polaroid Captiva film and a bunch of ABS plastic.

_K3_1715

The other thing to the endeavor was that I was on a timeline, wanting it for a photography trip.  As it turned out the timeline was a little too tight and the camera was not so tight. The result was the film was mostly fogged by light leaks to the point of ‘unscanability’.  The other thing that happened was that in my haste I neglected to put a take up spool back in so when it came time to actually load the film there was nothing to wind it onto.  Fortunately necessity being the mother of invention I was able to make a take up spool from some copper wire and tape.

Takeup_001 Takeup_002

Its deceptively hard to bend copper wire into a meaningful shape at the ends.

Takeup_003

Going back to the construction of the camera, the pieces of abs plastic were cut from flat material of various thicknesses and then fused together using Methylene chloroide as the solvent.  I found that the easiest way to cut sheets of ABS was to score it on both sides with a xacto knife and then to break it along that seem.  Another little trick that I came up with centered around drilling small holes into the plastic without a drill that could hold such small bits.  I searched the internet for a solution but finding nothing that didn’t involve buying something expensive this was my solution.

Take the bit and wrap its base tightly with a rubber band making sure to keep it as even from side to side as possible.  When the band is almost all on twist the remaining amount once and then pop it over the end of the bit to stop it fom unraveling.  Now its just a matter of inserting it into the drill chuck and testing it for being centered.  It may take a couple attempts with loading it into the drill just spin it around until your satisfied that it runs true.

Small_drill

Because I built the camera in just over a week I didn’t record much of the figuring and work and its really a one off in any case but here are a few of the components that I had to make or alter.

bellowsThe end of the bellows was too thick to accept the lens so it was necessary to file it down by a considerable amount, a tedious process I did by hand with files.

lens_mount

I made this brass plate to mate the Polaroid bellows to the lens

Springs

The springs from the Captiva film pack with some slight modifications became the spring for the film pressure plate you can also see the hole for the film number indication.  Its position is such that you wind on odd numbers 1,3,5,7,9 as the area is double that of a 6×6 frame.

In order to determine how to set the focus of the camera I took it outside with a long tape measure and a flag to focus on.  I placed a piece of ground glass at the same plane as the film sits and started the process of moving the lens in and out to focus at various distances and then record the result to make a focus chart. focus001 focus002 focus003

Small changes in distance for the lens had huge effects on focus so it became clear that I needed to use an accurate method of measuring even in the field later.  For this I chose to use a digital micrometer.

Focus_Chart


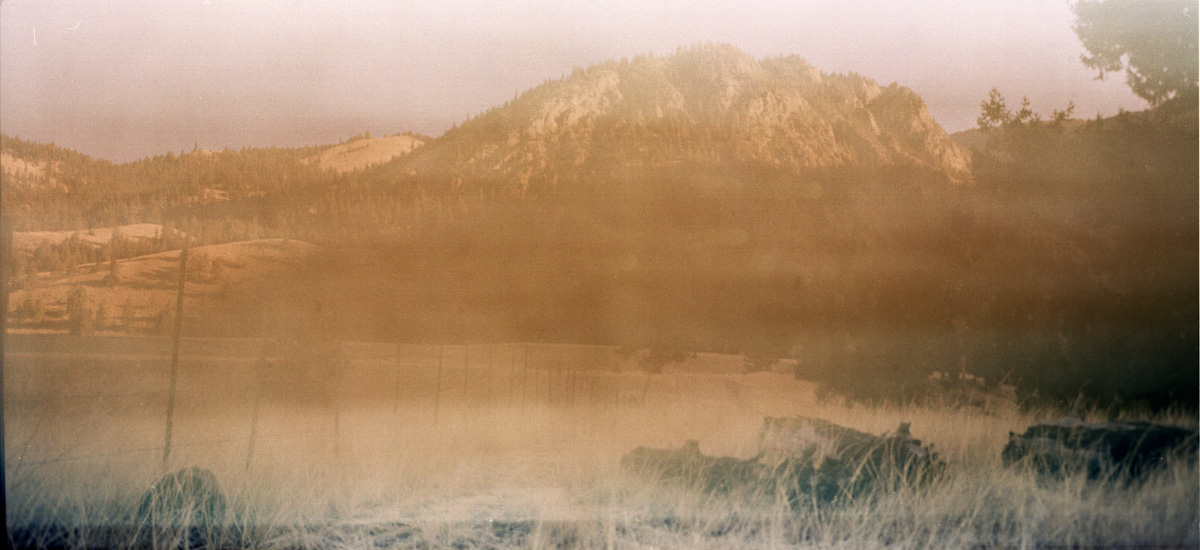
The viewfinder was a last minute addition made from the case of a broken flash and the viewfinder from a 28mm point and shoot camera and electrical tape.  It served its function.  By this time I had run out of time before it was time to go and try the camera.  It was with a little hope that I thought there was a possibility that the way the back was constructed with a lip that sat against a raised edge inside the camera  enough light would be kept out of the camera, nope.  Out of the entire roll I managed to recover one image that was discernable and that was likely because it was the first one before the full brightness of the day.
PanoramicW_2017_001

So the next step is to make the back of the camera light tight.  The rest of the camera is fine as I used a black silicone around any edges that could have any possibility of leaks.  And remember a take up spool that’s important too.


Sep 16 2017

Vivitar 500PZ

Vivitar500PZ-7813 Looking back at the 1990’s at some point in a camera advertisers career it must have become difficult to come up with new ways to describe the same features in an exciting way.  How else can you explain this line about the PZ500  “…and a tripod socket, permitting the camera to be mounted anywhere on a tripod to take advantage of the self-timer and of the non flash exposure option”  I feel that advertisers pain as I struggle to write about what sometimes amounts to the same camera in new packaging.  But here we go.  The Vivitar PZ500 sports a 35-70mm zoom lens that they suggest is a ‘Series 1 Optic’.  Funny how they never had any other Series that they were proud of.  The aperture goes from f4 at 35mm to f7.6 at 70mm.  The zoom control is a clear rocker switch on the top that has the indicator LCD beneath.  Vivitar500PZ-7814Now at least that is unique.  The focus system is 35 zones which seems like plenty all things considered having hundreds of possible distance settings as some point and shoots have may just be more marketing hype. All kidding aside the lens is actually pretty good and the only shot that seems slightly out of focus is one where I took a picture through a chain link fence.  I think the choice of a very conservative 2X zoom starting at 35mm allows for even lighting (no vignetting) and low optical aberrations.  I added the tape to the battery door more as insurance than out of absolute necessity. One thing about one camera:  The Vivitar PZ500 is essentially the same camera as the Leica mini zoom both being manufactured by Matsushita and having the same specifications except for the Leica name.


Sep 5 2017

Harrison West with the Rolleiflex one year later

_K3_7851

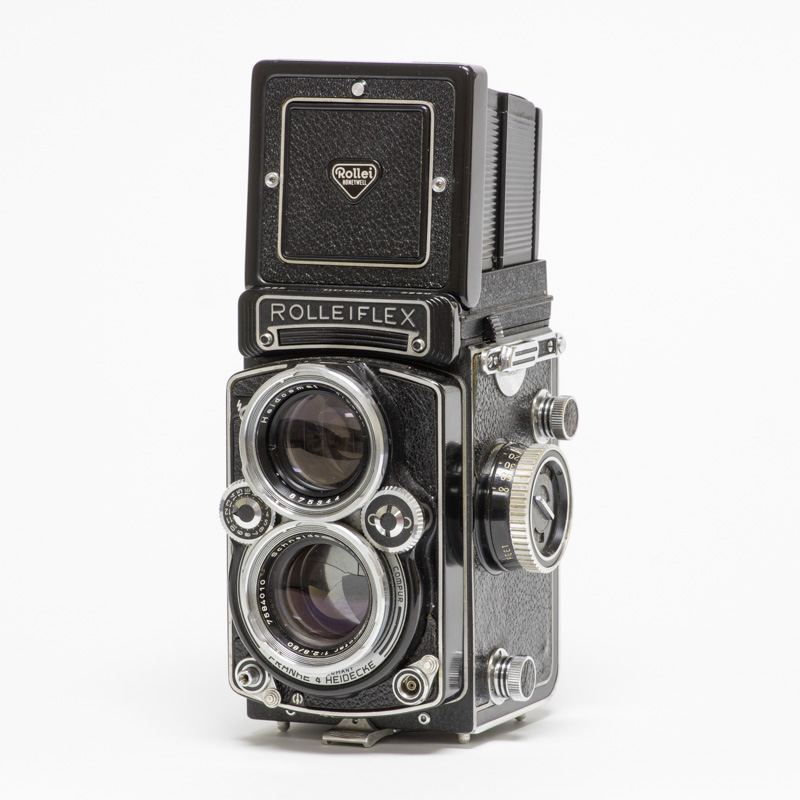
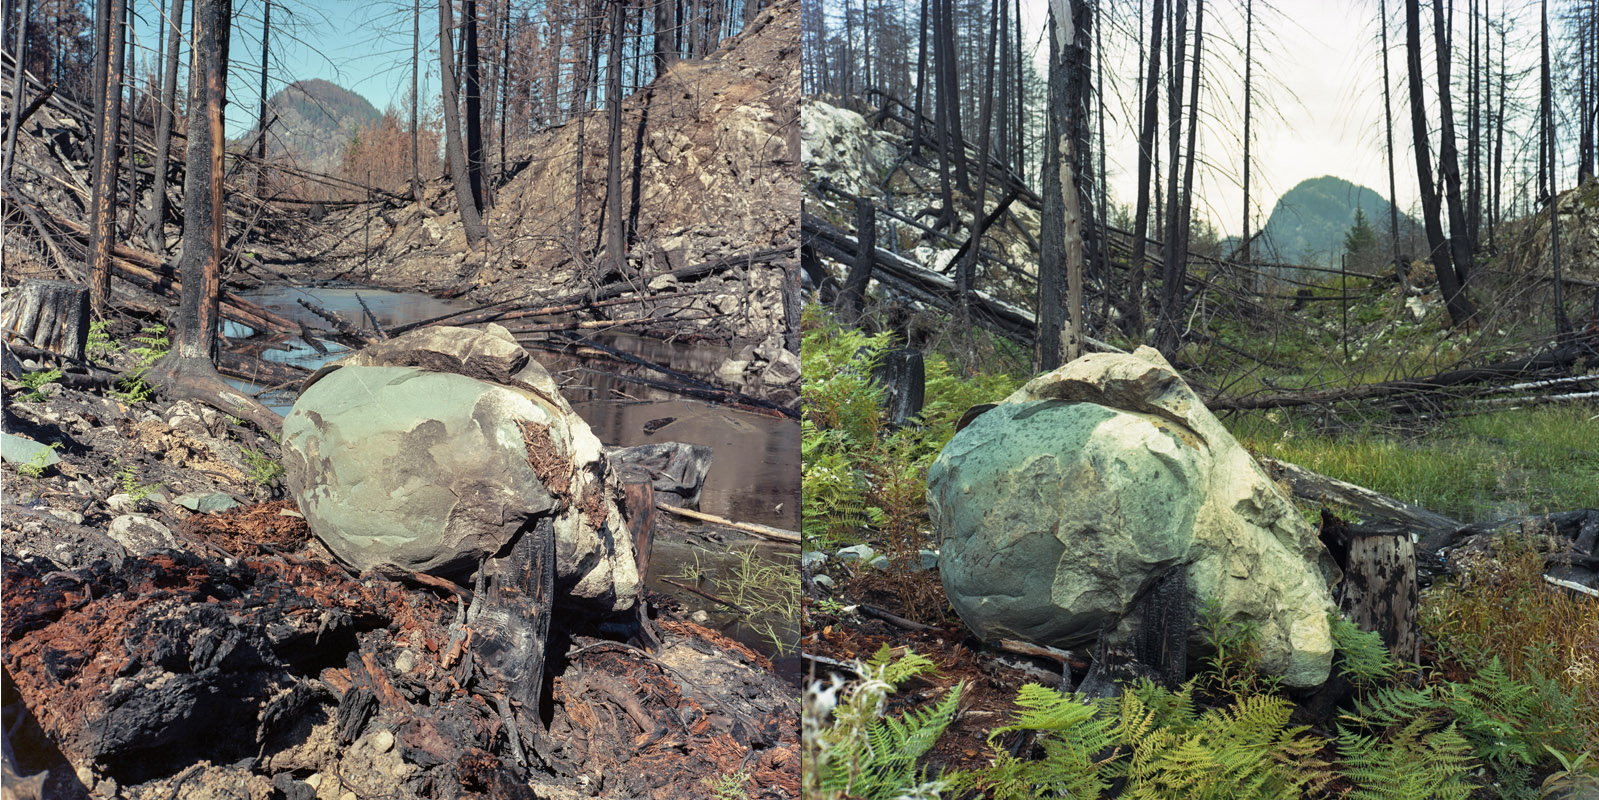
As I mentioned in a previous post I returned to the Harrison West area to photograph the aftermath and regrowth post wildfire. Each time I took along my Rolleiflex TLR both for its large medium format negative and because for this slower tripod set up its a joy to look at the image your composing on the ground glass.  Originally I had intended to set up the camera in the exact same location and view but I forgot to bring along the previous image so I composed the second one from memory.  Just the same you can see that the forest has begun the process of regrowth.

Rollei_HarrisonWest

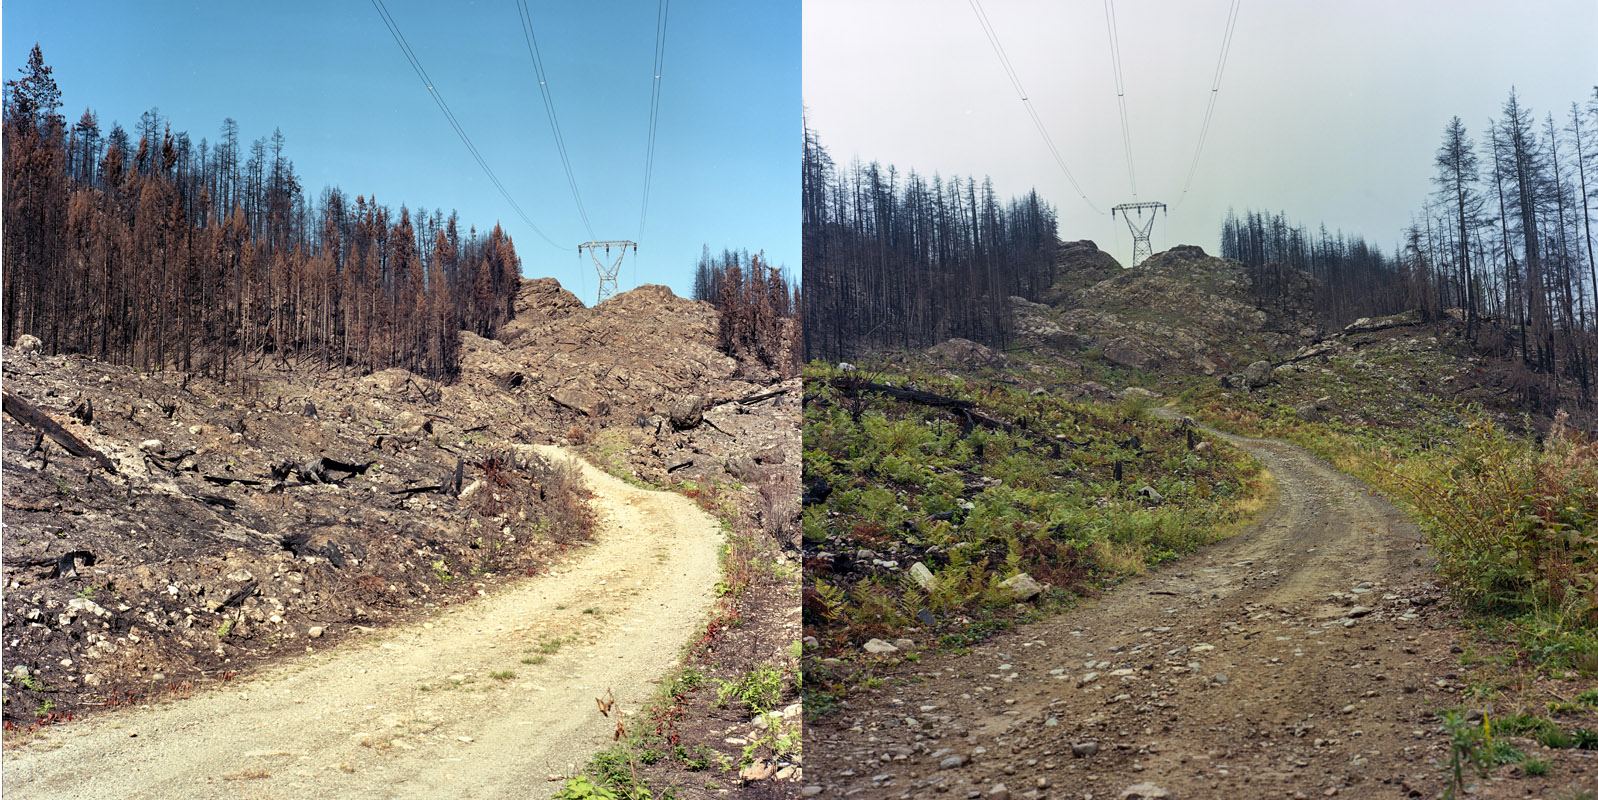
Some further images.  While the elapsing of one year is interesting I look forward to seeing greater changes in the future.  In some areas you can see that an effort has already been made to plant new trees among the charred remnants of the previous forest.

Rollei_HarrisonWest2

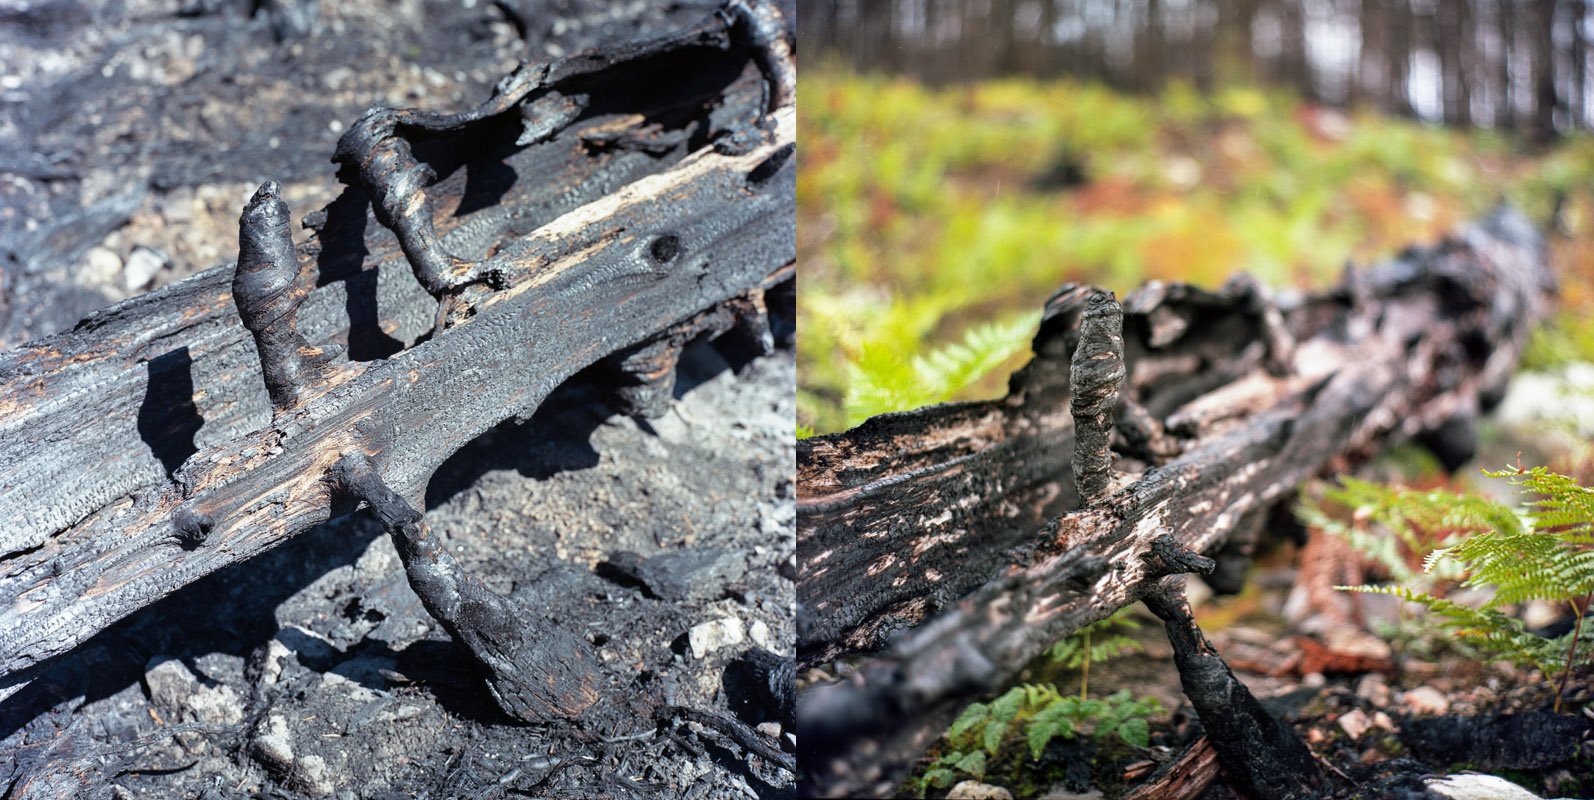
In the following case I took the second image not even remembering having taken an image of that particular log previously.

Rollei_HarrisonWest3

And finally other images from that roll of 12

Rolleiflex_Ektar100_2016_009 Rolleiflex_Ektar100_2016_010 Rolleiflex_Ektar100_2016_011 Rolleiflex_Ektar100_2016_012


Aug 30 2017

Konica c35 EF3

Konica_EF3-9105The EF3 came in a number of colours and Konica marketed it as ‘The Fashion conscious camera’ back in 1983.  Regrettably mine is plane old black but still does an admiral job.  The primary reason being the 35mm F2.8 lens with 5 elements.  As a camera with a fully automatic exposure system though you can’t select a manual aperture which can be an issue with zone focusing.  The easiest way to use zone focusing involves pre-setting it to a distance and then snapping the picture when the subject is at that distance.  In order for this to work well it requires a certain amount of leeway with the depth of field.  The problem with the EF3 as I mentioned is the lack of control of the depth of field through setting the aperture. If the camera chooses f2.8  there is a higher probability of the subject being out of focus.   However in adequate light and with a fast enough film the camera is bound to stop down the aperture and the number of in focus shots will improve as well as the optical quality.

A major limitation though is the narrow shutter speed range of 1/60 – 1/500 second which is good for reducing camera shake but again forcing the need for the larger apertures.


Aug 12 2017

Kodak T550

Kodak_T550-5406

The Kodak T550 is a diminutive camera that separated itself from the rest of the APS pack with a flash that flipped up from its other duty as a lens cover. The 28mm f3.5 lens gives an angle of view similar to a 35mm lens on a 35mm film camera when you use the entire film area of 30.2mmx16.7mm.  With each APS exposure the full image area is recorded and with that also recorded magnetically the aspect ratio setting the user had selected.  There were three settings known as H (high definition), C  (Classic) and P (Panoramic) so while the entire image area was always recorded, during printing the machine would read the magnetic info and crop the images accordingly.  I prefer to use the full 16:9 aspect ratio for composing images as it is the one interesting thing about APS film.  And it shouldn’t be a surprise but I used out of date non refrigerated film with an unknown history as that is my primary source of APS film.


Aug 1 2017

Minolta Freedom Vista Redux


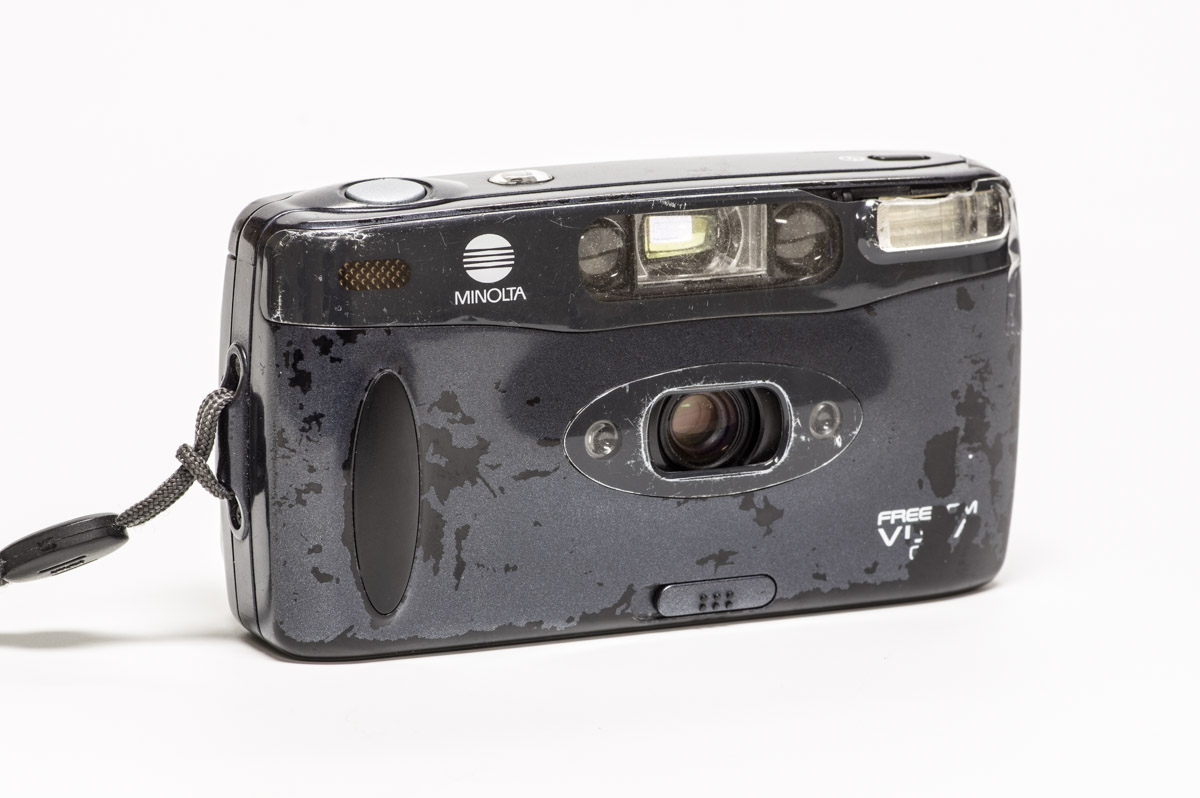
FreedomVista-7818

This is my second Minolta Freedom Vista, the first one I had was stolen with a few other items from my vehicle. This one is every bit as beat up as that one was but despite the weathered look it performed well.  I do need to find and remove all the little fibers that must be around the edge of the film mask as they show up on every image. The defining feature of this camera is of course its ability to shoot panoramic images with its 24mm lens.  The caveat being that it can not be used to create anything other than panoramas.  Having this sole purpose though allowed Minolta to provide it with a nice large viewfinder dedicated to the effort, and it makes composing with such a different aspect ratio fun.  That aspect ratio is a wide 2.6:1 which falls among various widescreen cinematic ratios.

The lens on the Freedom Vista is a 24mm  f4.5 with five elements.  It’s only at the outer edges where the chromatic aberrations really show themselves which is amazing considering how thin the camera is and how close to the film plane this places the lens.

FreedomVistaChromatic-005

So in summary composing with this camera offers some small opportunity to try your hand at creating unique compositions and the large single purpose viewfinder is superior to any other point and shoot that offers a panoramic mode.


Jul 14 2017

Cinestill 50

Cinestill50-7835

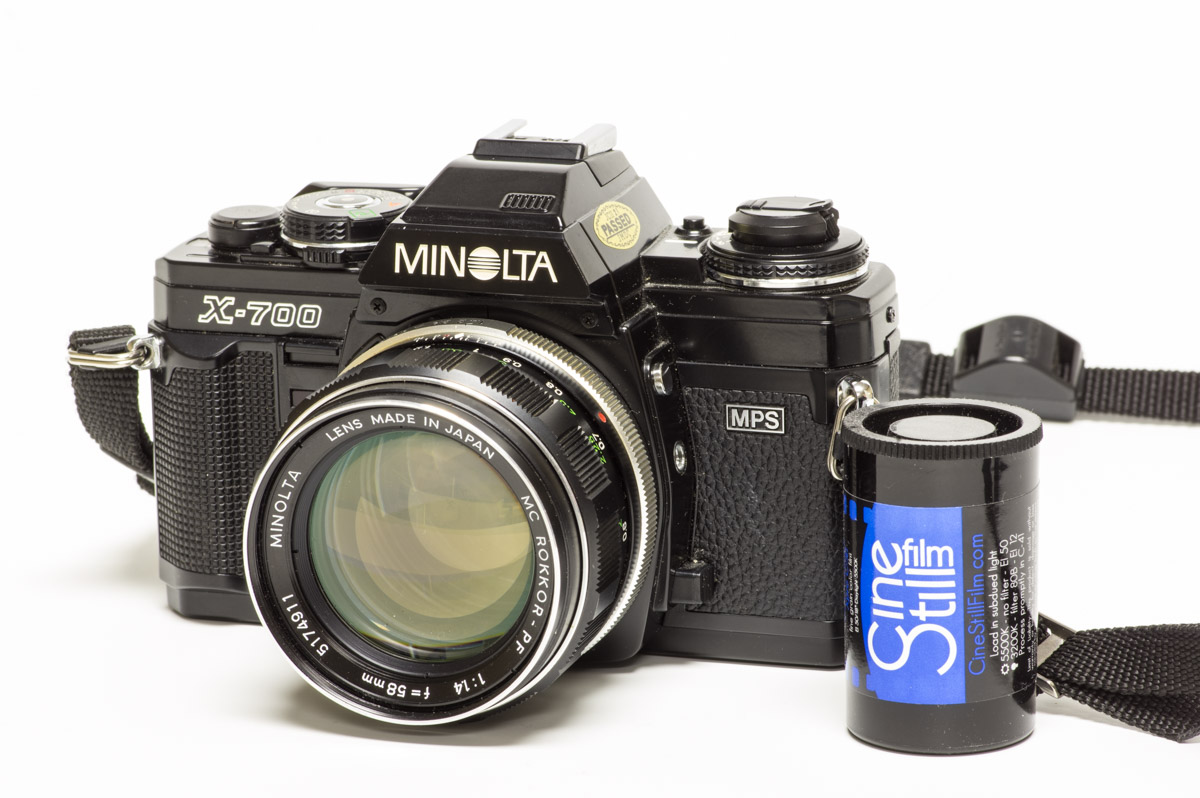
Cinestill 50D is a unique 35mm daylight film that starts life as Kodak Vision3 50D movie film before Cinestill removes the rem-jet layer and packages it into 35mm canisters so you can put it into a regular 35mm still camera.  I loaded a roll into my Minolta X700 for a try as I’m always looking for something unique.  The ‘D’ in 50D refers to the colour balance of the film which is nominally 5500K..  What they mean is that under the light of the sun items will have accurate colour representation.  So something like a white sheet would appear white when scanned without adjustment.  We don’t often speak about films as daylight or tungsten balanced any more but it points to this films origin as a movie film where a distinction like this is more important.

I find that the un edited scanned files from Cinestill 50D are quite muted and require an increase in saturation to reach a more natural result as seen bellow.

Cinestill50_Grain

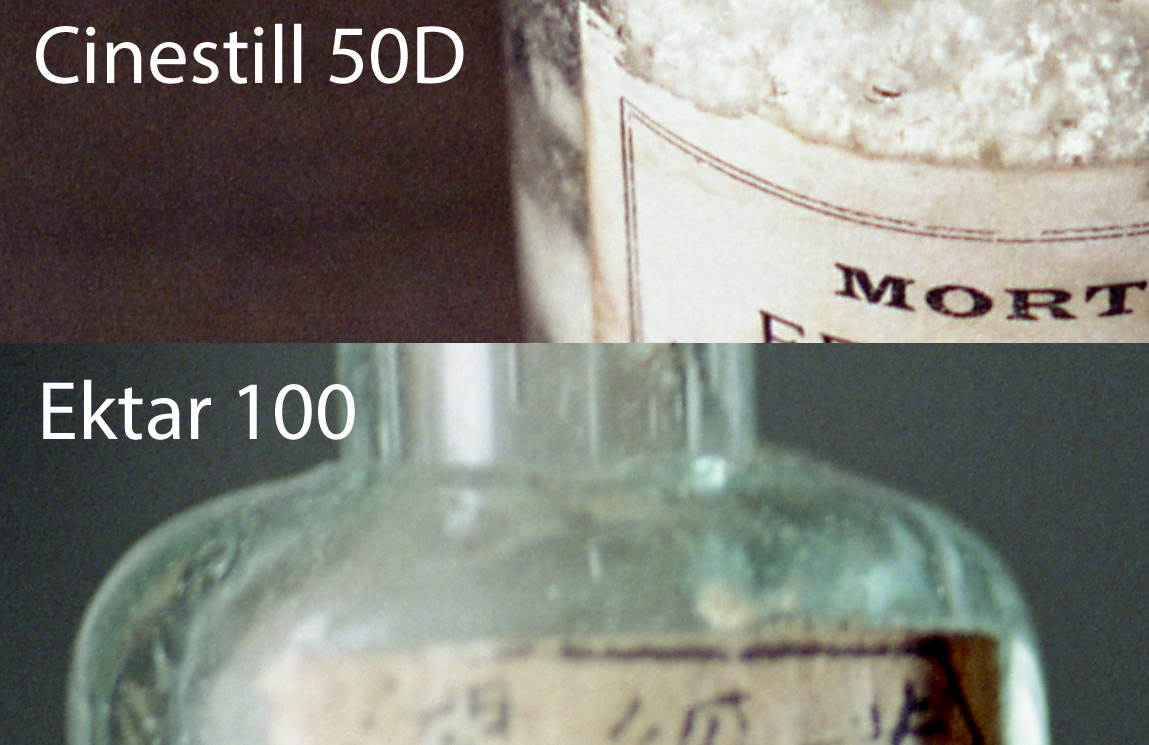
The film is very fine grained as expected as it originates as Kodak Vision 3 50D which they advertise as the worlds finest grain film.  Kodak Ektar is also described as the worlds finest grain colour negative film.  Unfortunately grain values are provided using different methods for the two films so they are not easily compared using data sheets.  However I can say that they are both incredibly fine grained to the point that even with a 16×20 print the grain will not be that visible at normal viewing distances.  The grain is more pronounced in areas of under exposure but still remains very low with a small amount of  colour mottling.

GrainCinestillEktar

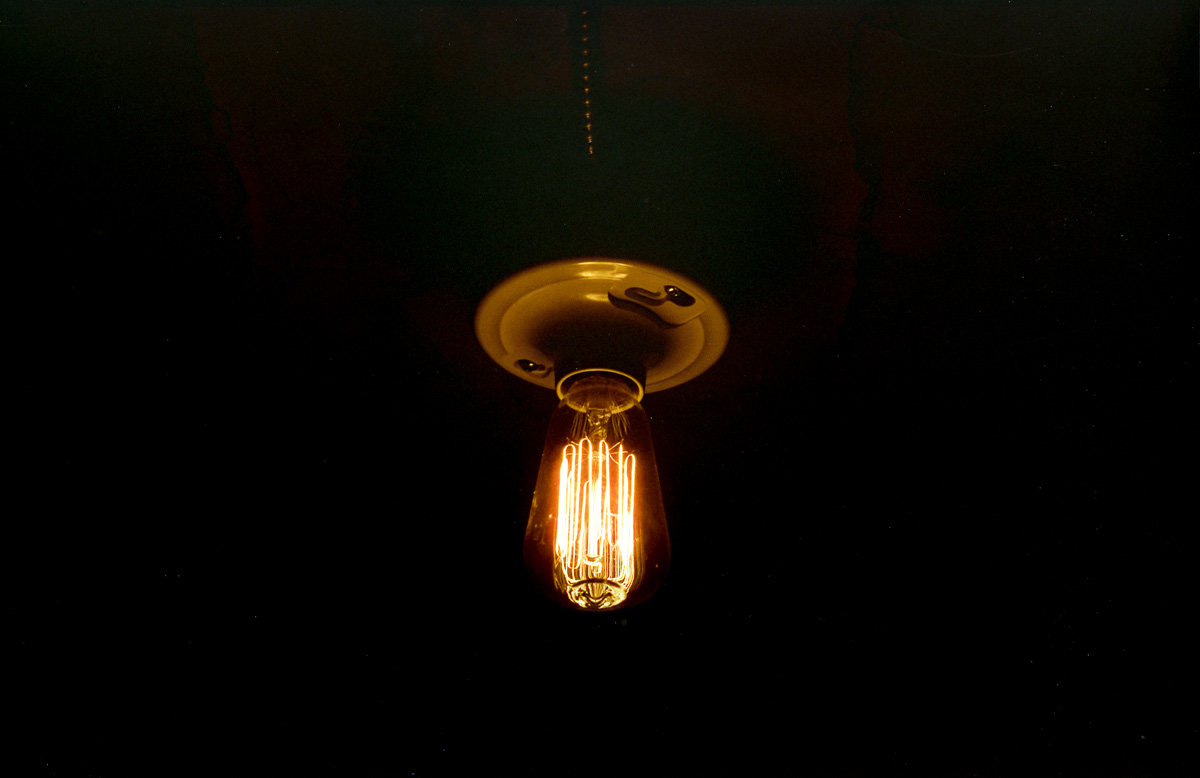
Like other current Cinestill films in order to make them developable in regular C41 processes its necessary for them to pre-remove the remjet anti halation layer.  With Cinestill 800T this can result in interesting halos around light sources as bright light is scattered and reflected within the film base.  I didn’t see much evidence of this with Cinestill 50D however even when trying to cause it.

MinoltaX700_Cinestill50_2016_041

You can consider Cinestill 50D to be the equivalent to a RAW file in digital terms, it is able to capture as much detail as possible.  In fact its ability to preserve highlights makes it an excellent choice when that is important.  The downside is that it requires some saturation and colour adjustment to achieve a natural result much like a digital RAW file would.  This shouldn’t be surprising as Vision 3 film is intended to be used as part of a film to digital work flow that includes digital post production.


Jul 2 2017

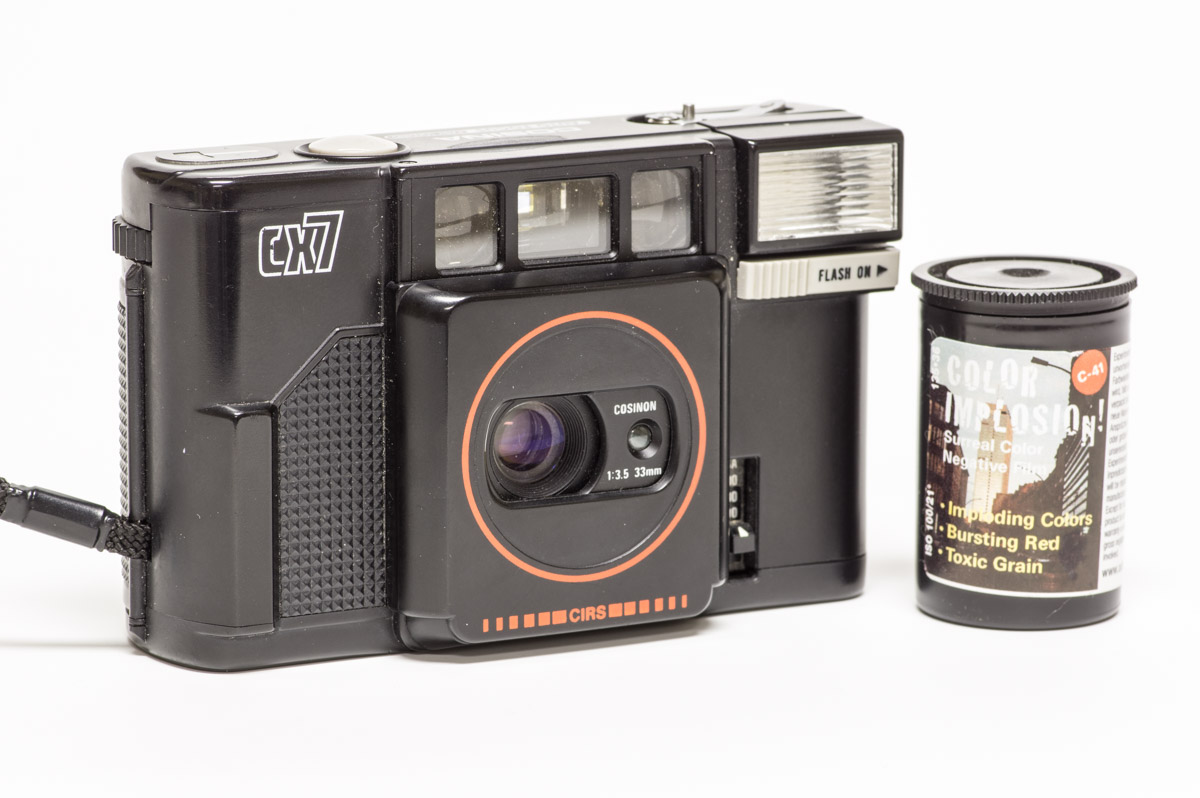
Cosina CX7 with Adox Color Implosion

CosinaCX7-7819

Adox color implosion is a film that gives a look that could have come from a camera left on the dashboard of a 1984 Oldsmobile. That’s why I paired it up with the Cosina CX7 they were made for each other.

With Adox Color Implosion shot with a little underexposure in drab light the only thing that you get is grainy pictures but if you feed it some bright light that’s when it shows its ‘true colours’. And by true colours I mean cartoonish cerulean sky’s and deep crimson reds.

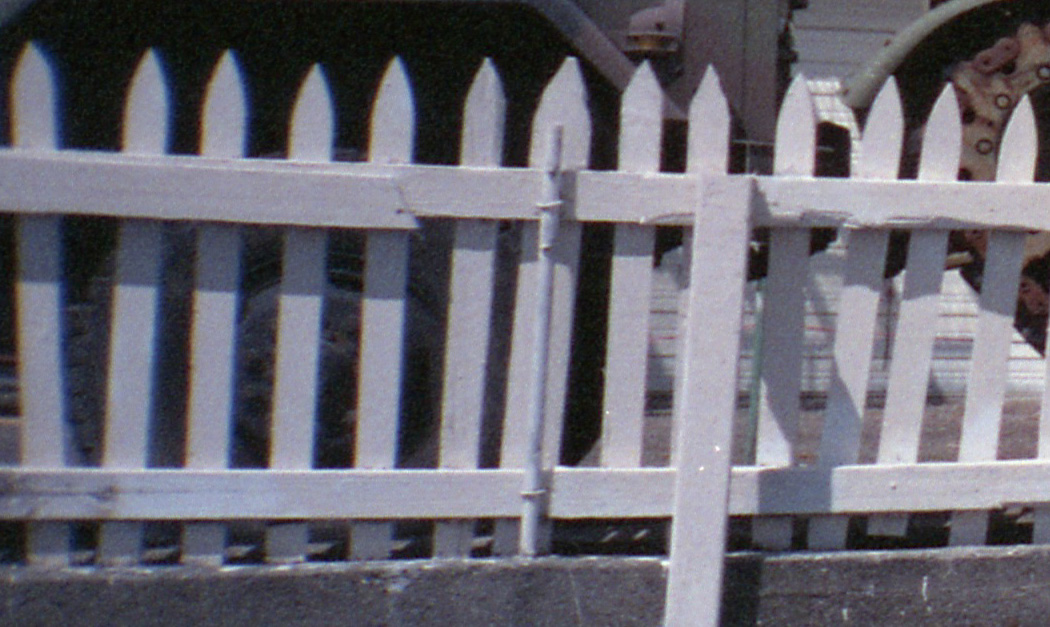
Here is a detail of the unique grain you get from Color Implosion

CosinaCX7_detail-035

The CX-7 has a 33mm f3.5 lens with 4 elements and a shutter that goes to 1/600 sec  along with a fairly powerful flash.  Some other postings about the CX7 Happy as a clam shell  Cosina CX7 Oct 2009


Jun 25 2017

Canon Z90W

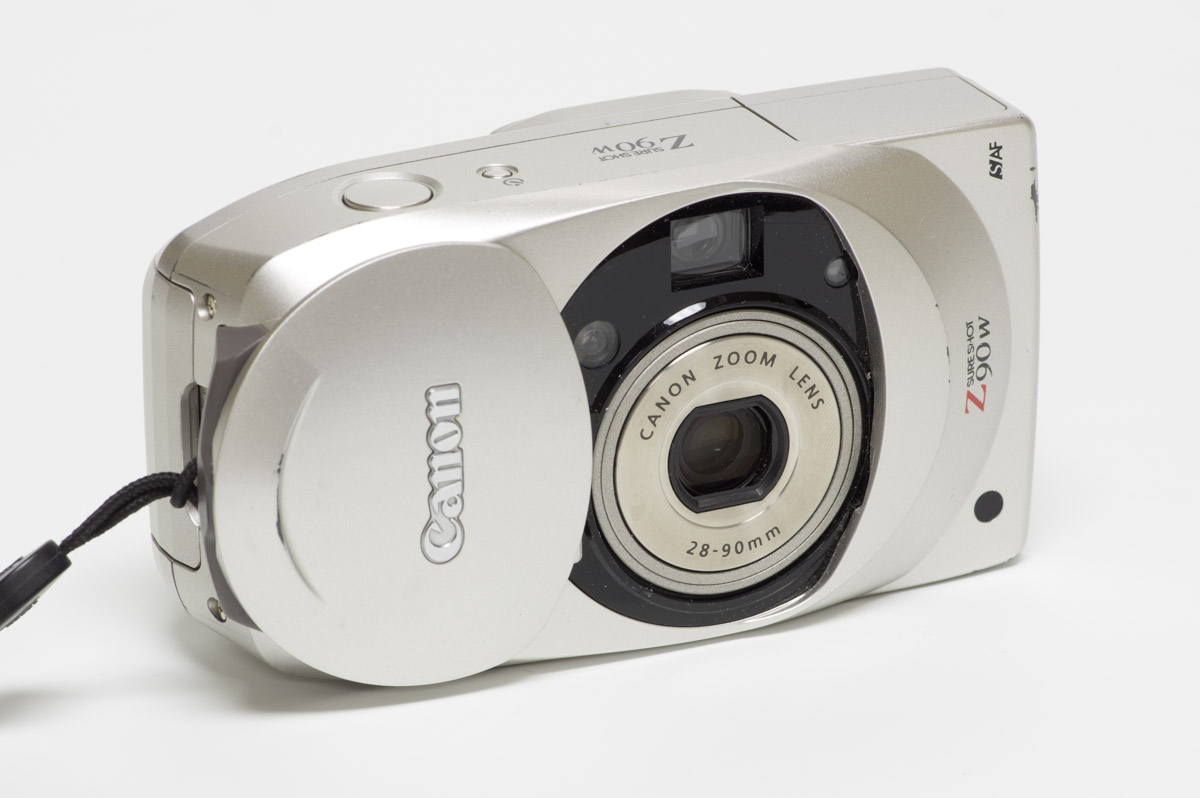
CanonZ90W-7824

This is one of the cameras that I wanted to take on a trip because of its wide angle and ability to force the flash off. I have never had any issues with it and have always been pleased with the results but I wanted to test it anyway. So in goes the Fuji 200 and out come these images.

Other posts about this camera here: Canon Z90W Oct. 2015 , Canon Z90W May 2013

The lens is made using 7 elements two of which are aspherical, the overall result is reasonably sharp images with little vingetting and well controlled aberrations.

Here is a crop from the image of a wildflower that gives an idea of the amount of detail that is captured with this camera and 35mm film combination which I’ve stated before can be in the neighborhood of a 14mpixel equivalency as far as the amount of useful information captured although the images will have that film look.

Z90w_detail-004