Apr
22
2012
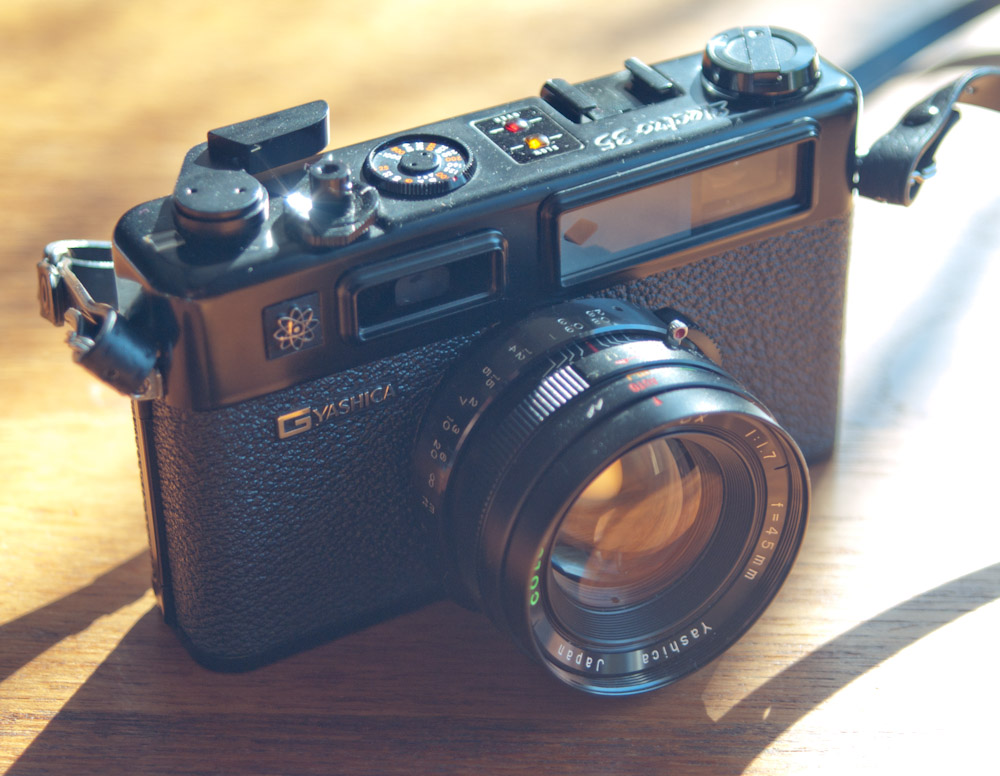
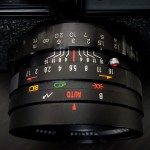
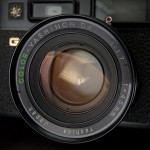
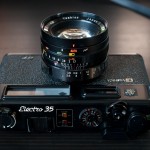
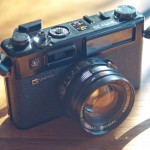
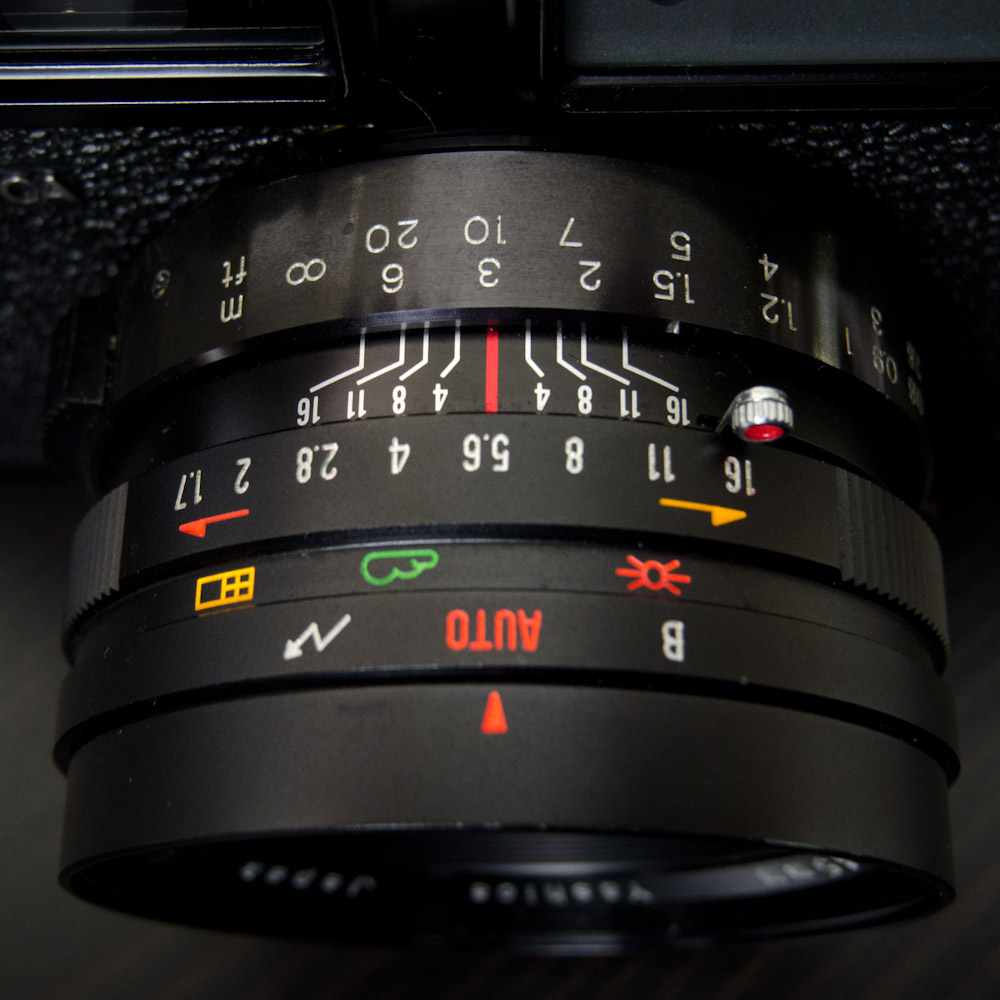
I’ve owned several Yashica Electro 35 models but I’ve pared them down leaving me with the Electro 35 GT and GX. The GT stands out in the Electro line with it’s all black body. It is a great looking camera as well as performing. The lens of the 35 GT is a 45mm f1.7 stated to be 6 elements in 4 groups. It’s strictly aperture priority with no shutter speed indication beyond the slow speed or over exposure warning arrows. The shutter speed is determined electronically during the exposure rather than being predetermined. In practice this means that during longer exposures the camera reacts to changing light conditions, extending or shortening the exposure time.
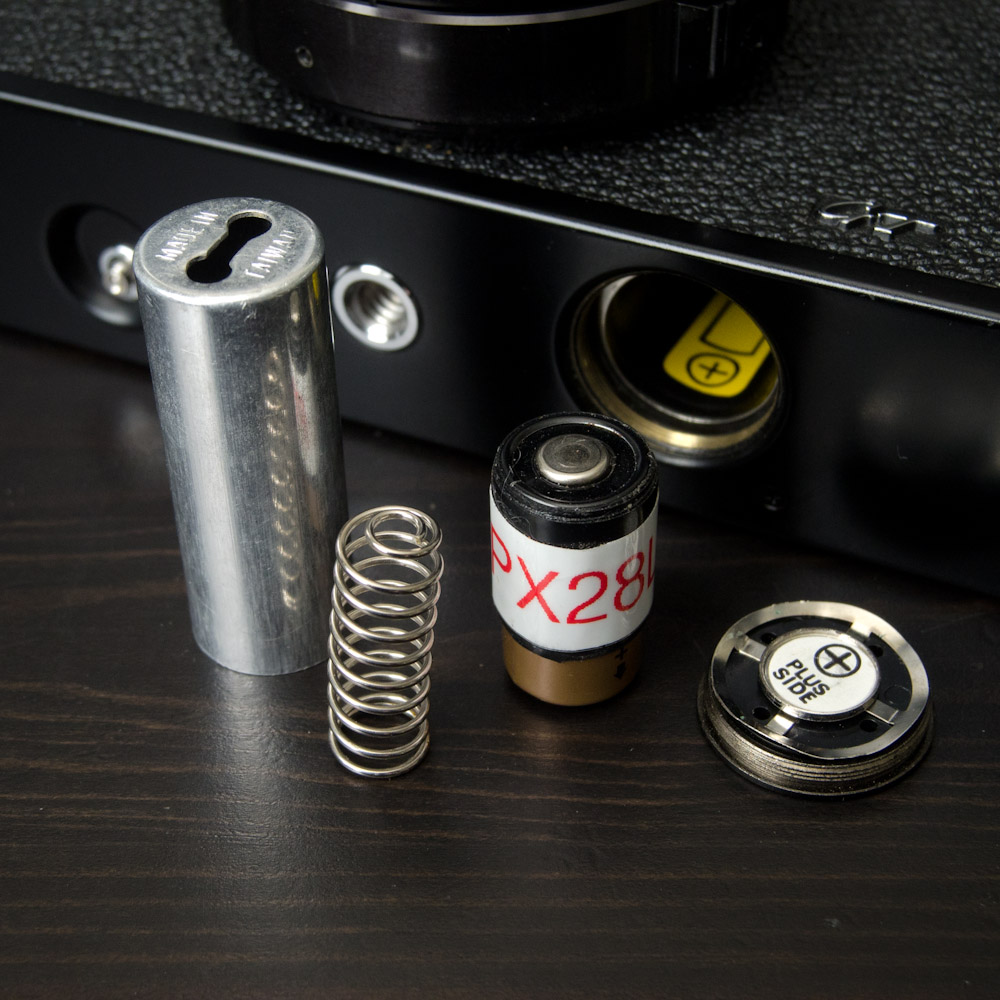
Originally when the camera was released in 1969 batteries containing mercury were prevalent with there characteristic of maintaining a constant voltage throughout there discharge life. Now mercury batteries are unavailable so an alternative is required. My solution was to use a 6V alkaline battery with a home made adapter of a similar size to the original TR164 battery. This difference in voltage is likely to cause some variability in the exposure but as I shoot colour negative film with a large latitude and the fact that I scan all my film rather than printing optically I don’t really see it.
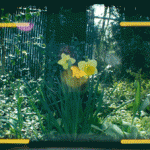
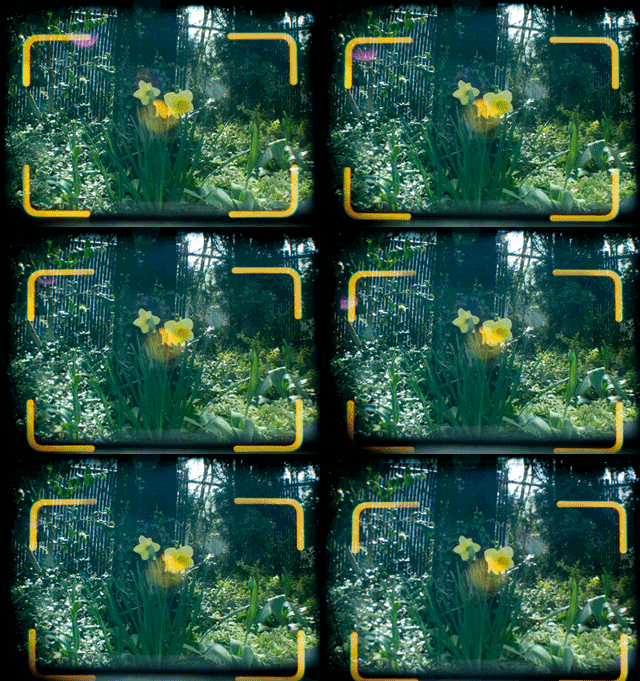
Being a rangefinder the camera has a small diamond shaped focus patch. A rangefinder works by linking the focus of the lens to the position of the patch relative to the main viewfinder, so as you change the focus of the lens the rangefinder patch moves horizontally. When the item in the main viewfinder and the patch are horizontally aligned the lens is focused to that distance. This works well with views that have vertical elements but can be difficult with small repeating patterns or horizontal lines. A field of flowers can be a difficult thing to focus within because of all the similar elements. Here is an animated view through my Yashica Electro 35 GT however because you are able to actually place your eye closer there is a lot more area around the frame lines that would be visible. You can also see the built in parallax correction as the frame-lines move down to compensate for closer focusing.
2 comments | tags: camera, film, Yashica | posted in Cameras, Photography
Apr
15
2012
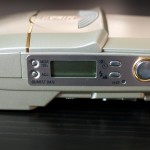
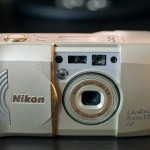
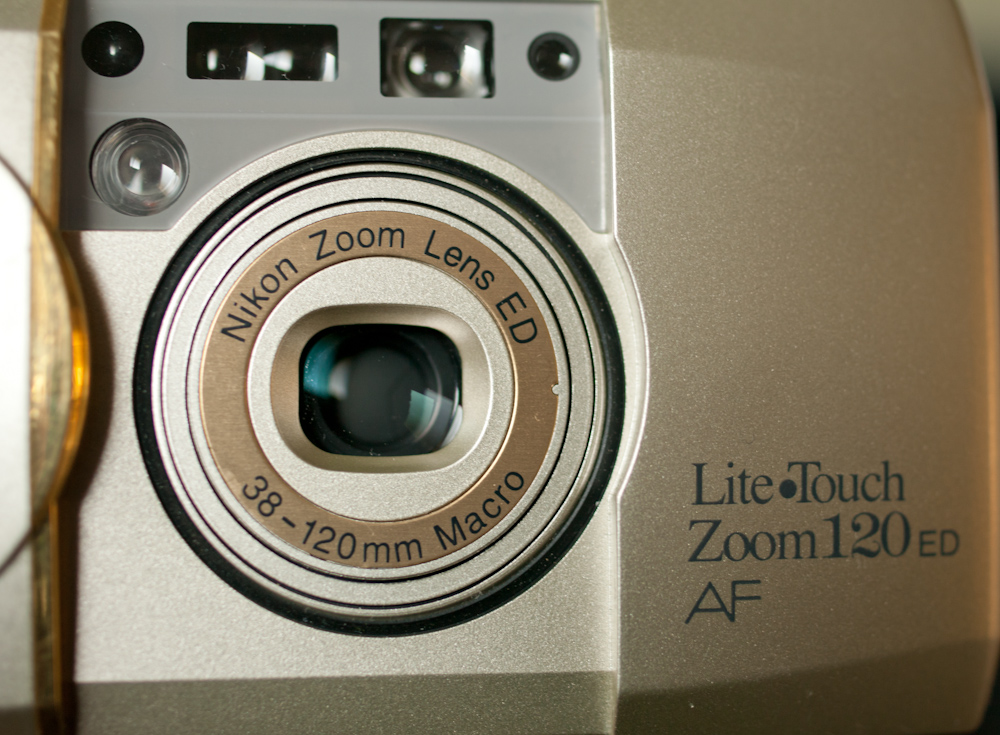
Great naming Nikon very descriptive you should have thrown in AS for the apherical elements though that would have really capped it off and then you could have saved on paper by not even writing the specifications. Except I have no idea what Lite Touch means in this context, and I’m frankly afraid to Google it. You can also tell this is a good camera by the gold coloured trim (sarcasm).
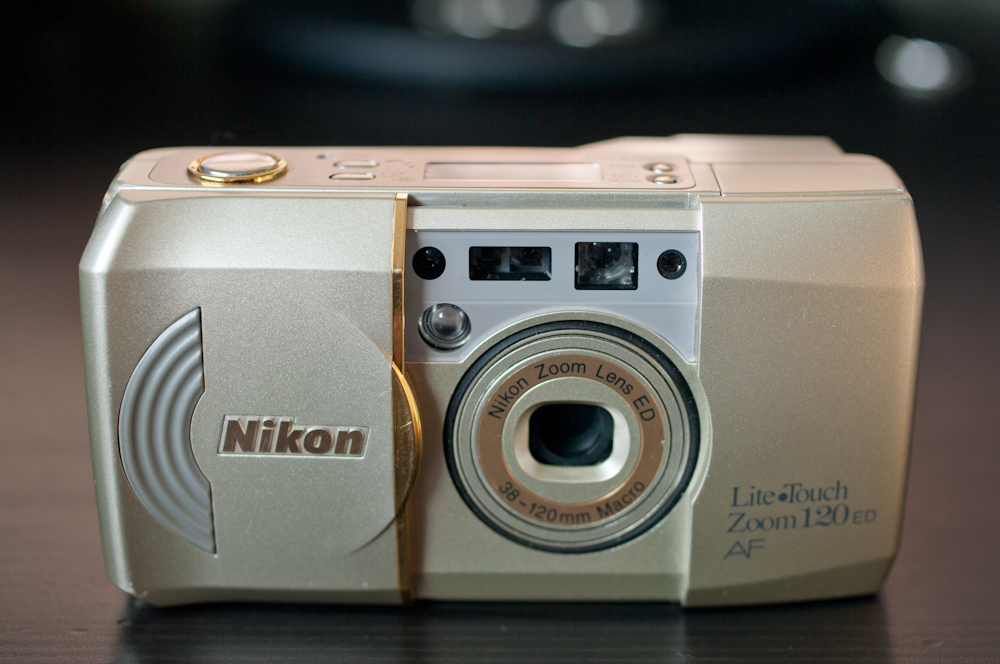
So the lens as described has ED, (no not difficulty extending) extra low dispersion glass elements and also aspherical molded glass elements, but what this really means beyond the marketing is that the lens will tend to have better correction for distortions. And I think the results bear this out, I was quite pleased with the quality of the images from this camera and its several useful controls, I particularly like the infinity focus setting. Of course the lens may provide decent image quality but some of that may also be the conservative nature of it’s range. 38-120mm is neither that wide nor that long and the maximum aperatures of 5.3 to 10.5 aren’t just not fast but are slow (yes I know I could have written that clearer but Nikon could have made the lens faster and then I wouldn’t have had too).
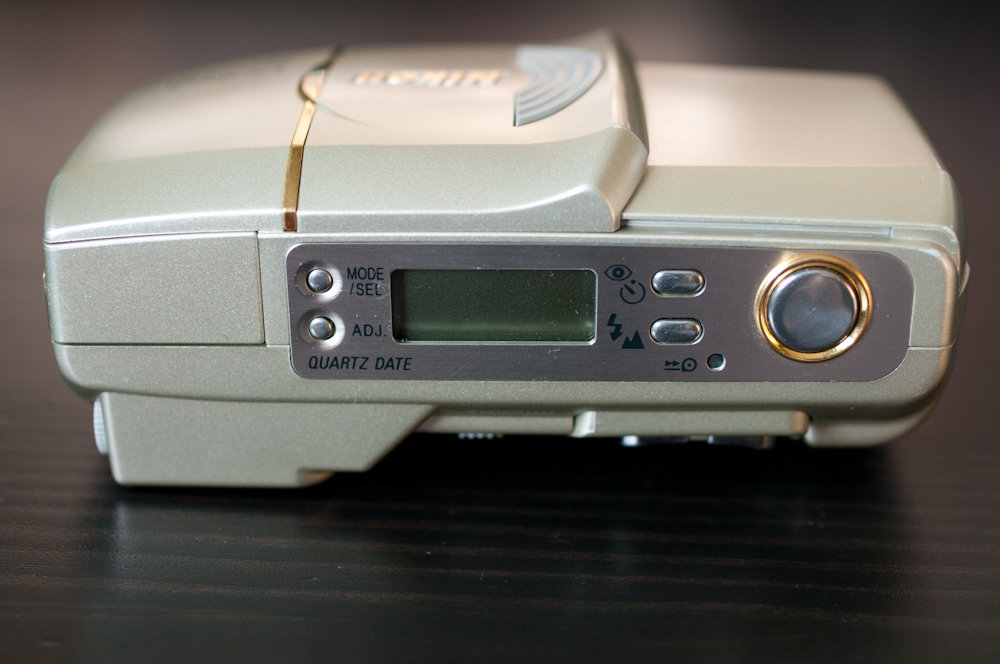
Three later models took the zoom out to 130,140 and 150 mm before Nikon stopped developing new point and shoot 35mm film cameras around 2002.
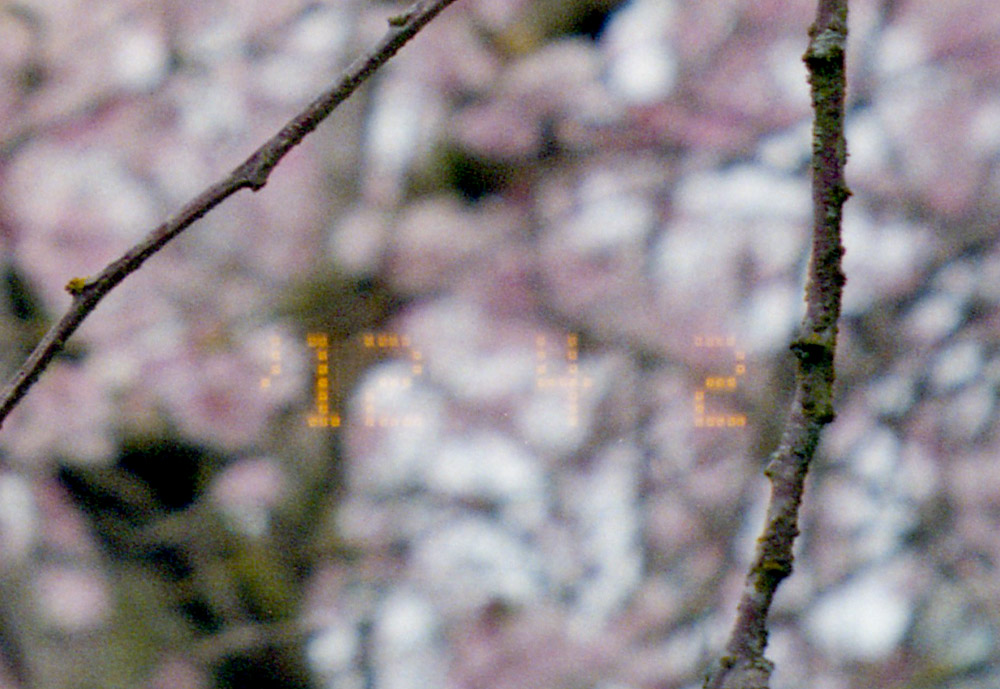
One final point, don’t you miss the ability to irrevocably imprint the date on your images, I know I do. This is the true embedded data forget EXIF.
no comments | tags: camera, film, Nikon | posted in Cameras, Photography
Apr
11
2012
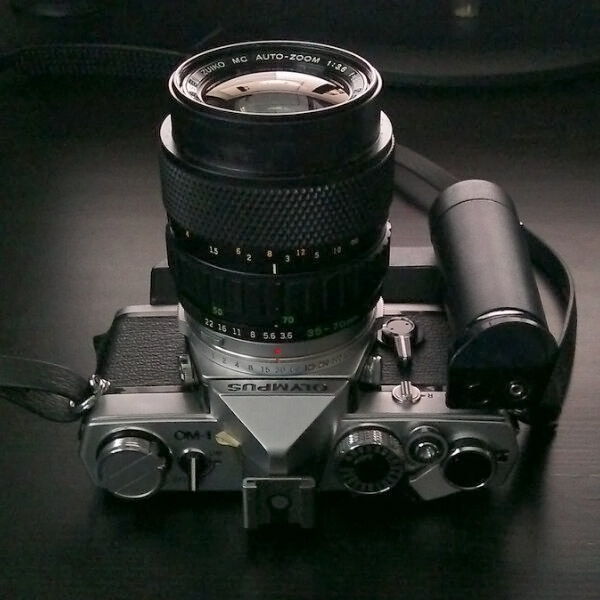
There is plenty of good information about the Olympus OM-1 and the other cameras in this series on the Internet so I don’t feel that I need to cover that ground. I will however take a moment to discus the metering and how it is measured and presented to the user.
The OM-1 has TTL metering (Through the lens) that is provided by two Cds cells placed internally around the eyepiece. A certain portion of the light passing through the viewfinder prism falls on these cells causing their internal resistance to drop. This effects the circuit causing the meter needle to move. Other parts of this circuit are the ASA dial, on off switch and of course the shutter speed and aperture linkage. All these variables contribute to the position of the meter needle. This meter requires batteries to operate but the camera it self is entirely mechanical allowing you to shoot without the meter.
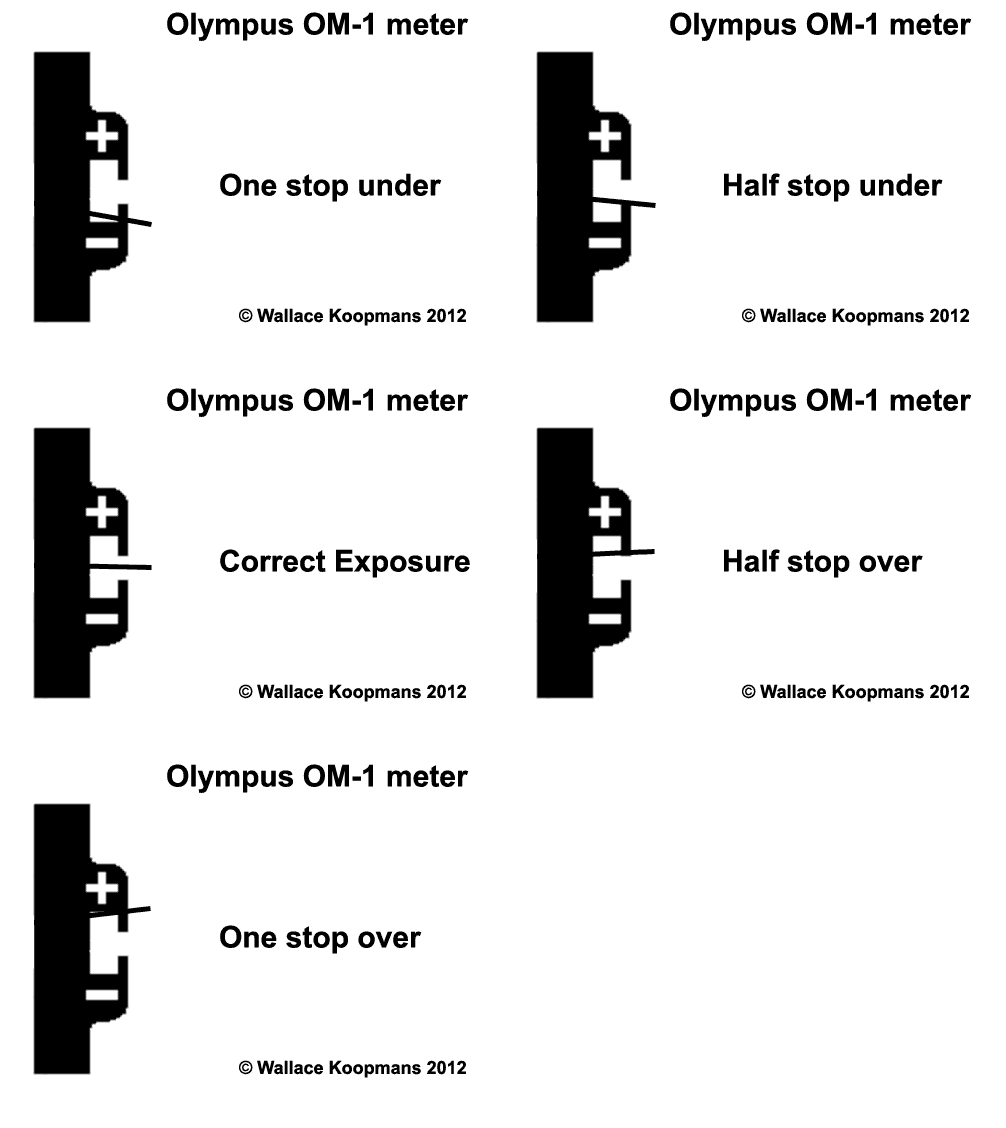
The meter itself is located on the left hand side of the viewfinder and gives an indication of proper exposure for an average scene. As you make changes to the aperture and shutter the needle moves correspondingly. As the lens remains at it’s maximum aperature prior to actually taking a picture these changes are transferred from the lens to the camera via a mechanical linkage. In addition to centering the needle you can determine +-1 EV of adjustment in half stops by comparing the needle to the markings in the viewfinder. I’ve created this animation to show these.
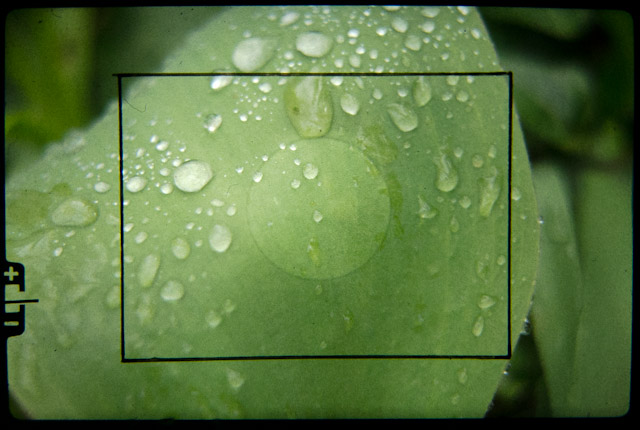
My camera has an interesting focus screen that does not have the standard central focus micro-prisms or split image but is essentially a matte screen with a finer circular matte at the center and frame lines that are well within the image. I believe this was the all matte type that someone has customized with frame lines for either astrophotography or as Ted Samzadeh of Omnilargess has suggested for medical imaging. In any case the fine matte screen provides an exceptionally clear and unobstructed view.
Here are some of my ubiquitous sample images from my OM-1 taken with the Zuiko 35-70 F3.6 or the 28mm F 3.5 Zuiko as these are the only two lenses I currently own. Duncan Turner of DLT Photographic has now lent me a Vivitar 55mm macro in OM mount so that should be an interesting lens to try out with this camera.
3 comments | tags: camera, film, Meter, olympus, OM1, viewfinder | posted in Cameras, Photography
Apr
5
2012
 Every once and a while with film cameras I seem to inadvertently cause the back to open no matter what ingenious locking mechanism they had devised. The results are completely unpredictable but also completely of film. You can imagine that if exposing a piece of film at 1/250 of a second through a lens creates an image that it doesn’t take much inadvertent light to completely over-expose it. Here are some examples of light striking film, some of them come from the fact that I sometimes start shooting the first frame knowing that it will likely have been exposed during film loading.
no comments | tags: film, Photography | posted in Cameras, Photography
Mar
24
2012
 Who wants to be in front of a Computer monitor on a nice spring day? Not I said I, so I’m posting this from the field
1 comment | tags: film, Photography, polaroid | posted in Photography, Processing
Mar
21
2012
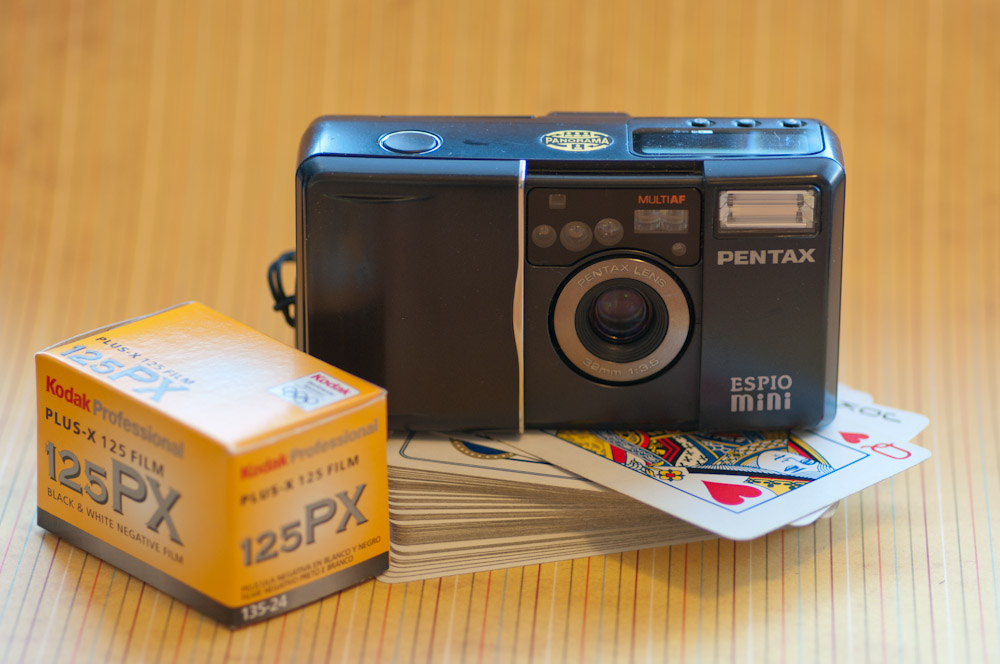
Oh no, my Pentax Espio Mini has developed a problem. The rewind motor is no longer rewinding the film all the way back after all the frames are exposed. The result is that I opened the back after the rewind only to find that the film was still there. I closed it quickly to limit the damage and then manually rewound the film in a dark bag (my backpack). So I think I lost about 4 frames near the beginning of the roll but more worrisom to me is the loss of my camera. I really like this little point and shoot and will have to begin a search for a replacement.
So what is so appealing about this camera? Well it’s extremely small, it has a fantastic 32mm f3.5 lens with three elements and has an accurate exposure system. The focus on this camera is very accurate with parallax correction in the viewfinder that allows framing when as close as the 12 inch minimum. I like that extra bit of view the 32mm gives over other cameras like the Olympus Stylus Epic /Konica Big Mini/Leica Mini or Yashica T3 with their 35mm lenses. And aside from the Olympus it is the smallest of the bunch.
And now for the images. These are from the previously mentioned light struck roll.
1 comment | tags: camera, film, Pentax | posted in Cameras, Photography
Mar
16
2012
I didn’t want to crowd the previous post about the Minolta V2 with a lot of images so I’m presenting them here separately. If you want to see the camera itself here is the first part Minolta V2 Part 1
The lens of the Minolta V2 has a focal length of 45mm which matches up nicely with the 42mm diagonal of the image formed on the film. It has a maximum aperture of F2.0 created from what I understand to be 6 elements with the shutter sandwiched somewhere in the middle. The aperture is formed via 8 blades and while they form an octagon it is nicely symmetrical. It creates a nice soft bokeh that isn’t at all busy.
Looking over the camera again I have to marvel at the design, there are so many edges and elements that exude quality and work together to create the whole. This camera even looks good from the side. I definetly need to use this camera more often and maybe try some portraits with it.
Here is a 100% crop from one of the images. This shows that stopped down from about f4 this lens is an excellent performer but with quite low contrast. Wide open it does have some distortion but it is part of it’s look.
no comments | tags: camera, film, Minolta | posted in Cameras, Photography
Mar
14
2012
This is one of my all time favorite cameras, it has that certain look that defines the fixed lens rangefinder form.
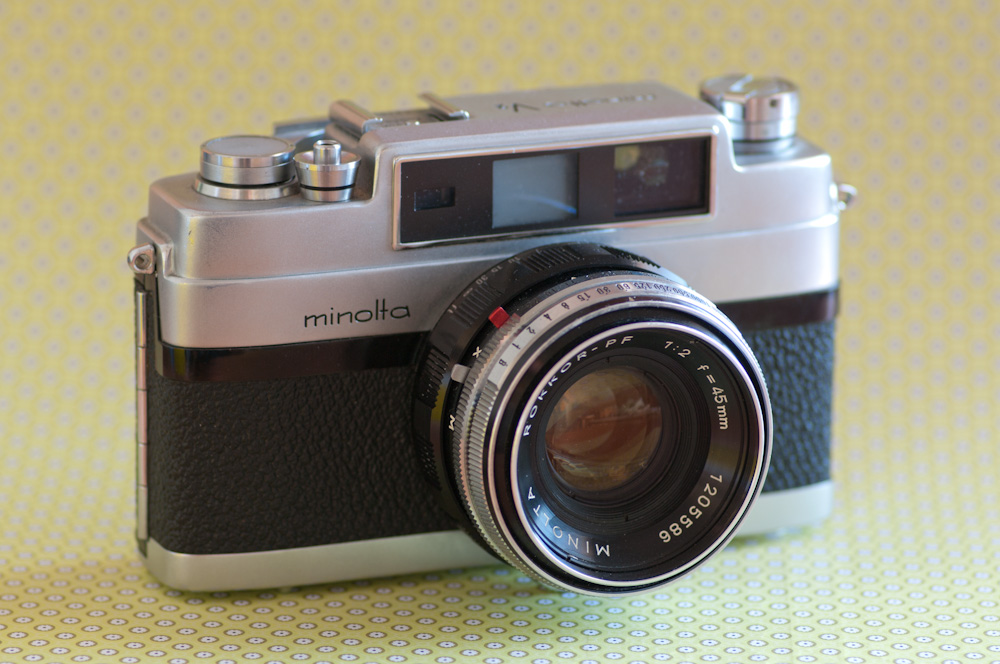
Every aspect of this camera is nicely done right down to the black band on the shutter release and film rewind that match the film advance leaver.
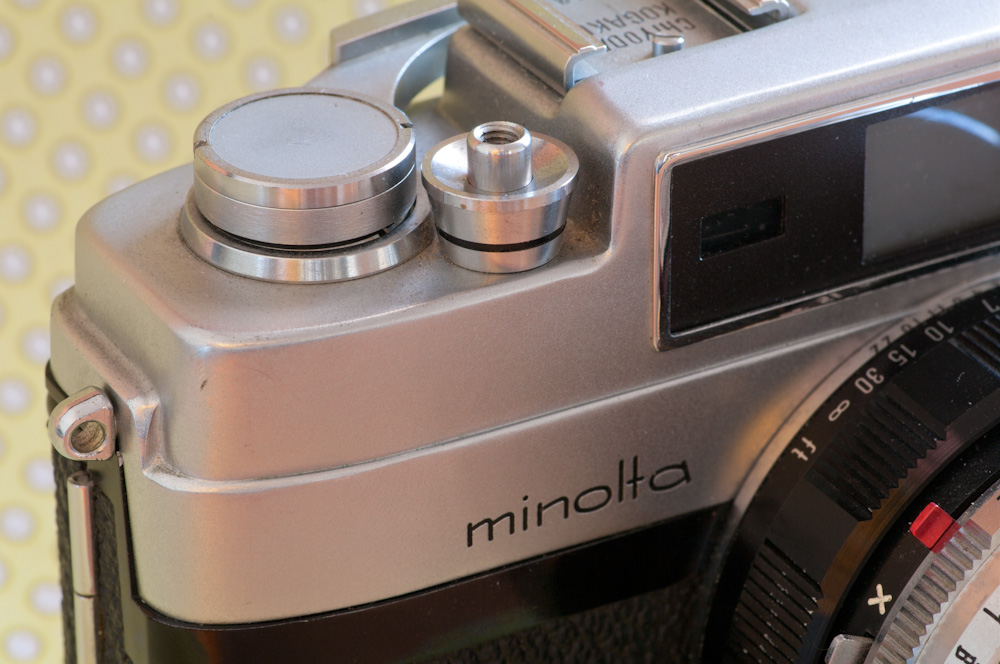
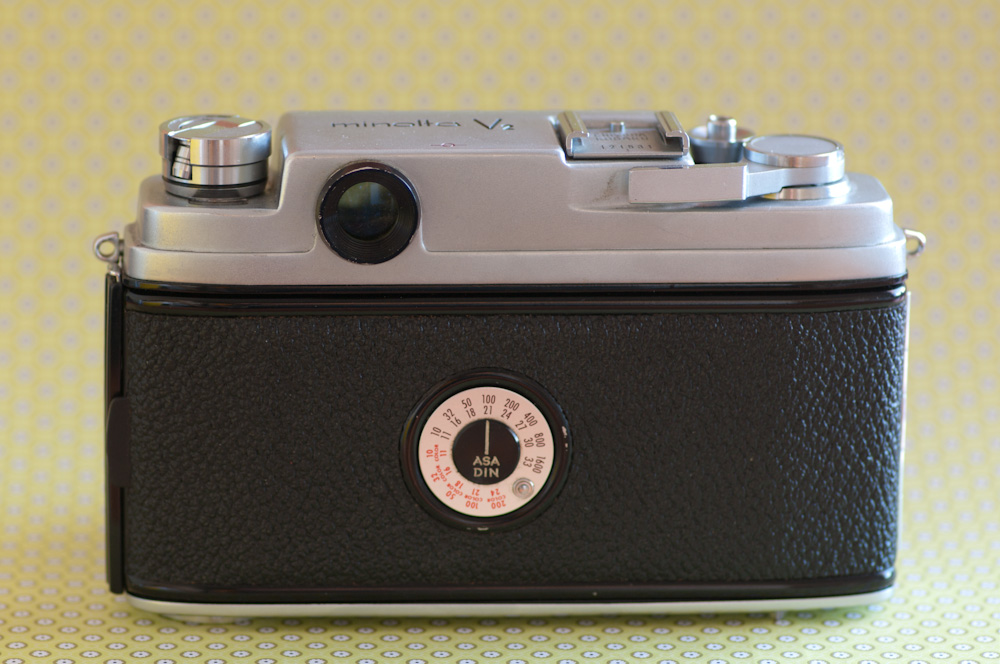
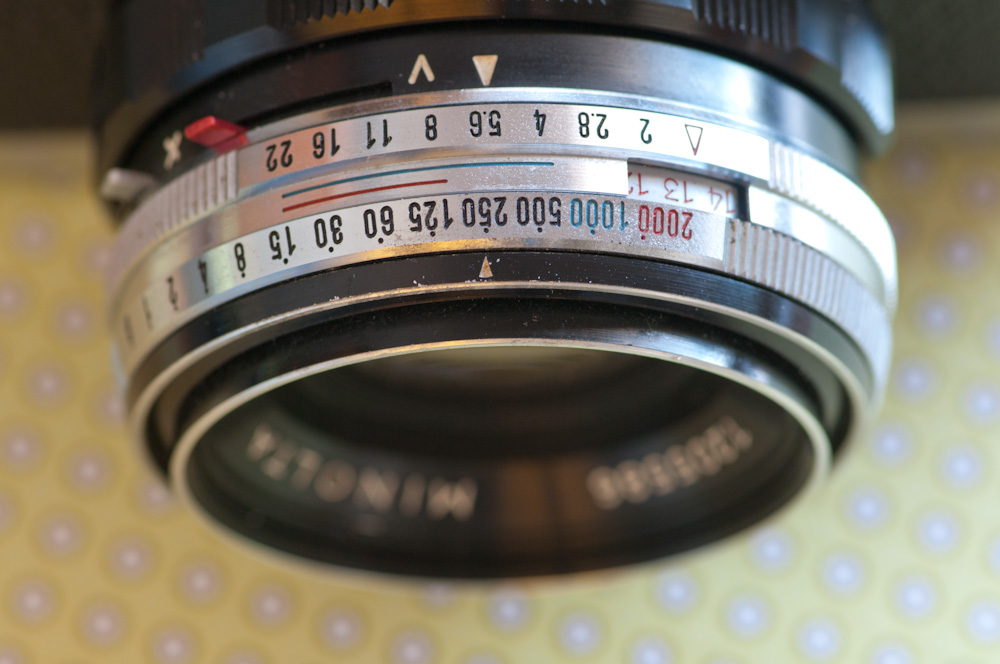
The defining technical detail of this camera must be it’s shutter which is capable of 1/2000 of a second. This was quite an achievement in 1958 with a leaf shutter. To reach this speed though the aperture is limited to maximum opening of f8. Both shutter and aperture control are on the lens with a small window providing the EV number for that combination. The same EV can be maintained will changing shutter and aperture by turning both dials together.
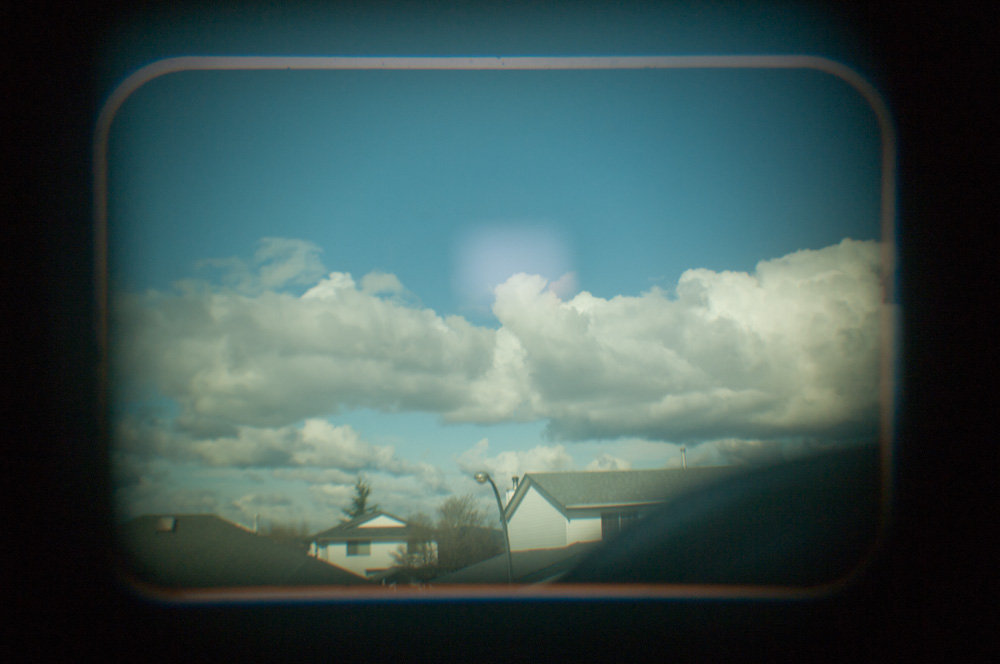
The viewfinder framelines automatically adjust for close focusing and the focus patch is a nice contrasty rectangle. Unfortunately my viewfinder frame is slightly askew which results in crooked horizons if you adhere to it as i did with my last roll of film.
In the second part I’ll show some sample images and discuss the camera some more.
2 comments | tags: camera, film, Minolta | posted in Cameras, Photography
Mar
11
2012
I’m going to share with you a method I use to create a reasonably effective film grain look with digital files. Yes there is software that can do this and some of them do a pretty good job but not always and why not use what you have. Lightroom for instance provides the ability to add grain to an image but it does this across the entire image without regard to exposure which is not the way that film looks I’m sorry to say Adobe.
To begin with here is an image I shot at ISO 3200 with my Pentax K7 1/8000 sec and f2.8, even though the image has been down sampled you can still see the digital noise that will become our “film grain”.

I then take this file and use the in camera processing to make these adjustments.
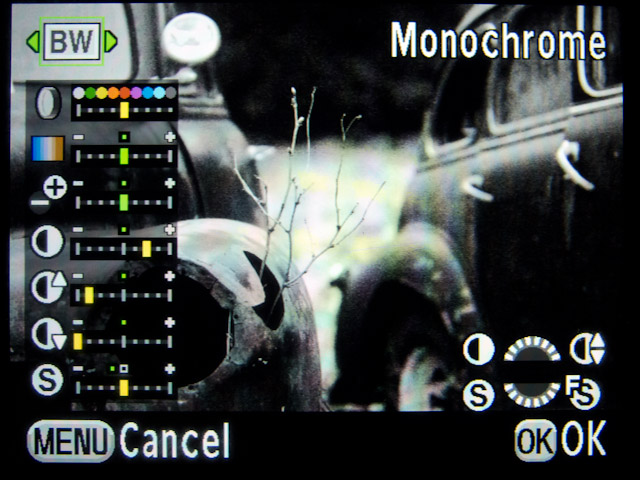
Custom Image Monochrome/Filter Effect Red/No Toning/
High Low Key Adjustment (here you can effect the image’s overall brightness while maintaining the highlights and shadows)
Contrast +2 (the film I’m trying to mimic is more contrasty than the digital capture)
Highlight Contrast -3/Shadow Contrast -4 (Here we want to reduce some of that contrast we just added but only in the shadows and highlights)
Set sharpness to zero as we already have a grainy image and we don’t want to over emphasize this and create something unnatural.
We also want to ensure that High ISO noise reduction “NR” is turned all the way off just prior to processing the image.
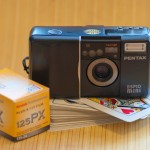
And the resulting image made to mimic Kodak PX125 otherwise known as Plus-X

And a 100% crop (There will be some compression due to the reduction in file size for the internet)
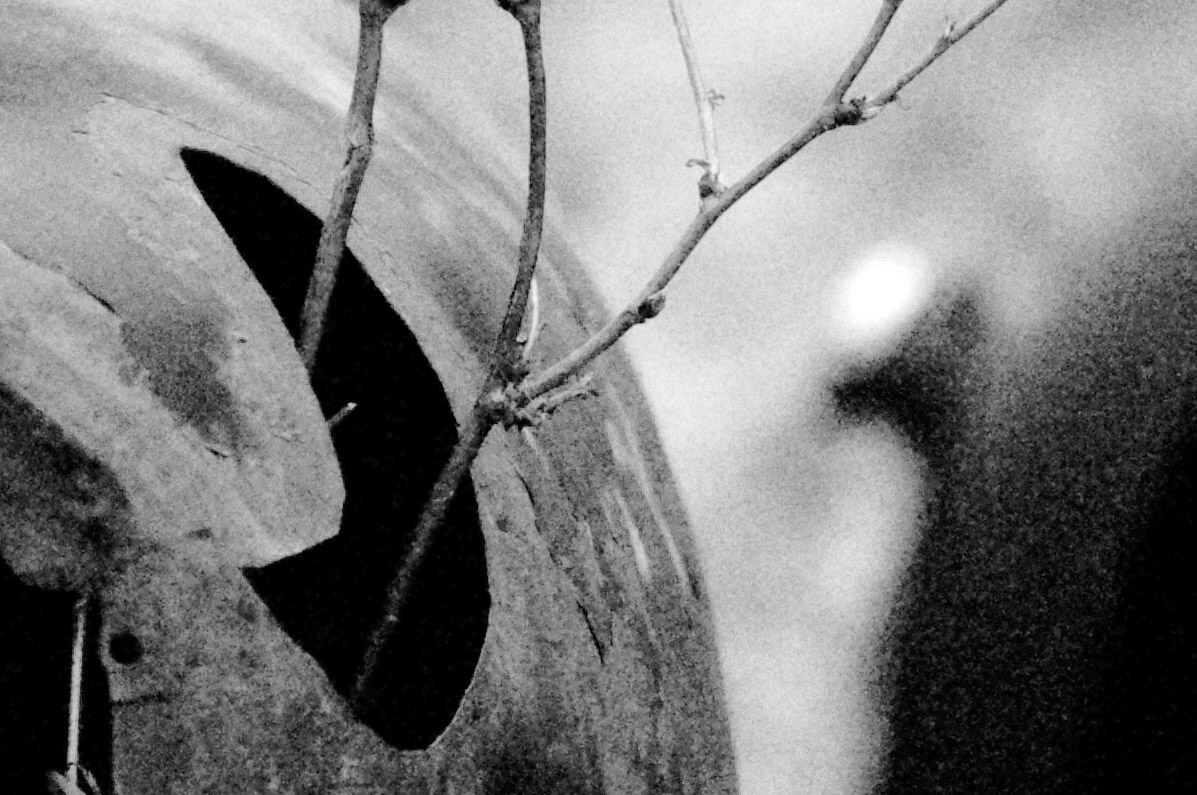
This is just one example of what can be done but it all started with taking a RAW image shot at high ISO.
And a few more examples


and a detail from the above image shot at 1600 ISO and processed in a similar way.
One final note, you may have noticed that I mentioned I shot that first image at 1/8000 of a second at f2.8 at an ISO settingof 3200. As sensors improve there is less and less noise at higher ISOs so this technique may not work as well into the future. If for instance it took an ISO of 6400 to achieve this result I would already have to stop down the lens to F4 as my shutter is limited to 1/8000 of a second as are most high end DSLR’s. In this case I’ve created a situation where I’ve overridden the noise reduction technology but that too may not always possible. Have fun and experiment.
I used this technique back in December of 2009 to create this set of images Bellingham
2 comments | tags: Digital, film, grain, noise | posted in Photography, Processing
Mar
5
2012
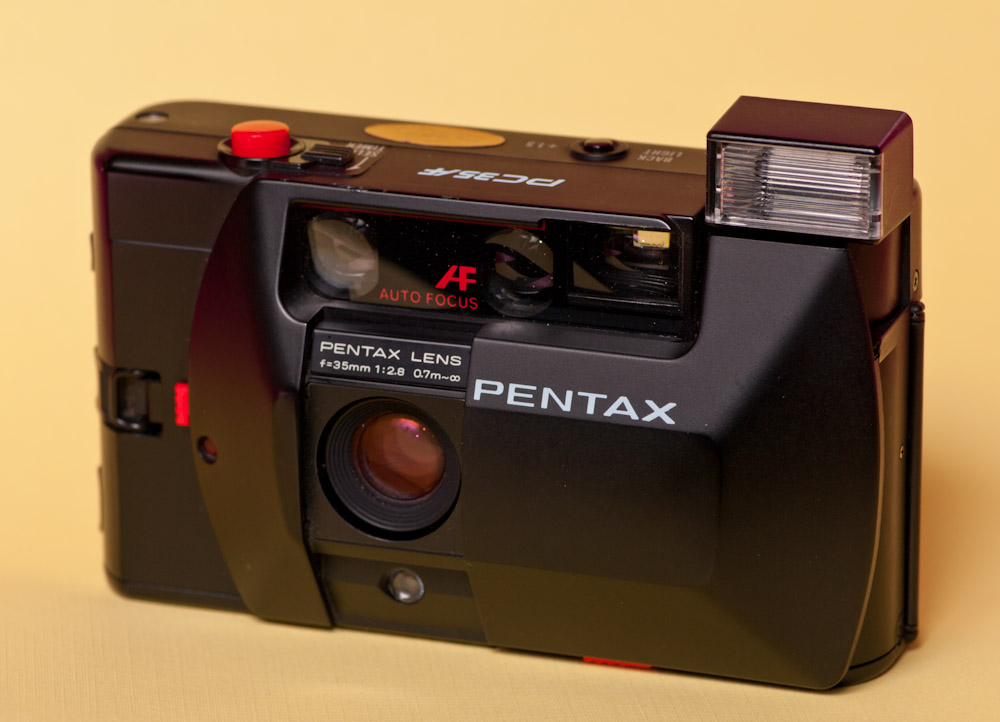
The Pentax PC35AF is yet another of the many 35mm fixed focal length cameras that where around in the 1980’s. Although slightly larger than the Olympus XA series of cameras it has a similar clamshell design and look. The PC35af though is an autofocus camera that still required manual winding of the film via a thumb wheel on the right hand side.
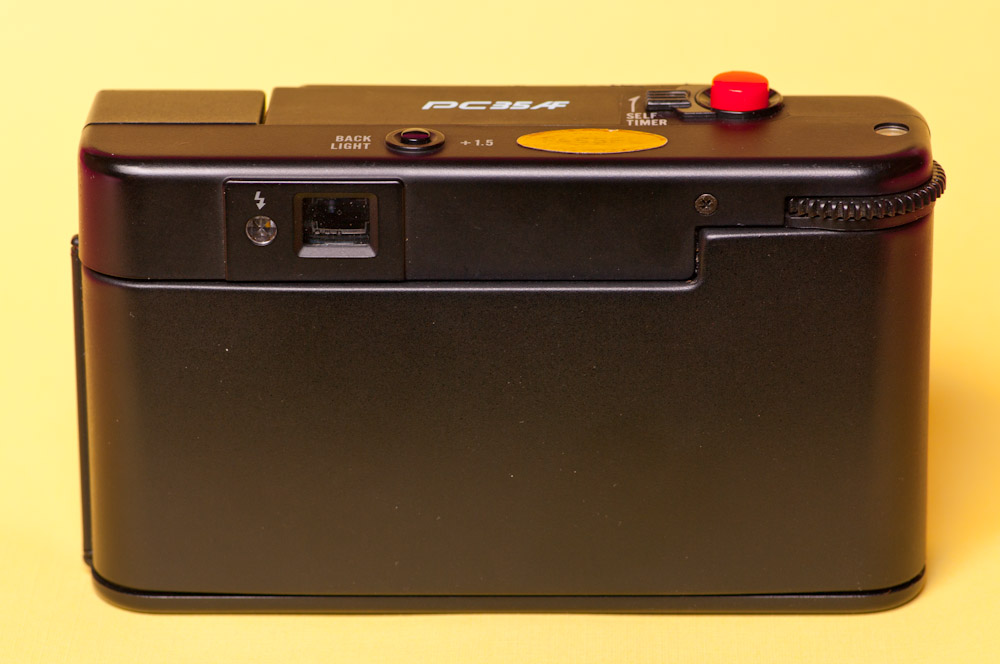
One nice thing about this camera is that it takes two regular AA batteries to run all it’s functions. The lens is comprised of 5 elements and has a respectable F2.8 maximum aperture . I like the minimalist design of the camera particularly when the clamshell is closed, it is however made of a somewhat slippery material and you need to be careful when holding it.
Operation is simple with only a +1.5 stop backlight over ride and the ability to lock focus and recompose. As I’ve stated many times I like the 35mm focal length finding it to be versatile and this camera does a decent job with several caviets, one is that the film speed is limited to a maximum of 400 ISO and the other is the lack of aperture or shutter control.
And now the requisite sample images.


1 comment | tags: film, PC35Af, Pentax | posted in Cameras, Photography


