Jun 28 2015

Ektar 100 pushed to 400

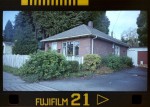
FujiST801-3924

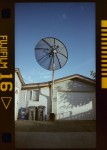
Kodak Ektar 100 was introduced in 2008 and shouldn’t be confused with the earlier Ektar that was available from 1989 to 1994.  Kodak claims that Ektar is the finest grain colour negative film available and I have no doubt that it is.  This is an example of the film shot at its native sensitivity of 100 ISO
Ektar100grain

While the image itself may not be the sharpest there is very little evidence of the film grain itself.
additionally I have found that Ektar has a great degree of exposure latitude that is it can capture a lot of detail both in image highlights and shadows without the need to sacrifice one or the other. This is a feature of film and it’s non linear exposure curve but especially so for Ektar 100.
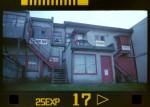
With all this in mind ‘Fine Grain’,’great latitude’ and its scanability  I thought I would try pushing it to 400 ISO as a test.  What this entailed was changing from the default ISO of 100 to 400 on my camera which is the same as under exposing the film by 2 stops.  Additionally I pushed the processing (Increased the development time) to account for this.  The result is that you have a film that you can use for lower light conditions but what are the trade offs?  Well the result is that the grain becomes more pronounced and there is an increase in contrast, additionally I found a loss of detail in the shadows and a colour shift towards magenta
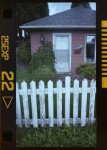
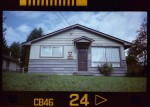
FujiSt801_Ektar100+2stops_Feb2015_021
So how does this compare to films with a native sensitivity of 400 such as Kodak Portra and Fuji Superia? Well I would say it doesn’t quite match up it’s more like using out of date Kodak 200. Not all of my testing results matched up because I found it necessary to under expose even a little more under the low light conditions that I had but when exposed properly at 400 ISO it’s a viable alternative in a pinch.

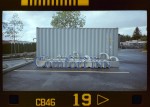
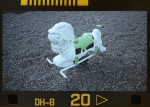
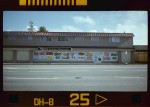
The following examples were taken with the Fujica ST801 and Kodak Ektar at 400ISO with a +2 stop push in development.


Jun 1 2015

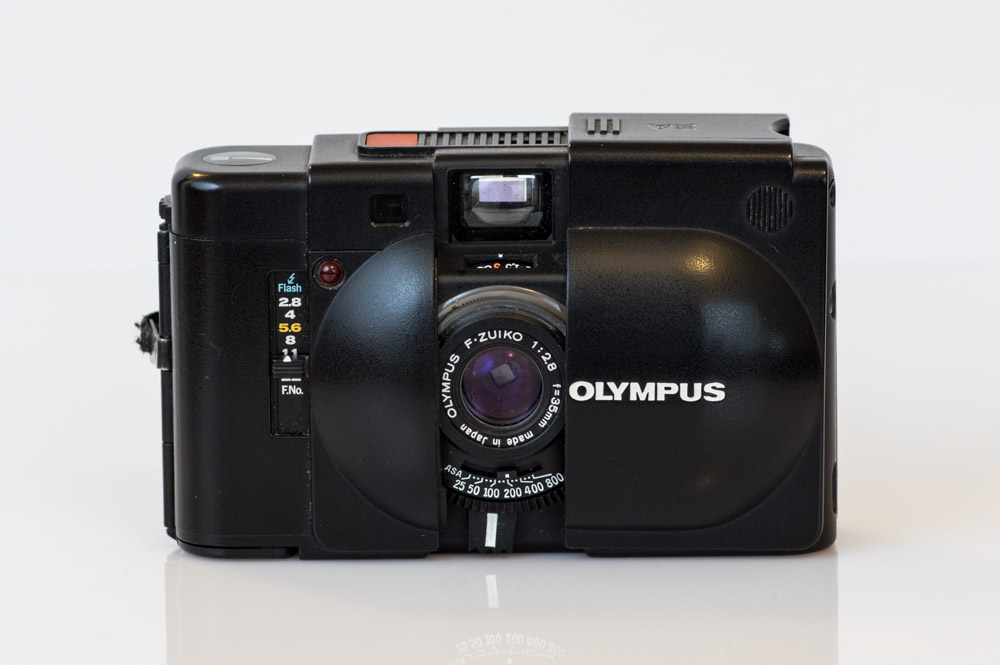
Lomochrome Purple with the Olympus XA

OlympusXA-3877

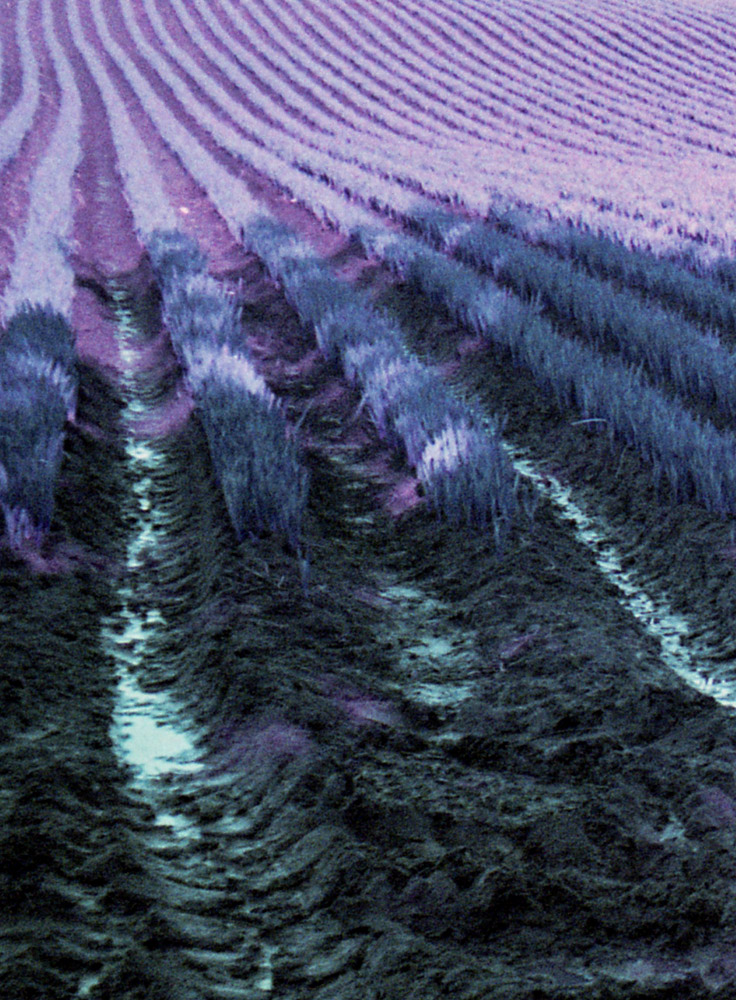
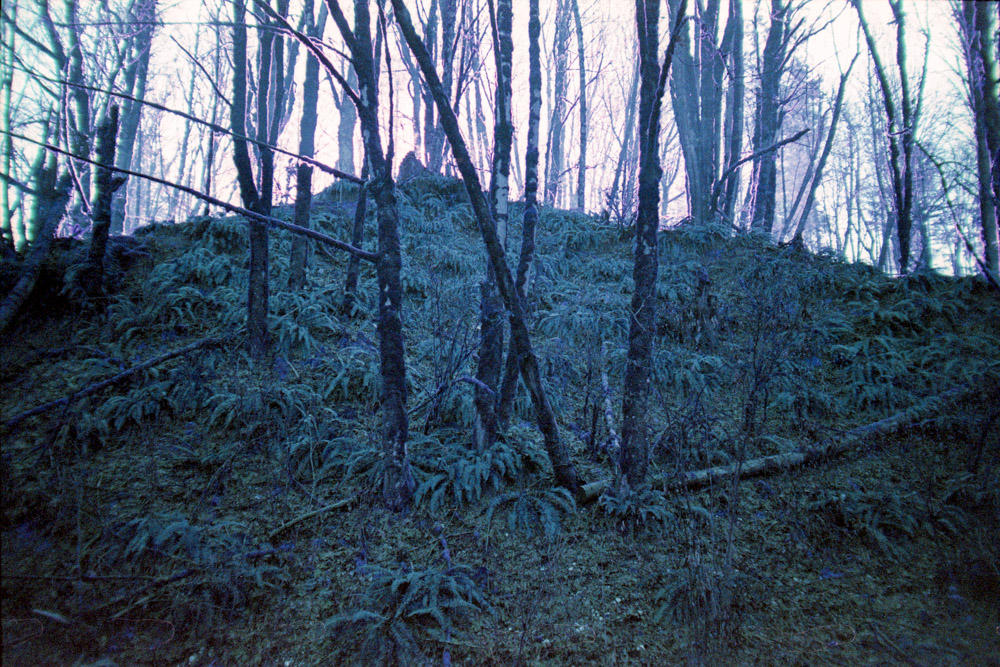
I loaded an Olympus XA with Lomochrome Purple film and set the ASA to 200.  The film is rated at 400 ISO but over exposing is supposed to render darker purples.  Shooting it during a mostly dreary winter time may have not been the best idea, perhaps spring when everything here is green would be better.  I found that not every image caused the same degree of shift.  I believe this is a combination of the metering from the XA and that darker greens seemed to be effected less than yellower greens. Also shaded light had much less impact on the shift than direct sunlight.
OlyXA_LomochromePurple_Feb2015_024
OlyXA_LomochromePurple_Feb2015_025

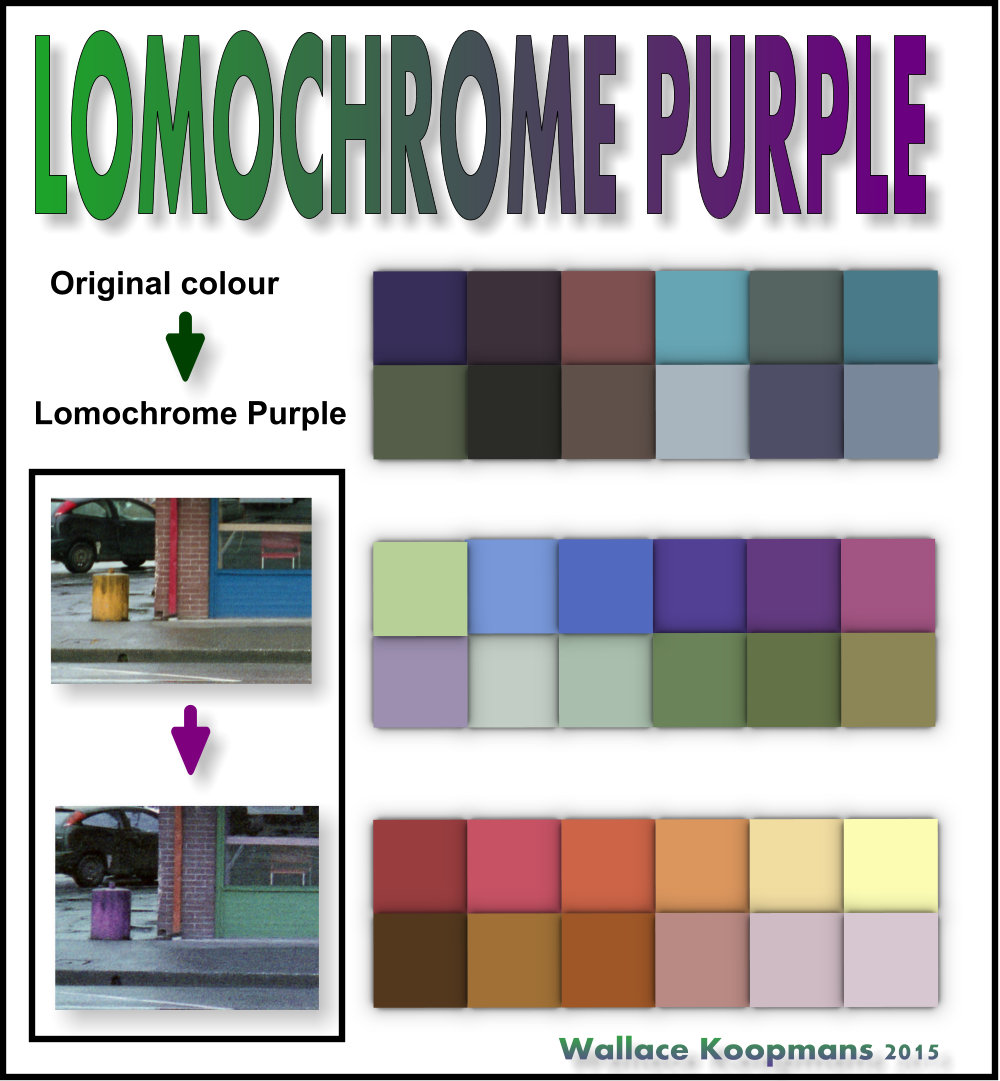
additionally blue is shifted to green and while you don’t tend to find that much purple out in the real world it is shifted to green as well.
Here is a little chart of how some colours are effected. The original colour is on top with the Lomochrome Purple shifted colour just bellow.

Lomochrome_Purple_wkoopmans

I have another roll that I will shoot when there is more foliage and new growth as well as using a different camera with a little more control.


Dec 22 2014

Canon Elph LT and scanning APS film with a cheap film scanner


ITscanner-9085

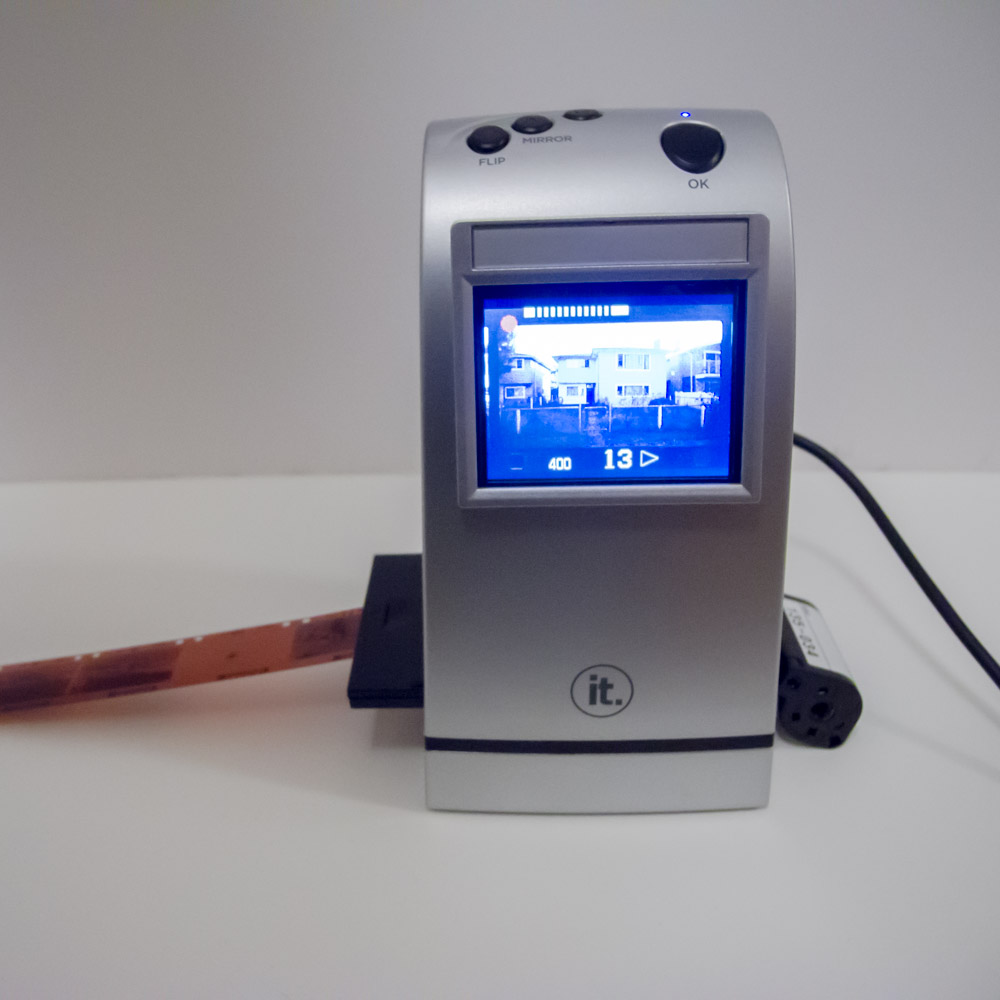
Having found a way of scanning my APS film that produced good quality images it only stands to reason that I would find a worse way to do it, after all it is APS film.  Okay this is easier to do its just that the results aren’t as good.  This is a cheap film scanner of the type you find in a business supply store or at a garage sale or laying on the side of the road.  This one has the ability to pull the film through it without cutting and that is the key to how this works.  Although the holder is designed for 35mm film the smaller APS film can be kept square against one edge.  Unfortunately it gives an image that looks like it was shot with a cheap 3 Megapixel camera.  On the positive side again the image is already converted from a negative and only requires cropping.  Ultimately despite the greater effort required I think I will revert to my macro lens flash system.

APS-Scanning-8008

I shot these images with the impossibly small Canon Elph LT more from this camera here Canon Elph LT

CanonElphLT-9750


Dec 16 2014

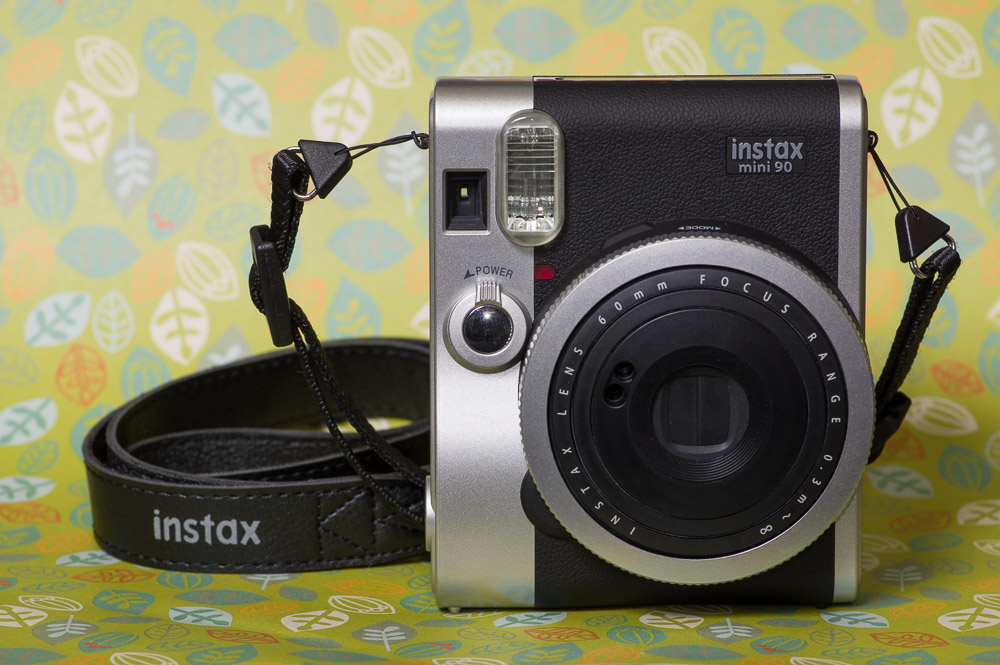
Instax Mini 90 neo classic

FujiInstaxMiniClassic-9565

The Fuji Instax mini 90 is a fun camera to play with and because the final result is a physical object it opens up the idea of sharing beyond the posting of an image on the internet.  You can actually give someone a photograph.  The Mini 90 adds much more control over image making than is offered by older Instax models.  Things such as multiple exposure, bulb mode and exposure overrides, my favourite though is the ability to suppress the flash.  Instant photography isn’t cheap but if you consider the fact that you are also receiving a print it’s a lot more reasonable.  I recently brought the Mini along on an outing for a highschool photography club and they all seemed to love the novelty of it as they immediately took pictures of the pictures with their cell phones.

Here are some resent sample images from the Fuji Instax Mini 90

Instax2014


Dec 13 2014

Home Developing C41

As a teen I converted the family camper into a darkroom and even did some colour printing from slides, that was a long time ago, but the closing of yet another camera store that handled my film has prompted me to begin developing my own C41.  I’m glad camera stores havent determined that my stepping through their door is the harbinger of doom, but I digress.

_K3_9660

After amassing 12 rolls of colour film, and all the necessary items I needed to process them, it was time.  There was no more ‘Oh I just need this’ there were no more reasons to procrastinate.  Here are a few things I learned.

  1. You really do need to have the temperature higher than you will process at when you mix your chemicals (The Blix powder did not dissolve easily at 102’F, I had been hoping that it would so that I only needed to use one temperature).
  2. Leaning into a tub for hours is hard on the back
  3. Squegeeing the film is necessary to reduce the chances of water spots
  4. Thermometers for film developing are slow to react to changes, the digital thermometer I also used allowed faster checks and setting the wash temperature.
  5. Be safe around electricity. All of this goes through a GFI outlet, the controller is fused and I have double sealed the heater because of its age.
  6. Developing your own film is time-consuming but awesome

What you don’t see in this picture is a critical component, my changing bag.  The film needs to be put onto the reals and loaded into the tank in complete darkness of course.

The key thing that made this marathon developing session possible though is my modified aquarium heater controller.  It works with a thermister that changes its resistance based on temperature.  It’s an inverse relationship, the higher the temperature the lower the resistance.  So to hack it to run at a fish cooking 102 degrees Fahrenheit I increased the resistance therefore changing the range it runs at.   This kept a bath of water and the chemical bottles floating in it at the required temperature by turning on the heater any time the temperature dipped.


_K3_9666

While I had plans to make an Android app to assist with the timing I ended up using Lab Timer on my iPad which allowed me to easily set up 4 timers for the major processes I needed to do.

_K3_9662

Here is the distilled water I used for mixing my chemicals coming up to temperature

_K3_9661

Here you can see the heater keeping everything at the right temp, for hours.  As a side note it is plugged into a GFI outlet and I completely resealed the heater with new high temperature gasket goo for vehicles and topped it off with a silicone high temperature grease sealant. You can never be too careful around electricity and water.

_K3_9667

After a few fumbles getting the film on the reels I managed to get pretty good at handling the film inside the bag… by the 12th roll.

Not having to worry about the temperature allowed me to concentrate solely on the timing so I was able to do all my agitation and chemical changes accurately and consistently.  There was far more variation in the film that I had used than in the processing.  The worst offender was some outdated Polaroid 400 that nearly turned my developer black.

_K3_9665

To finish each pair of rolls I hung the film to dry in the shower, a very dust free location.

It was all well worth the effort and if you discount my time it was about half the price of the cheapest place I have available to me for developing.   I also squeezed in one more roll of Ektar 120 film the next day pushing it from 100 ISO to 400 by increasing the development time.  The chemistry may not be as exhausted as I was but I will start fresh the next time I have a pile of film.  That shouldn’t be too long.  Update: in the time since I first wrote this I’ve sucessfully processed another batch of 13 rolls.

I’m also planning to recover the silver so it doesn’t end up in the environment using the metallic replacement process outlined in Kodak j300 Environmental information from Kodak


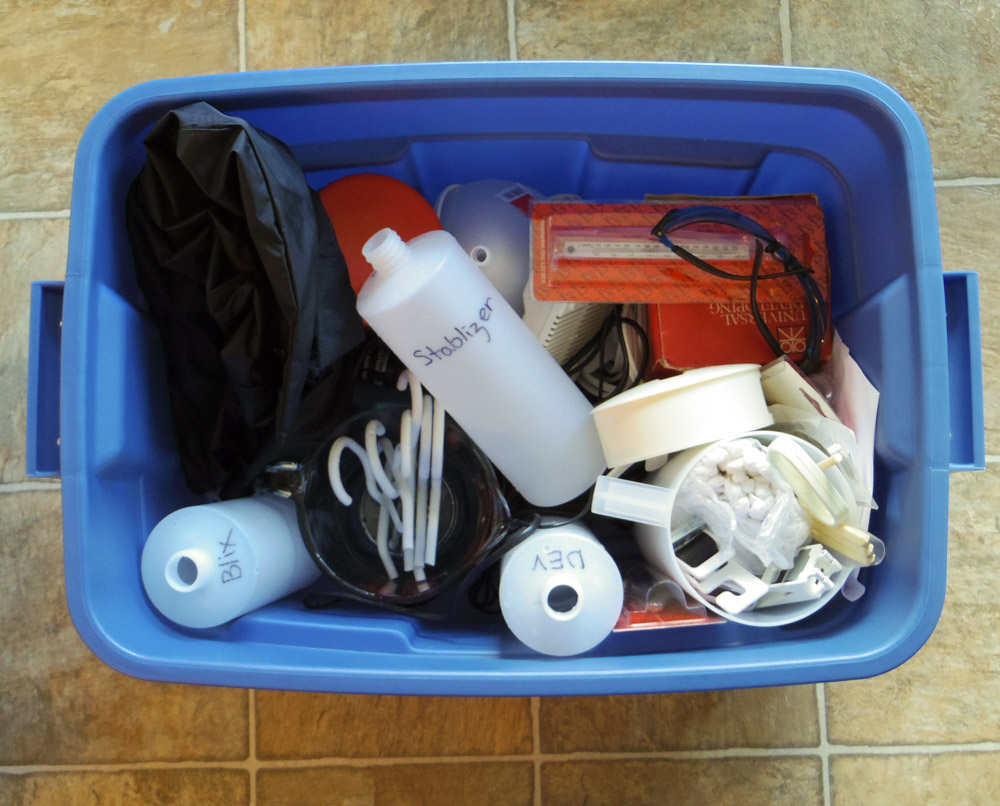
And everything fits in a Rubbermade container
filmkit-1957


Nov 29 2014

Braun Super Paxette Let the light shine on you.

SuperPaxette-9622

After rewinding this film  for what seemed like twice as long as needed and it also becoming much easier, it seemed reasonable that it was time to open my Braun Paxette. I was wrong.  The light came streaming into the back of the camera like someone opening the blinds at a seedy motel.  The worst part of it was the not knowing what was damaged and what was lost for the entire rest of the trip.  Well it turned out that not that much was lost and a few of the images might have been improved.  Someone is bound to ask me what app I used when I post them to Instagram.   I might tell them I used the ‘Open the back App’.


Nov 5 2014

Agfa Vista plus 200

AgfaVista-9778

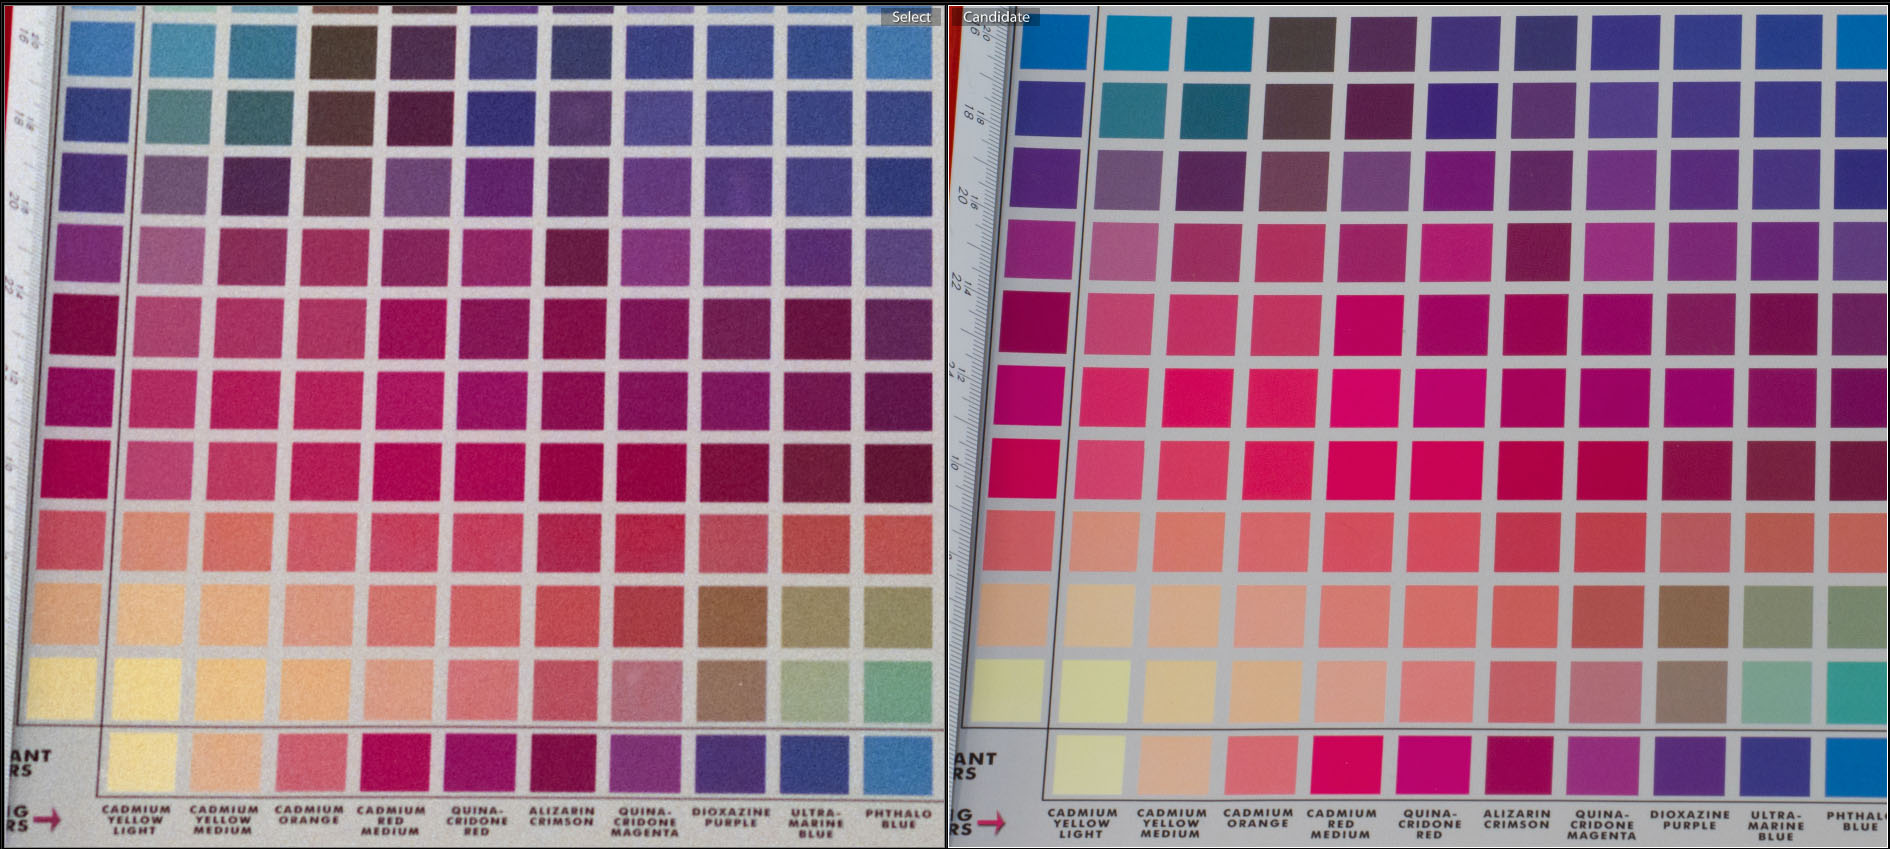
Agfa Vista plus 200 is an inexpensive C41 film (approx $2.50 per roll of 36 exposures) but don’t let the price fool you it’s actually a really good film.  For most of the images the colour was very accurate it only had trouble reproducing some reds particularly the red wildflowers.  I can’t really eliminate my V700 scanner from the equation so it could play a small factor in that and the film is also said to be geared towards natural skin tone reproduction so that also could play a part in the rendering of the reds..  Here are a couple of colour mixing charts that I shot with Agfa Vista plus 200 (seen on the left) and my Pentax K-3 DSLR (on the right).  I also found that the colours had a muted pastel look that sometimes required a little extra saturation during post processing.  If you want image perfection you shouldn’t be shooting film anyway but if you want the look of film and you want it cheap this film is perfect.

ColourClose ColourGuide


Oct 24 2014

Cinestill 800T and how customer service should work.
Cinestill800-8238

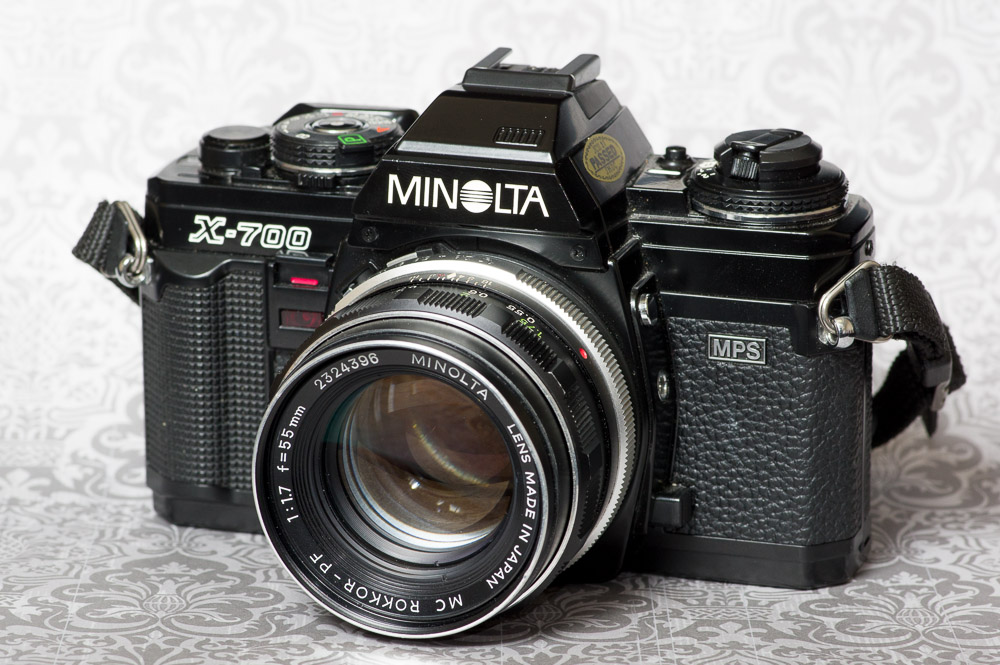
MinoltaX700-9574


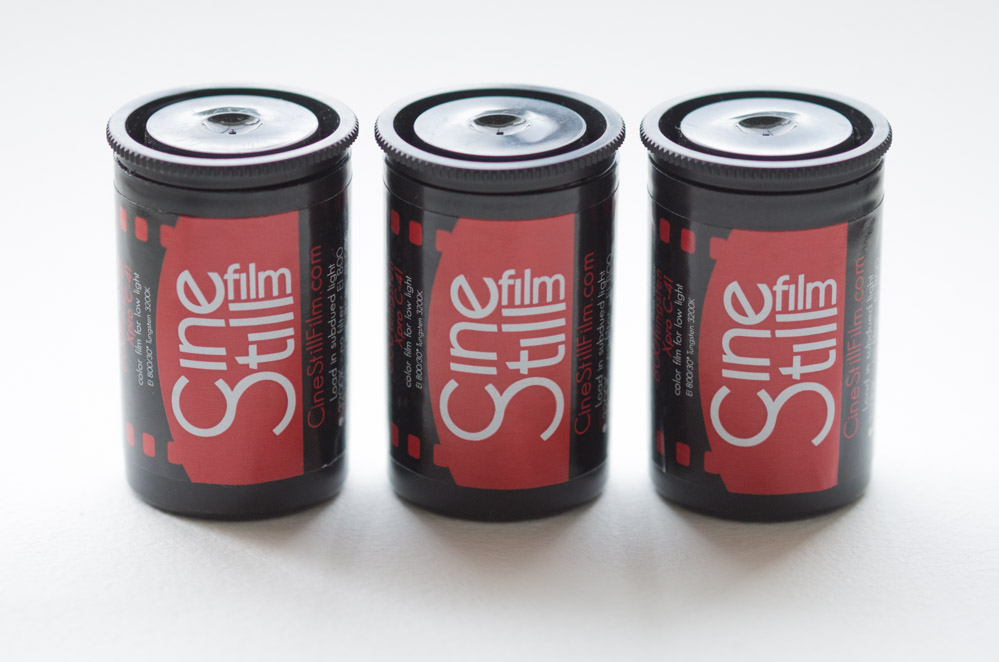
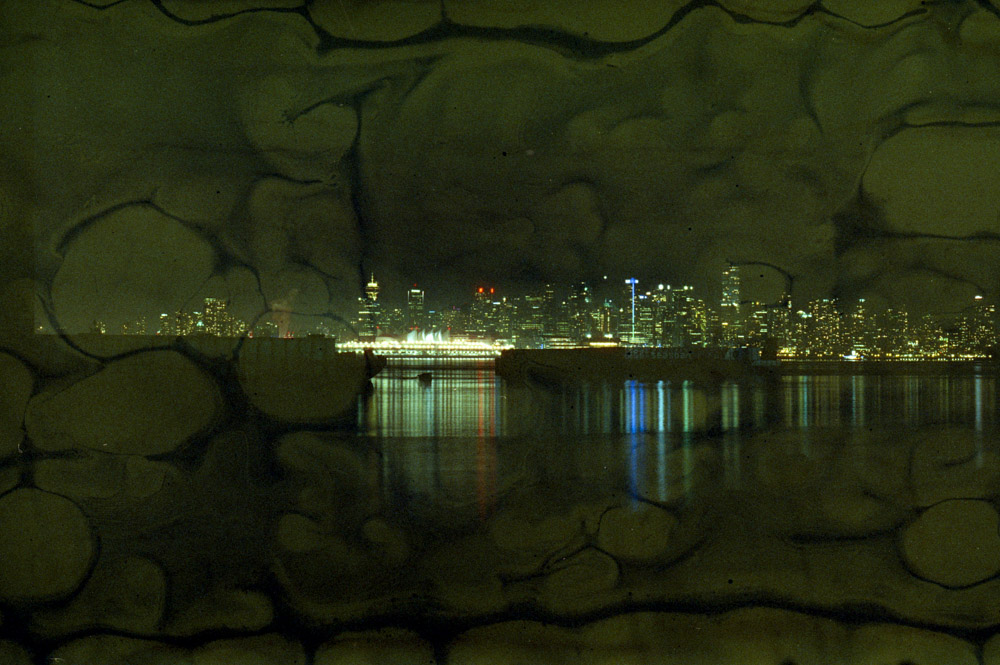
I shot a roll of Cinestill 800T in my Minolta X700 mostly of very dark things with bright lights, what can I say I like the halo’s it creates (For an explanation of what and why see this post Niagara at Night with Cinestill).  unfortunately the roll I had may have come from an early run before they say they improved the process or just a faulty roll.  So most of the images on the roll have residual rem-jet coating that makes some of the images appear like you’re looking through a glass of Guinness Stout.
MinoltaX700_Cinestill_2014_025

That part is a bummer because some of those images can not be redone but I emailed Cinestill and notified them and they offered to send me replacement rolls for my remaining film in case other rolls are similarly afflicted.  Now you might be thinking well of course that is the right thing to do and I agree but for them to do it so quickly and without further hassle to me is what I consider excellent customer service (Pretty much the opposite experience of all the failed Apple charging cables I’ve had to contend with).   With some editing I am able to minimize the impact of the rem-jet and salvage the images at least for the purpose of sharing but really what matters to me is that Cinestill re-established my confidence in shooting their film and I look forward to shooting even more of it.

Here are some of the better files from the roll  with the faults more visible than others even after editing to minimize them.


Oct 3 2014

Fuji Instax Wide Tulips

Fuji_InstaxWide_Tulips-6928

The Fuji Instax Wide film is suprisingly good with a look of its own and provides that wonderful feed back that you just don’t get from looking at the back of a digital camera.   Having a physical representation of what you are capturing is a fun little reward.


Sep 14 2014

Polaroid P -16

Only 15 Polaroid spectra frames left…..ever!

PolaroidSpectra_June2014_001