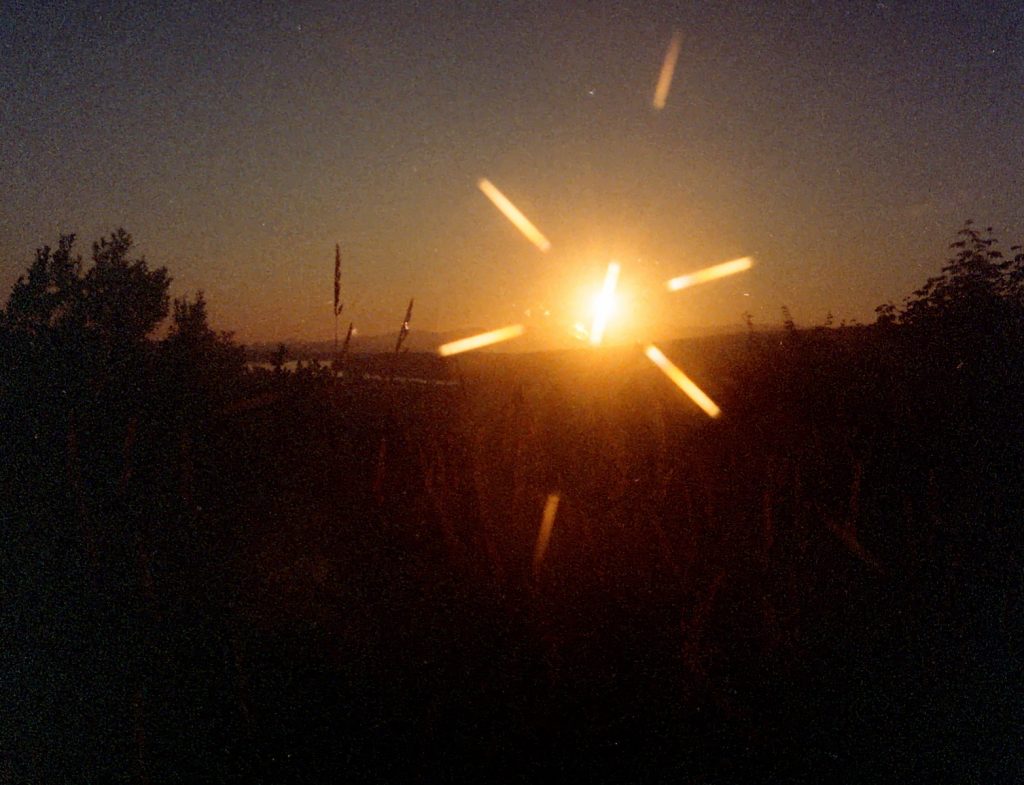
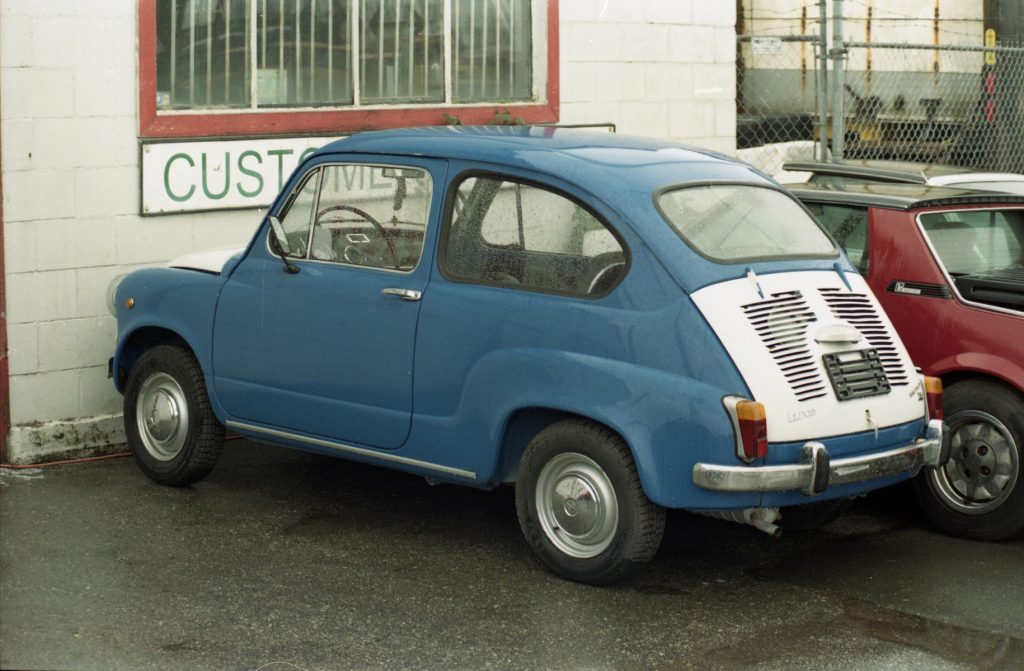
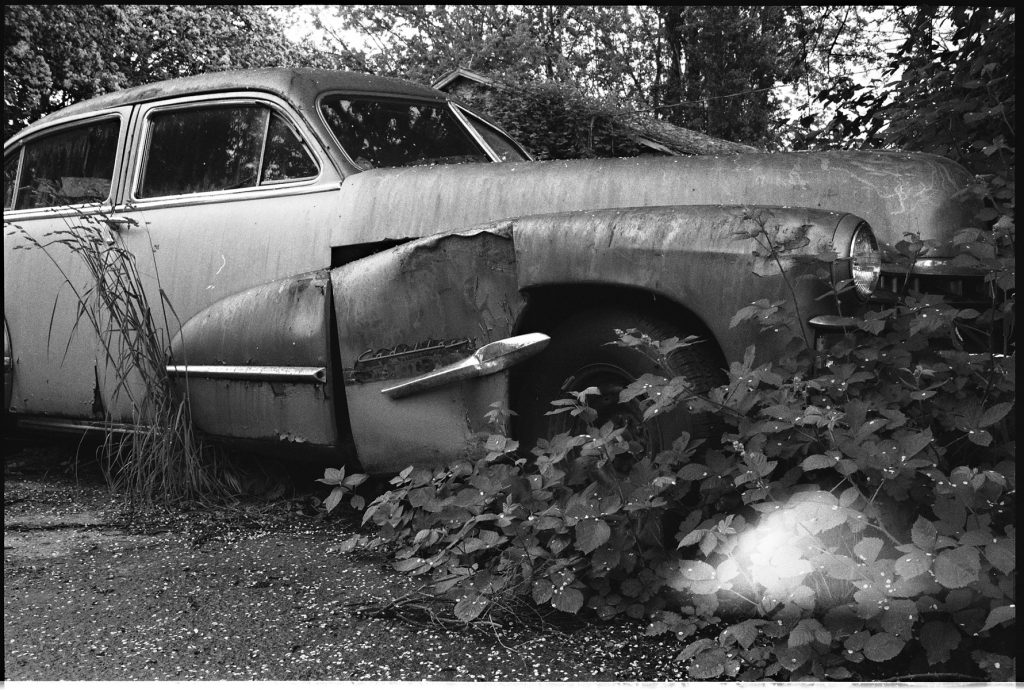
One of the common complaints you hear about half frame and recently about the new Pentax 17 is that because the image area on the film is smaller than the nominal 36mm image width of most 35mm film cameras the image quality is going to be worse. “Half frame is too grainy” And yes using the same film and an equally good lens you will potentially get an image that can be enlarged further with a camera covering the full 36mm width. However if the intended use of the images is to utilize them on a digital platform or enlarged them up to about 8×10 your not going to get to see much if any difference. Of course if you are the sort of person who hears complaints like this and thinks well hold my beer while I reach into the back of my fridge for some Adox color implosion, have I got some pictures for you.
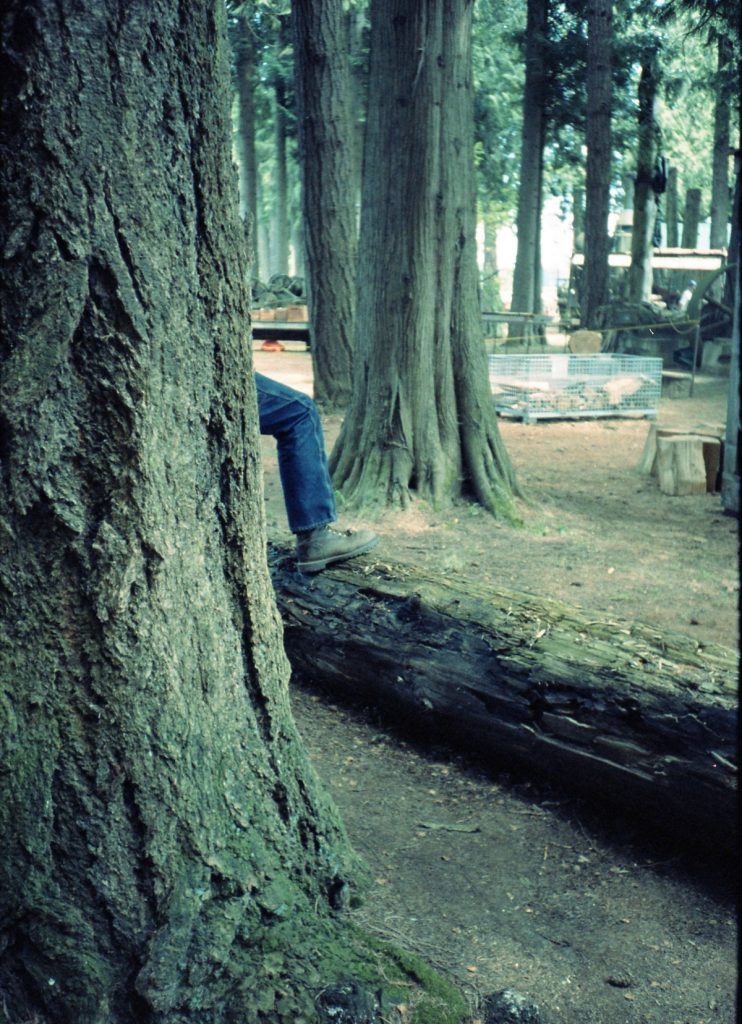
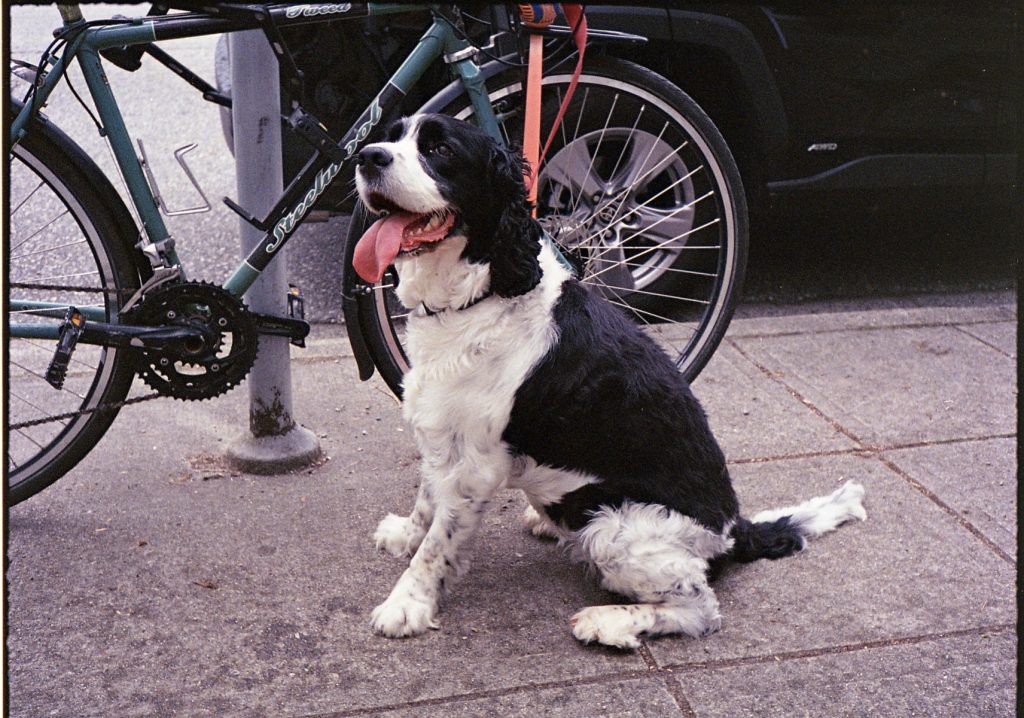
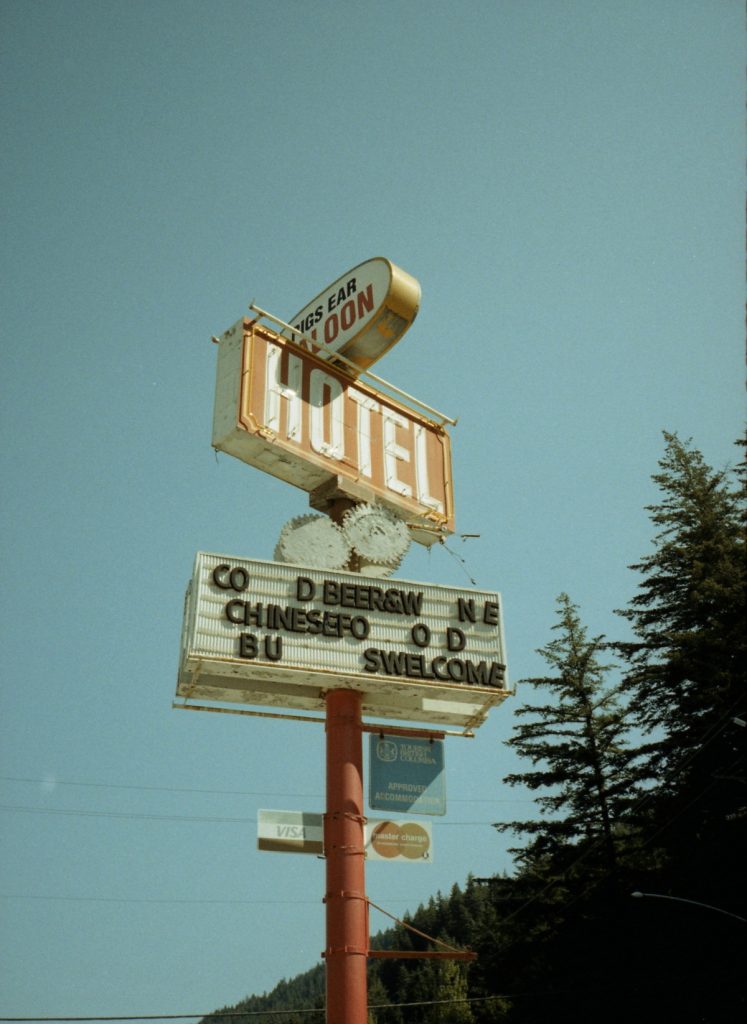
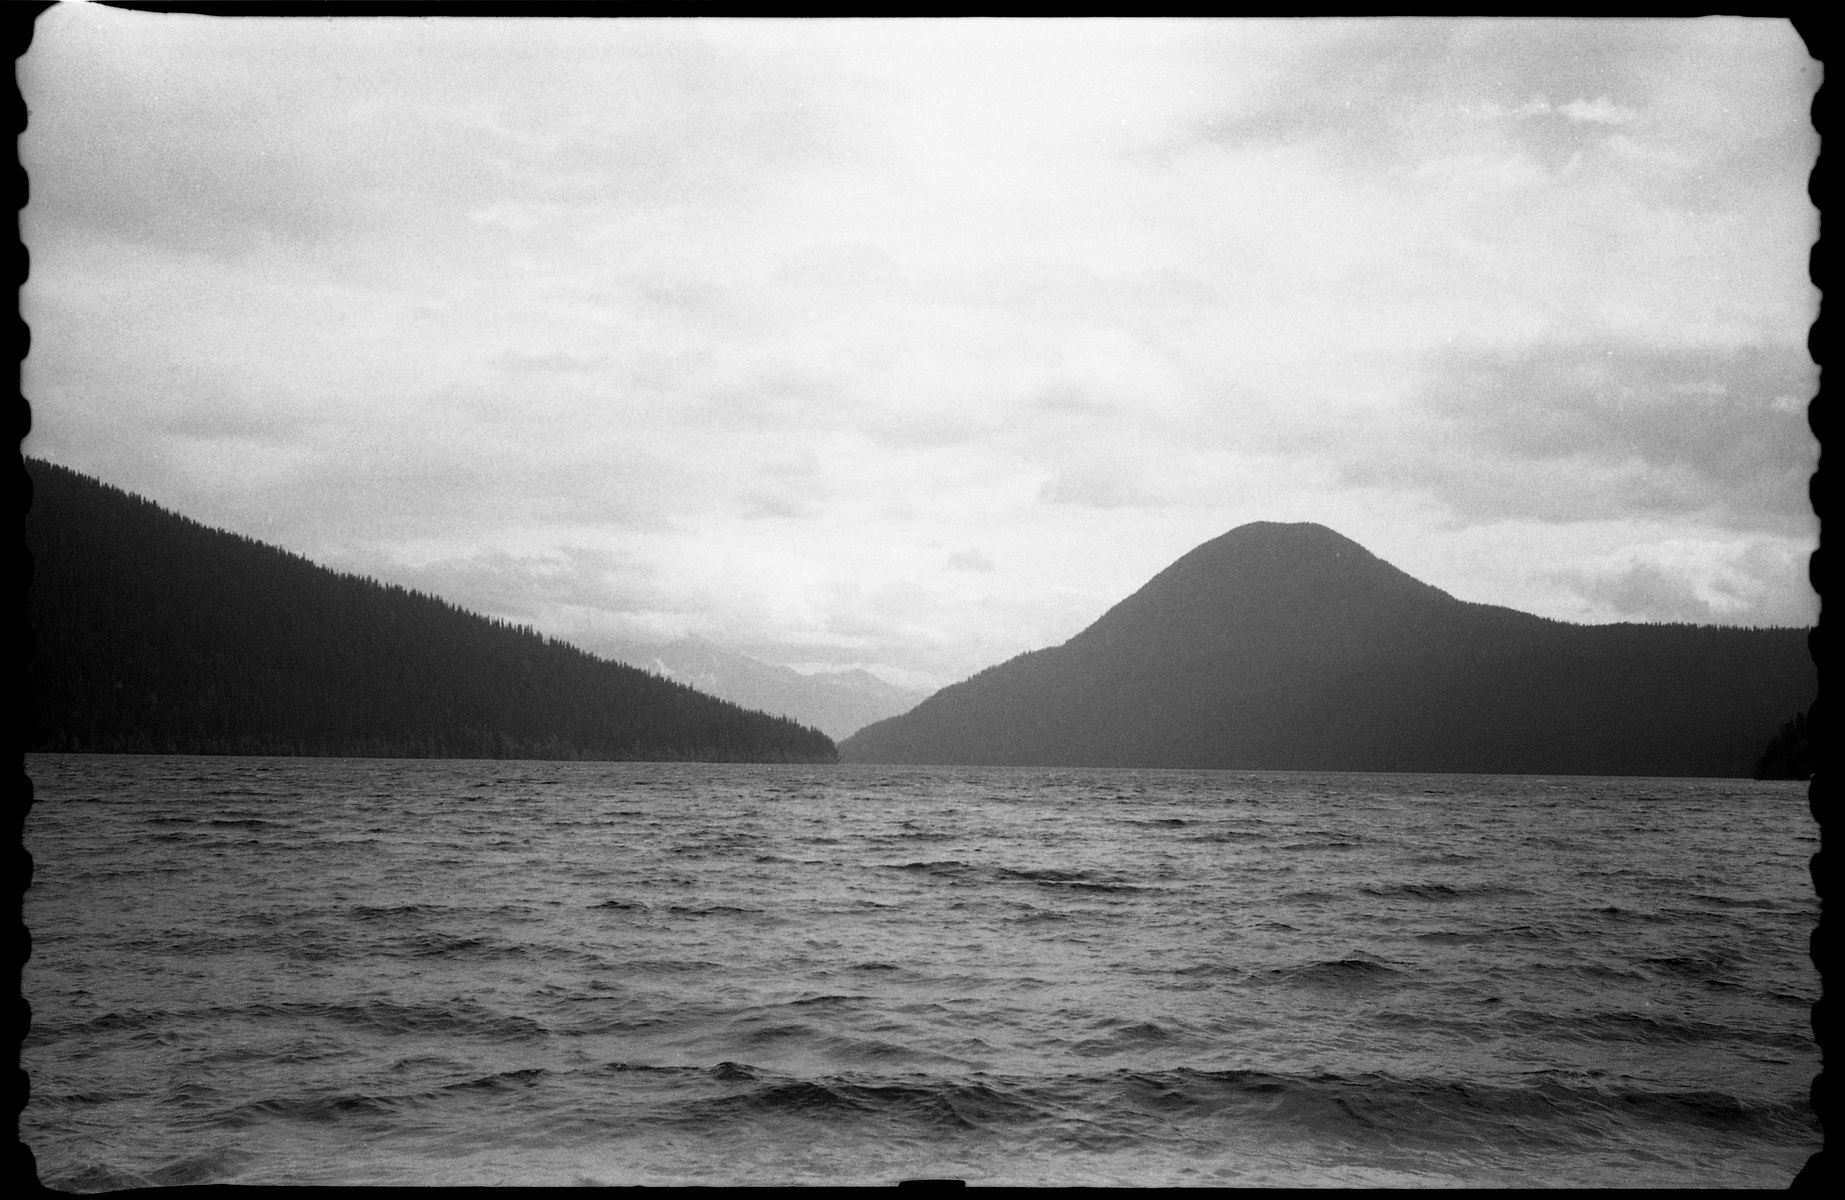
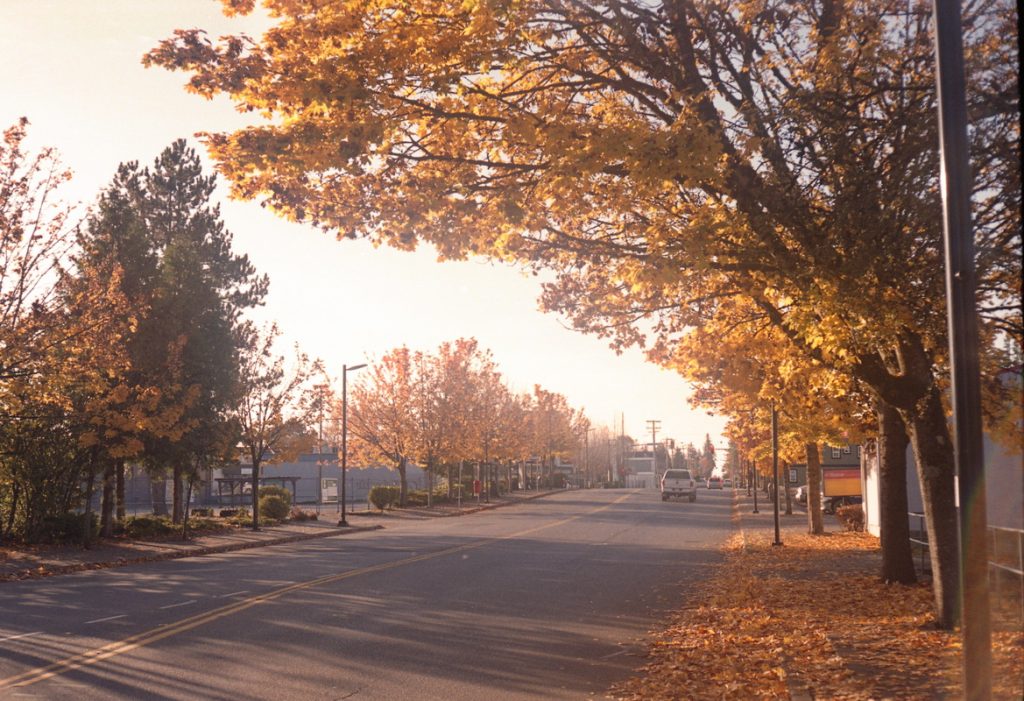
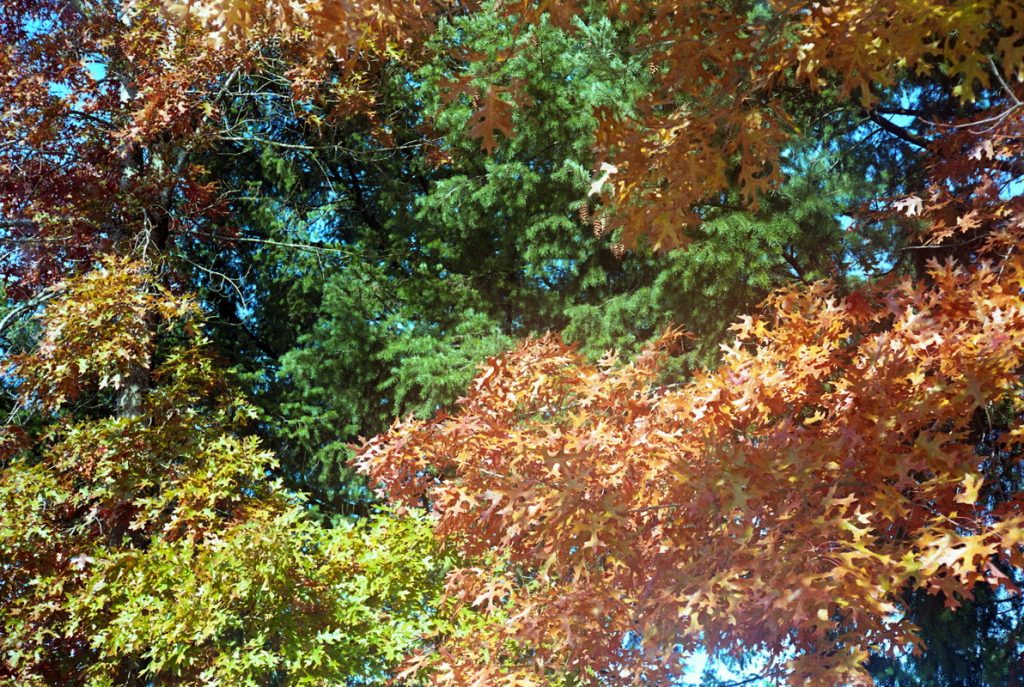
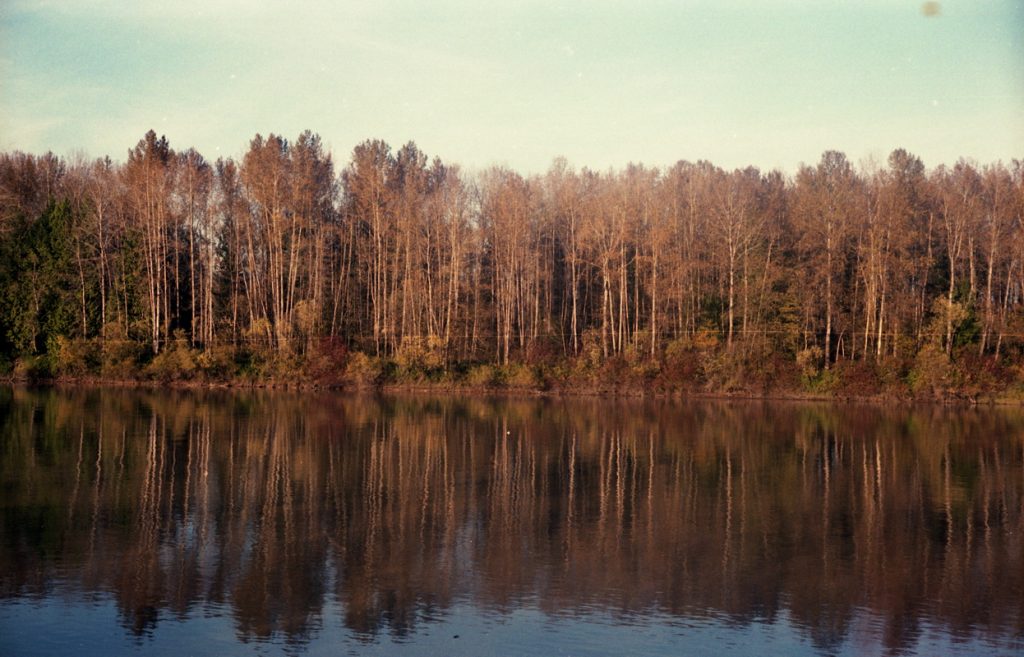
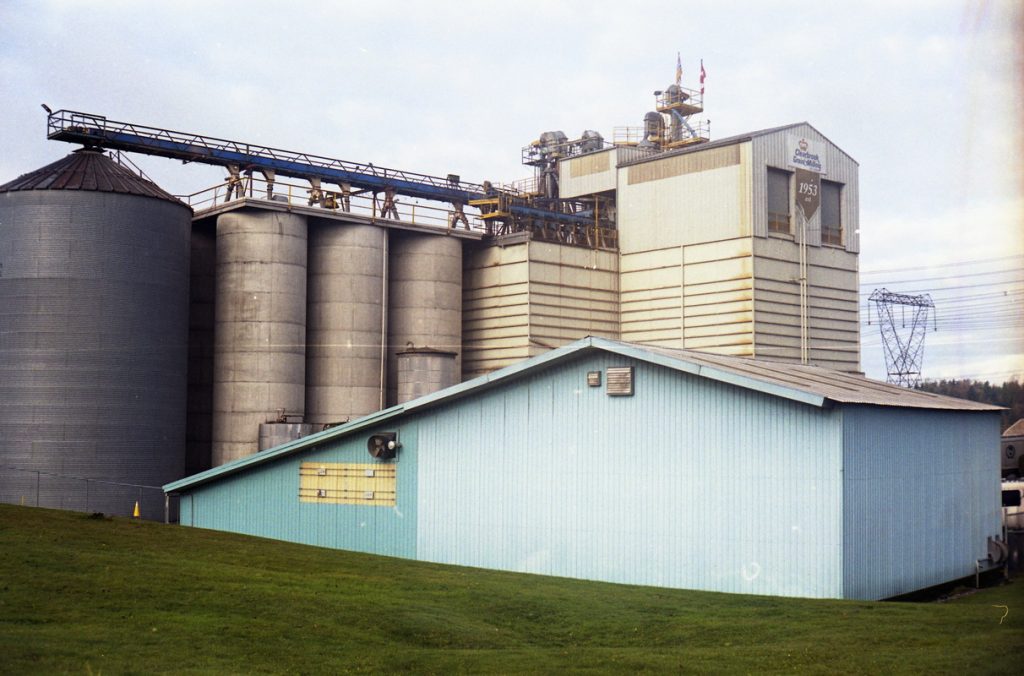
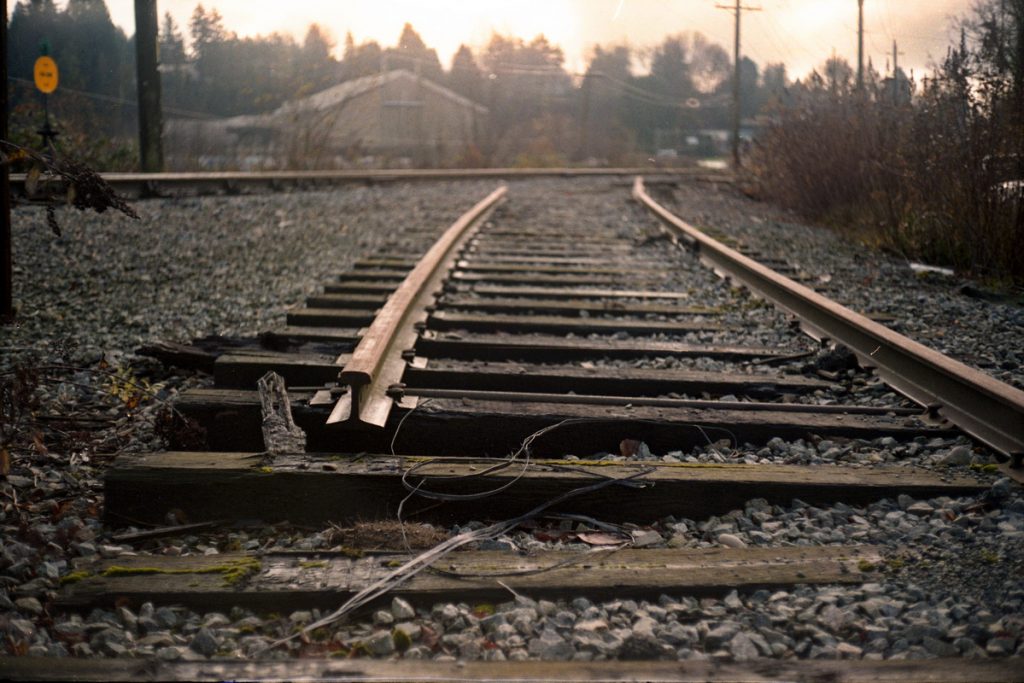
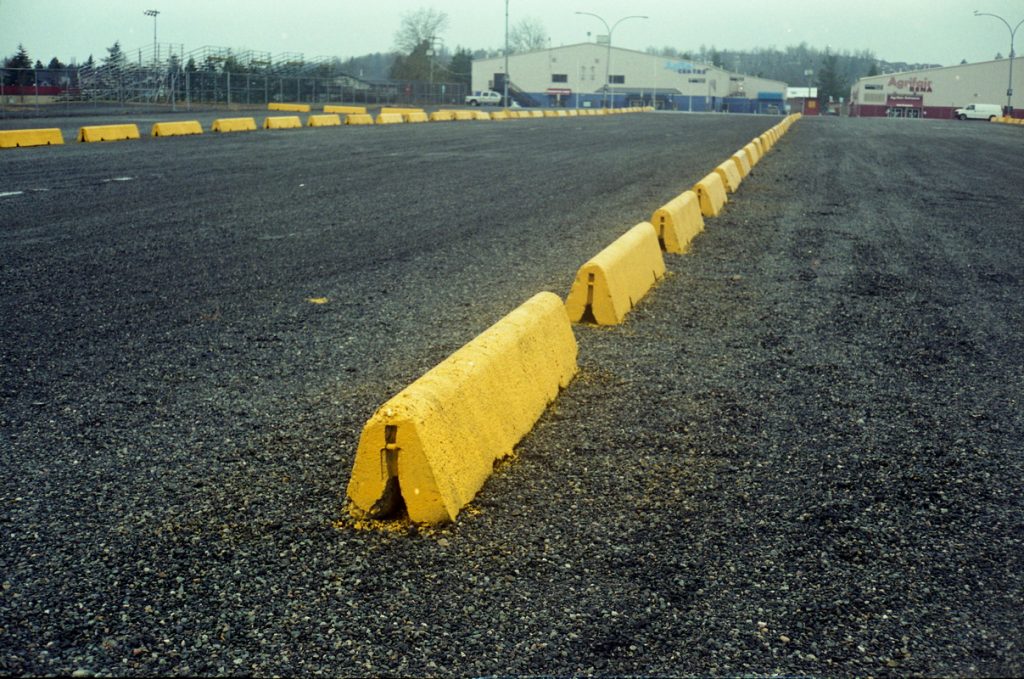
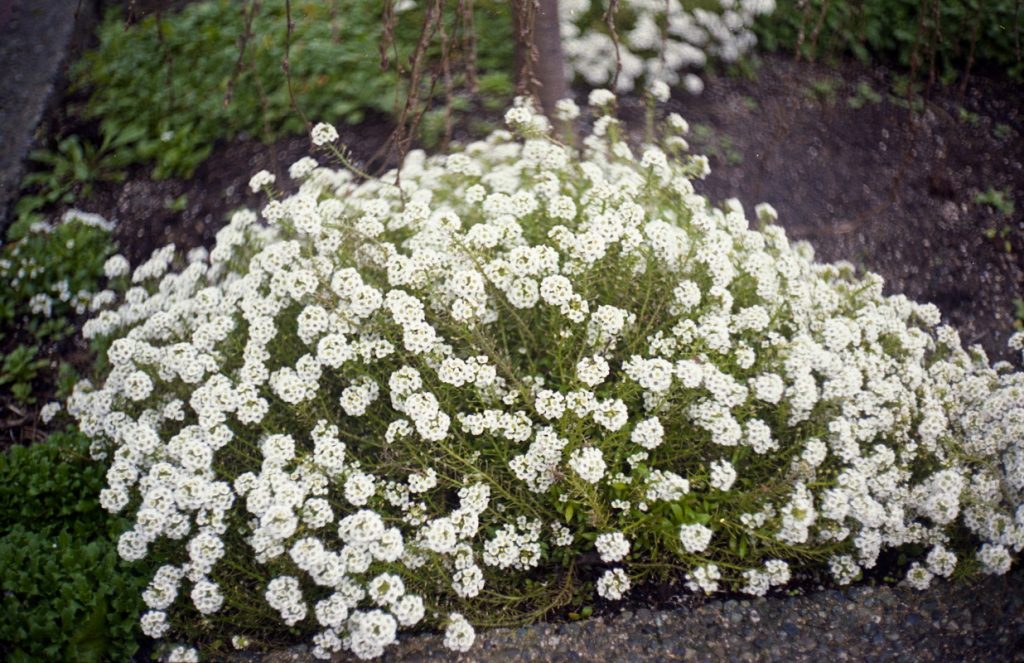
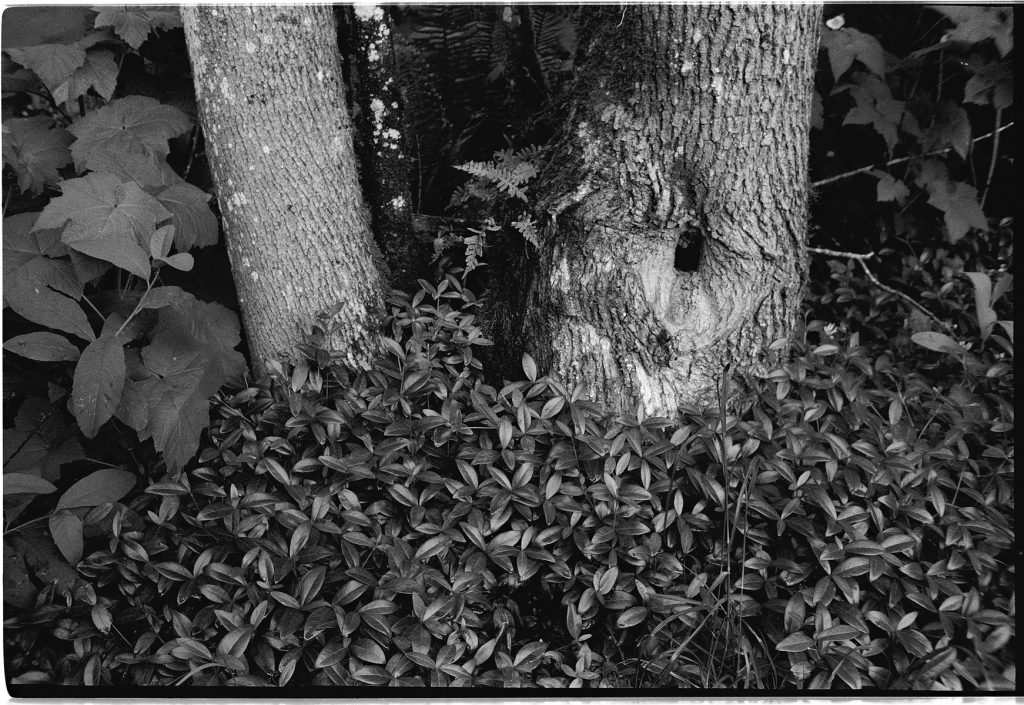
I think the subject matter suites the film giving a pictorial look to them.
On the flip side shooting a fine grain film like Fuji Across II in the Pentax 17 yields some fantastically detailed images that can be printed quite large. And honestly who doesn’t like a little film grain anyway.
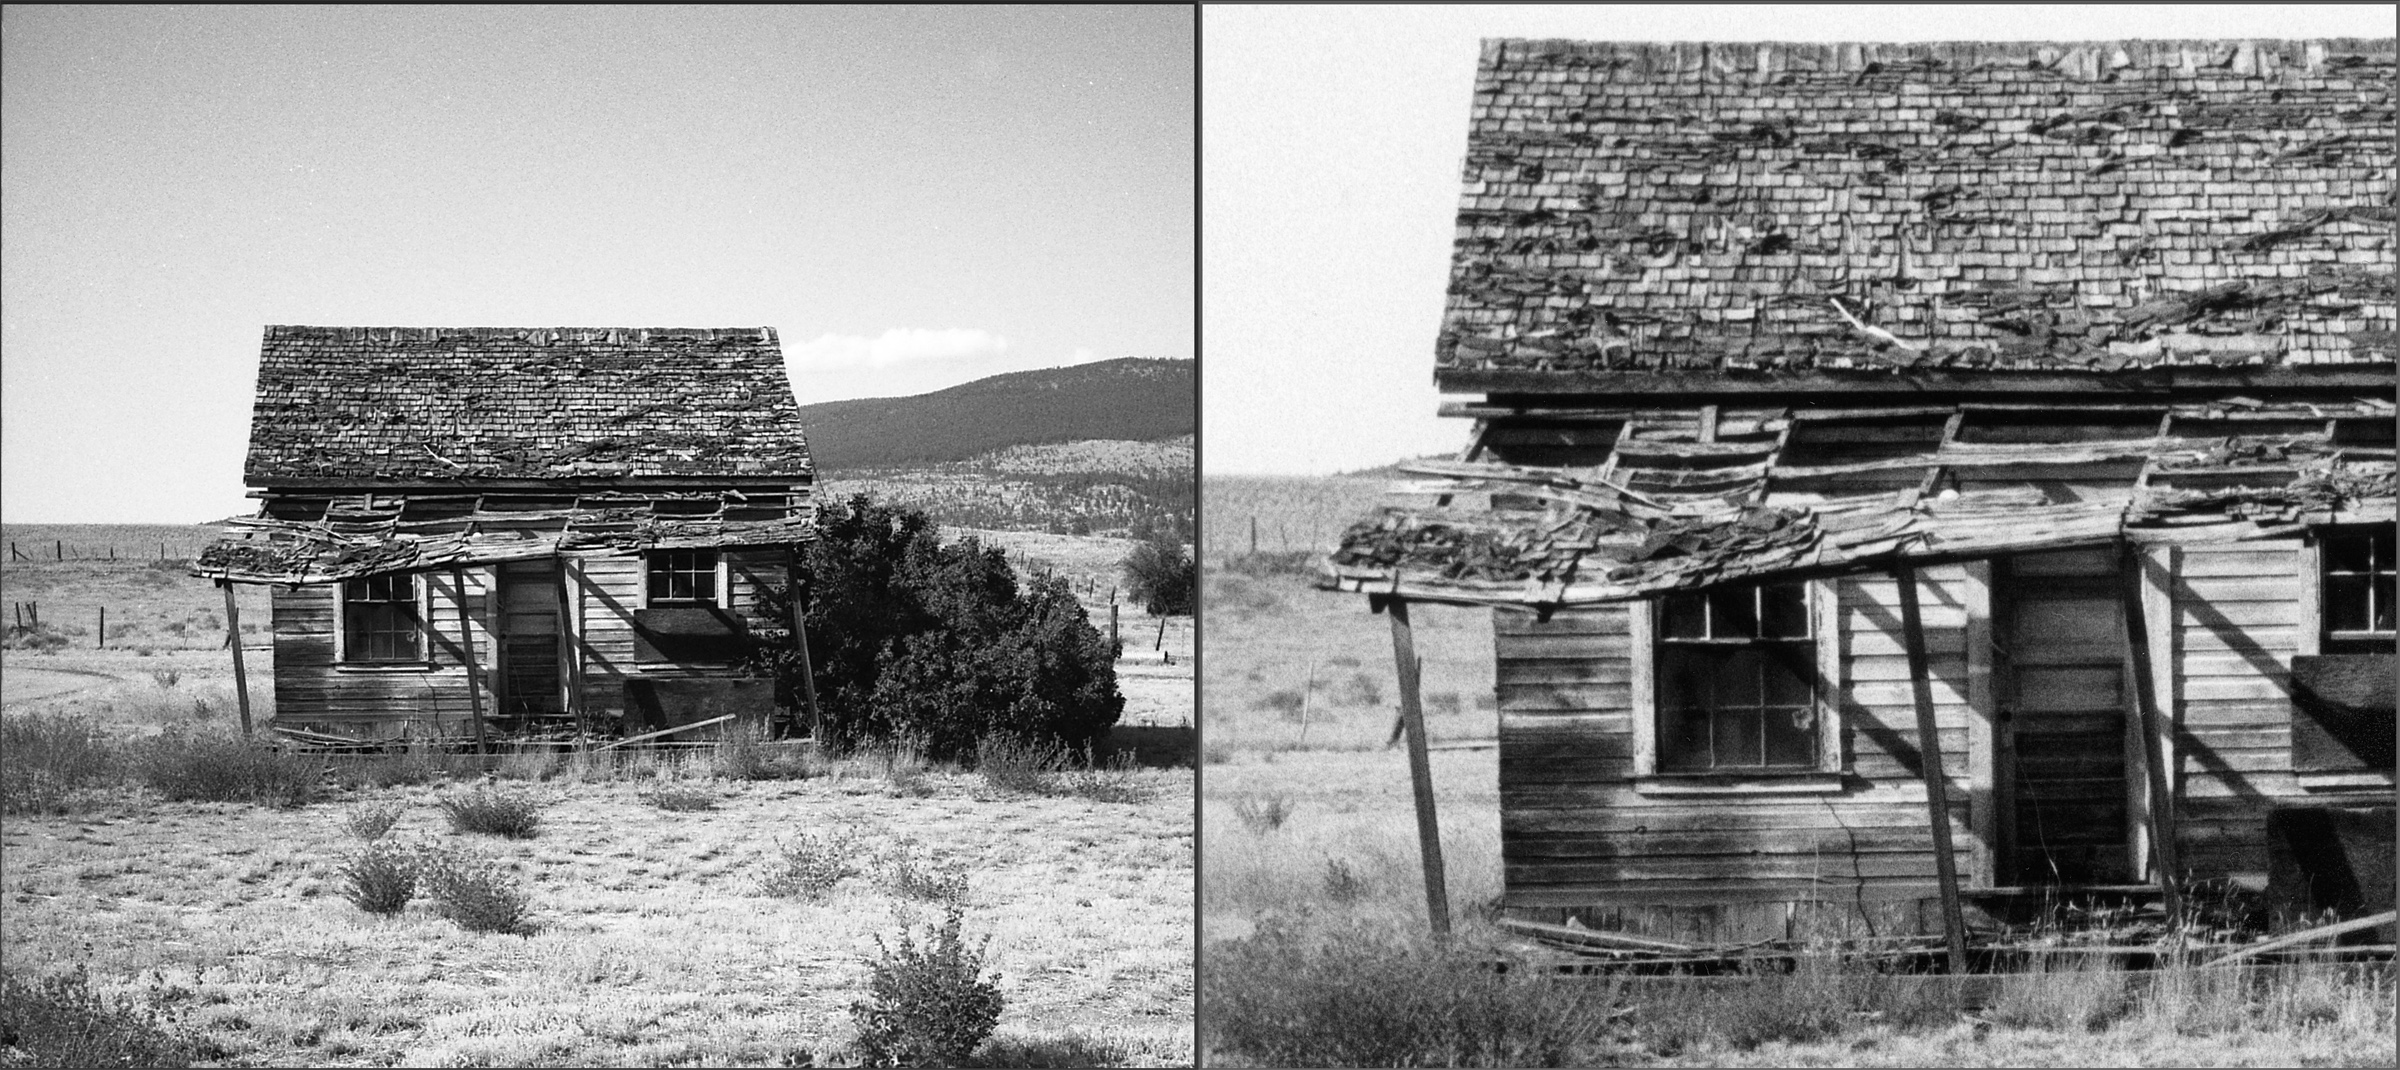
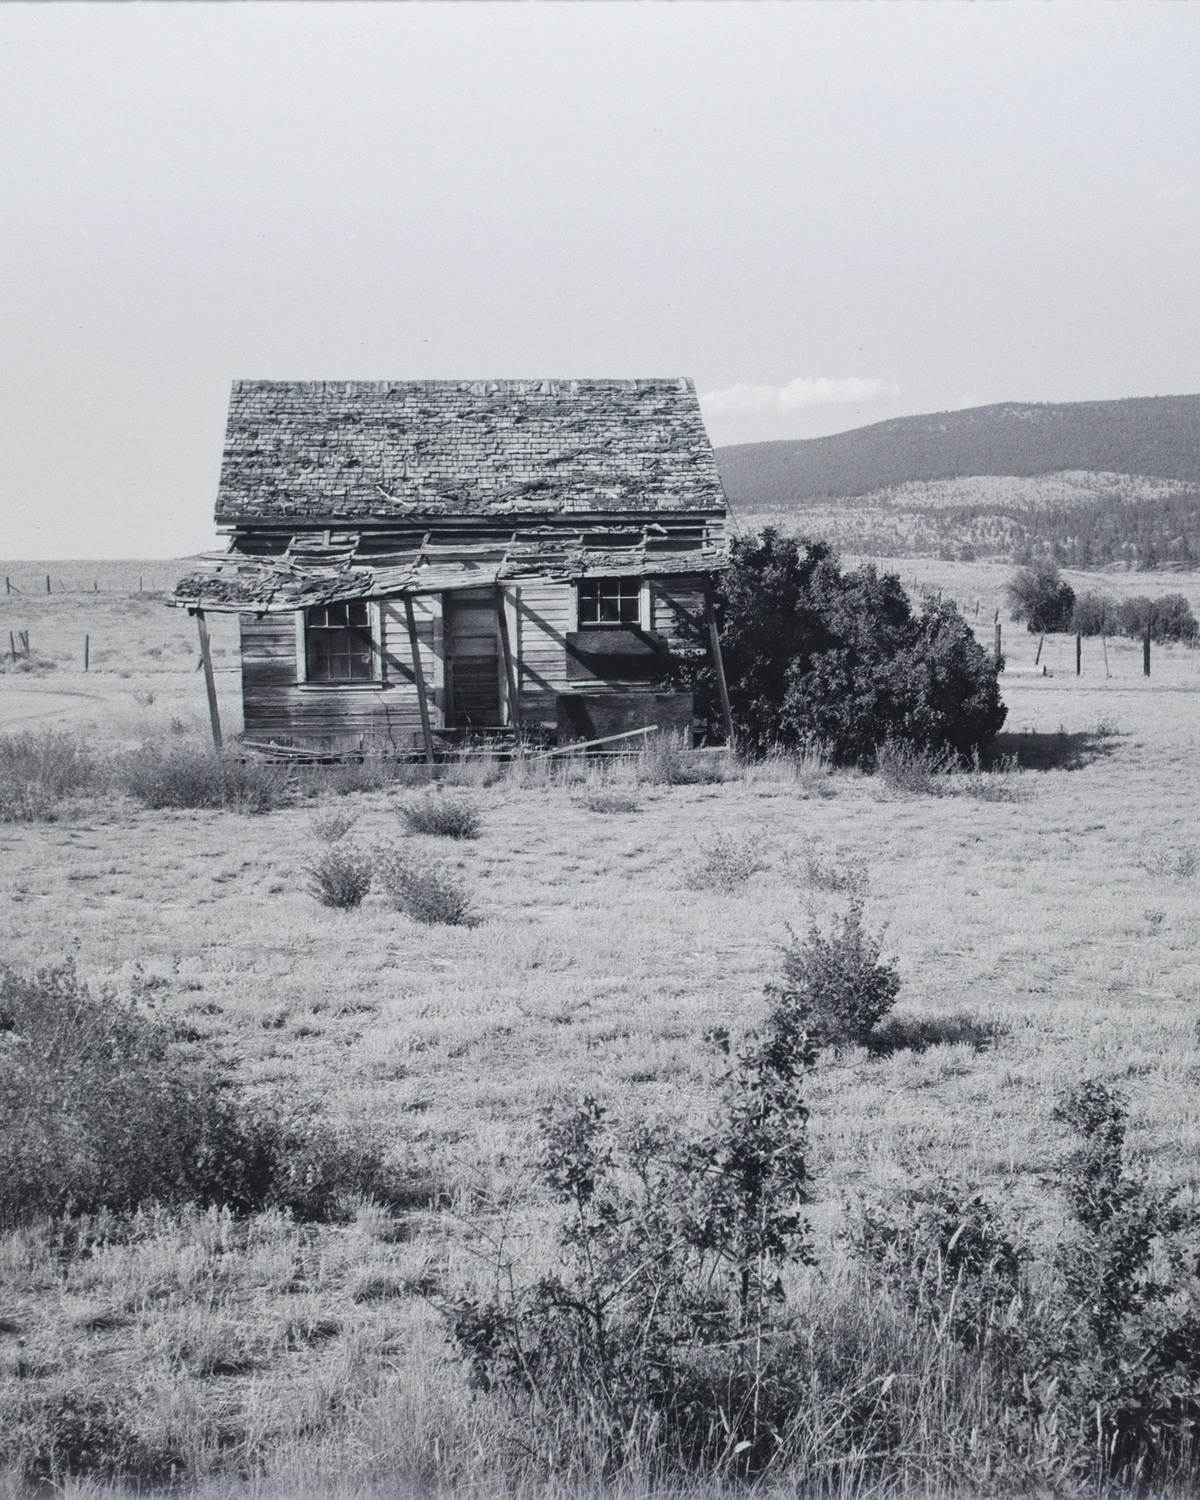
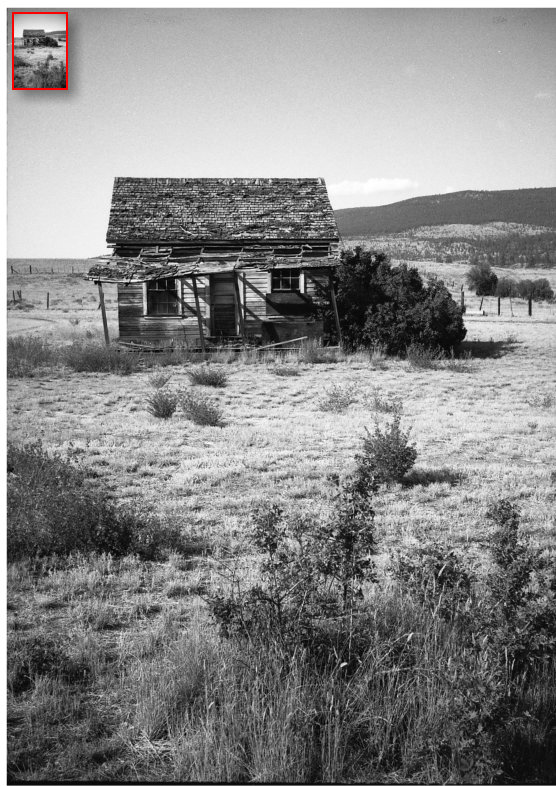
Left – detail scanned from negative at 3200DPI with Epson V700 Right – Darkroom 8×10 print scanned at 1200 DPI with V700 and downsized to 600 DPI
The side be side comparison above was an interesting test. I was able to get a more detailed image into the computer from a darkroom print I made on Ilford Multigrade paper than directly off the negative. Although I could have increased the resolution of the scan 3200 seems to be the limit any higher and you just get a bigger file but not with more detail. The long and the short of it is there is more information in the Pentax 17 negative than I can get out of it with my scanner. While not an optimum set up I also had a go at using my digital camera to import the image. I think there is the potential with a little more care to get an image to rival the print this way.
I didn’t maximize the amount the negative covered in the digital capture, In fact it took up only about half the frame 🙂
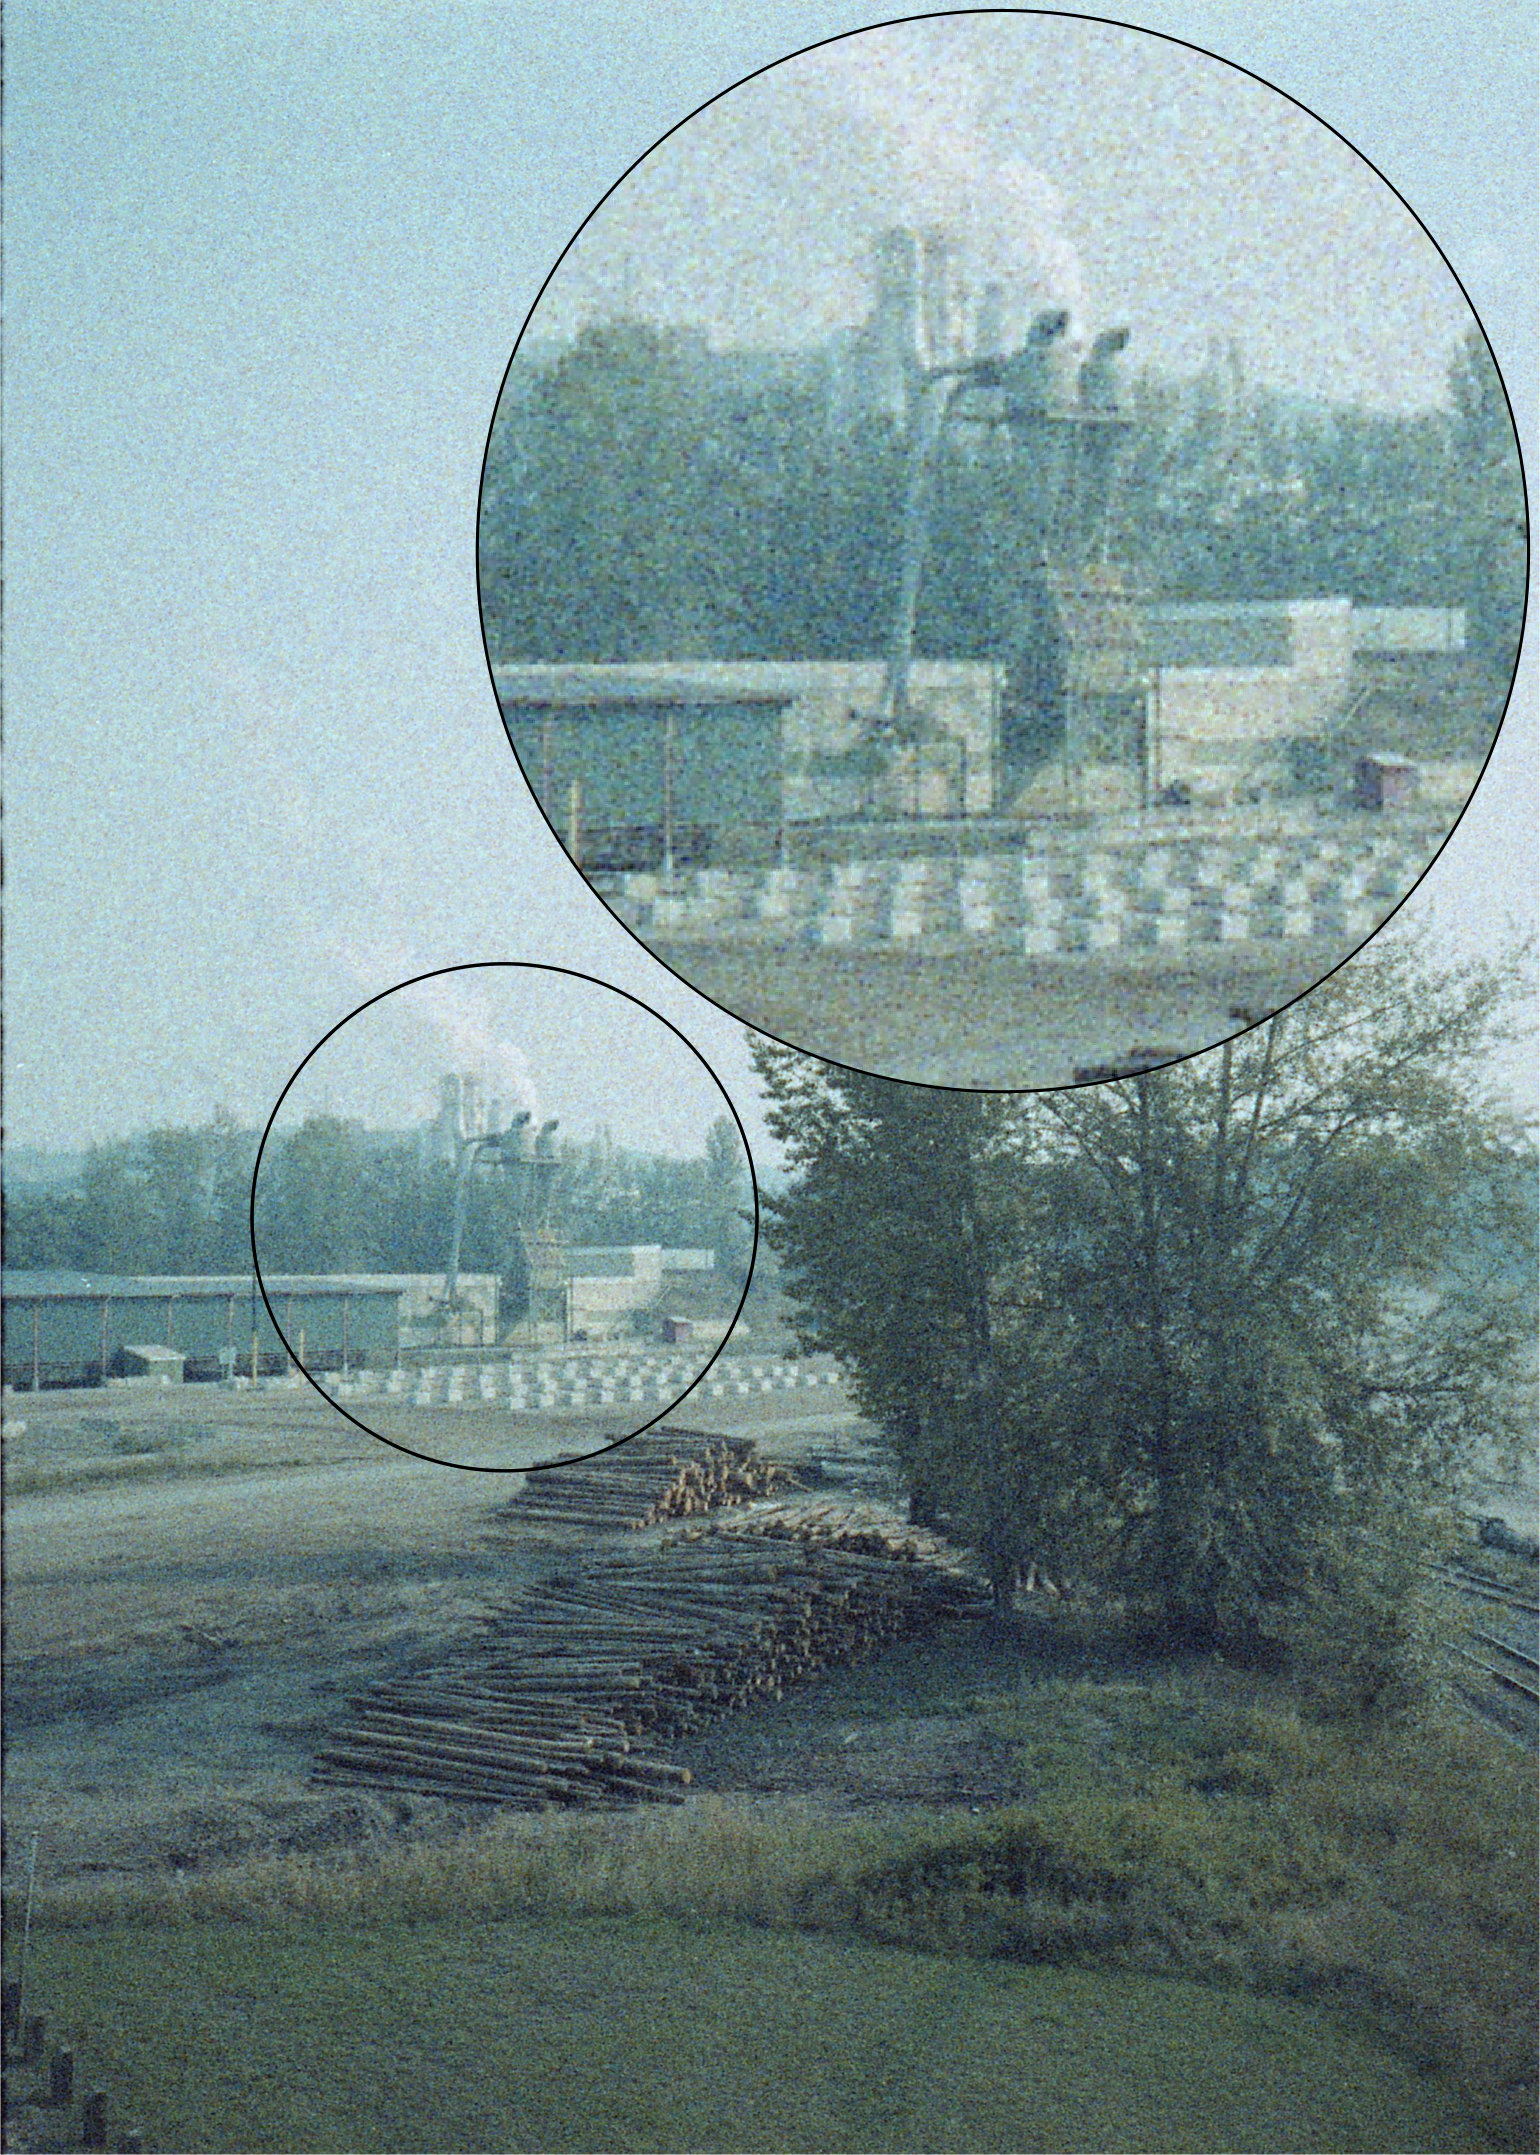
This image represents the difference between the negative and enlarging it about 10X to an 8×10 inch print.
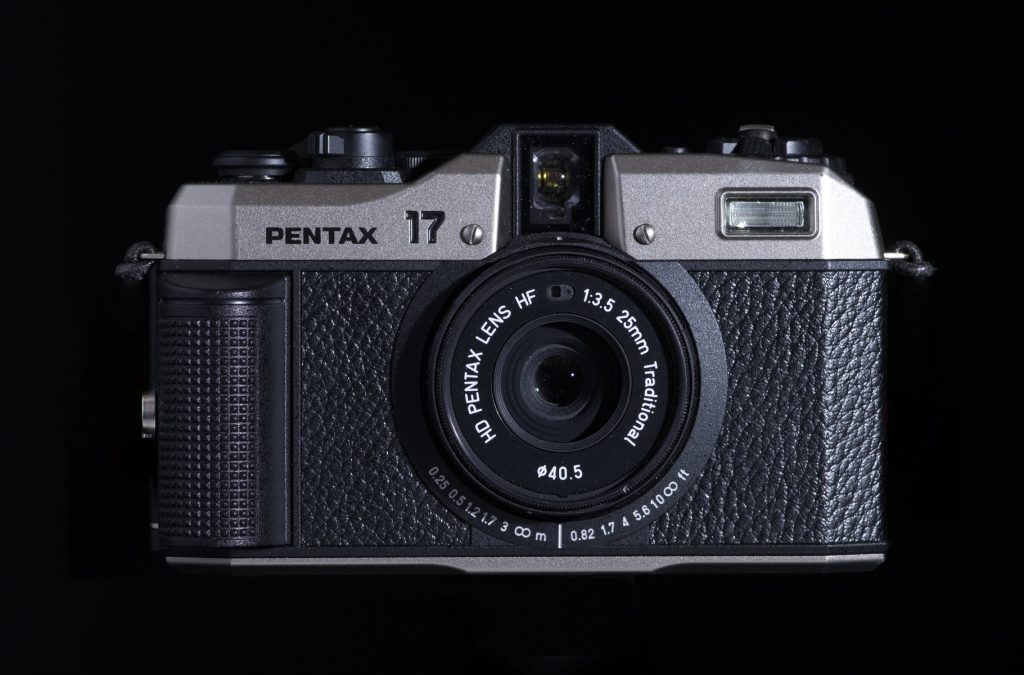
I’ve had my Pentax 17 three months now and have shot 12 rolls of film or about 850 images. (Typically I’m getting about 56 pictures out of a 24 roll of film and 75 out of a 36 roll) Announced on June 19 I placed my order sight unseen and prior to seeing any reviews. (I mention this to reveal my bias towards Pentax and a new film camera) I had the camera in hand by June 26 thanks to my local camera store Kerrisdale cameras. I will spare the reader all the descriptions of what a half frame camera is and the aesthetic of the camera design because there is plenty of information out there already. What I will talk about is the cameras use cases what it does well and where it could be better.
Before getting into the specifics I will say up front in my opinion the Pentax 17 is best suited to everyday photography capturing the essence of a place or event. The same type of use that smart phones now embody in the digital photography realm. What it isn’t is a completely flexible tool that you can use to create any image you can imagine. For that an SLR system with manual controls and a suite of lenses is better. That last bit is true of any film point and shoot camera and I think the 17 does better than almost any other at expanding what can be done with similar cameras.
Where the Pentax 17 separates itself from existing film point and shoots is with some of the small details. The manual setting of ISO from 50 to 3200 with exposure compensation of +-2 allows for shooting film of ISO 12-12800 all while using the metering system. Most comparable later film cameras use DX coding, reading the value off the film canister and typically not allowing for compensation. This becomes really important for expired and experimental films. Expired colour negative films lose sensitivity with age and the results can often be improved with extra exposure. This can be accomplished by setting the ISO to a lower value than the film originally called for or by adding positive compensation. With experimental or self loaded films the DX coding may not even be an option rendering many other cameras blind to what the best ISO setting is for the film resulting in incorrect exposure. I bring this up first because for some this could be justification enough for this camera.
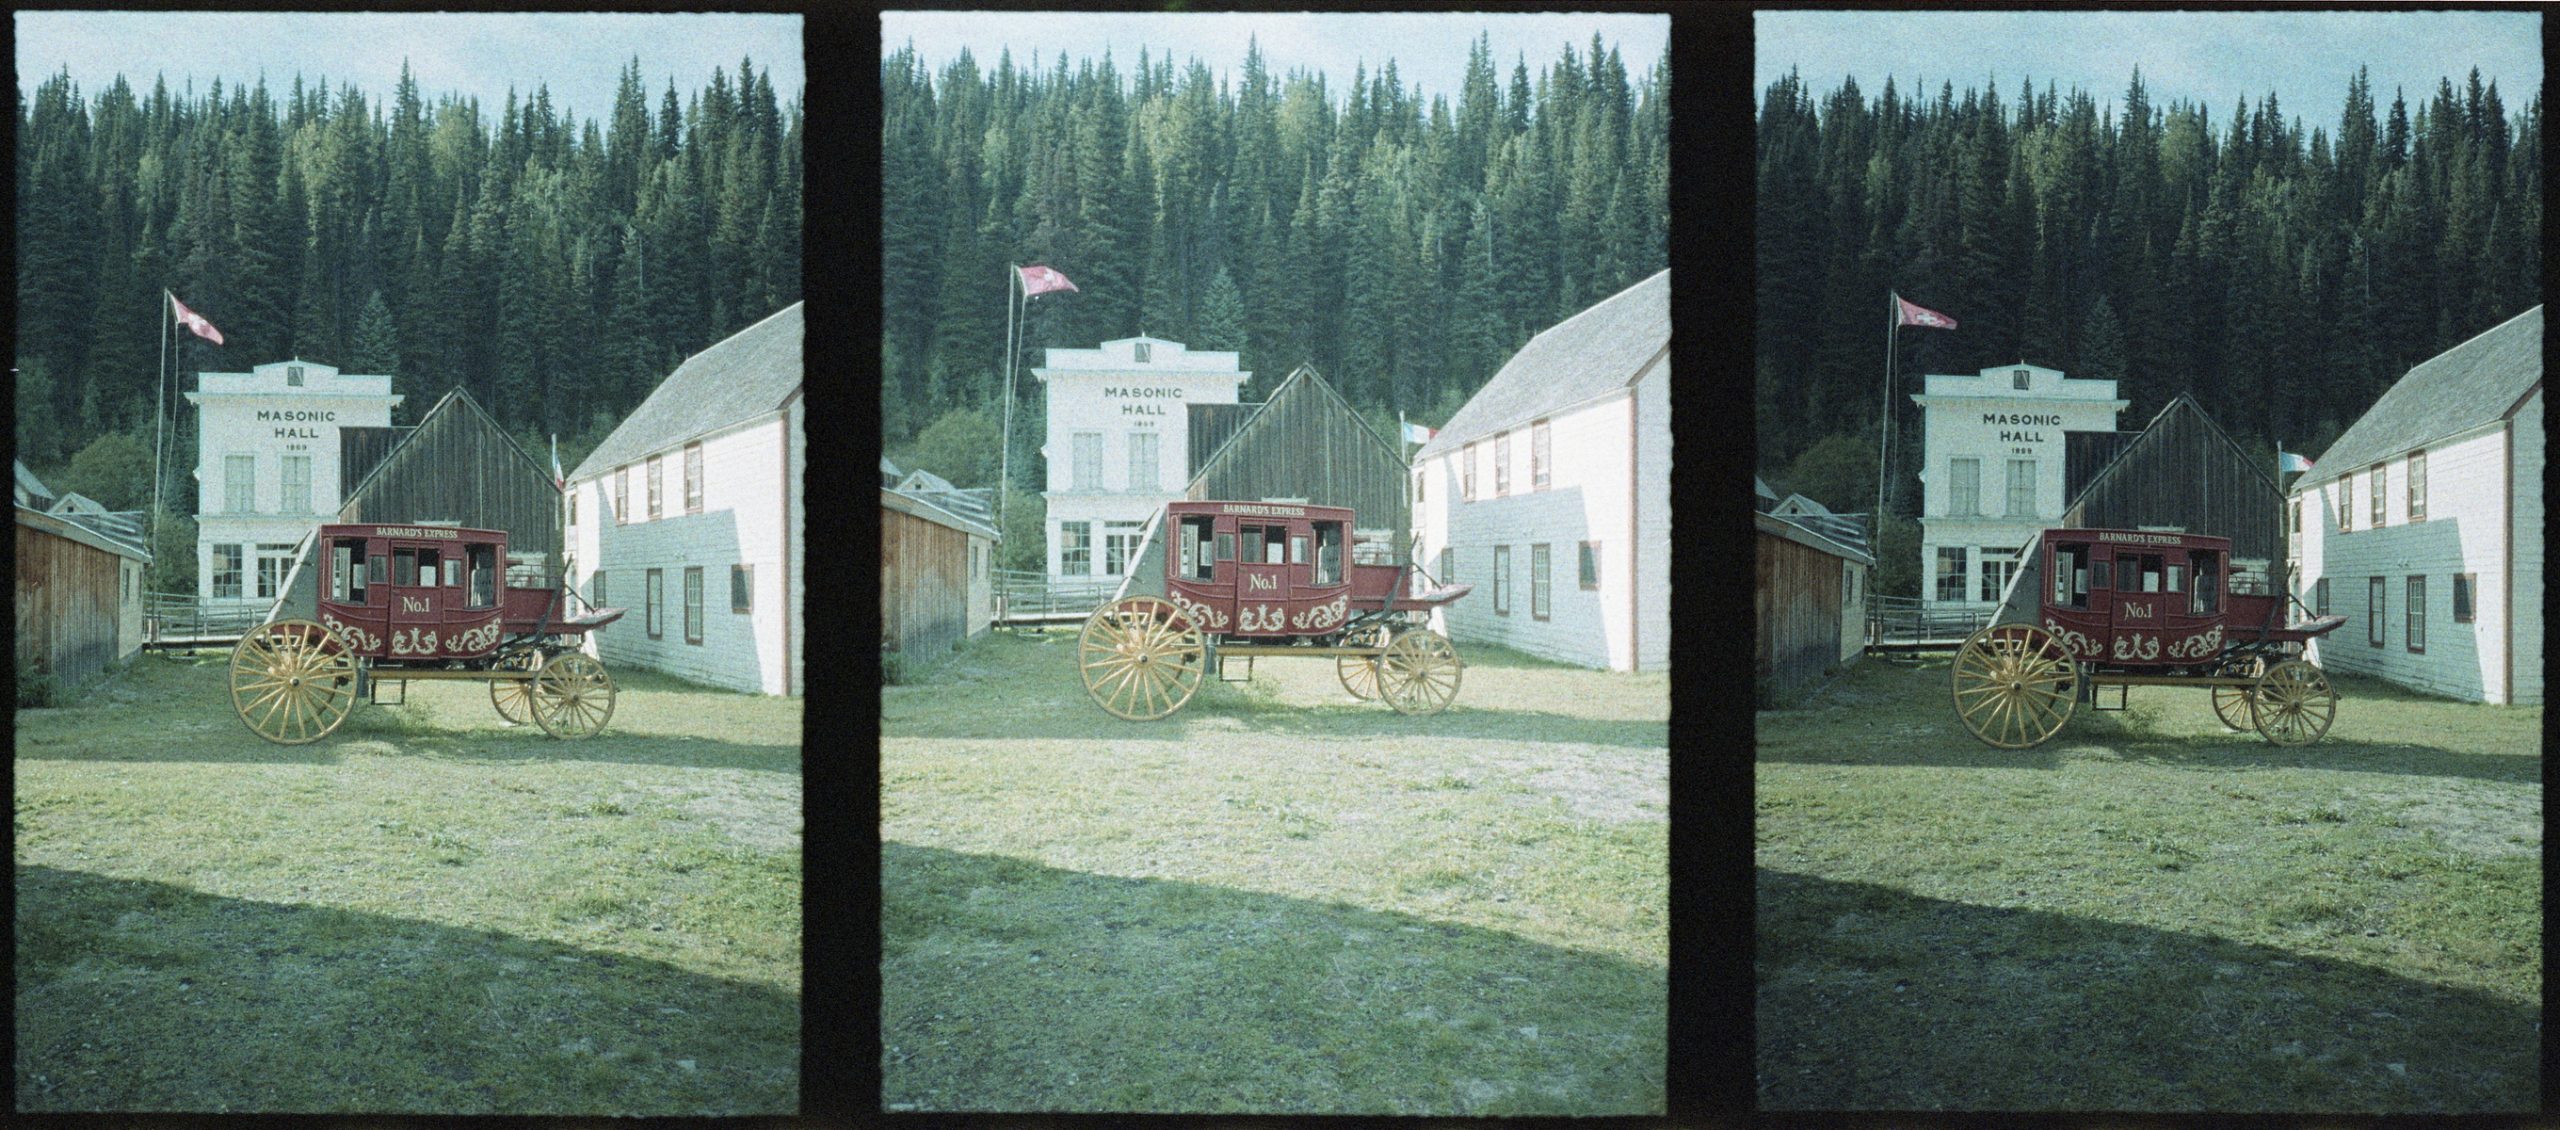
Adox Color Implosion at ISO 50 normal exposure, +1EV, -1EV
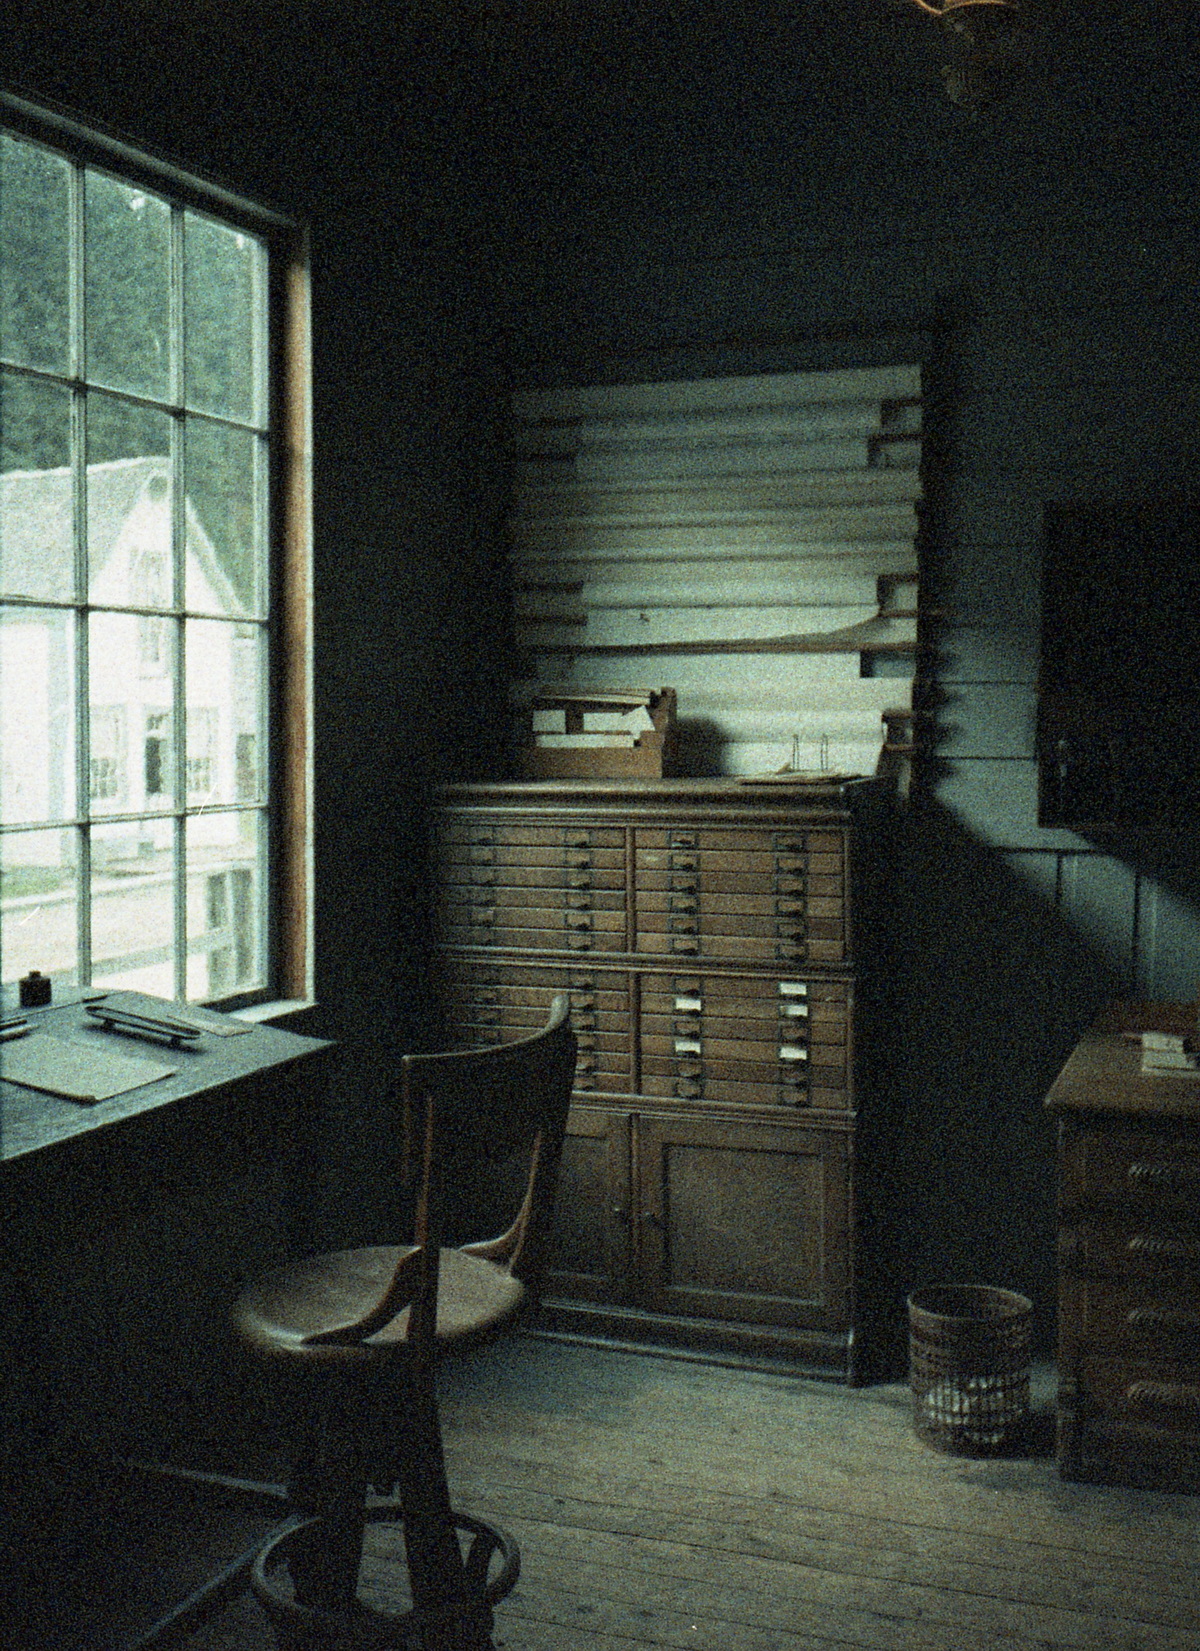
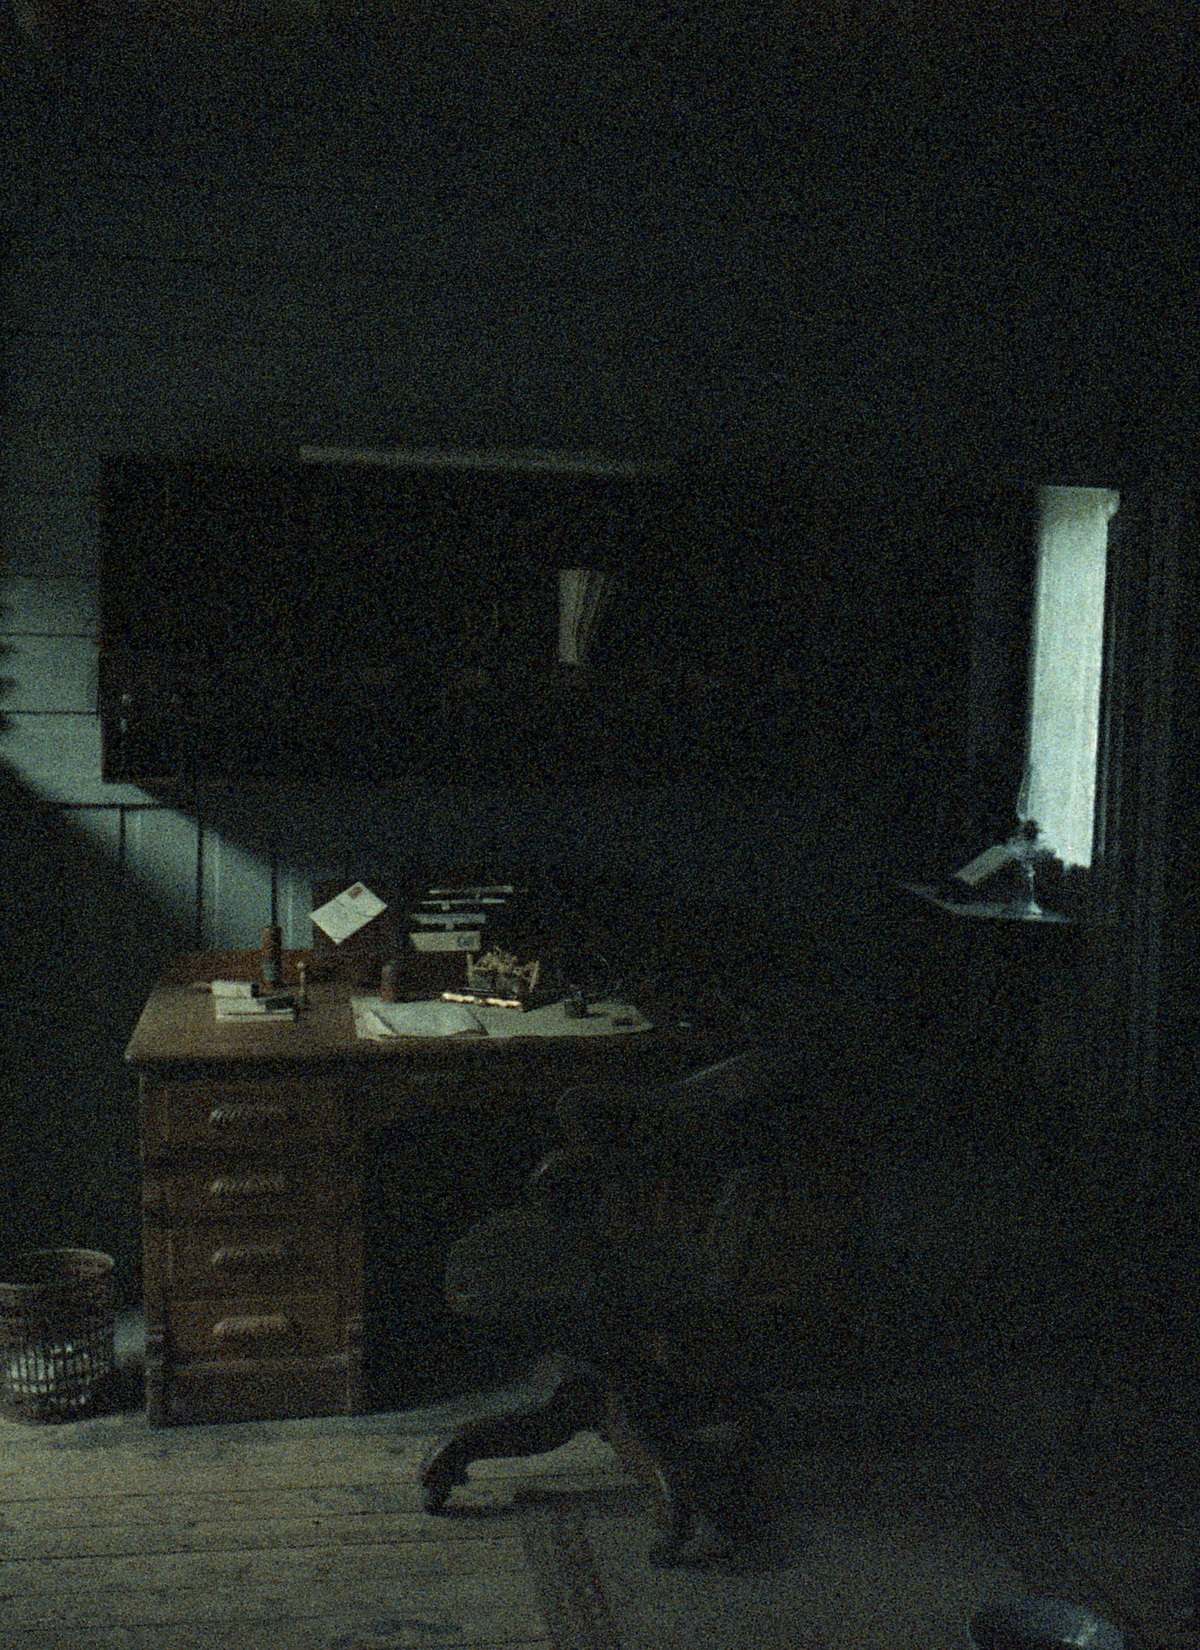
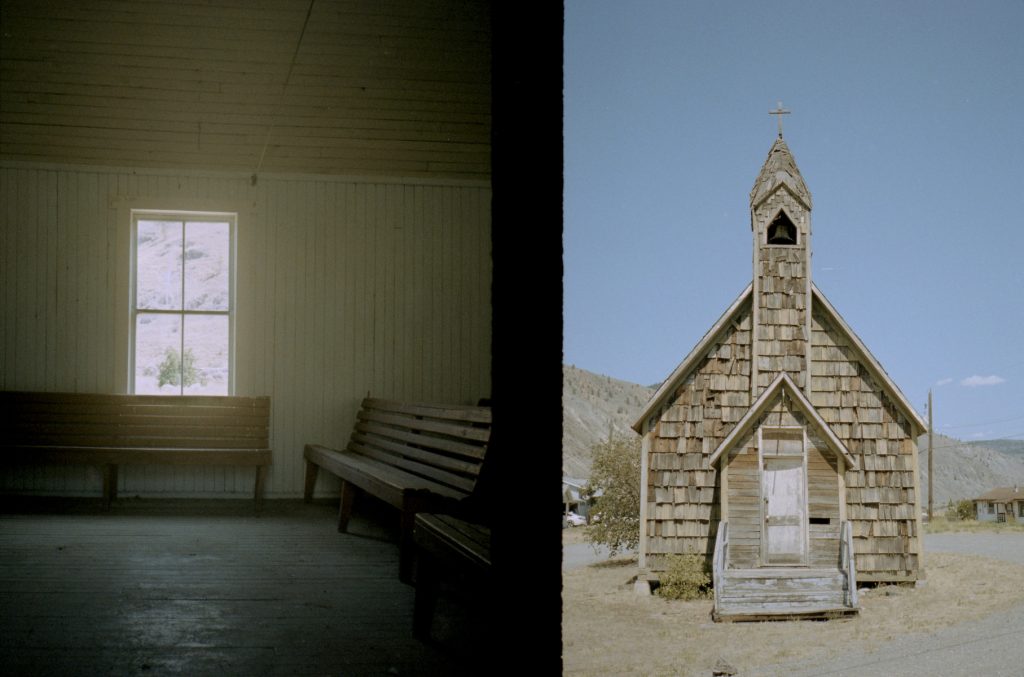
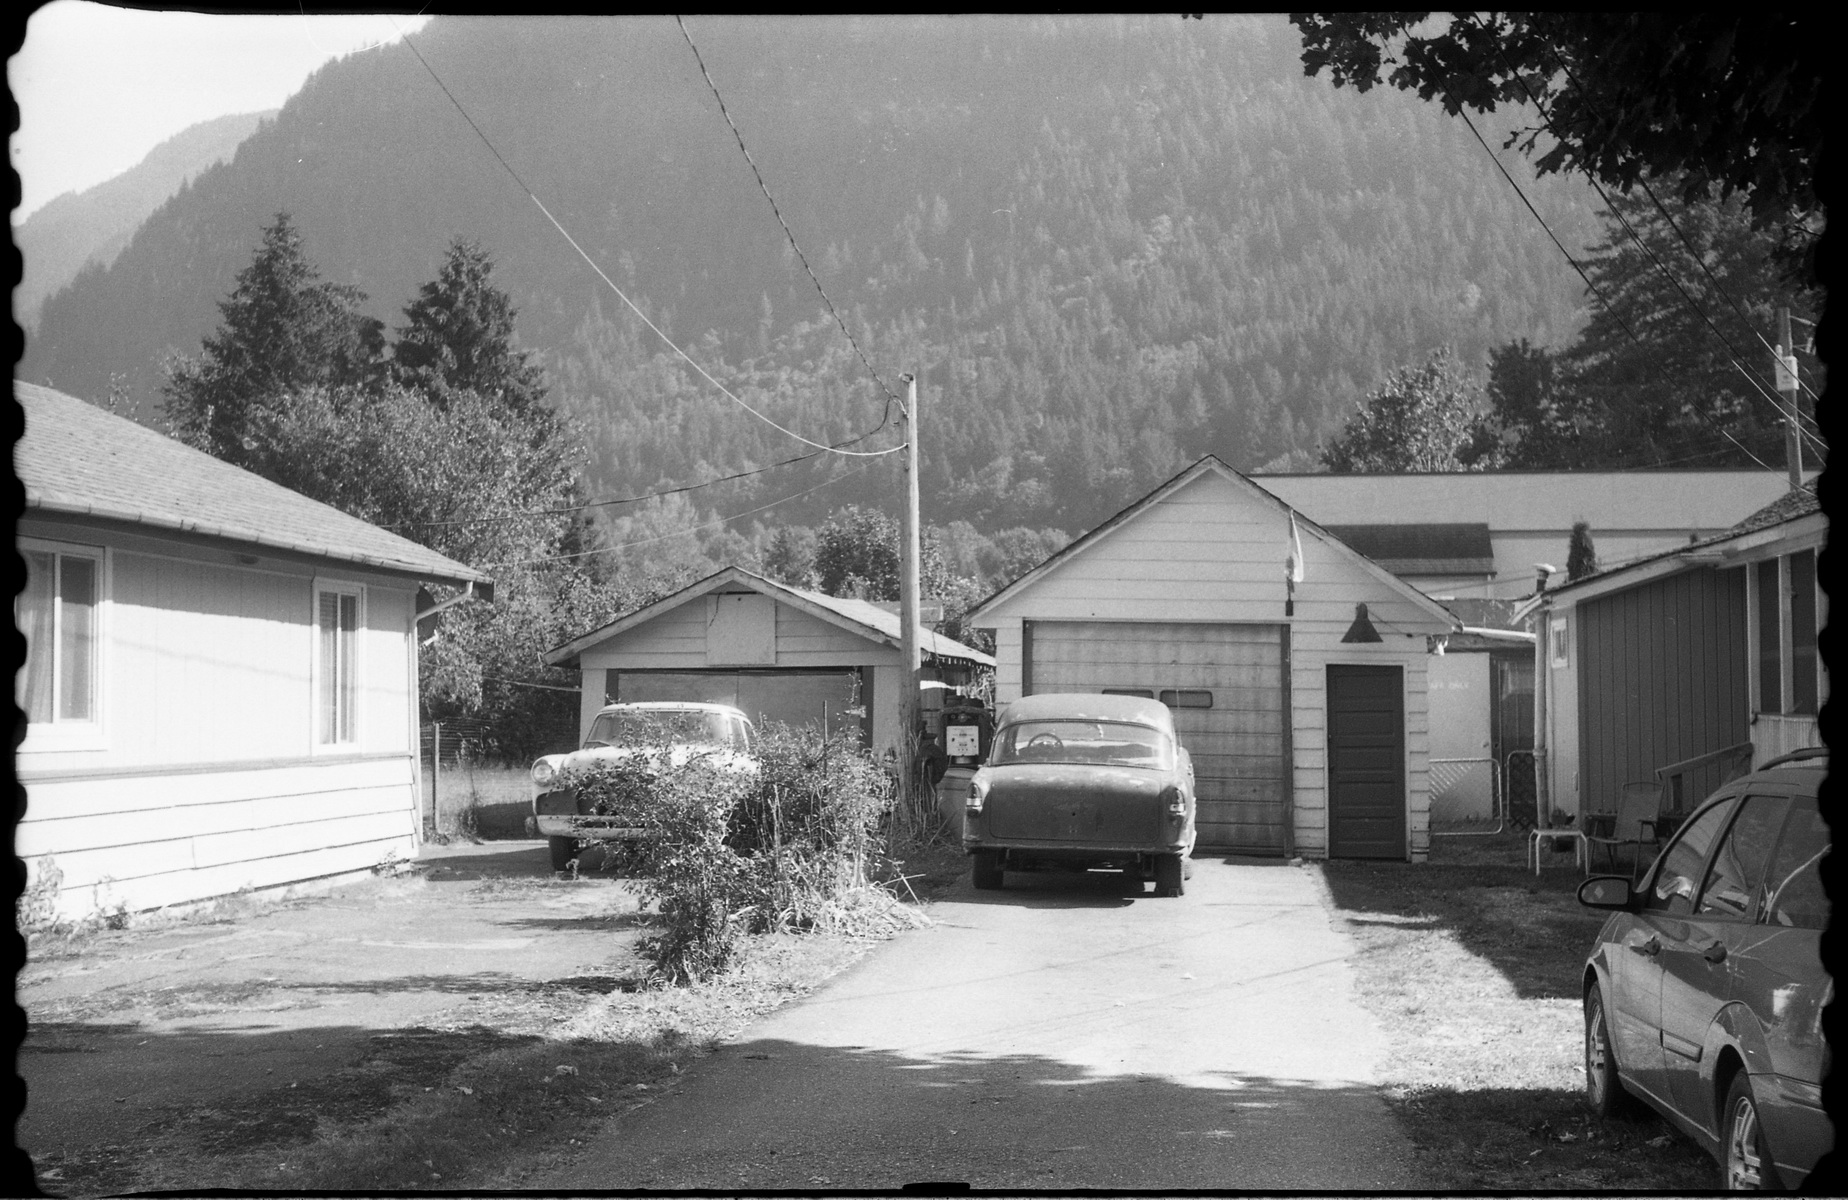
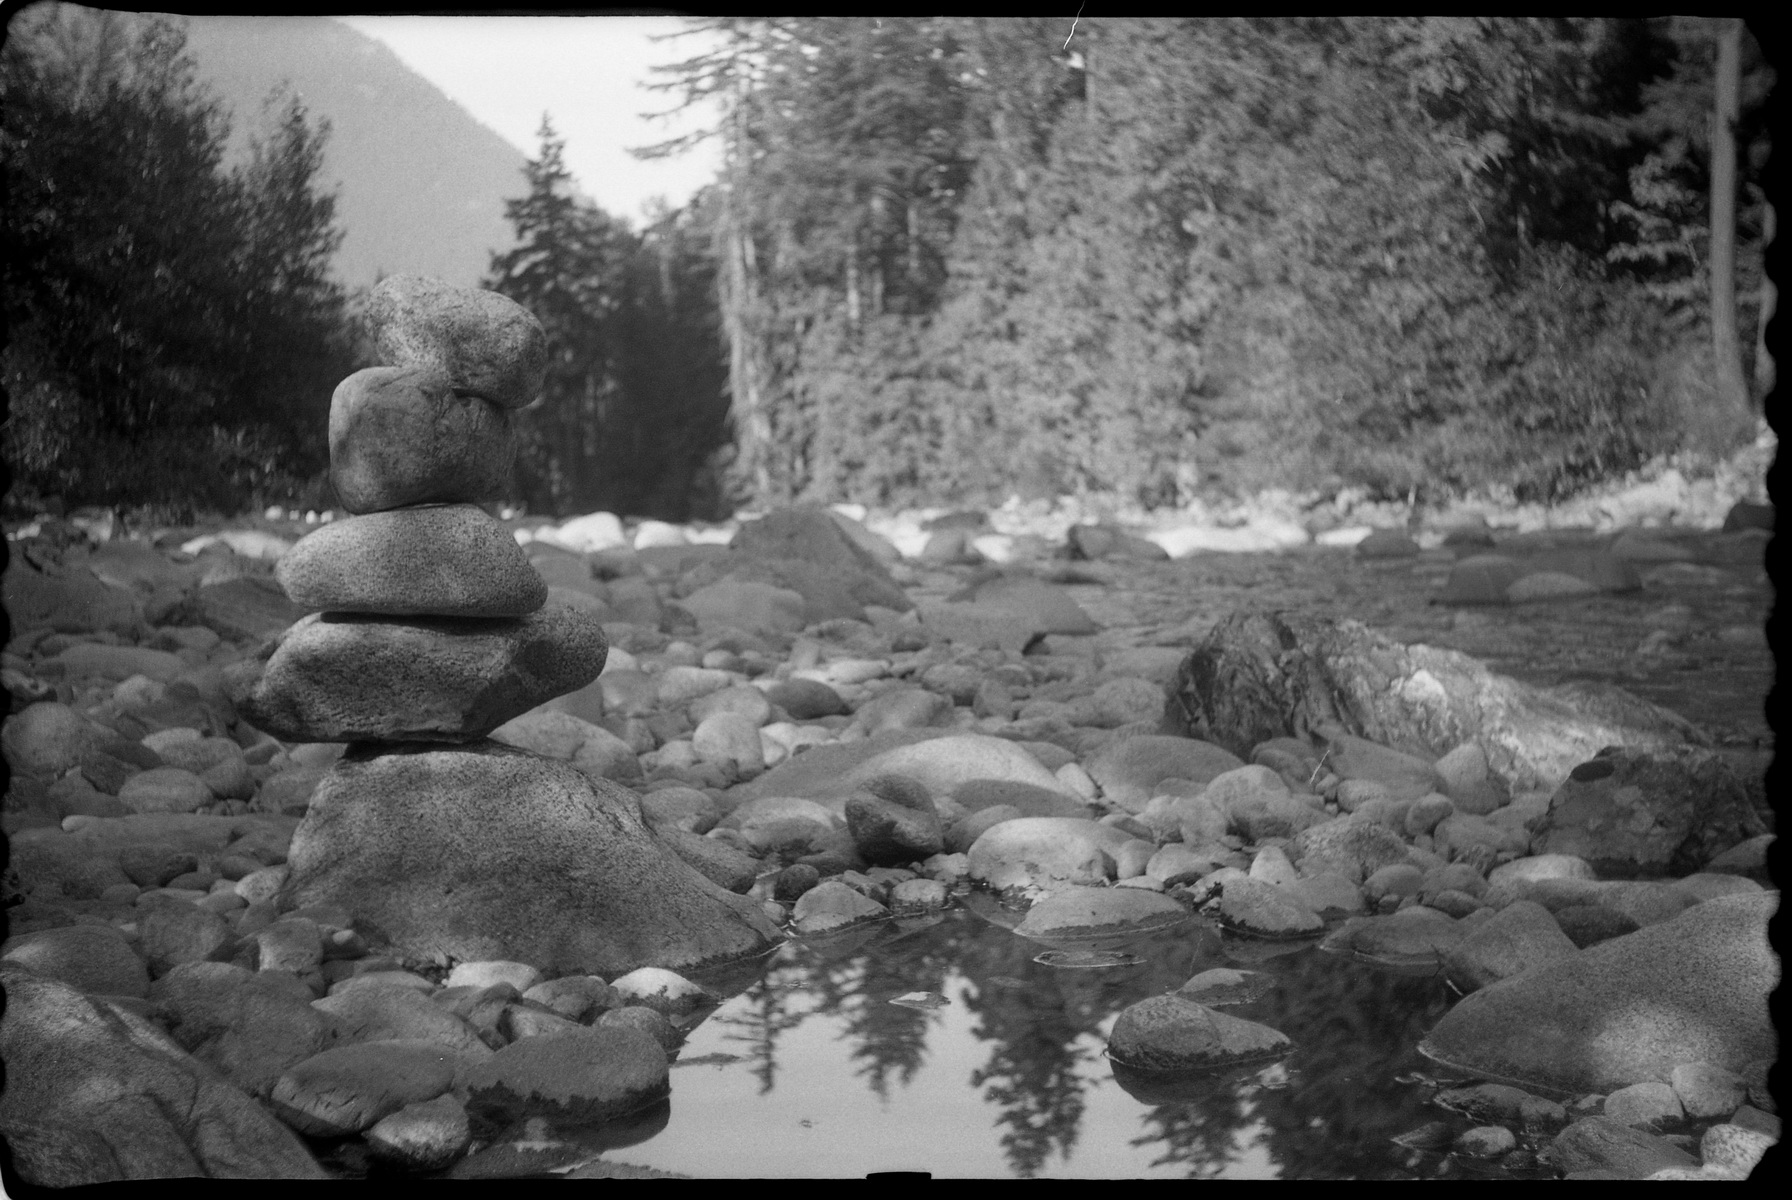
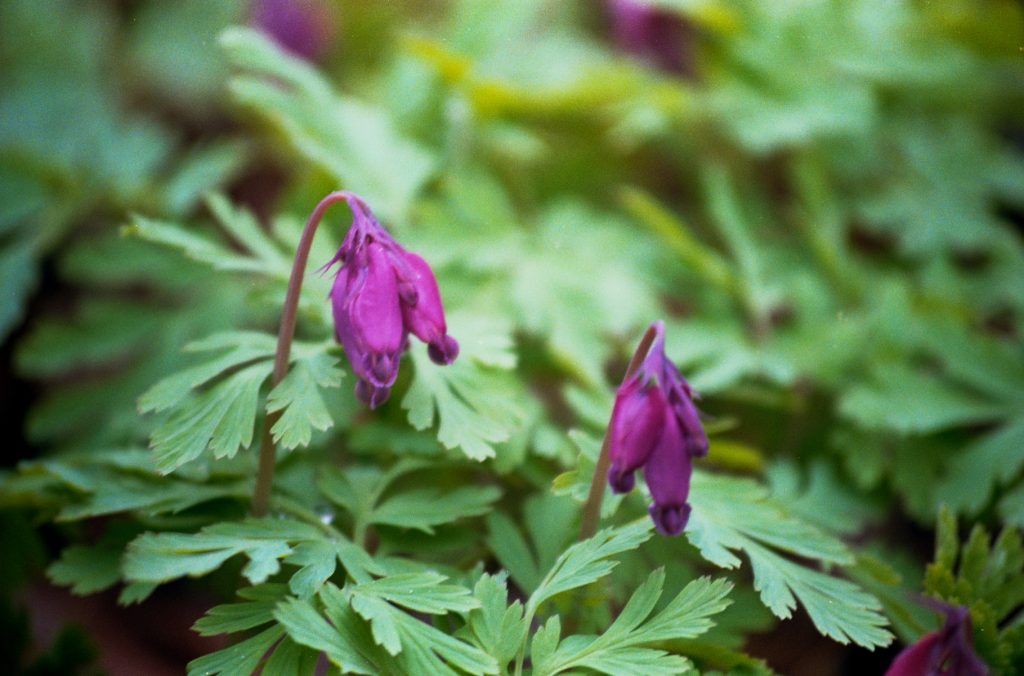
I think the next item on the features benefits scale is actually the focus system or lack of it depending on your feelings on the matter. Personally I prefer manual focus in all but the most sophisticated modern cameras. Many existing film point and shoots have pretty basic auto focusing that can be easily tripped up by off center subjects or glass and reflective surfaces. To compensate for this some have the ability to override this and set a zone such as infinity or portrait. The thing is with the Pentax 17 being naturally a zone focus camera it’s indifferent to where in the frame the subject is or if your shooting through glass, I do that more often than you’d think.
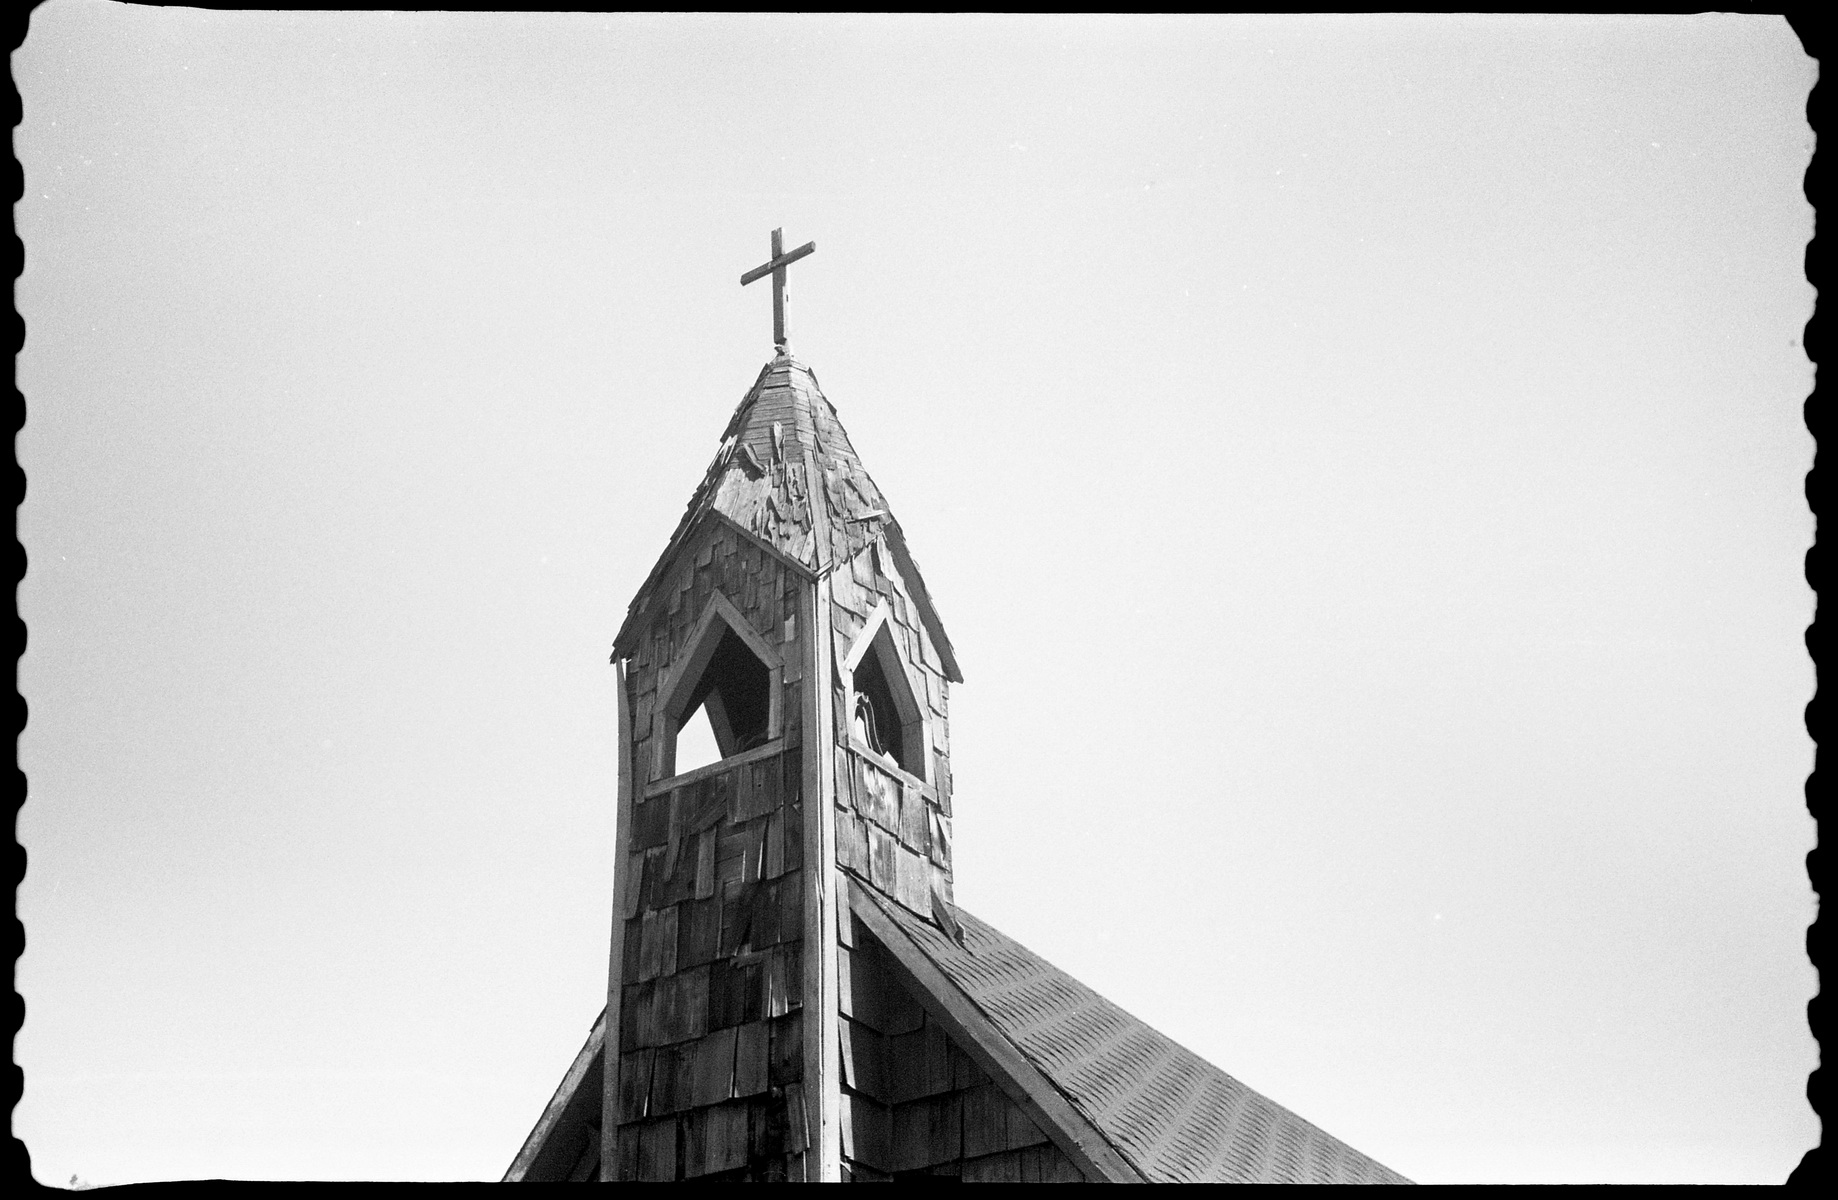
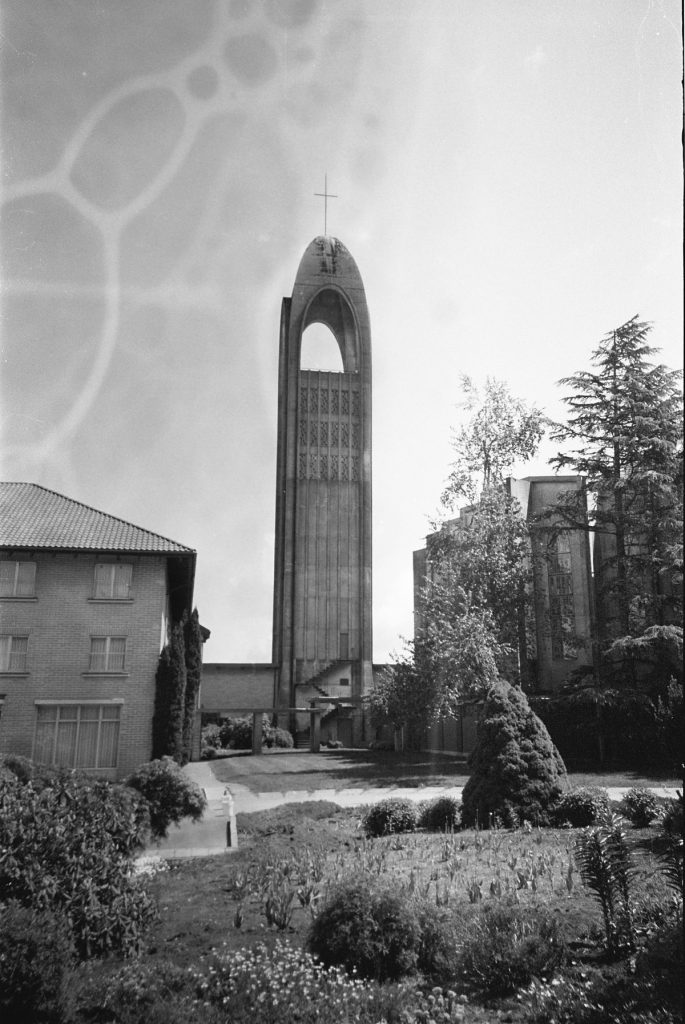
The image on the left was shot through the window of the little old church
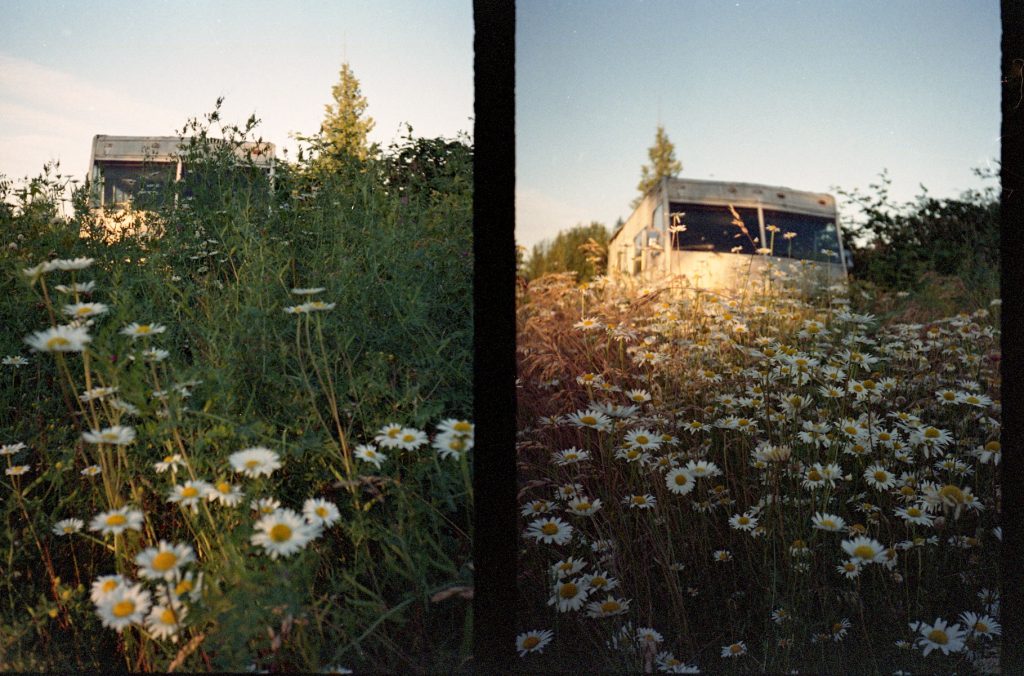
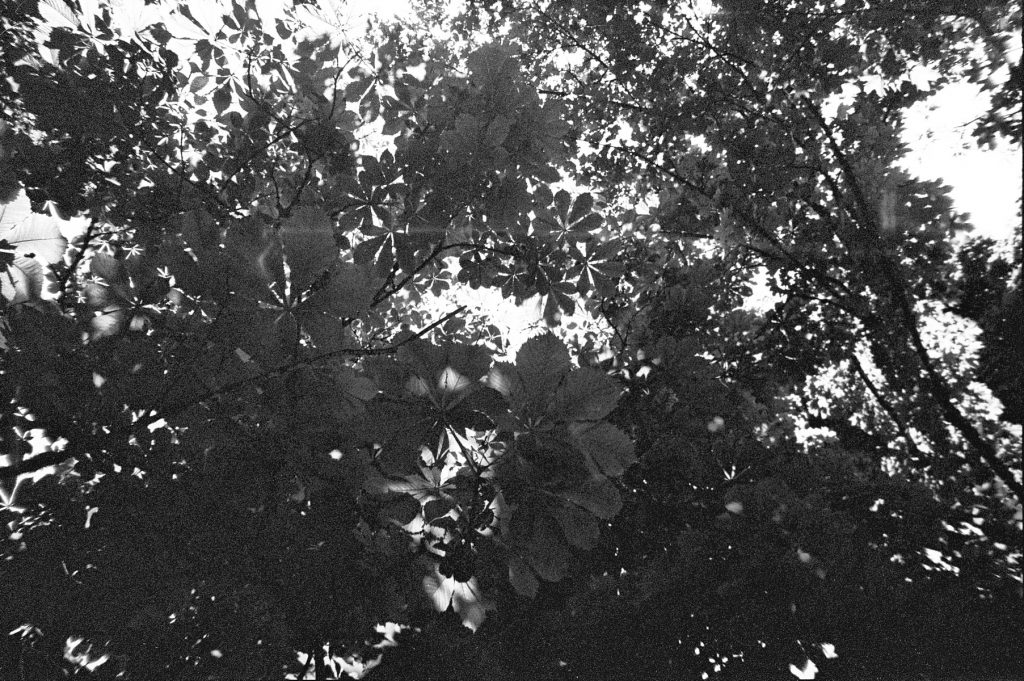
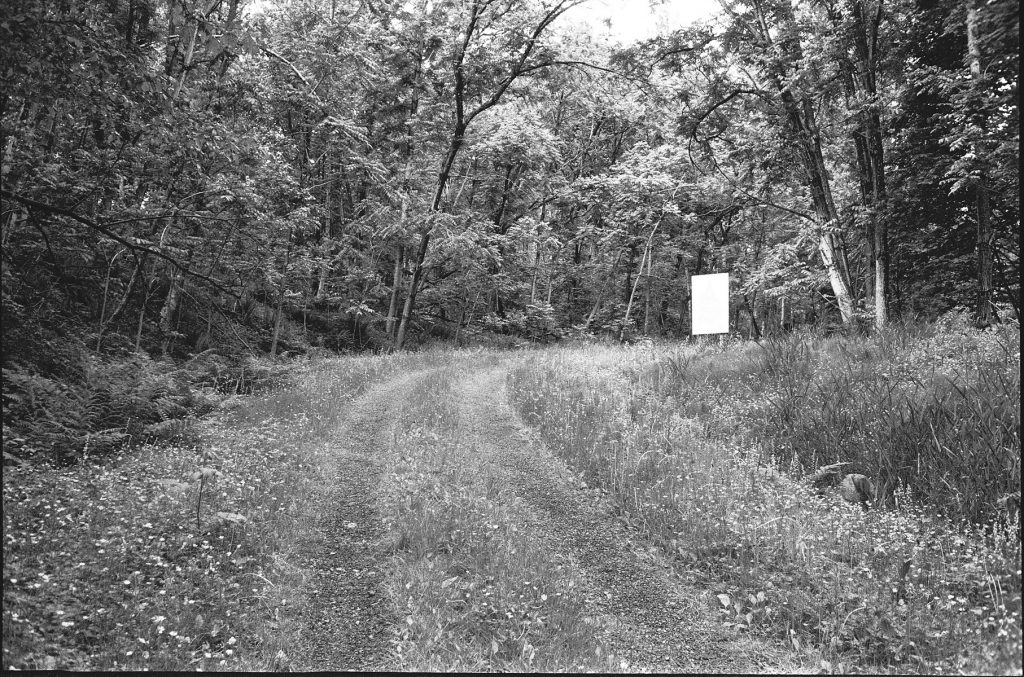
It’s up to the photographer to essentially tell the camera what in front of it is the thing to be in the sharpest focus. You want some blurry out of focus leaves in the foreground of a landscape image, no problem set the focus to infinity. You want the opposite just set the focus to a close zone that matches the subject distance.
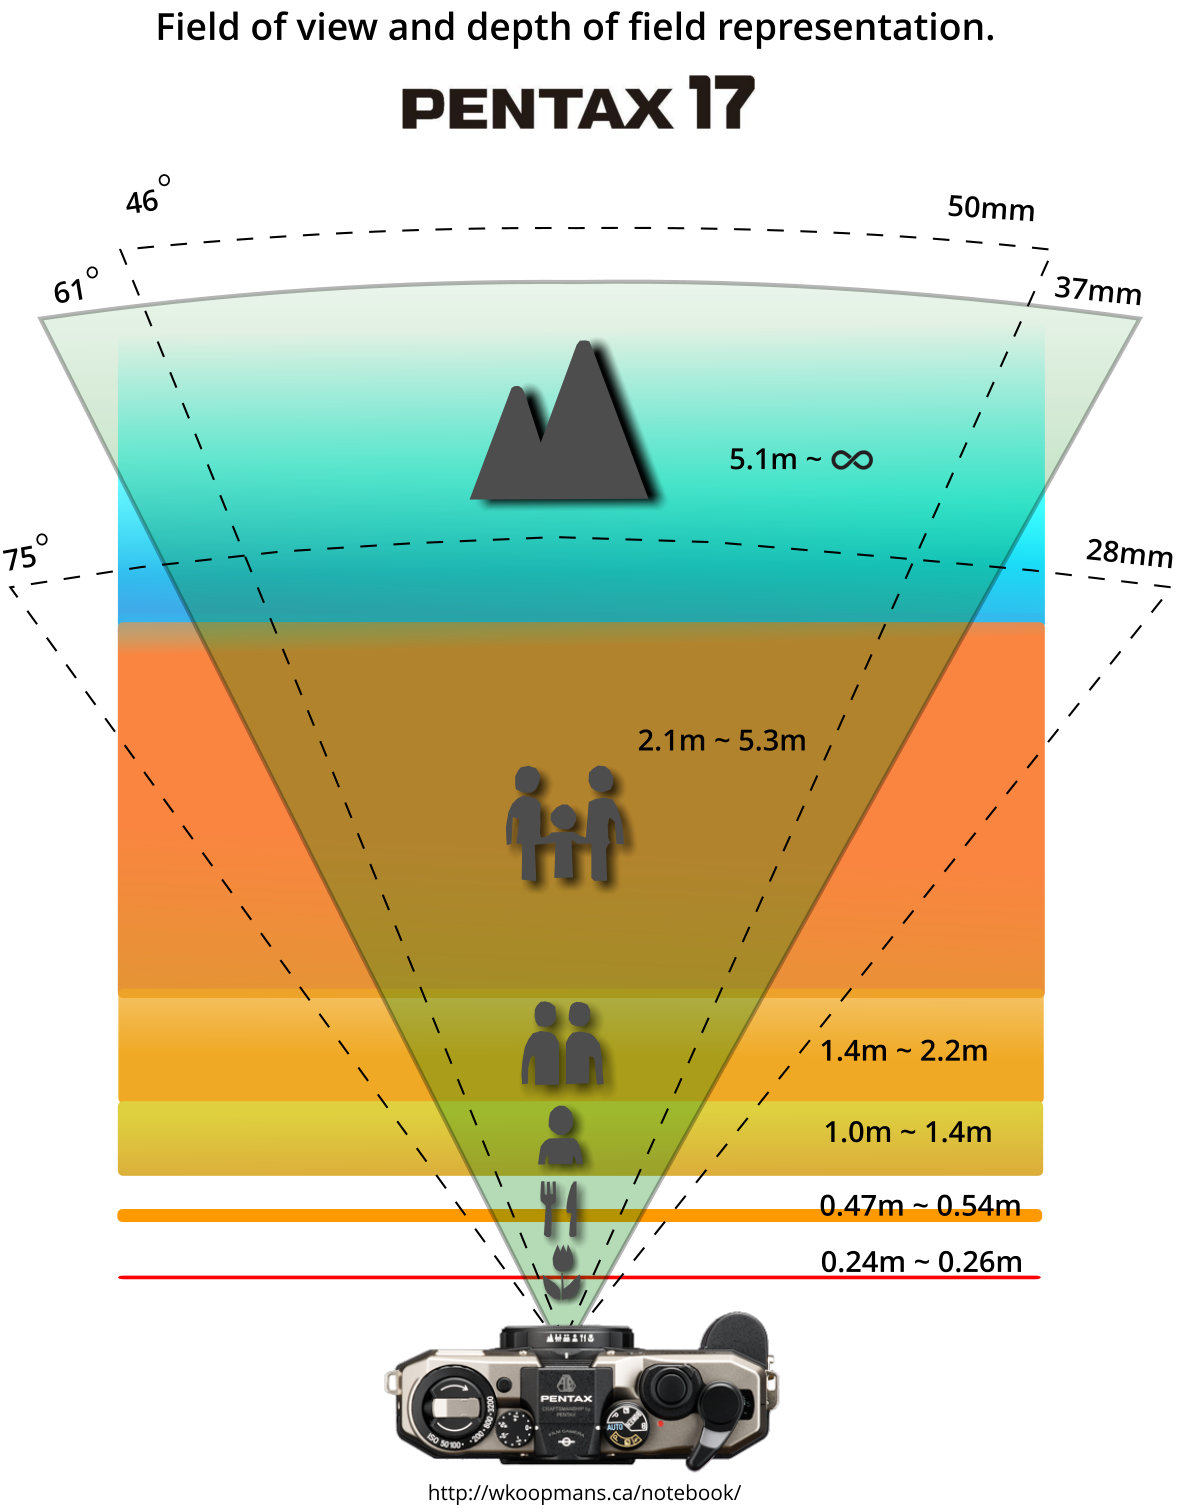
There are some further abilities and nuances that come up when talking about the mode dial but I don’t want to get stuck too deep in the minutia yet. Also I need to mention the range of zones available. While not infinitely adjustable between minimum and infinity focus the 17 provides 5 focus zones in addition to infinity .25,.50,1.2,1.7,3m. Or if you prefer 0.82,1.7,4,5.6,10feet represented in the viewfinder by icons. 25cm is extremely close for a point and shoot and you need to use the inner frame lines in the viewfinder to compensate for the parallax. Yes you need to pay attention to where the focus is set and no the camera provides no help in the matter. It’s hard to make such definitive statement like that though because the camera does blink a little blue LED at you when you’ve set the focus to the two closest zones just in case that’s not what you intended. But generally focus is up to the photographer and based on experience and guessing. Except if you use the wrist strap to measure to a subject for the 25cm distance, see what I mean! And yes they did that intentionally.
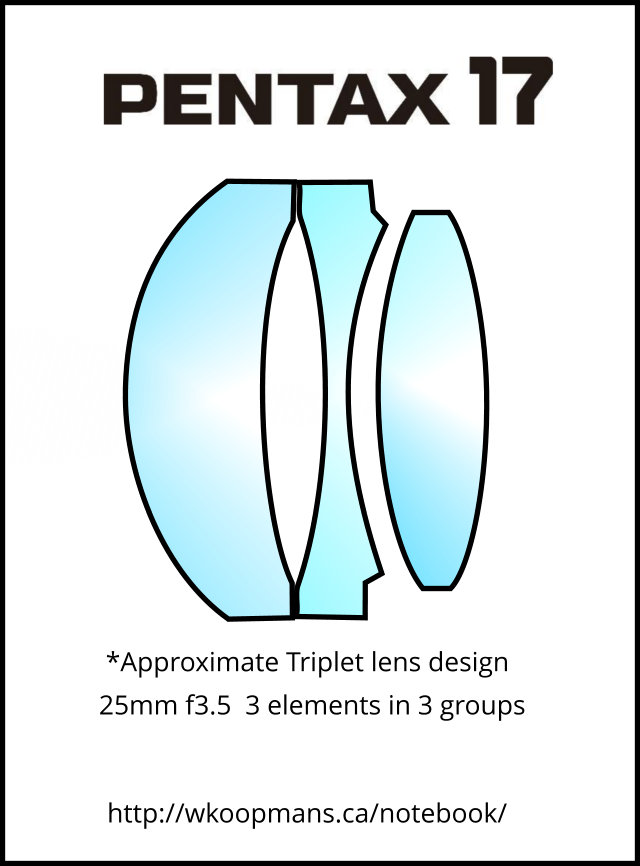
The lens on the Pentax 17 has a focal length of 25mm which due the camera being half frame provides an angle of view of about 61degrees. This is the equivalent of 37mm on a full 35mm frame. A nice compromise between wide and normal focal lengths. The maximum aperture is f3.5 not stellar for a fixed focal length lens but not an uncommon speed for a lens of this design.
What’s left to talk about? Let’s see the mode dials, the flash, the viewfinder, the exposure system, the filter thread, the remote shutter port…At this point I think I will stop writing for this post because I’m realizing there is a lot more to cover and I didn’t intend to write an entire book maybe just a chapter. More to come in the future. For now here are a few images from my first few rolls.
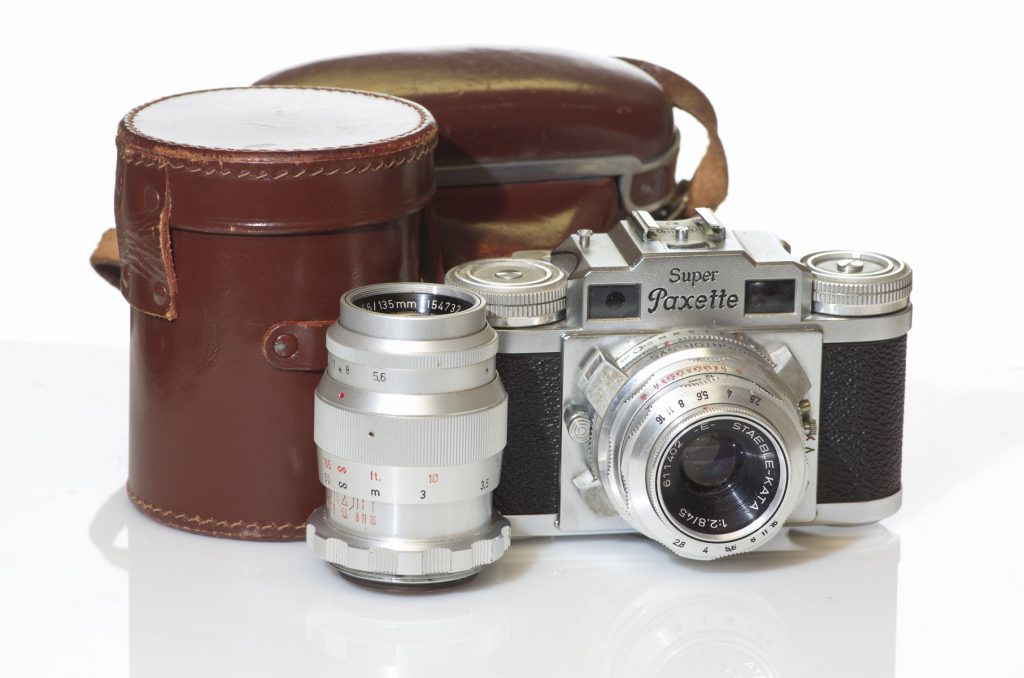
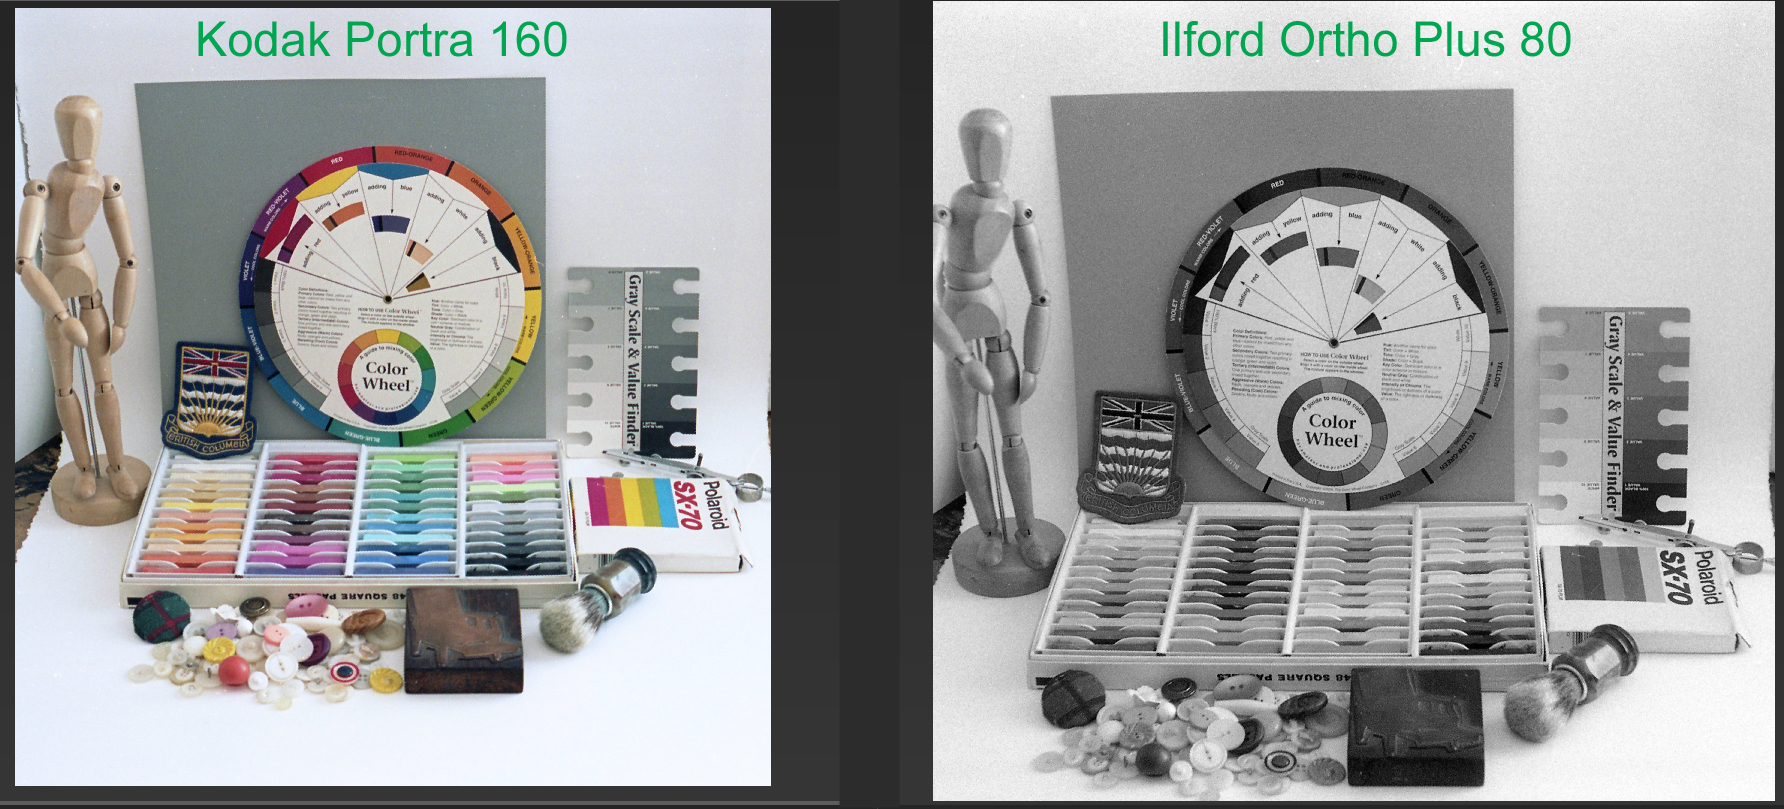
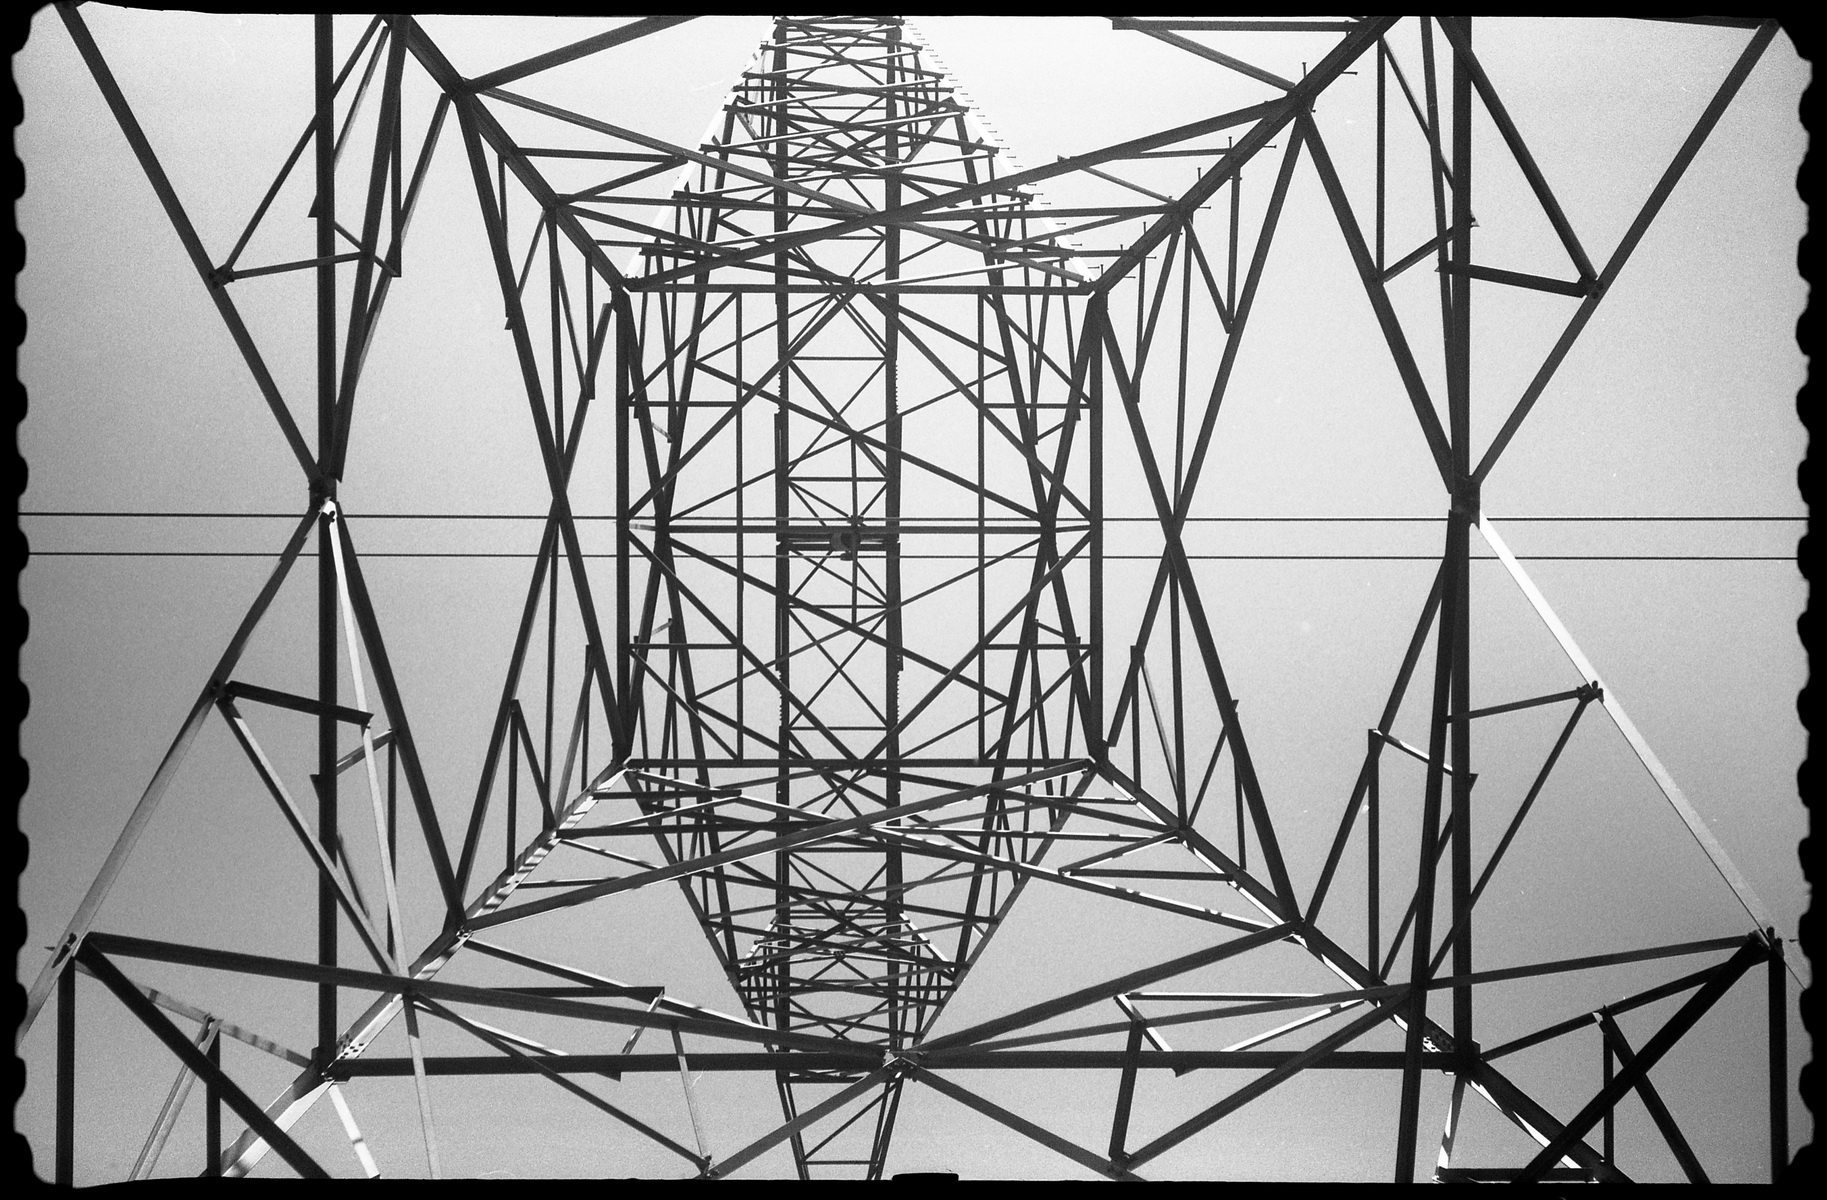
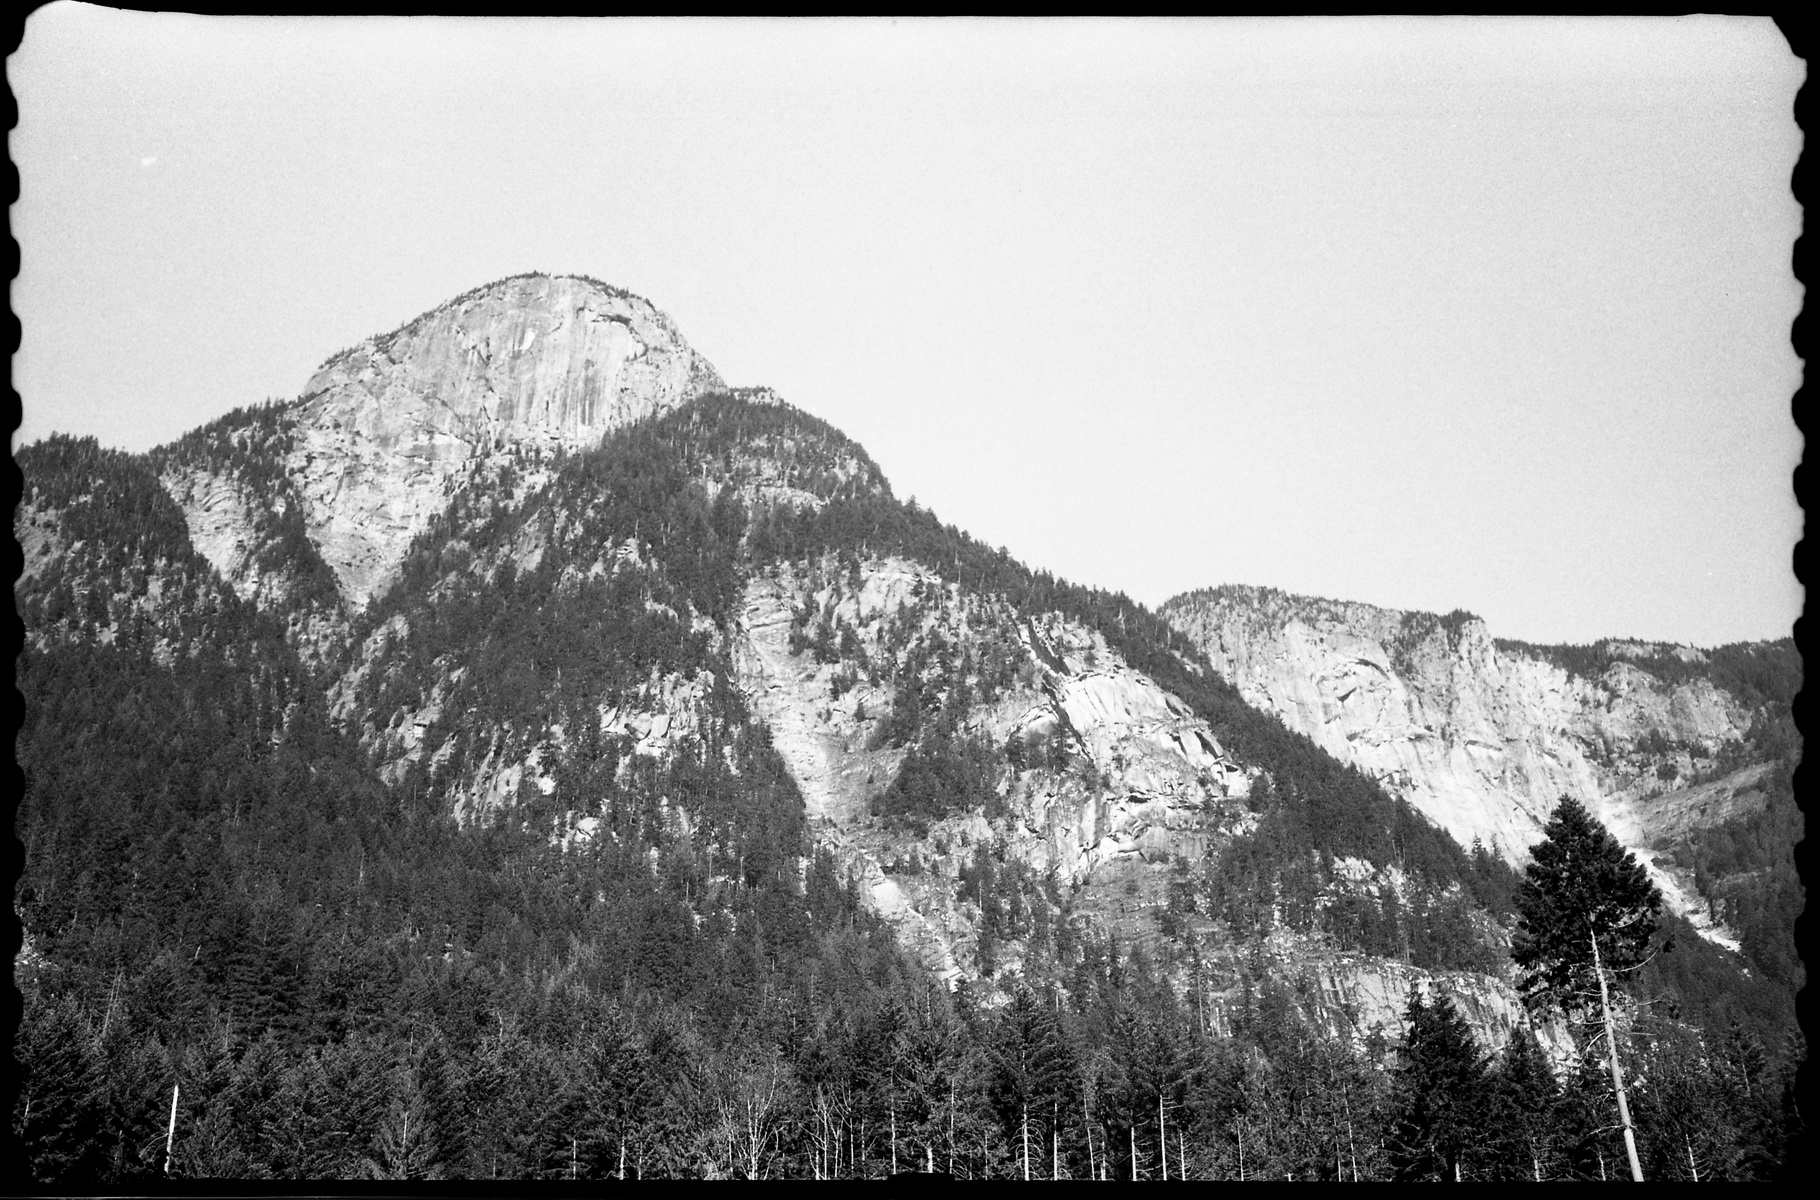
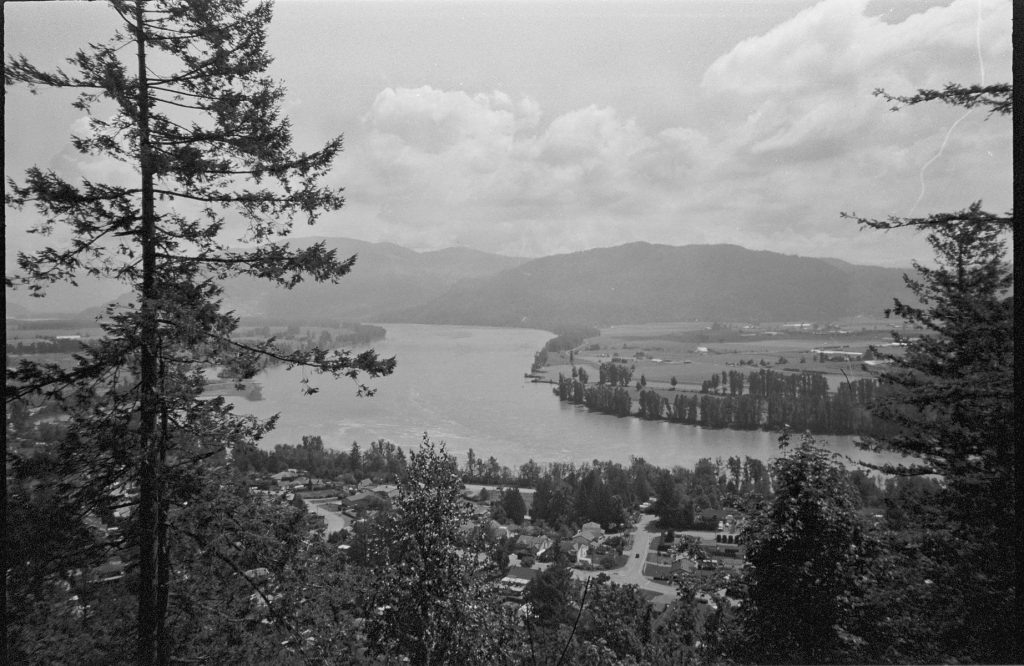
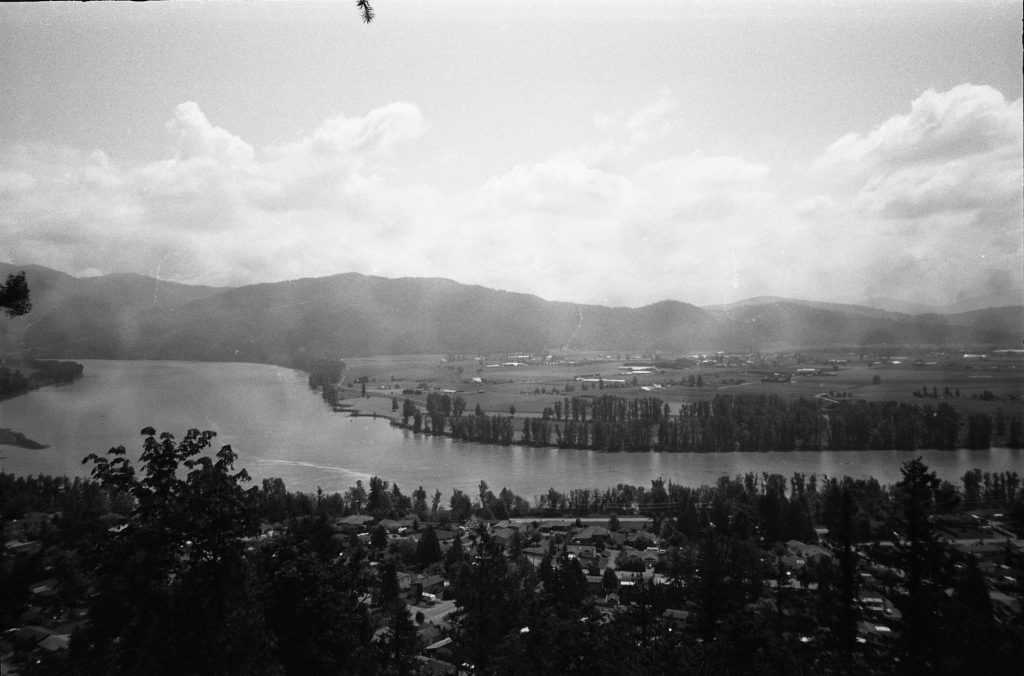
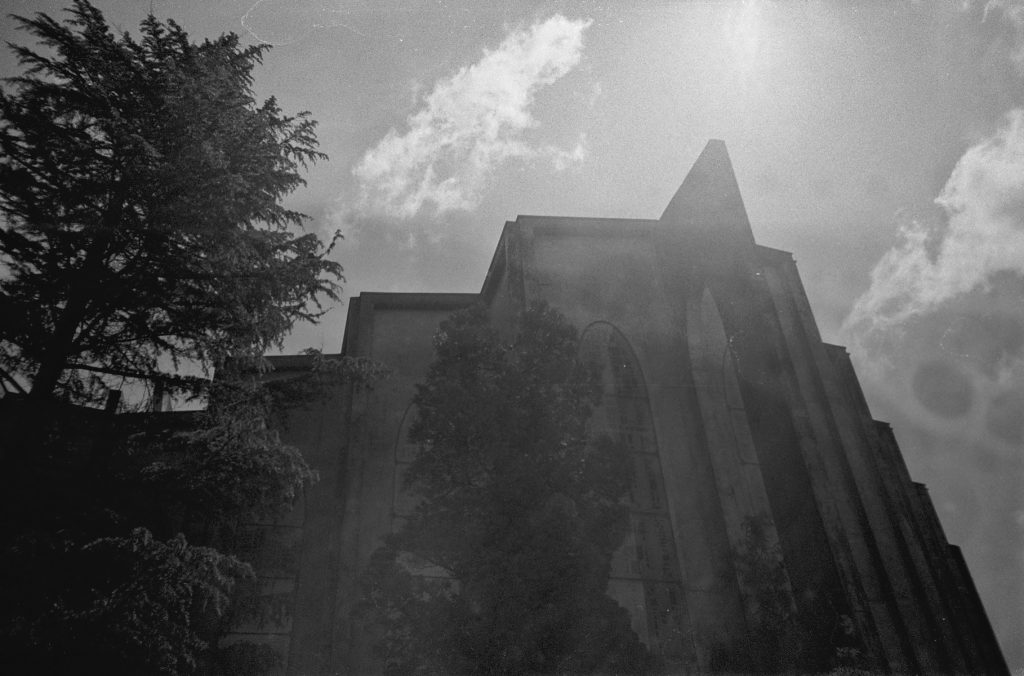
If your going to shoot a film that handles blue skies much like what photographers had available to them a hundred or more years ago it makes sense to at least use an older camera. With that in mind I loaded my Braun Paxette with some Ilford Ortho 80. Most films today are panchromatic or sensitive to most of the visible spectrum but there was a time when most photographic materials were Orthochromatic or insensitive to red light much like B&W darkroom papers.
This insensitivity to red means that when you are shooting a scene and trying to properly expose it, areas with blue tend to be rendered much brighter. This is why in really old photos the sky is often seen as an area of white. In reality it could have contained clouds and interesting shades of blue but as it tends to be much brighter than the subject it would have been blown out. In any case Ilford Ortho 80 behaves like this rendering reds as dark and blues as light.
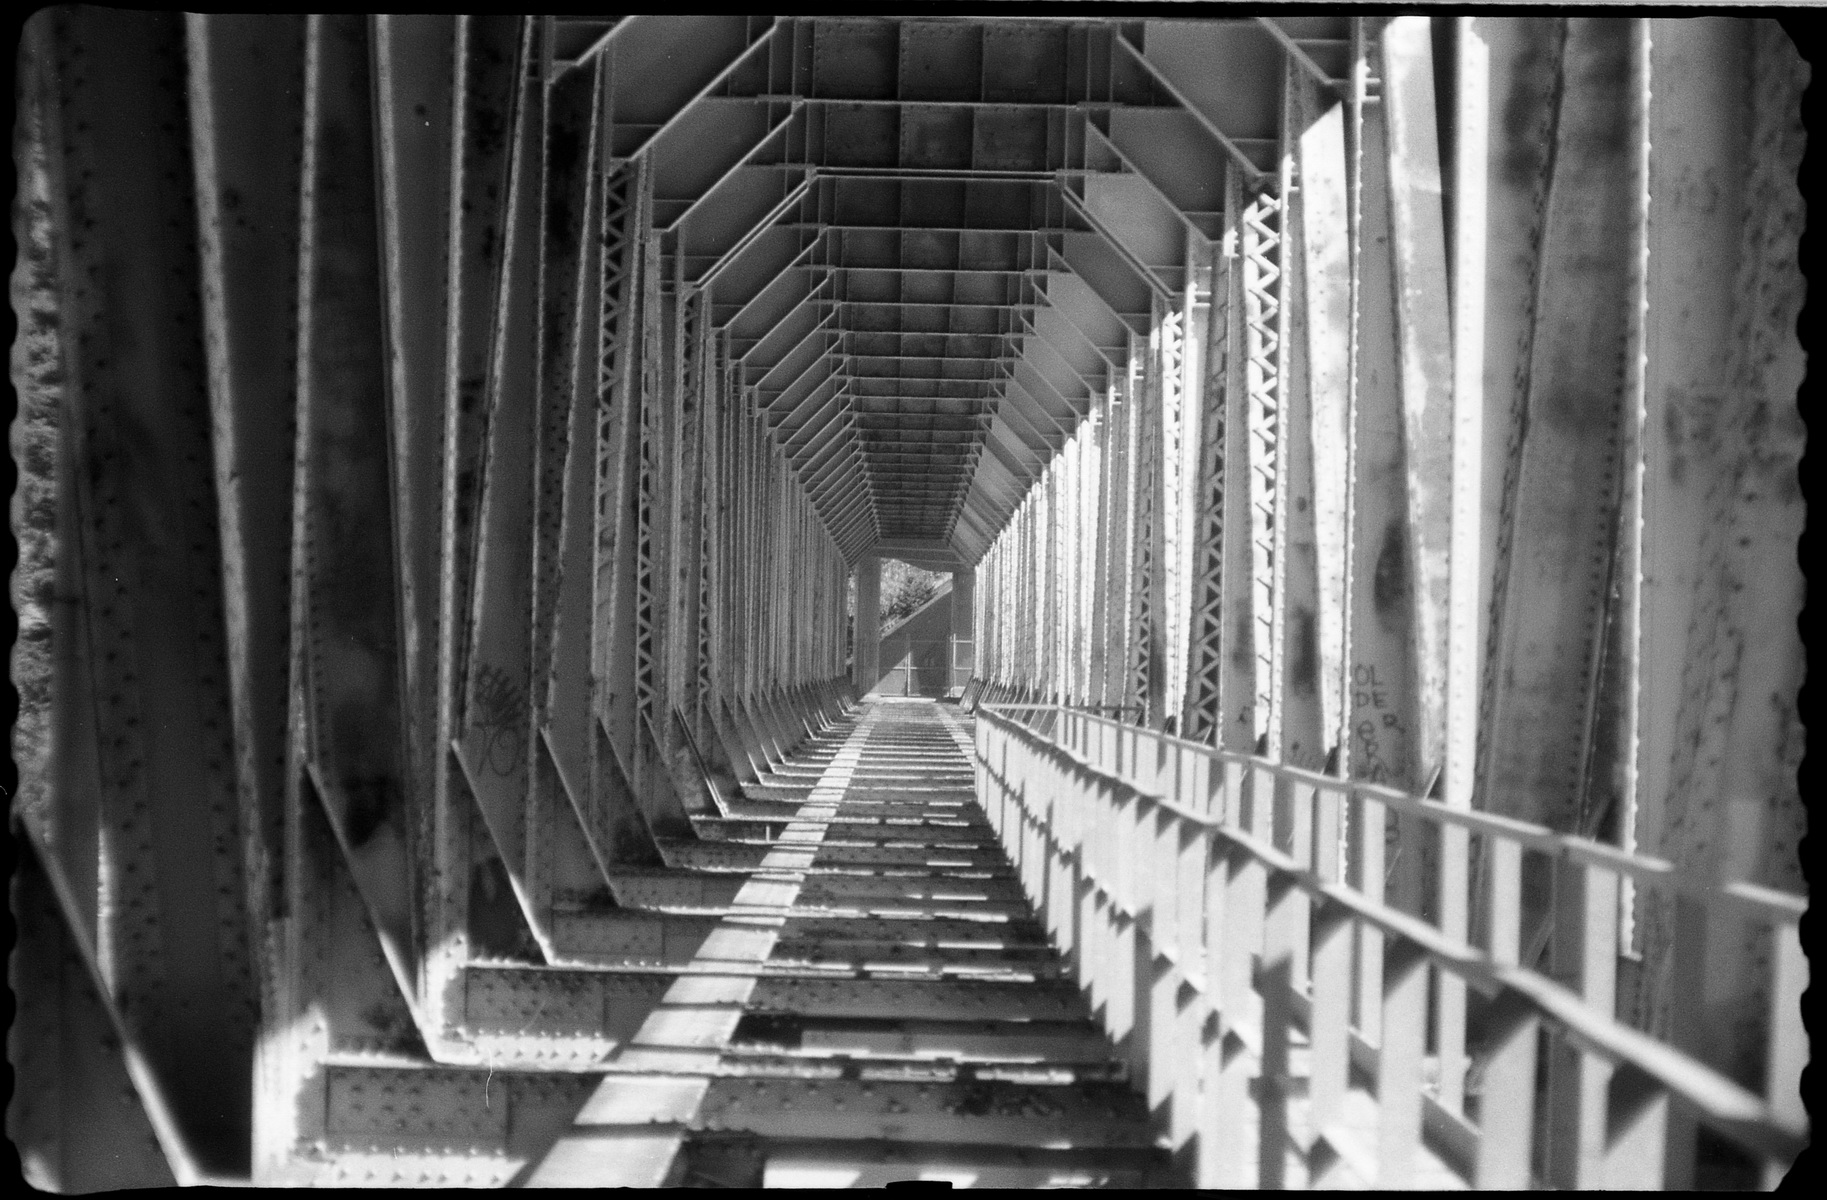
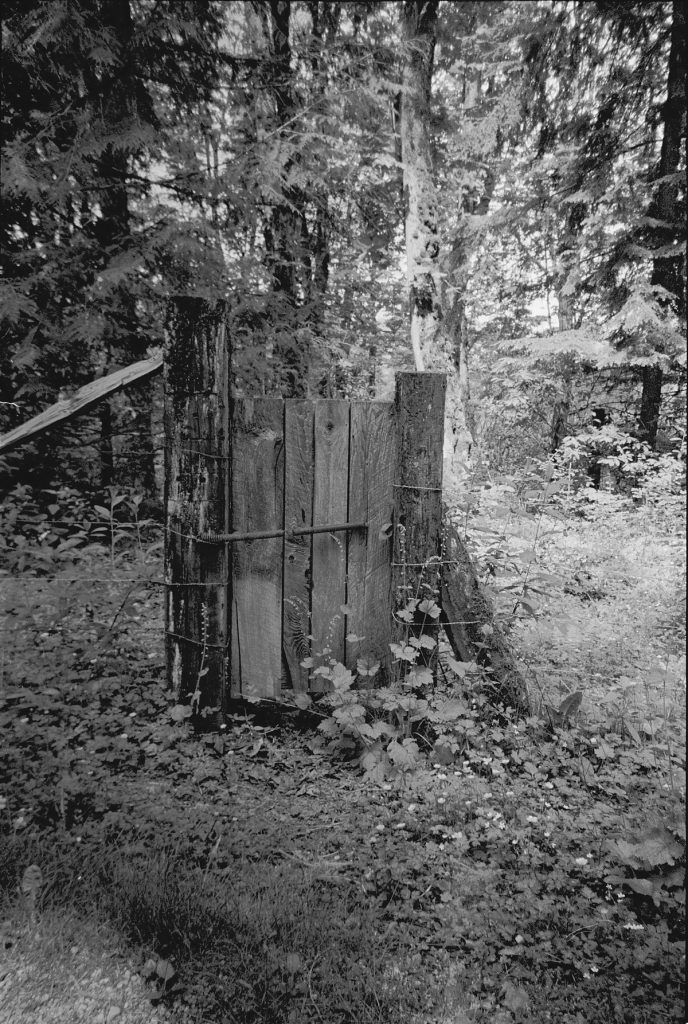
Something else to note about this film is it is extremely fine grained, likely owing to its original purpose as a high resolution copy film as per Ilford’s own information.
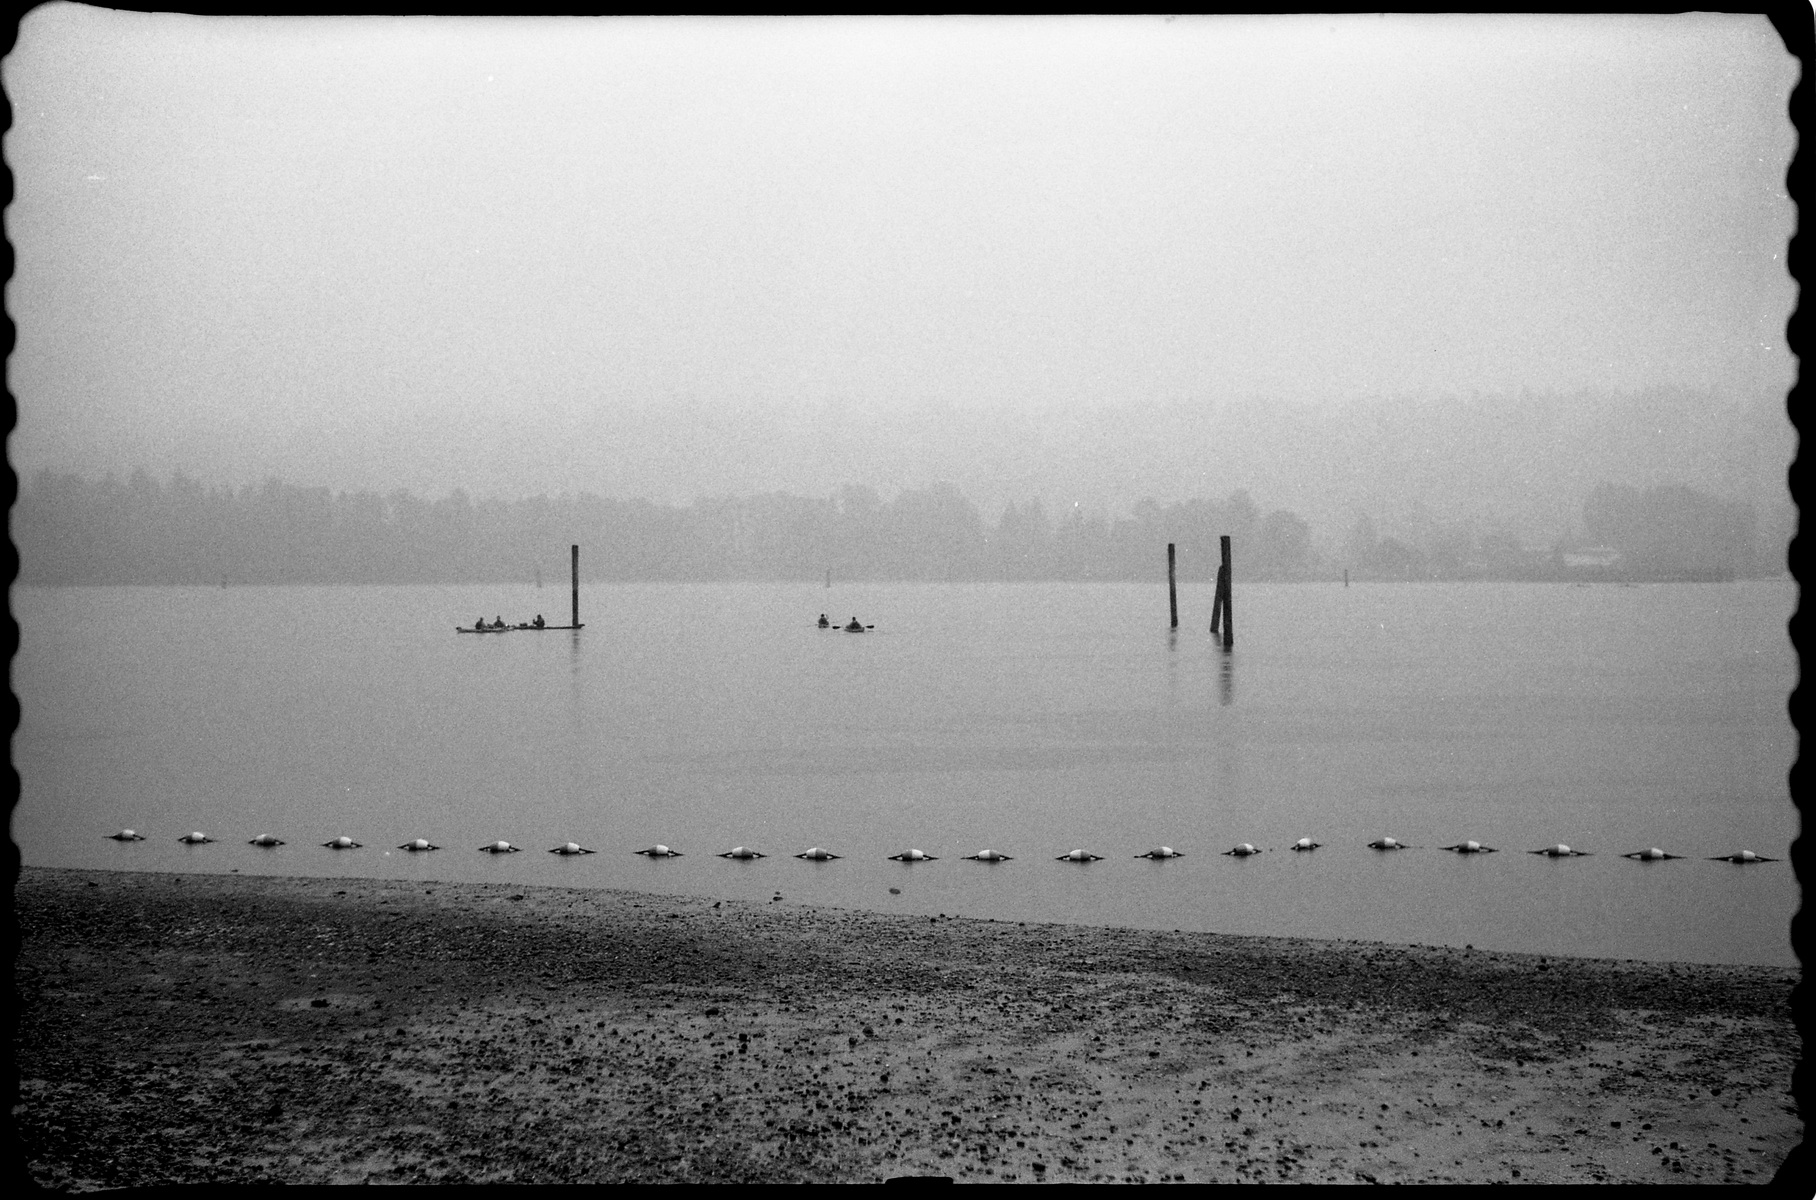
The 135mm f5.6 lens is a new addition to my Super Paxette kit and while I dont have a viewfinder to match its field of view I just made a rough determination and made sure that the main subject was near the center of the frame when I did use it. And as per usual with my use of this camera I like to see the edges of the frame and their postage stamp look.
Well my website was down for an extended period and I couldn’t find the time to fix it until now. A lot has gone on photographically in the meantime but if it wasn’t posted did it really even happen? I plan to get to writing and posting very soon…please hold your excitement.
Perhaps by the time I finish this post I will think of a punch line. I did actually walk into a camera store today and was handed a lens to look at to see if I had an opinion as to what it was.
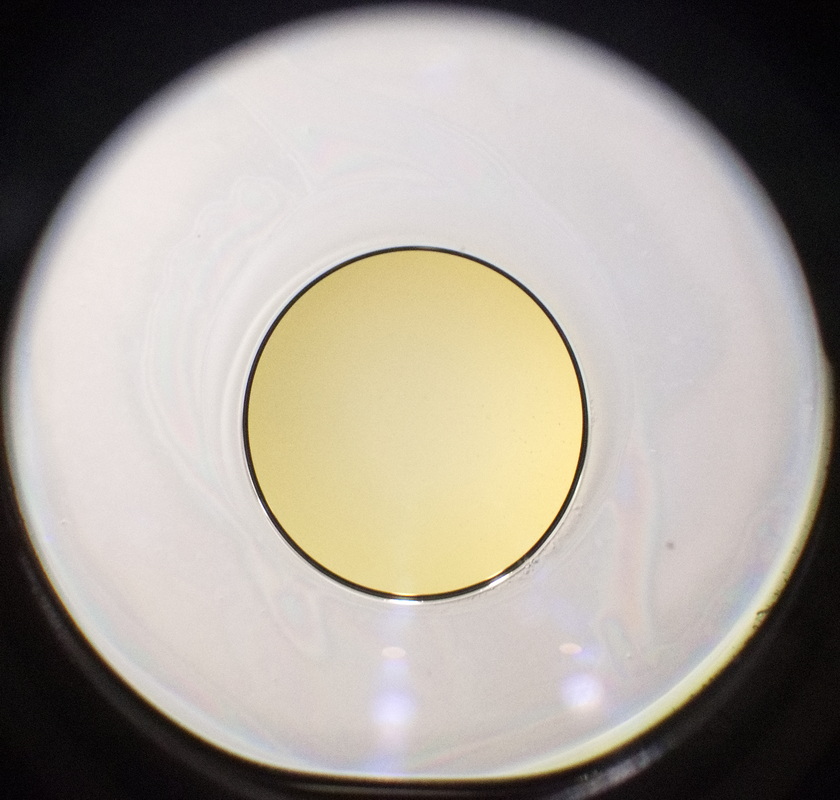
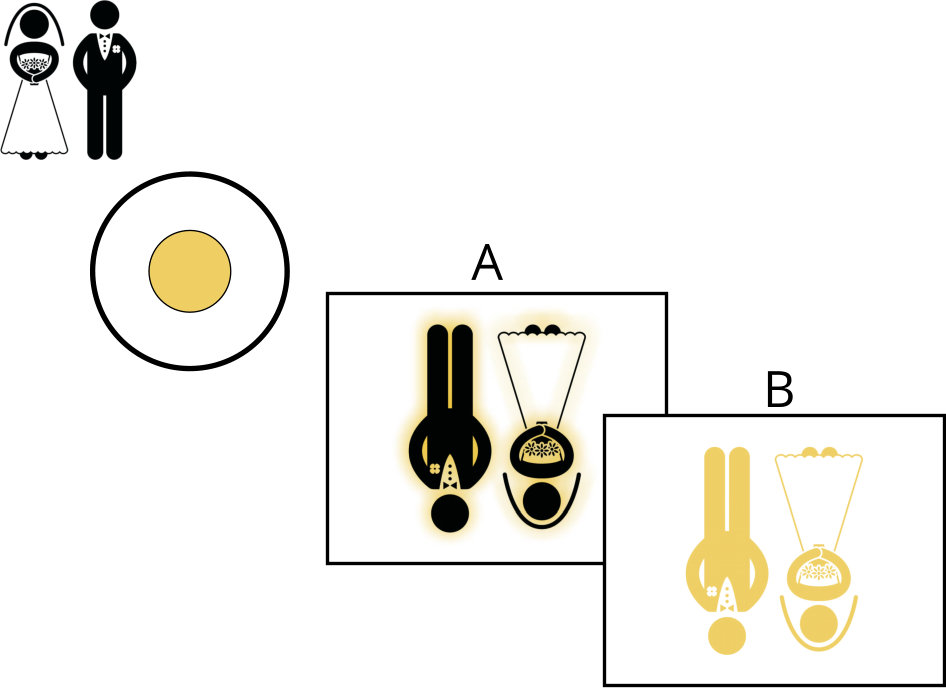
I’m assuming that may be due to my penchant for doing things with cameras and lenses that might not otherwise show up with an internet search. In any case I was also stumped at that moment. The lens is a Tamron adaptall 28-50 f3.5-4.5 Close Focus lens with 9 elements, actually 10 as your about to see. That info all shows up on the Google machine but what doesn’t is the apparent modification its received. In the center of the lens is a big yellow dot or to be more precise an additional lens element that only impacts the center of the image.
So what does this mean for the final image? Well it acts like two separate lenses to form one image. The outer area being the original lens which focuses as per normal to form an image at the film plane while the center forms a second image that would be in focus at a different distance but as it reaches the film plane it is out of focus and combines with the outer areas image to give a combined soft focus image. I cant honestly say whether its supposed to be that yellow though. It could be intentional because it gives a warmness to the soft focus or on the other hand it might just have yellowed over the years.
In this little diagram above A represents the film plane where both images combine and B represents a different location where the central area would be in focus if the film was there instead.
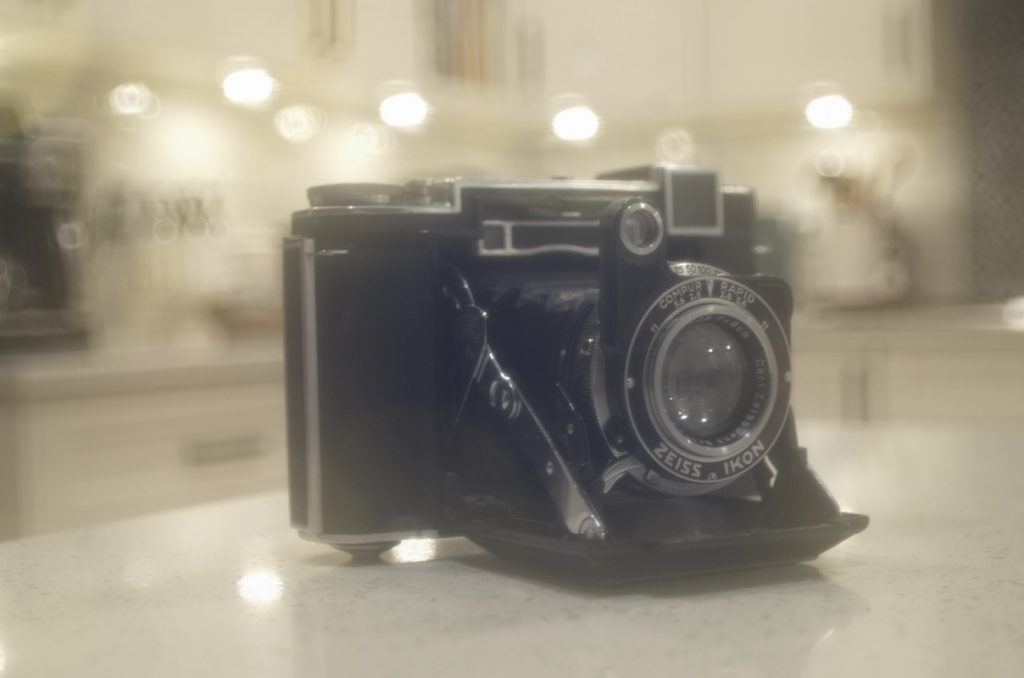
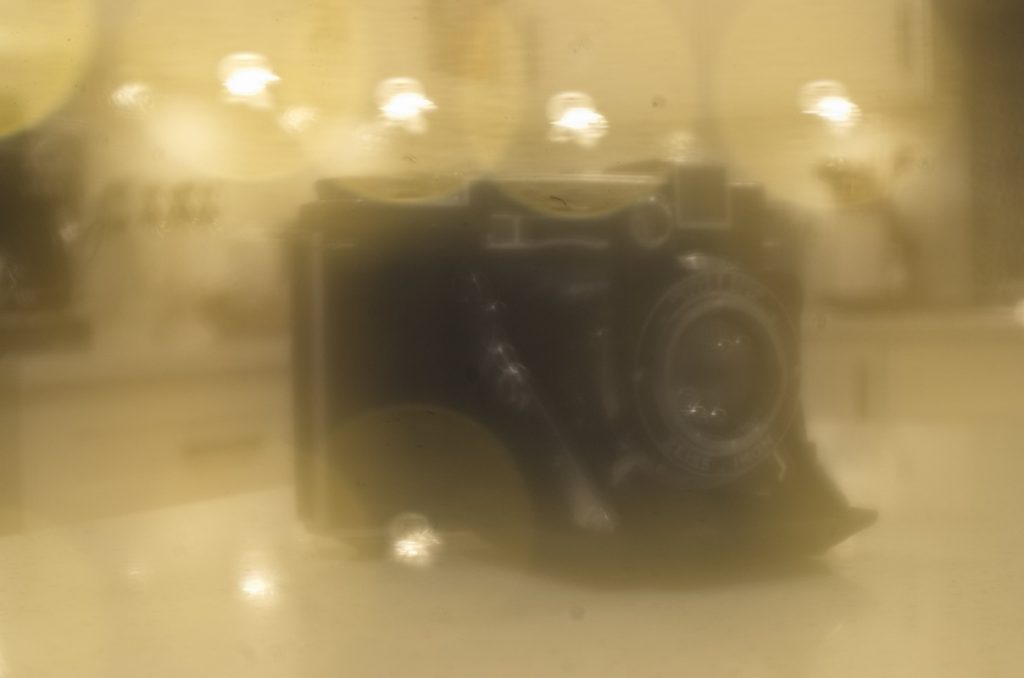
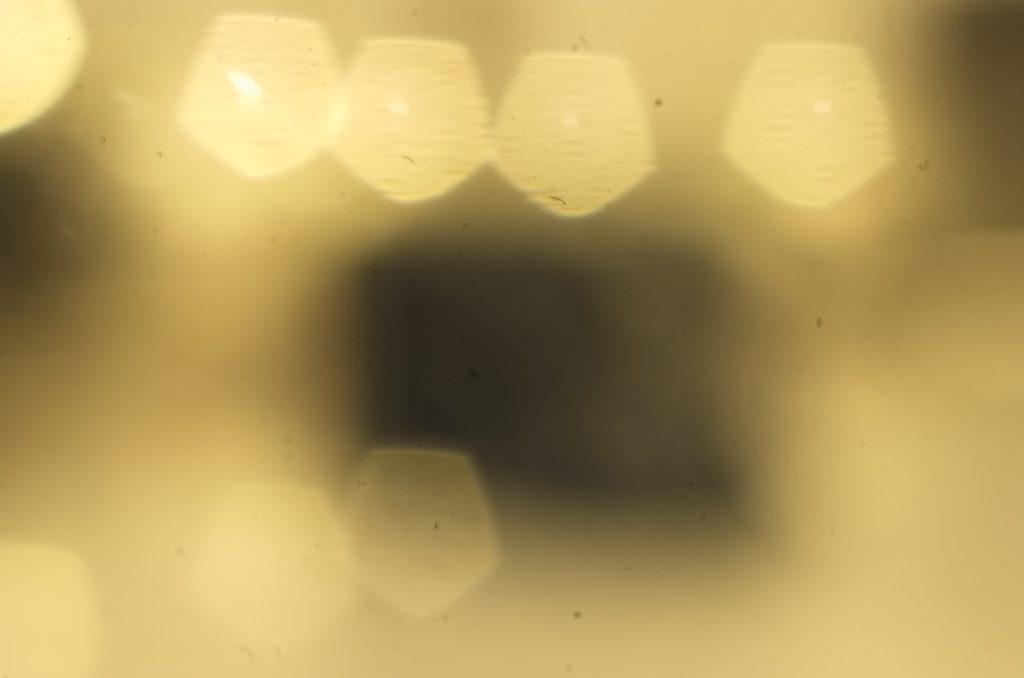
So you might be wondering how can I be sure that’s what’s happening. I’m glad I pretended you asked. Because the final image is a combination of the outside area and the center and if you change the ratio between them you will get a different result. How? Alter the aperture, as you stop the aperture down the central area will comprise a greater amount of the overall image. Keep in mind the viewfinder image is formed with the lens wide open so the outer area is dominant and what you actually use to achieve focus.
Lens wide open at f3.5Lens stopped down to f8Lens stopped down to f16
The overall effect is accentuated by the fact I used a camera with an APS-c sensor rather than the full area of a 35mm film which would provide for more of the outer area to form the image. So that’s my conclusion its a 1980’s modified lens likely belonging to a wedding photographer intent on creating that look that every one wants and will never go out of style.
Okay here goes…A guy walks into a camera store and breathlessly says “Quick give me some Dektol!” The clerk perplexed asks what is the emergency? The guy says I don’t know but its a developing situation.
Apparently I didn’t think enough of this camera before I developed the film to bother recording any of its details and my opinion didn’t improve after. My best guess is this was a thrift store disposable camera find that spent years in someone’s closet. With the images that follow keep in mind these are the good ones.
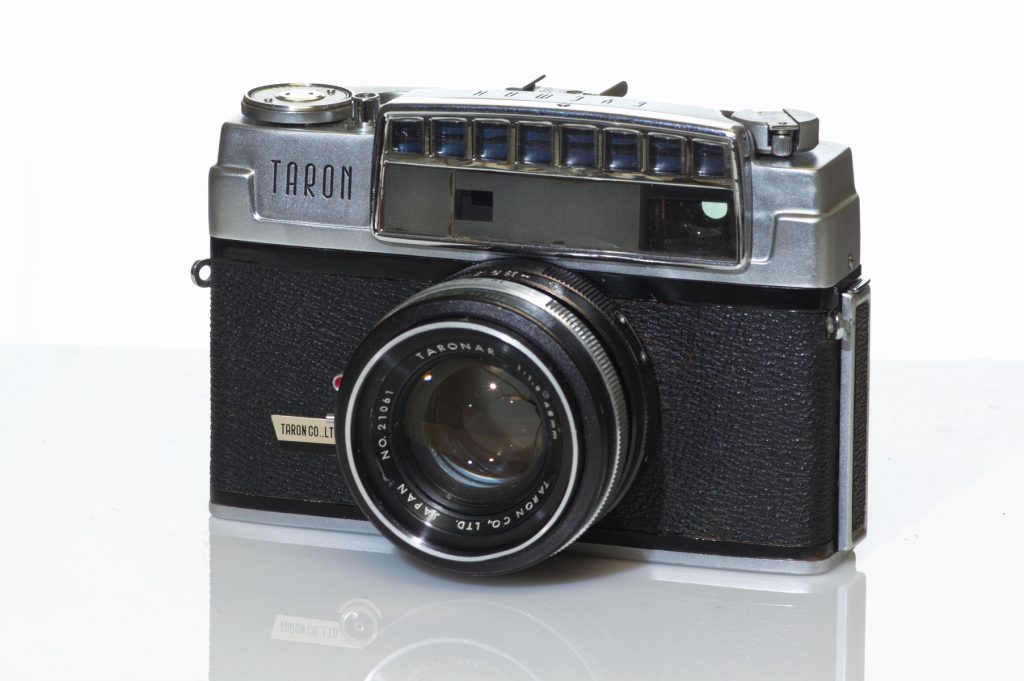
The eye certainly is maximum, it dominates the top of the camera like some multi segmented bug eye. All that said the rest of the camera is quite nice looking in my opinion. The eye in the Eyemax is a selenium cell that drives a needle visible at the top of the viewfinder. This gives a general notion as to whether you have a correct exposure or not however you are free to disregard this and set any available shutter aperture combination.
The Lens is a 45mm f2.8 with little to no coating with the result being a lot of lens flair and loss of contrast in back lit situations. It also gives a very swirly background behind the area in focus when shot wide open. I like the look it gives as a contrast to the clinical look of a digital photo.
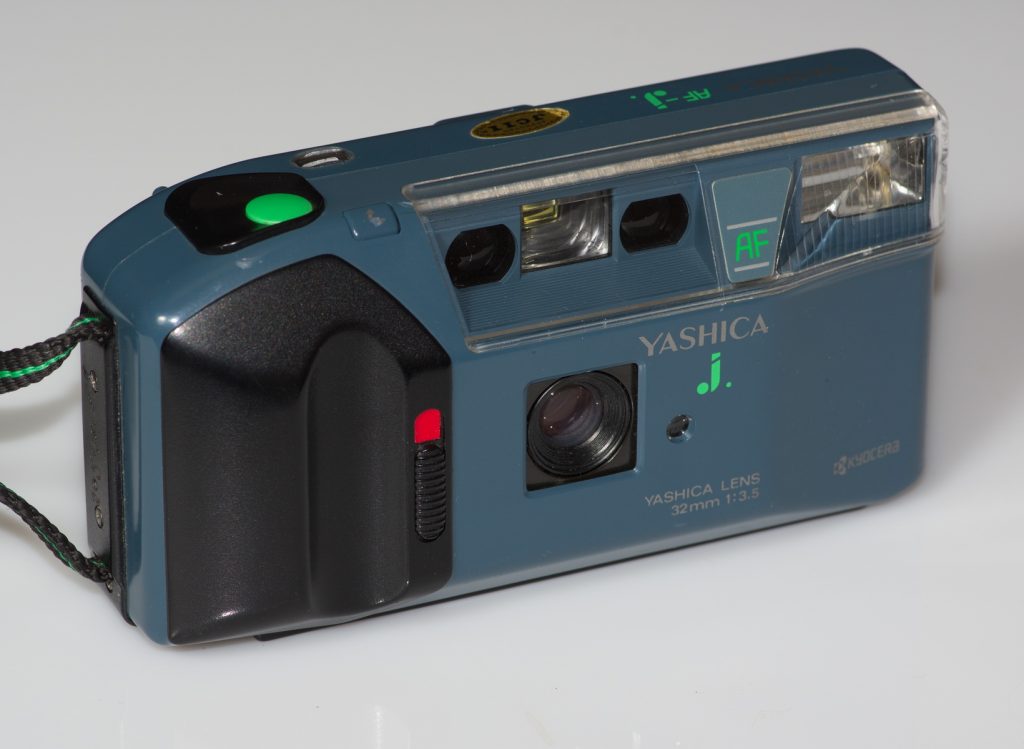
Most of what I know about this camera is described on the front of it. Its a Yashica It has a 32mm f3.5 lens and it has autofocus what else do you need to know? Its a J. First off before you look at the pictures and draw the wrong conclusion I don’t know what was up with this roll of film but the negatives were thin and looked like they had soap bubbles. This points to the development and in addition I also shot part of this roll in a Rollei and the results were similar.
The best part of the Yashica J though is that it takes regular AA batteries.
Between writing this post and posting it I gave this camera away. Well actually I also dropped it which damaged some of the plastic and looking at it reminded me of how I had been in such a rush that I hadn’t made sure I had a good grip on it. So someone gets a camera and I get to try to forget that annoyance.
If you go to the Kodak Alaris website and look through the colour films available you wont find any mention of Kodak Pro Image 100. There are the Portras, Ektar and Ektachrome on the professional side and Gold and Ultramax on the consumer side but not a mention of Pro Image 100. Yet clearly it exists and can be purchased from retailers so what exactly is it?
So it clearly is not just a repackaging of one of Kodaks other offerings it is something unto itself with the stated keeping properties and the processing look of Kodak Gold (Without the film curl of Gold I may add).
I’ve shot two rolls of it now and I’m very happy with the results its like the poor mans Portra 160.
I wanted to test out four cameras but was not willing to commit to giving them each a roll of film so I opted to make them share a roll of Ilford HP5plus. I did this by taking a few shots with one camera then rewinding the roll then loading it into the next camera and advancing the film while covering the lens until it was past where I thought the last one had ended. I did this for all four camera’s providing them each with about 8 shots out of the 36 exposure roll. This worked well despite one of the cameras but I will get to that a little later.
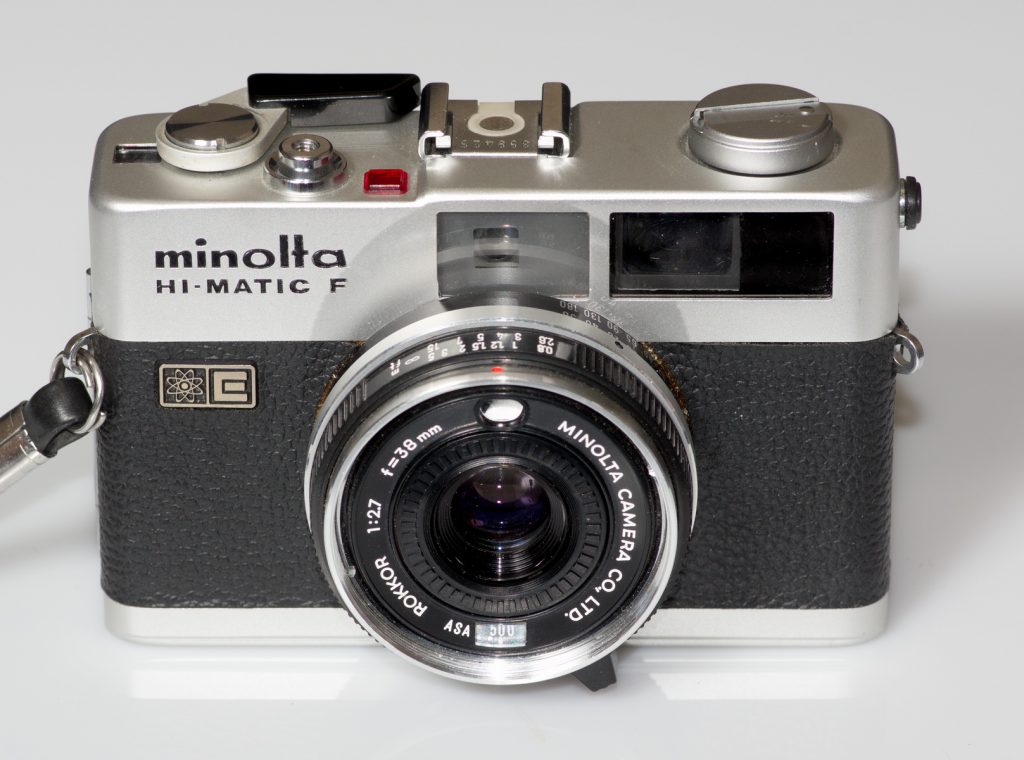
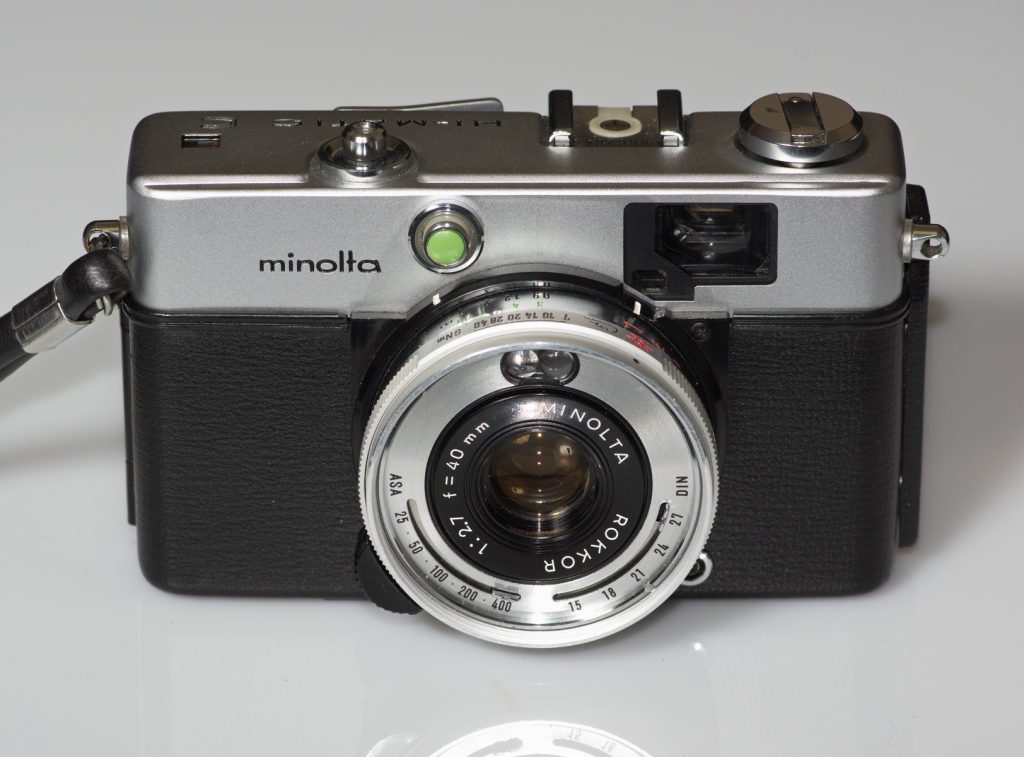
Lets start with the second camera then. The Minolta Himatic F which has a four element 38mm f2.7 lens gave some good results.
The third camera was the Minolta Himatic C which is particularly interesting in the Himatic line due to its ability to collapse the lens into the camera body. The lens is a three element 40mm f2.7 lens. It is the collapsing lens though that is a weak link with this camera where it leaks some light in.
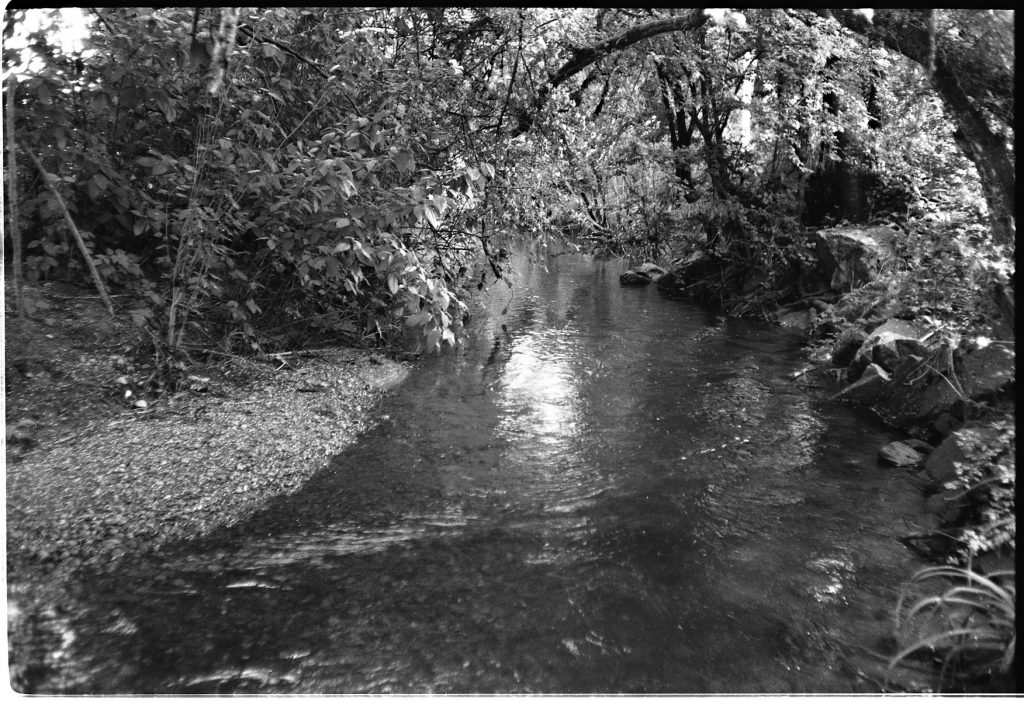
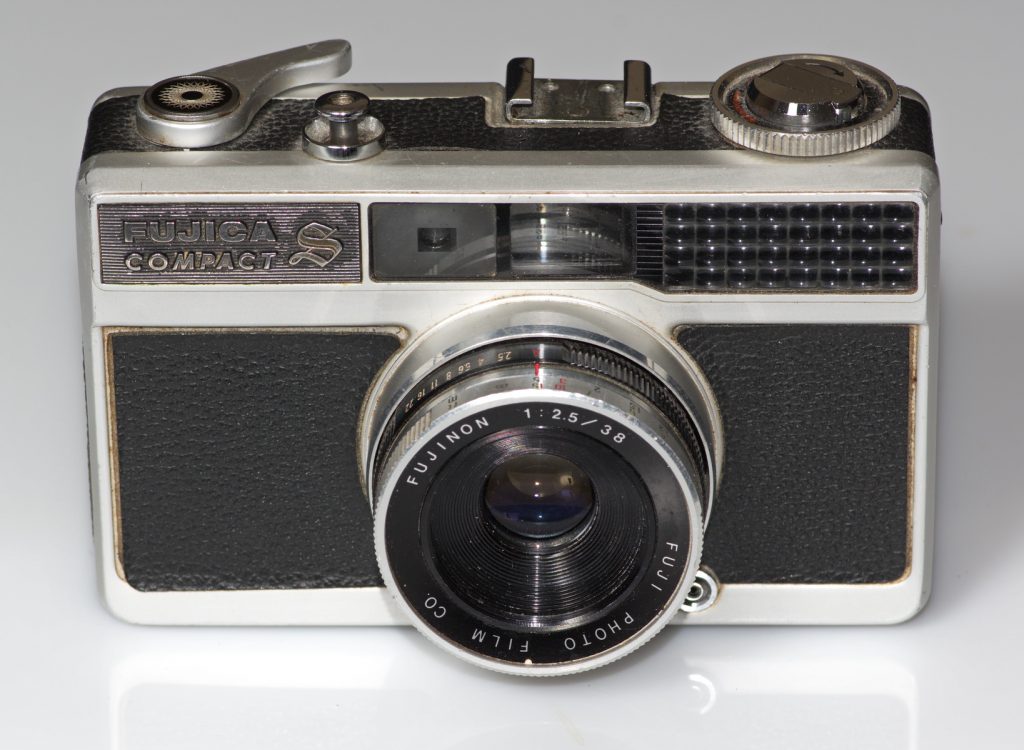
The final camera to share this roll of film was the Fujica Auto S which gets its own blog post but a quick summery would be it is cheaply made but exceeds its looks and as a bonus it doesn’t require a battery.
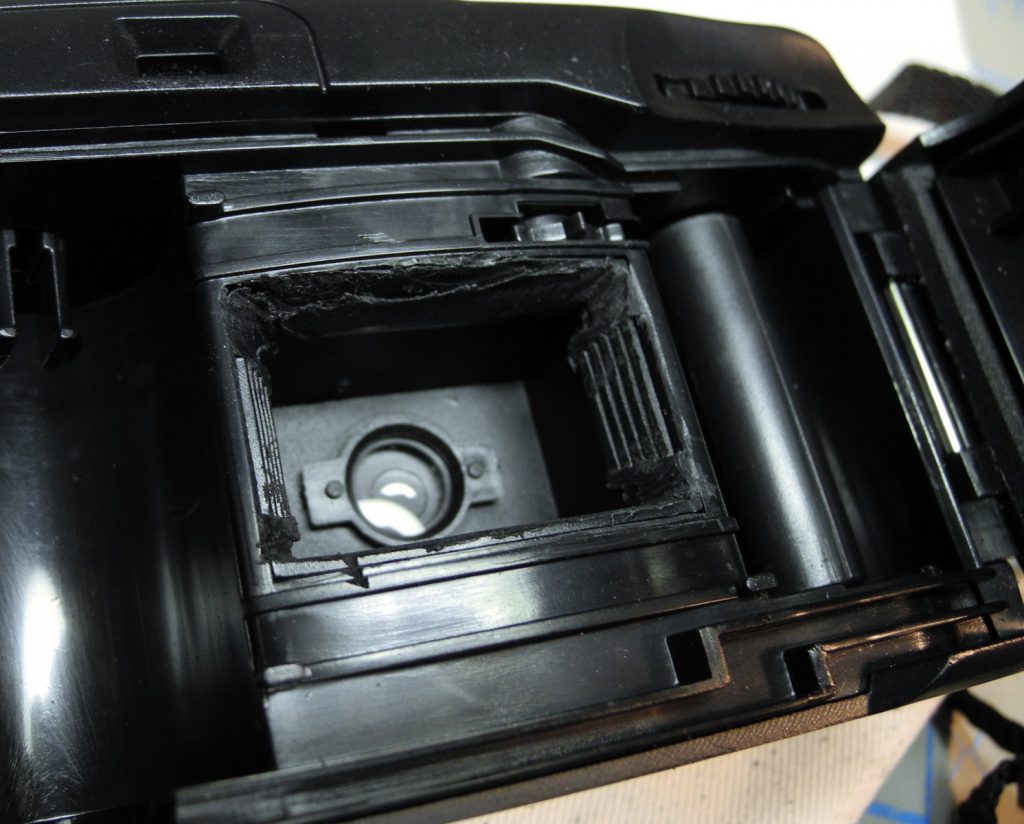
So getting back to the first camera. It was a plastic camera that purported to be panoramic. The panoramic image comes from just masking off some of the 35mm film frame but it did have a wide angle lens. So I decided to remove all the masking material and make it cover the entire film area.
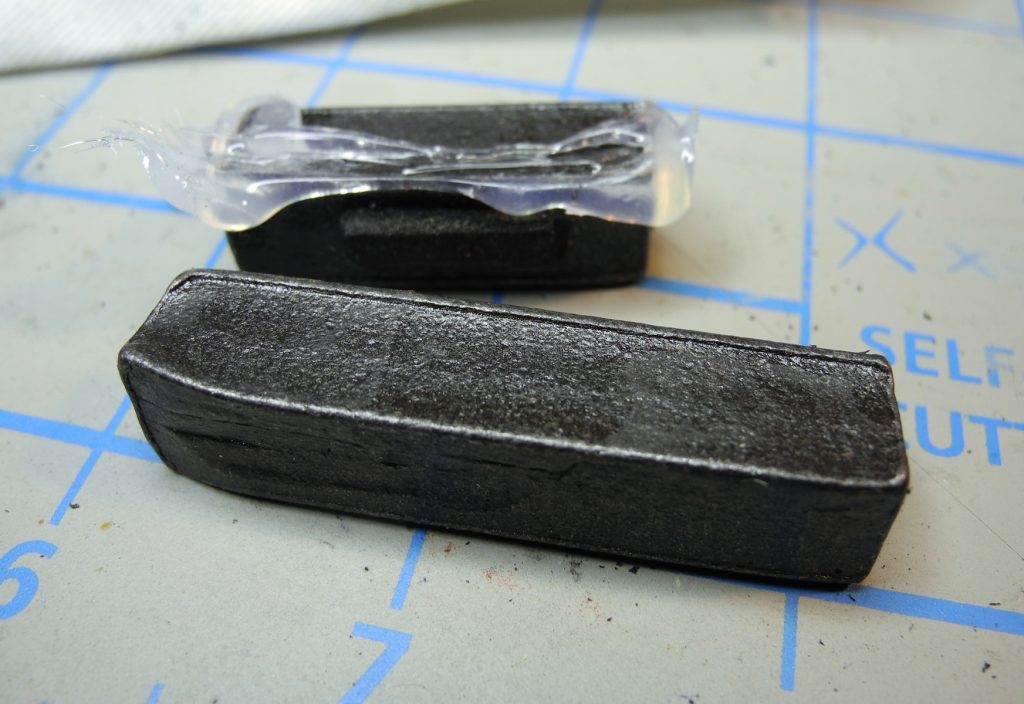
Additionally I removed some superfluous metal weights intended to give the camera some gravitas.
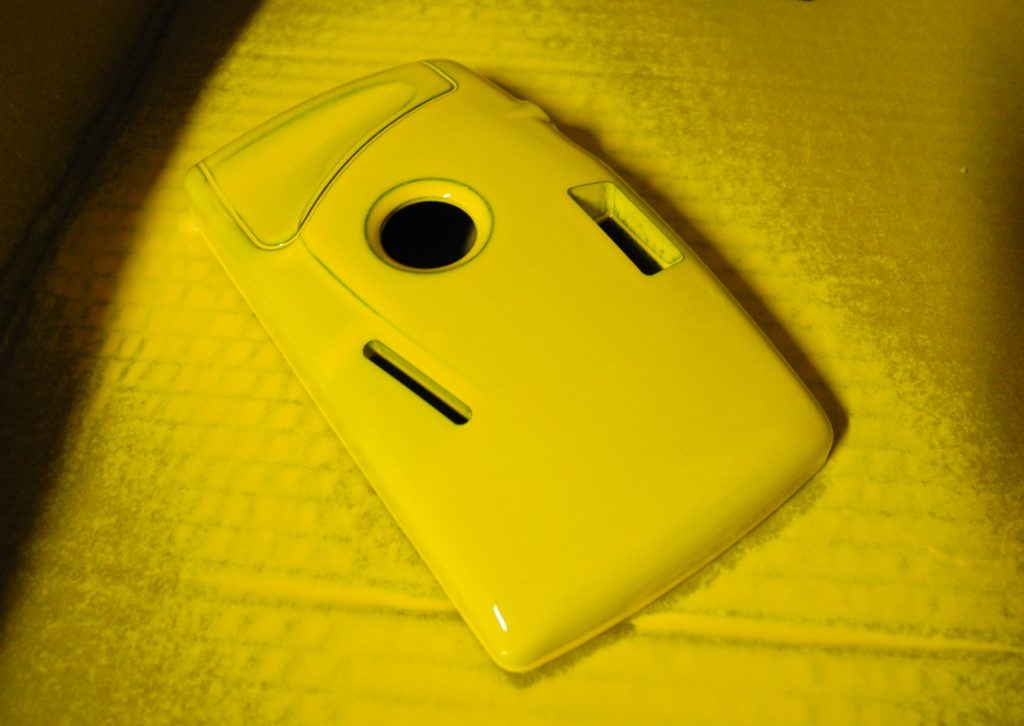
Next up I gave it a coat of paint because I like yellow
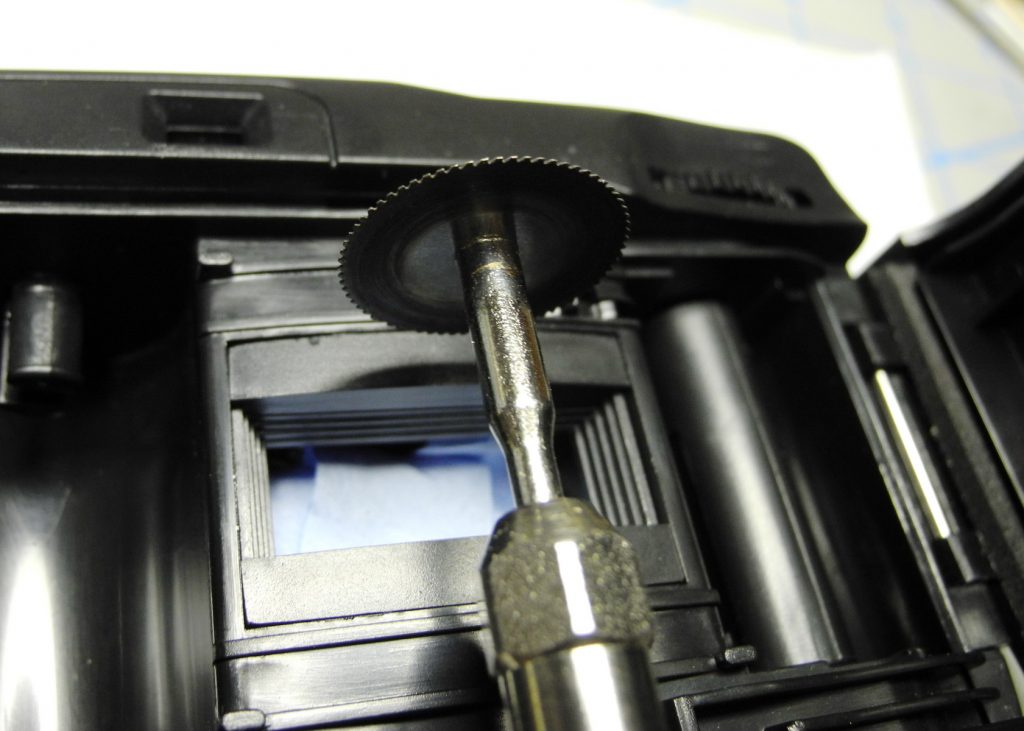
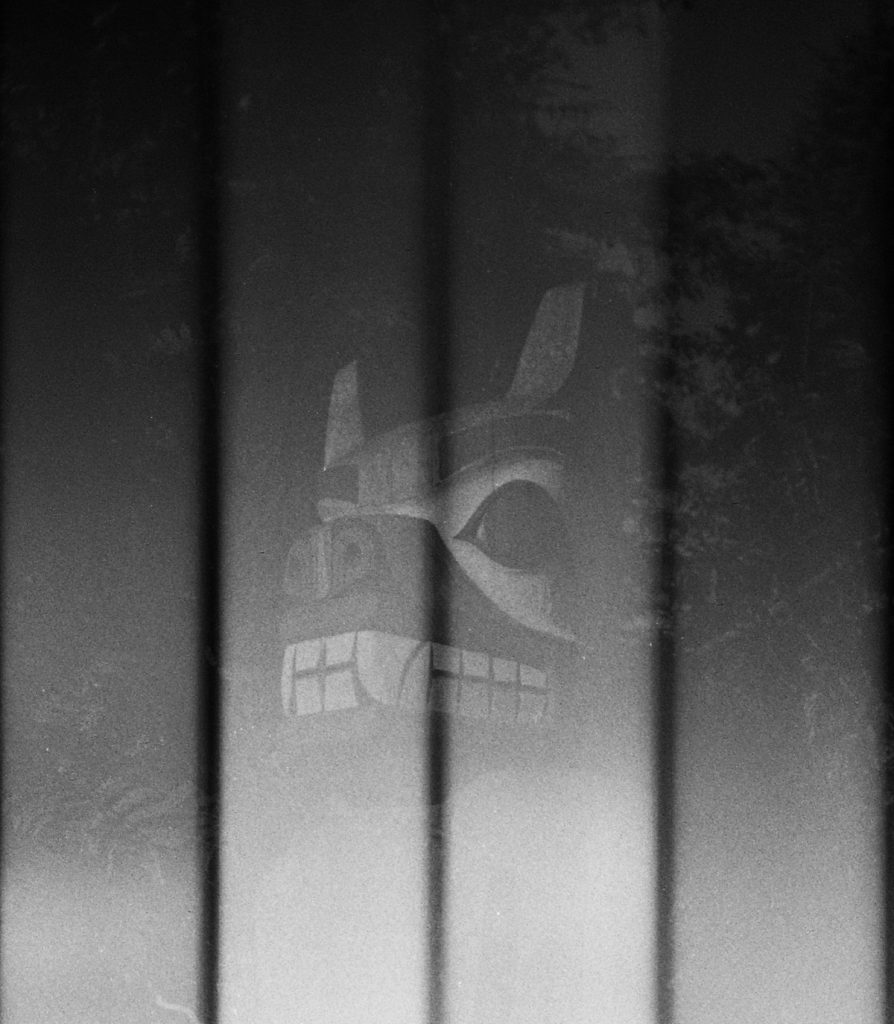
Unfortunately it was all for naught because the results were horrific. The thing is that instead of having a normal pressure plate the film is slightly curved and so are a number of ridges that are intended to keep the film in position.
Well the film I used did a better job of recording those ridges than of what was in front of the camera.
I don’t think it was a light leak in the usual sense because it doesn’t impact the entire frame I think that the light made its way through the film and scattered on the back returning to re-expose the film some more. Oh well maybe one day I will put some sort of flocking there and try again…or not.