4×5 Paper Negatives
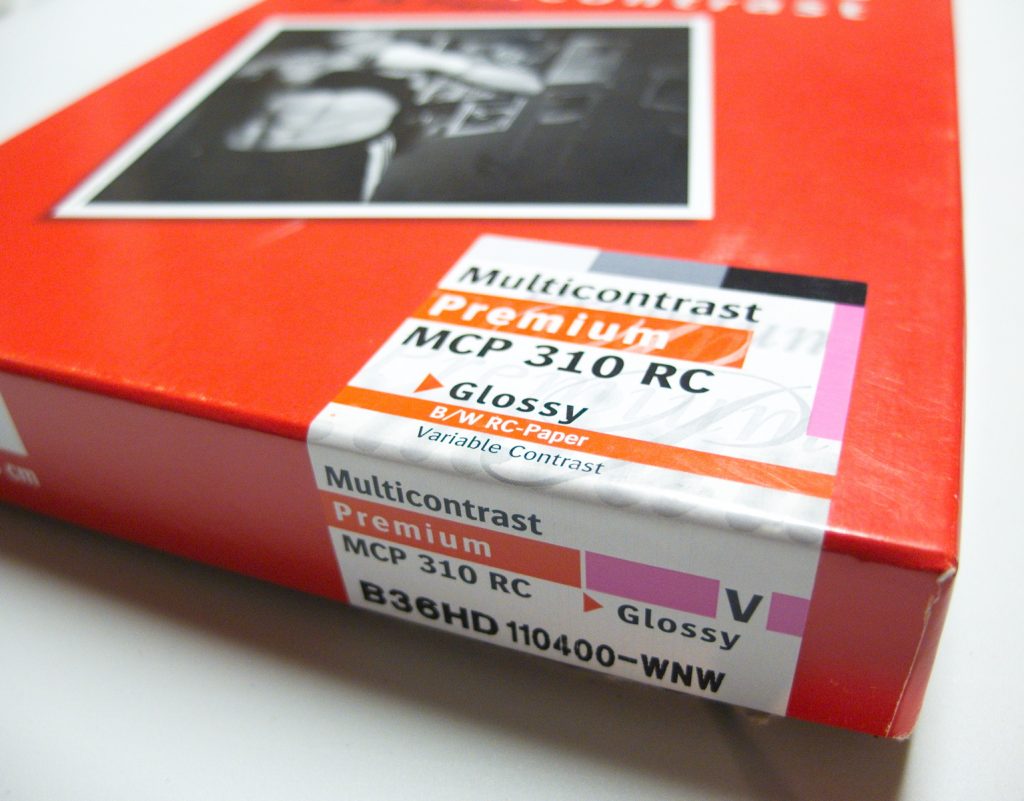
I have a bunch of AGFA MCP 310 multi grade paper that is fogged. Its not really any good for making Black and White prints but not wanting it to go to waste I started using it as paper negatives. Because it is 8×10 sheets of paper intended for use in a darkroom there are some considerations that need to be dealt with. First its Orthographic which means that it is sensitive to Blue and Green light but insensitive to Red light. (That’s the reason you can use it under a safelight in a darkroom) This means that things that contain reds will be rendered very dark and things with blue will be rendered very light. (Sky for instance will mostly be blown out to white) The next consideration is of course cutting it down to fit into a film holder. Although it seems like a no brainer just cut the 8×10 into four 4x5s you do need to trim them slightly smaller to fit in the holders. And the final consideration is the sensitivity of the material. Just how much light is just right. My first few attempts I just treated it like it was around ISO 6 which is roughly what you would expect the paper to be. It was fun and I achieved some decent results but mostly through random experiments.

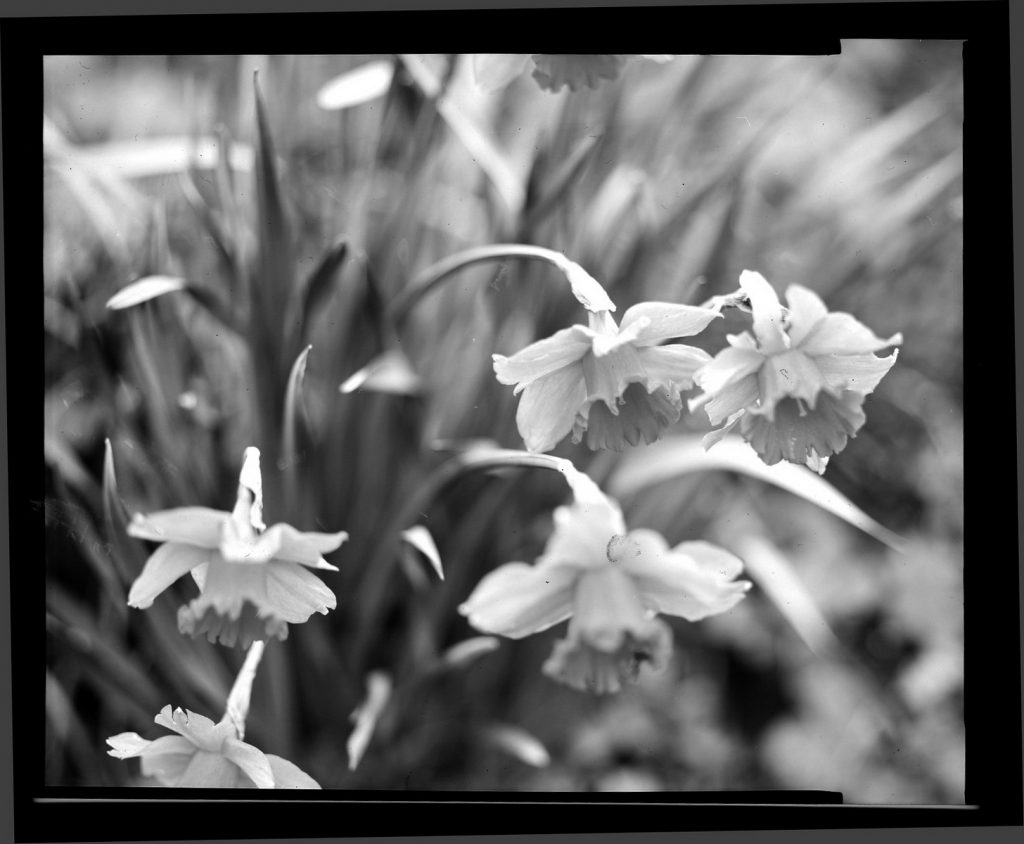
Once that phase was over I decided to take a little more care and determine how to achieve the best results consistently. Rather than trying to find the absolute ISO value of the film I decided to find a value that provided me with a negative that I could achieve the best results with. I set up the camera and had 8 frames to take of the same scene with varying exposures. I started by taking a picture with a digital camera set to ISO100 it metered the scene at 1/500 and f5.6 which is 14EV.
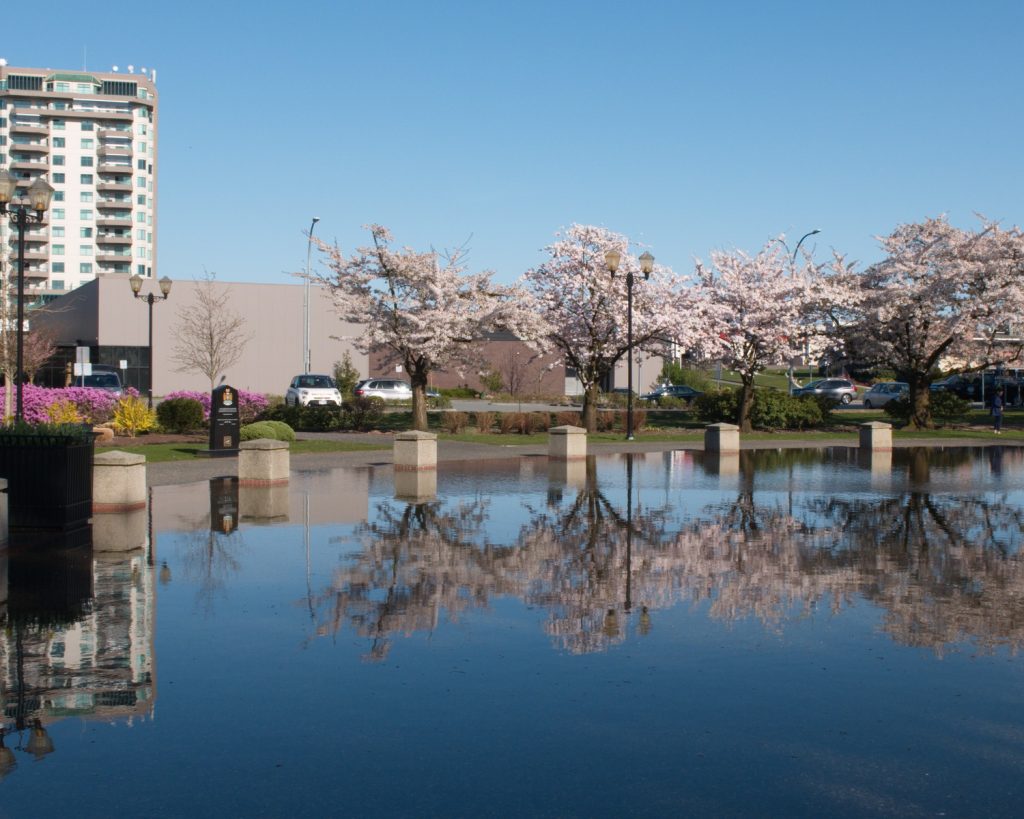
So this was my starting point knowing full well the paper was not equivalent to 100 ISO. I set the 4×5 camera to f22 and 1/30 sec. which is also 14EV and sure enough the result from that frame was too light (I’m speaking in terms of the image after scanning and conversion to a positive), next up was 1/15 second or twice the light it was better but still too flat. At 1/8 of a second though we seem to have hit the sweet spot where the highlights were not blown out yet there was detail in the shadows. This f22 and 1/8 second suggested that the best result was achieved when you treated the paper as if it was ISO25 not bad and quite a bit faster than the ISO 6 I had tried previously. Not having seen the results yet of course I continued on with the test setting the shutter to 1/4,1/2,1,2 seconds each one with a greater degree becoming blown out. The results of this test excluding the 2 second one is displayed bellow
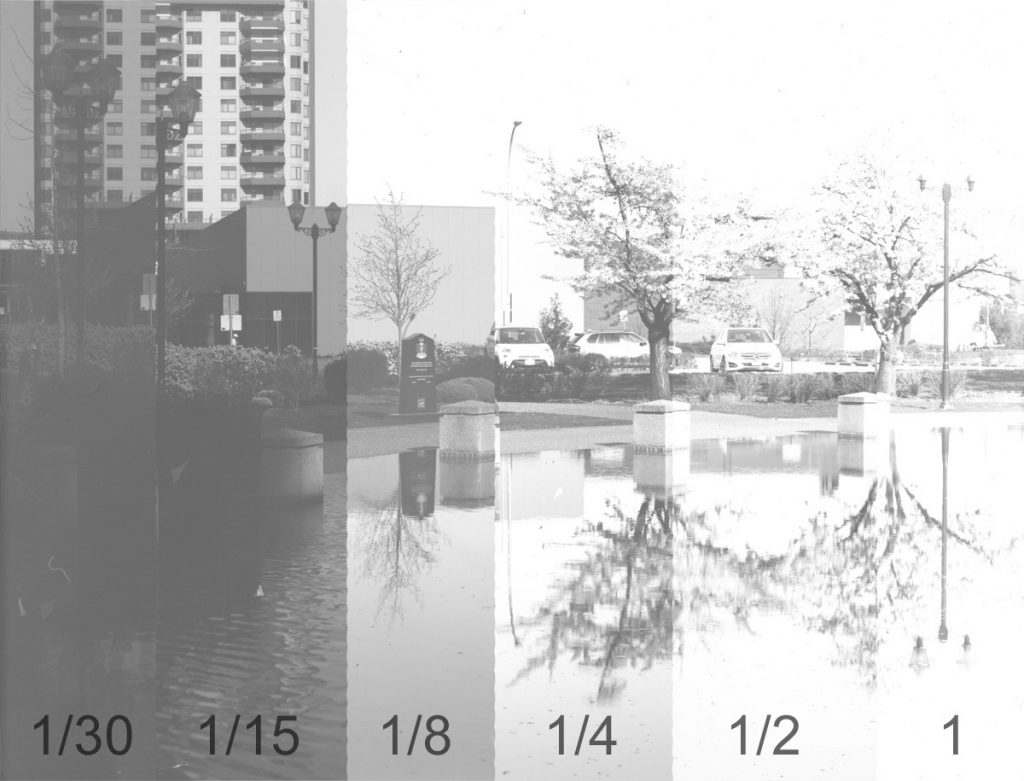
You can see that 1/8 of a second gives a result that offers the most range for both scanning or contact printing. I’ve adjusted the levels of the full 1/8sec image (ISO 25) for a result I like.
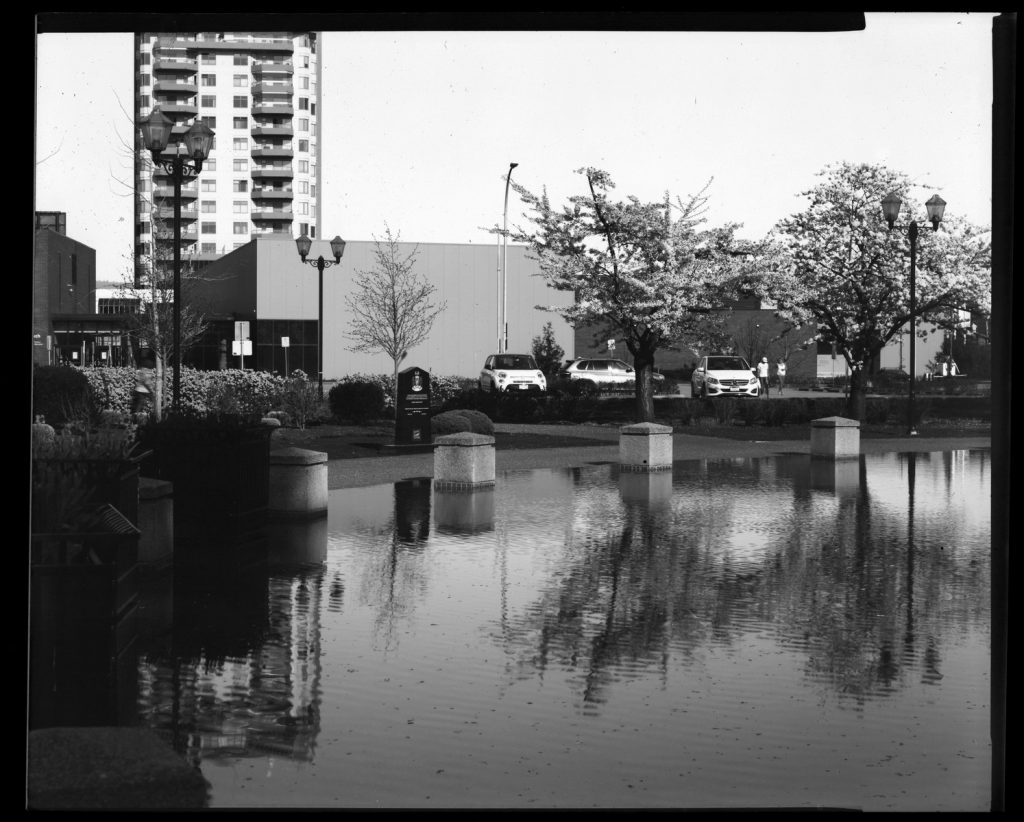
You may be wondering what sort of detail do you get using a paper negative. And there is no doubt they are by their nature going to be softer than a real film negative but here is a crop into that monument across the water.
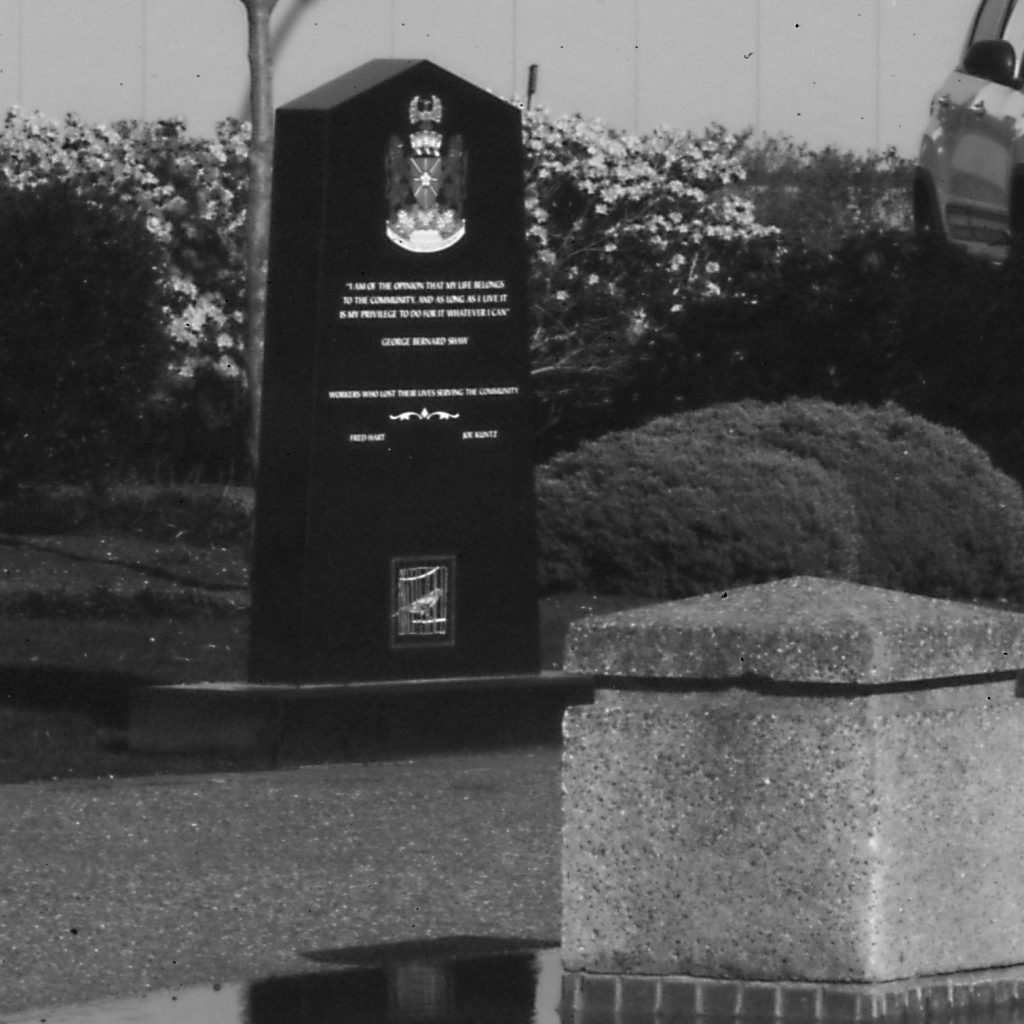
So now knowing that the paper yields a reasonable result when its shot at 25ISO I can continue further experiments and potentially refine the results. I have plenty more paper to use so rather than writing more I think I will load some and get out and shoot. Maintaining physical distancing from other people of course. (If your reading that last line years from now and don’t know why I would say such a thing then I am very glad for you)

April 11th, 2020 at 9:46 am
Good stuff!