Nov
18
2011
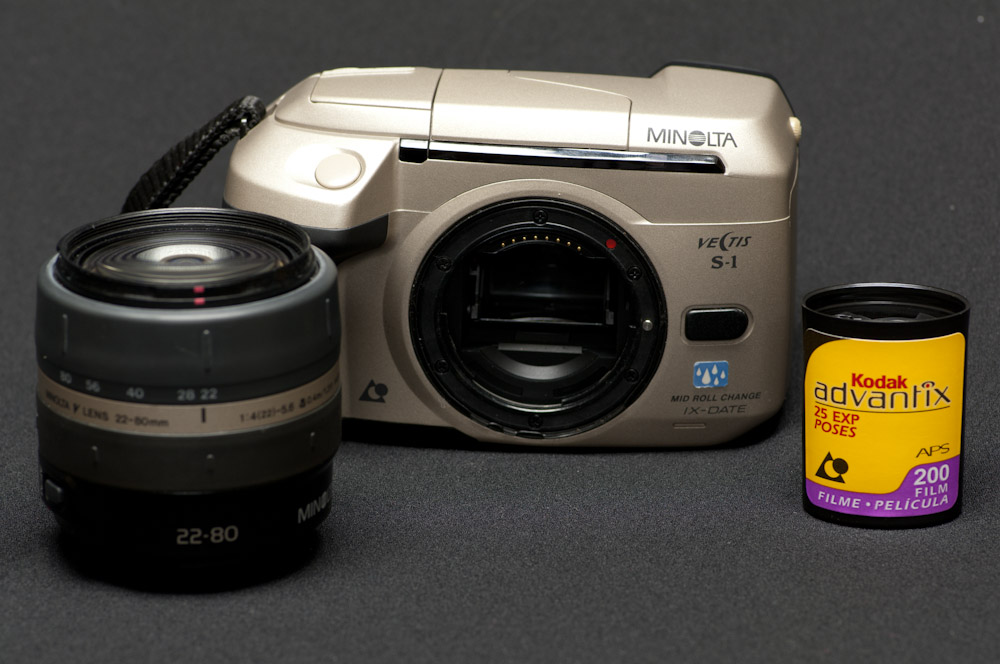
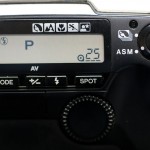
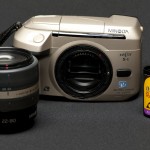
What can one really say about a camera that was a dead end and used a dead end film. Why even bother with this blip in the history of photographic equipment? What possible relevance could this have to today? Nope I can’t come up with a reason either but if I don’t who else is. The Minolta Vectis S-1 is an SLR with interchangeable lenses that used APS film. APS film was, yes I’m using past tense despite the fact that you can still buy it at this time, a smaller film than the more common 35mm. APS film became available in 1996 but never stood a chance as we stood on the verge of the digital photography revolution that would eventually take over from most film formats. It’s main claim was convenience and not quality as it had a film area that was only about 55% of a 35mm negative. That smaller size does live on in the form of most consumer DSLR’s and is referred to as APS-C which was also one of the aspect ratio’s available with the film.
What the Minolta Vectis S-1 offered was a small SLR with all the controls you would expect plus weather sealing. Despite it’s dead end status it does appear that some early DSLRs, such as the Olympus E-300, took design elements from it only a few years later.
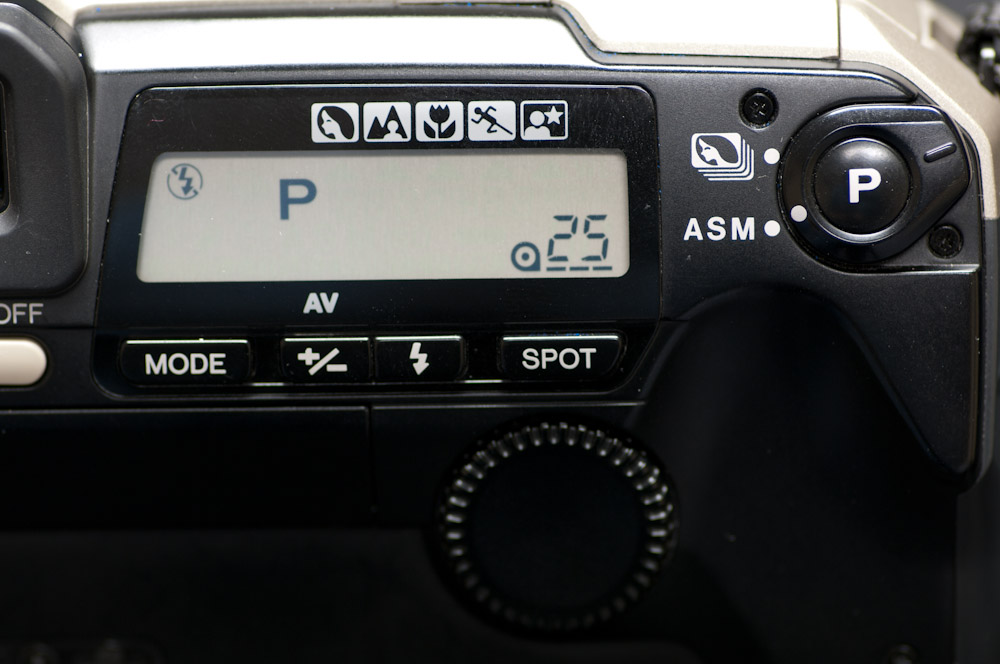
You can see from this shot of the rear controls that the camera afforded such things as aperture and shutter priority as well as exposure compensation. The ergonomics are very good on this camera and it’s size allows for easy carrying something I value today with smaller digital cameras as apposed to some current DSLR’s that seem to equate physical size to capability. All this is irrelevant of course because it’s not really a camera you would want to use when so much better image quality is available so much cheaper through digital cameras.
All that said here are some images I shot using the Minolta Vectis S-1.
2 comments | tags: APS, film, Minolta | posted in Cameras, Photography
Nov
16
2011
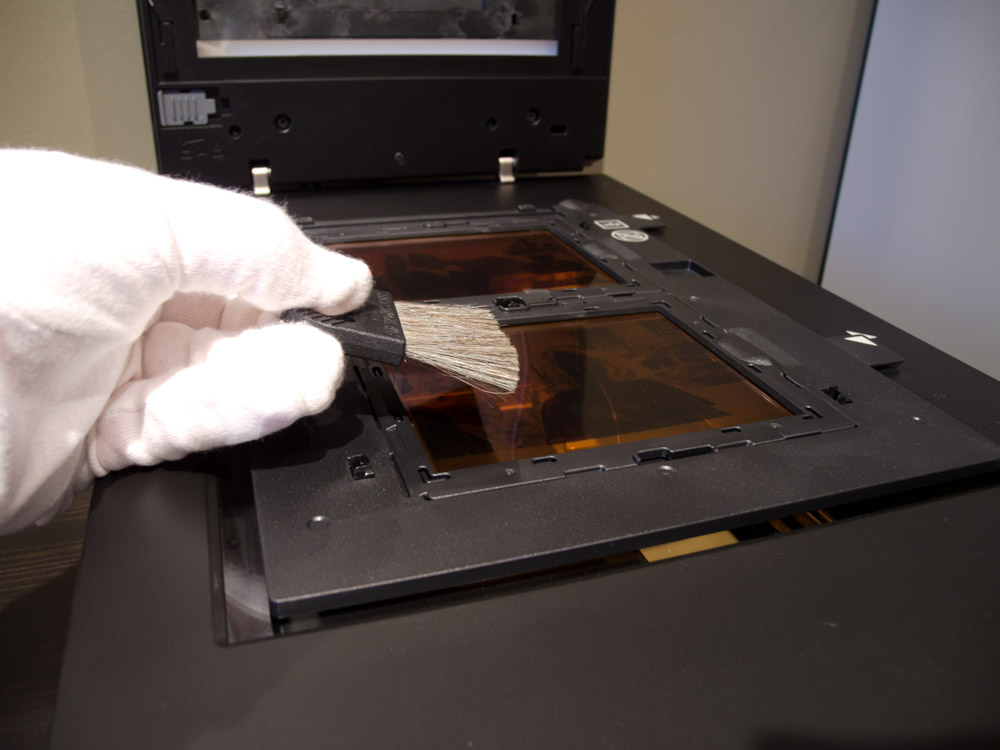
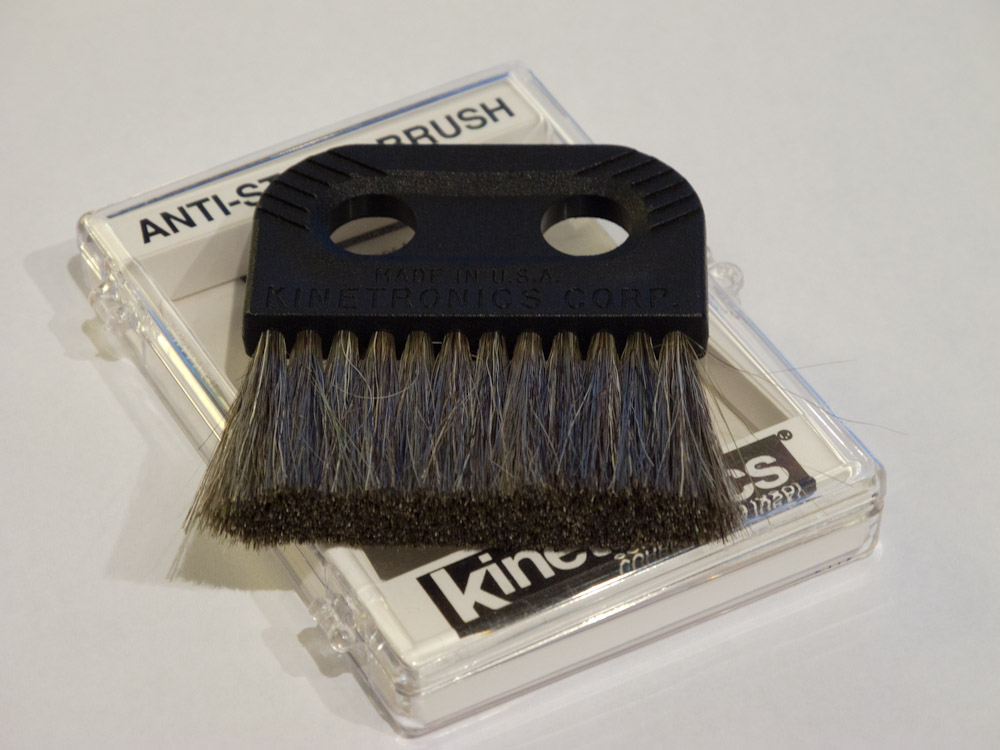
Only computer monitors appear to be more of an attractant to dust than film. If there is any static charge on the film dust will stick to it like glue. So I recommend Acme brand (If Acme exists I don’t think they actually make Anti-static brushes but you can Google it if you want). In any case I use an anti-static brush which dramatically improves the effectiveness of any air blower. I also have another one that I use for removing dust from the front element of lenses, this is often enough as the less contact you have with a lens element the better in my opinion. Another thing that I use to reduce the dust in the area where my scanner is, is an electrostatic air cleaner which uses the static charges it develops to pick dust out of the air as it passes through. It’s not easy keeping dust out of your scans but it’s effort that you don’t have to spend later in post processing.
2 comments | tags: film, scanning, static | posted in Cameras, Photography
Nov
4
2011
Previously I borrowed a Fuji F200EXR from Duncan Turner of DLT photographic , the point of which was for me to evaluate the technology that Fuji refers to as EXR. What this technology essentially does is capture two separate exposures at the sensor level at the same time by using half the total photo sights for each exposure. The trade off of this is a reduced resolution, to half of the total. The benefit is a greater dynamic range. In the case of the F200EXR the resolution drops from 12mpixels to 6 Mpixels when used in EXR dynamic range mode.
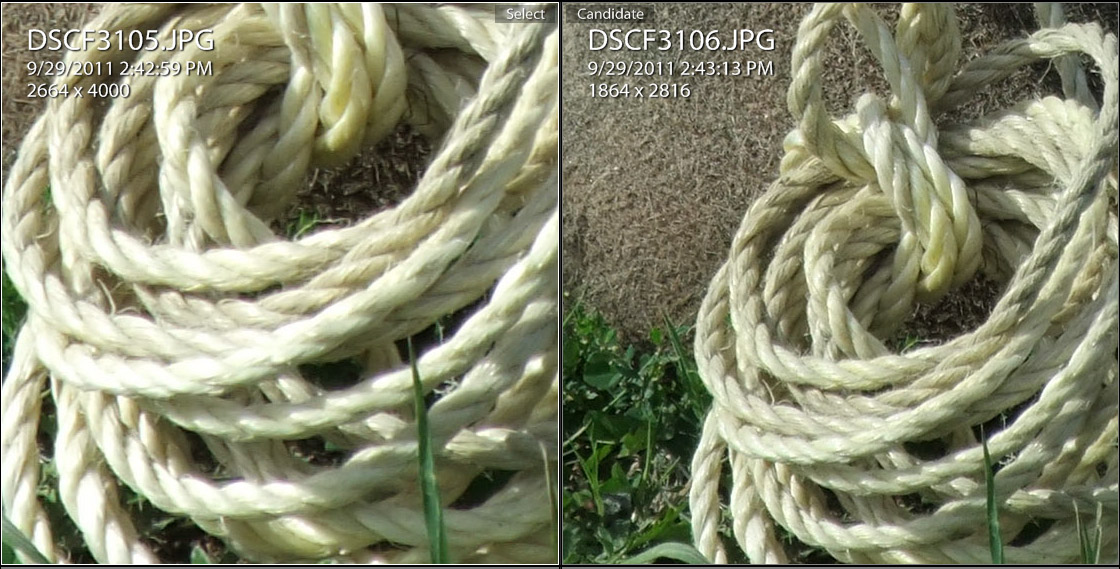
This isn’t a lab or a studio test of EXR for this camera but as close to a practical real world usage as I could make it. What I found was that the difference was subtle and it was really only necessary to go into EXR mode under harsh lighting, such as a shaded forest with bright sky in the back ground. In EXR %400 mode a similar exposure allowed for some retention of highlight detail where in full resolution mode some highlights were clipped. As there is no RAW shooting mode for this camera all images where jpegs. And here is the thing, I don’t think that the EXR results would be superior to a similar camera that allowed RAW shooting. With a slight under exposure bias to preserve highlights followed by some image adjustments during RAW conversion I think that all the stated benefits of EXR could be duplicated. In fact even the high resolution jpegs from the the F200EXR can be adjusted to produce similar results with the right exposure (again a slight under exposure to preserve highlights)
There are subtle differences between the two modes but is it enough to justify the drop in megapixels? I will answer that “No”. Both modes produce good results with the trade offs mentioned. So what do I think this means in relation to the new Fuji X10 that is being released and soon to be available? I think that the camera will need to stand on it’s other merits such as it’s fast F2.0 lens and it’s optical viewfinder because if you need to look this hard to see a real difference, your time could be better spent taking pictures. I hope I’m prove wrong when the X10 arrives as an advancement in camera technology is worth a bruise to my ego.
High Resolution mode, notice the clipped highlights on the histogram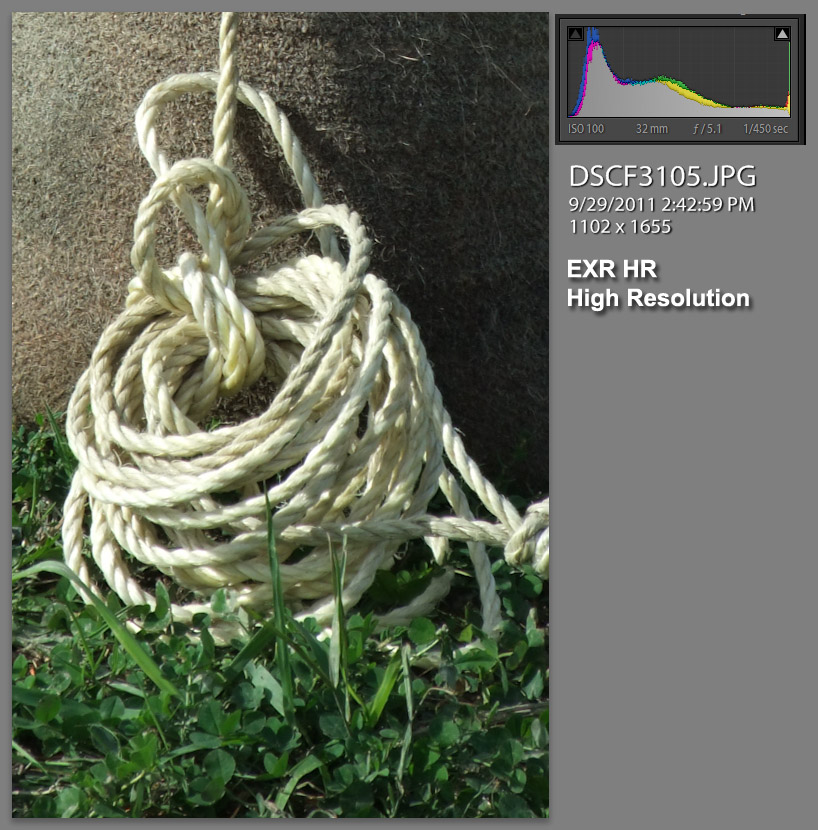
EXR High Dynamic Range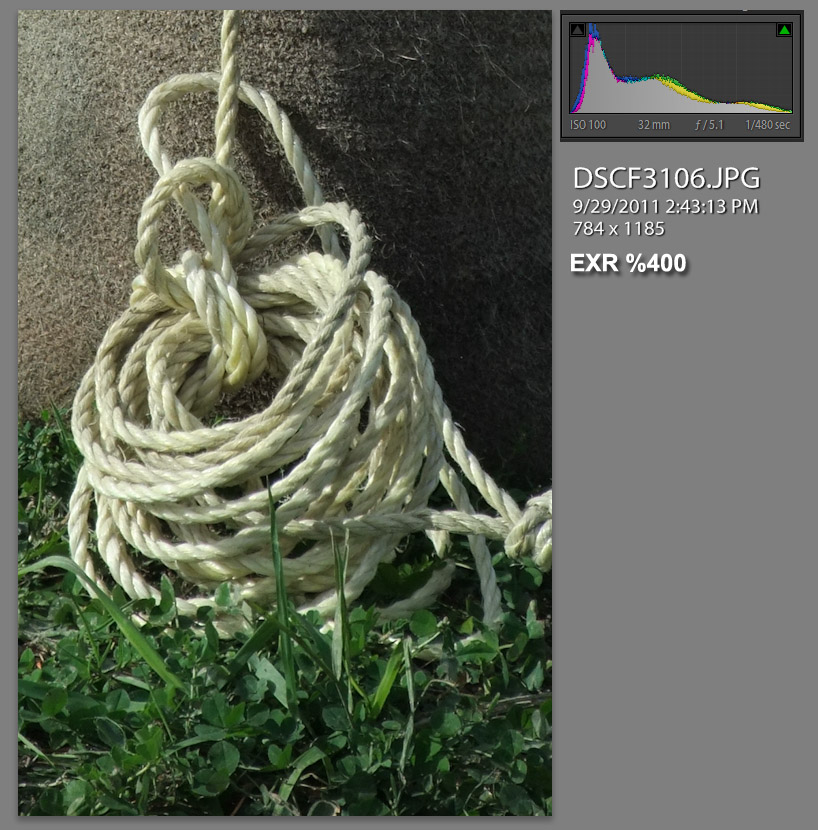
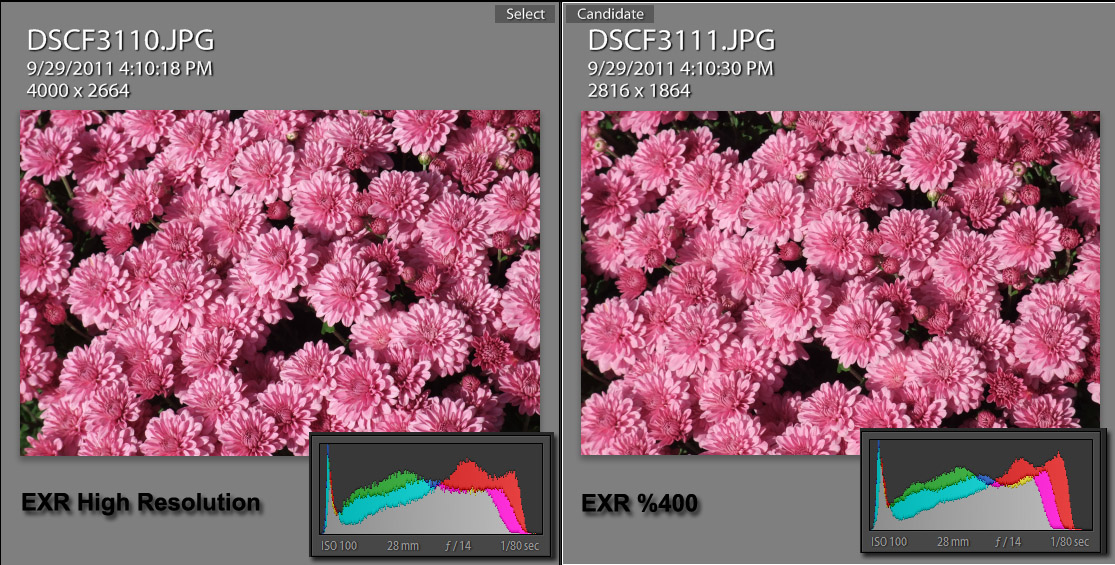
Zoomed in High Resolution on the left EXR on the right
1 comment | tags: Digital, EXR, Fuji, Photography | posted in Cameras, Photography, Uncategorized
Oct
30
2011
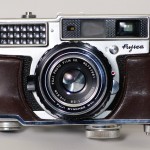
Some random shots from my Fujica 35SE. I’ve been thinking about Fuji lately as their new camera the X10 will become available soon. I’m looking forward to having a look at one but for now I thought use what you have.

no comments | tags: film, Fuji, Fujica | posted in Cameras, Photography
Oct
27
2011
Here are some of what I consider my better Cell phone images since my last post about using the phone in combination with the social media photography app “Mytubo”
Yes it’s a lot of images but taking lots of pictures helps fuel creativity, at least that’s what I tell myself.
no comments | tags: cell, phone, Photography | posted in Cameras, Photography
Oct
17
2011
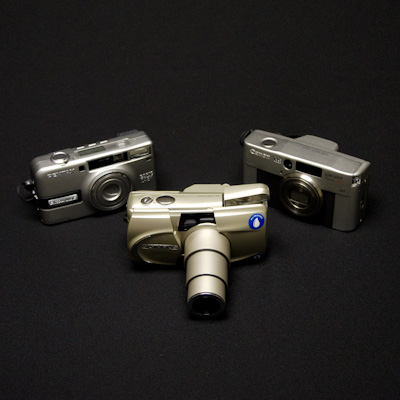
As the Canon Classic and the Pentax 24EW (pronounced 2-4-EEEEEeeeewwwww) fought it out to be the supreme irrelevant the Olympus mju III was waiting for it’s moment. In a move reminiscent of Doc Brown it has vualted forward from 2003 and staked it’s claim to be the preeminent irrelevant camera from around the turn of the last century. It’s 37.5-150mm (really 1/2 a mm wider you coun’t have rounded?) lens is something to behold. That’s 150mm in a Point and shoot! I’m not aware of any PS film cameras that had a longer lens.
So why wouldn’t it just win hands down, it’s lens is the longest? The reason is that it lacks much of the control that the Pentax and Canon have such as exposure compensation and that neat feature of automatic zoom for portraits. Features like that really help when your trying to be the best of the abandoned. And the Olympus is champagne coloured, please that is so 2000. The Canon and the Pentax are a “real” camera colour silver, which isn’t really a colour because it’s just a reflection…..
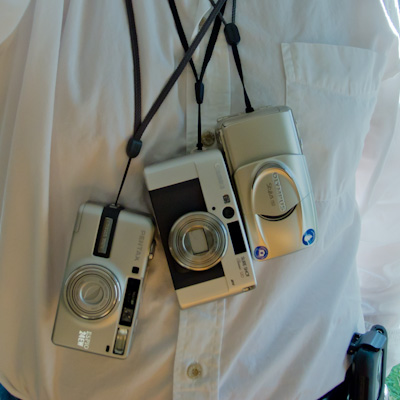 So how did it perform? It took some getting used to because it seemed to want to use the flash all the time every time. This was annoying and required me to poke at teeny little buttons until the flash symbol was off every time I turned the camera on (camera on-flash off-camera off-flash on-camera on-flash off) I think you get the idea. The one feature it has and luckily is useful is the spot metering.
The results though were good, again if good had stayed the same since 2003 but good is better now than it was then, (flash-off) After all this which one would I choose you might ask if you cared. The thing is they all have a certain charm. The Pentax for it’s control and 24mm wide lens, the Canon for it’s looks and image quality and the Olympus for it’s 150mm long lens. If you thought choosing a camera a decade ago was hard it’s far worse now. There are more categories of cameras and more cameras in each category and new one replace old ones at a rate that even the all mighty internet can’t keep up with.
I hope you’ve enjoyed this little blast from the resent past, and take a moment to reflect just how much has changed between 2003 and 2013 (note if it isn’t 2013 when you read this ignore that)
1 comment | tags: Cameras, film, olympus | posted in Cameras, Photography
Oct
7
2011

Here is a way to set a custom macro mode for the Nikon P7000 and save it to one of the user presets. But Wallace you say “There’s already a dedicated macro mode!” To (Insert your name here) I say “Not good enough”. The problem is that the camera does a couple of things you have no control over when you set it to the macro scene mode. One is that it zooms to the widest setting (28mm equivalent) not a focal length one thinks of right away for macro, considering it results in nearly poking the subject with the lens. The other thing that happens is that the camera switches to jpeg shooting even if you were previously shooting RAW. For these reasons I’ve created my own and stored it under U1 on the mode dial.
This is how I went about it. The first step after turning on the camera and selecting a user mode is to set an ISO or ISO range as this will be stored in memory. This is followed by pressing the menu button, If U1 isn’t yet highlighted use the command dial to navigate so U1 is selected and shows the User setting parameters as in the image bellow.

I’ve set my camera up for Program mode but aperture priority would also be a good choice. Ive also selected an equivalent focal length setting of of 85mm as this provides a good working distance. Under Photo info I’ve chosen to display the histogram and a grid to aid in judging exposure and composition.

I’ve also chosen to have the flash off by default as I rarely use the built in flash for macro shots, it’s just to close to the lens and too harsh even when it’s output is dialed down. The next critical setting is of course focus which needs to be set to Macro close-up. The remaining settings are AF to Center normal and AF assist to OFF.
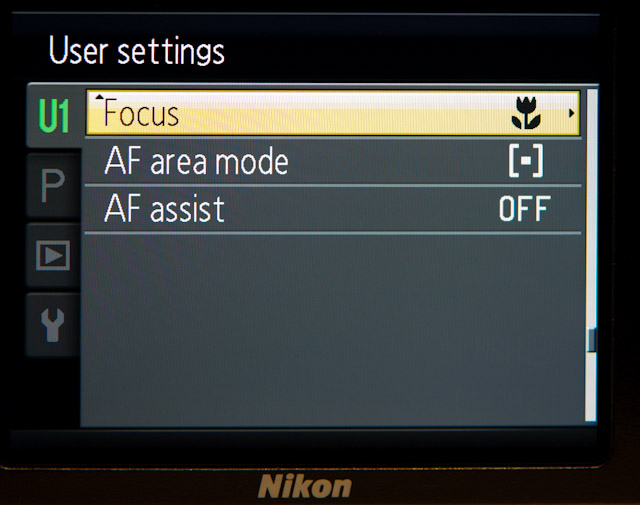
When you have made all the selections you must save them. During the save confirmation you can view all of the current camera settings by turning the zoom dial towards telephoto. This screen (not shown) summarizes all of the settings
Now anytime you turn the mode dial to U1 the camera will switch to your chosen ISO , set focus to macro with a center focus point and zoom the lens out to 85mm (35mm equivalent) with all the rest of your setting as well. You can modify these settings anytime but you must re-save them if you want them to be the default.
If you want to take extreme close-ups you need to zoom the lens to the widest setting, just be careful not to poke your subject with the lens, flower pollen is particularly hard to clean off.
no comments | tags: Nikon, p7000 | posted in Cameras, Photography
Oct
3
2011
If you’ve been waiting to find out which point and shoot camera you should have bought ten years ago, your prolonged wait is over. PreviouslyI posted about the Canon Sure Shot Classic and the Pentax 24EW and now that I have the film back and scanned I was able to make a results comparison. Well the Pentax wins hands down from 24 to 38mm but considering the Canon starts at 38mm that isn’t praise. In almost ever picture under the same conditions the Canon produced a better result, both through exposure and image quality. As I used the same sensor (Kodak 400) it really did come down to the cameras. Here are some of the shots in a side by side. If it’s wide you want though the Pentax is the one.

Above you can see the Pentax can get a little closer for a zoomed macro and bellow the difference between 24 and 38mm is pretty clear.

This crop shows both cameras at there maximum zoom 120mm (Canon) vs 105mm (Pentax)

This detail crop really shows the difference. In all these pictures I’ve made no effort to deal with the grain of the film or optimize the images beyond trying to scan them accurately.
This just in Olympus has joined the conflict with the mju III 150 (circa 2003) with it’s 8 element ED 37.5mm to 150mm lens, stunning the competition, and again causing the Pentax to faint.

4 comments | tags: Cameras, Canon, film, Pentax | posted in Cameras, Photography
Sep
28
2011
These are all shot with the HTC Evo 3D phone, in 2 dimesions however.
no comments | tags: cell phone, HTC, shelves | posted in Cameras, Photography
Sep
27
2011
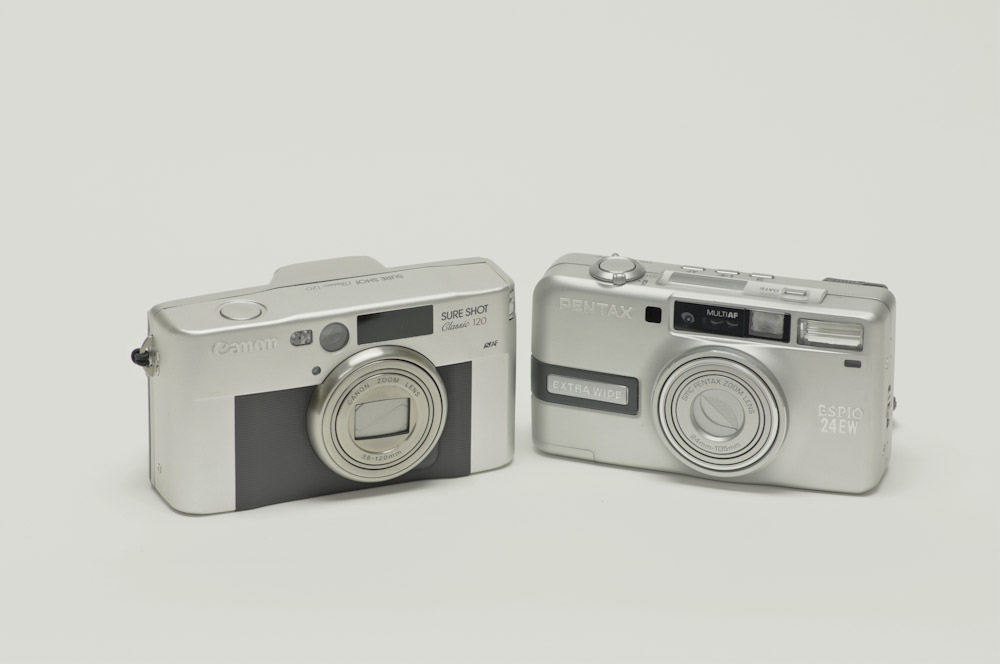
What we have here are two very good compact film cameras from that awkward time when the digital megapixel race was to get to 1.2 Million. Digital wasn’t quite there or in the mainstream and people were still wanting to take pictures of their cats. So If you wanted a good quality camera around the turn of last century (I always wanted to say that) these were two top choices.
They are well built cameras with very good optics. The Pentax 24EW has a 24mm to 105mm zoom which is very wide considering most others point and shoots of the time started around 35mm. The Canon on the other hand has a 38mm to 120mm zoom which gives a bit more reach while giving up the wide end.
One interesting feature that both cameras posses is the ability to automatically zoom to frame a portrait. If you select this mode on either camera and then give the shutter a half press they will change the zoom setting to take a head and shoulder shot of your subject. That may not be amazing for a digital camera but don’t forget these are film point and shoots, from the turn of the last century.
The Canon is considerably heavier than the Pentax which may be a detriment in some cases but allows it to remain standing even when fully zoomed.

You can also see in this picture that the Canon flash has popped out of it’s side bay door. It does that when ever the camera is turned on whether needed or not. Pentax you are now forgiven for drooping.
I recently shot a roll of Kodak 400 through each of them and should get the negatives back this week, at which time I will post the comparison results. See isn’t film fun, the suspense is harming me severely.
1 comment | tags: Cameras, Canon, Pentax | posted in Cameras, Photography, Uncategorized


