Oct 19 2011

Cell Phone Picture Sharing

Tackeling the entire spectrum of cell phone cameras and social picture sharing is a bit too much in one blog post.  However the effect in how they relate to photography is of particular interest to me. 

As difficult as it may be to admit, much of photography can be described as an attempt by the photographer to reproduce an image they have previously seen and liked,  even if that image is one of their own.  You might find this a harsh statement but it is something that even occurs subconsciously.  The photographer may not be directly attempting to reproduce something but everything we have seen and remember affects our visual judgment.  Paintings, television, magazines and definitely advertising of all types play a roll in determining what we consider to be “stylish”.

Do not post pictures of weird faux animal heads it creaps people out!


Several new genres of photography have emerged through cell phone imaging.  There is the “these are my feet shots”, the “#me” pictures of people not yet afflicted with age.  And the supremely popular “CAT” hash tag.  The tendency to follow and create based on what is popular is brought to a new level through instant feedback within image sharing apps.  Why wouldn’t I want people to like my images?  If you really want to give up and go strictly for what people like have a look at what images have the highest popularity.  Soon you will be taking pictures of your cat lying in flowers at your feet. 

Note cat not cute enough, find cuter cat!

There are exceptions to this rule as I have discovered, dandelions gone to seed can be very well received.  🙂
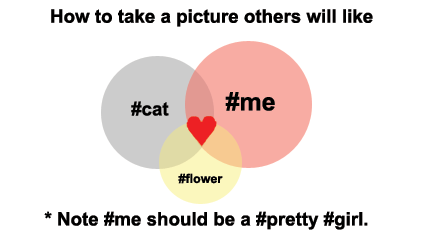


It’s not all bad though, as a photographer it is an opportunity to have people see your images and also a chance to develop better composition skills.  Look closely at an image you intend to like and think about what makes it appealing.  Is it the content (#cat) or a matter of colour or maybe how something familiar looks different when photographed a certain way.  You can definitely use photo sharing apps to improve your image making.  The strength of these services is that you get immediate feed back (yes I am aware that was one of my negatives too, subtle difference)  They also reward good simple design.  A tiny cluttered thumbnail will be ignored more than a simple graphic element. 

 In the end though don’t take it too seriously, and enjoy photography, even if no one else likes a picture if you do that should be enough.  In a future post I intend to talk about composition within a square frame, which is the format many of the social photo sharing sites use.
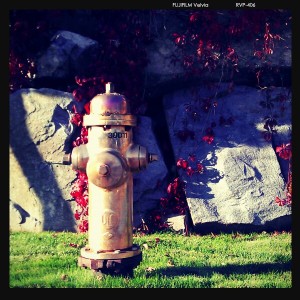
Apparently I can't judge my own images I don't really like this one but it was one of the more popular ones this week, go figure.


Images that include the sun are also very popular, sun set, sun rise, sunflower, just plain old sun, but not aSUNder.

 

UPDATE  at the time I wrote this I was unaware that Duncan Turner had posted about Mytubo as well here is a link to his thoughts about the subject

DLTphoto . Also I unintentionally proved my point about recreating images that we have previously seen as I produced one that was very similar to one of Duncans. 


Sep 23 2011

Pentax Q Base ISO sample pictures.

 These files where shot as Jpegs in camera and imported into Lightroom.

The thumbnails link to full size samples but because of file size restrictions I have had to compress the original files to under 2Mbytes each.  This is a small amount of compression as the original files are not much bigger so any effect of the processing should be minor. 


Sep 18 2011

Cell Phone Pictures September 2011

This is my second generation of smart phone and I am enjoying using it every bit as much as any of my other cameras.  The ultimate image quality isn’t at the same level as a dedicated digital camera but it satisfies my need to create images.  The HTC Evo 3D has one single feature that makes it very photo friendly and that is a dedicated shutter button.  It means that when you get a composition you like you can just press the button rather than taking one hand to touch the screen and in the process cause shake and disturb the framing.


Aug 15 2011

Ricoh Auto Shot Pictures

That’s some serious flare in the back lit picture,  you can’t get that from a modern lens.  Yes I’m actually pleased about that, it may not be something you want in your everyday photography but if you need that look for a reason this would be the way to get it.

Aug 14 2011

Ricoh Auto Shot

In honour of Ricoh purchasing the digital imaging business of Pentax from Hoya I present the Ricoh Auto Shot.  1960’s design, function and results, the later ensured by using a poor quality cheap film.  The defining features of this camera are it’s two shutter speeds (1/30) of a second in manual mode and 1/125 in auto and that the film advance is accomplished by a clockwork spring.  Unfortunately my spring is mostly noun and not so much verb, resulting in a single exposure for every wind instead of the much cooler 6 when it was new.  The exposure adjustment is controlled by a selenium cell surrounding the 35mm f2.8 lens.  The aperture blades come together to produce what I like to call batkeh, odd bat shaped highlights at some apertures.

It’s a small camera as you can see here when compared to a quarter.  The shutter release is actually OK being in the front as your index finger naturally falls on top of it when you hold the camera up with both hands, there being no other way really to hold it and trip the shutter.  The fastest setting is for ASA200 film which makes the 10 possible selections between 12 and 100ASA amusing.  It’s a fun little camera and if I ever find myself time traveling to 1964 I will be sure to take it along.


Jul 27 2011

Lego camera results

Well it’s back to the drawing board.  My “lets see what we get and go from there” attitude didn’t pay off with much of a result to start.  There was just too much light leaking in.  So it’s going to require a major redesign with some baffles and better sealing around the lens board.  Some other modifications I’ll make is better tension of the film and a better film mask so that I can get more exposures from a single roll.

Here is the result and if you consider this is the best that I was able to get, by far, you can see that I need to do a lot more work.

Here is the original post when optimism was high. Lego Camera


Jul 17 2011

LEGO camera version .99

I’ve been thinking about this for years but I finally took the time to build a medium format LEGO camera.  What made the effort all the more desirable was that I was recently given the perfect lens for the project, A Schneider Kreuznach Angulon 65 f6.8.  It’s hard to say how wide this will end up being but the negative is about 9 Lego bricks wide so it should be about the equivalent of a 28mm on a 35mm film camera.  Lego is not inherently light tight, every seam is a light leak, so I used some black paper inside to keep that down.  The lens board was held in place by some light sealing material, otherwise known as tape, and elastics.  This provided for a “very accurate” focus mechanism provided you have your eyes closed.  There actually was no focus I had previously ground a small piece of glass and used it to roughly determine that the lens board should be about 67mm from the film for infinity focus.  If your getting the sense that I’m not really sure of the results then your right.  I will send the film off and wait a week just to find out if it worked and how badly the light leaked.  I hope I’m pleasantly surprised but if I keep my expectations low then it will be easier to exceed them.


Jun 27 2011

Cell phone sunrises

This image is actually a bit of a fiction.  It’s two cell phone images combined, one exposure for the background and one for the reflection. Shot with the Nokia N95.

I like creating series of images and these developed out of  just being up and out when the sun came up and having my cell phone with me.


Jun 18 2011

Canon QL17 G-III vs Yashica Electro 35 GX Part 3

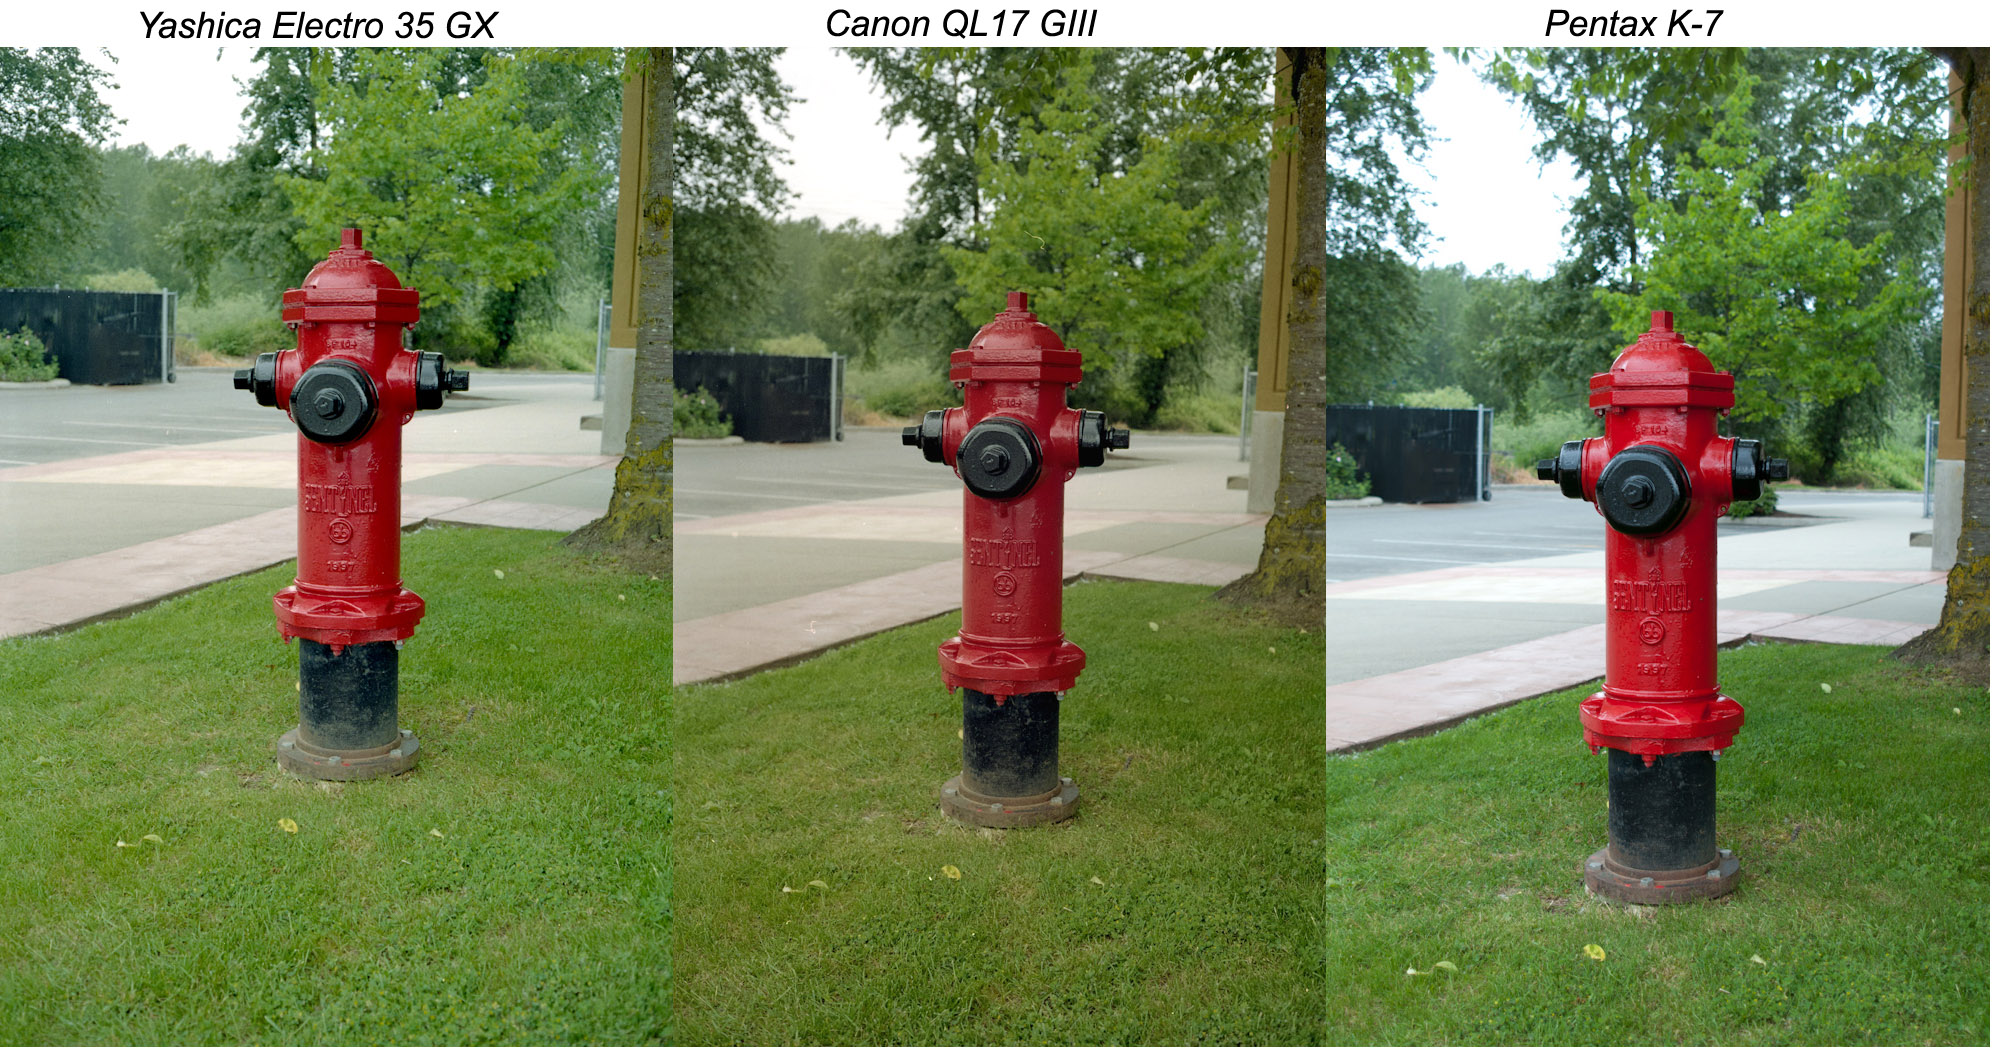
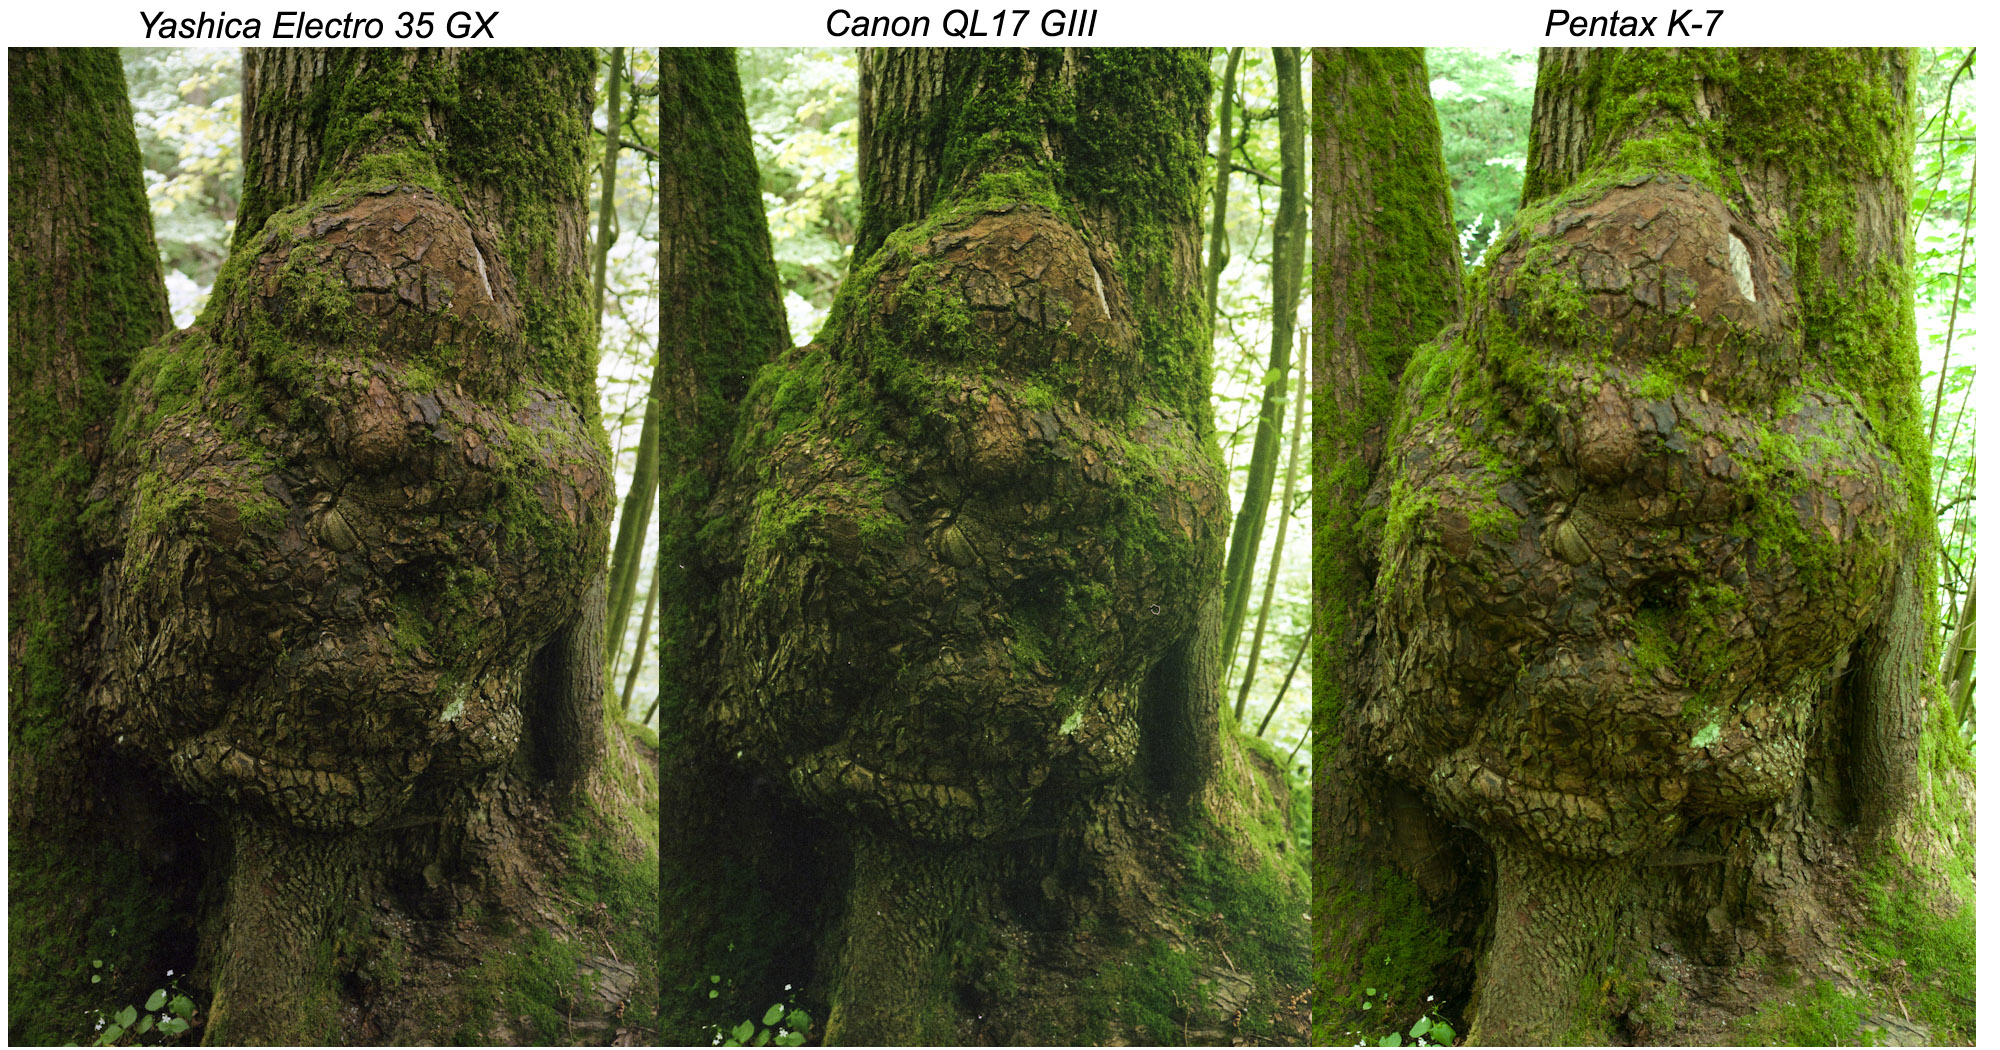
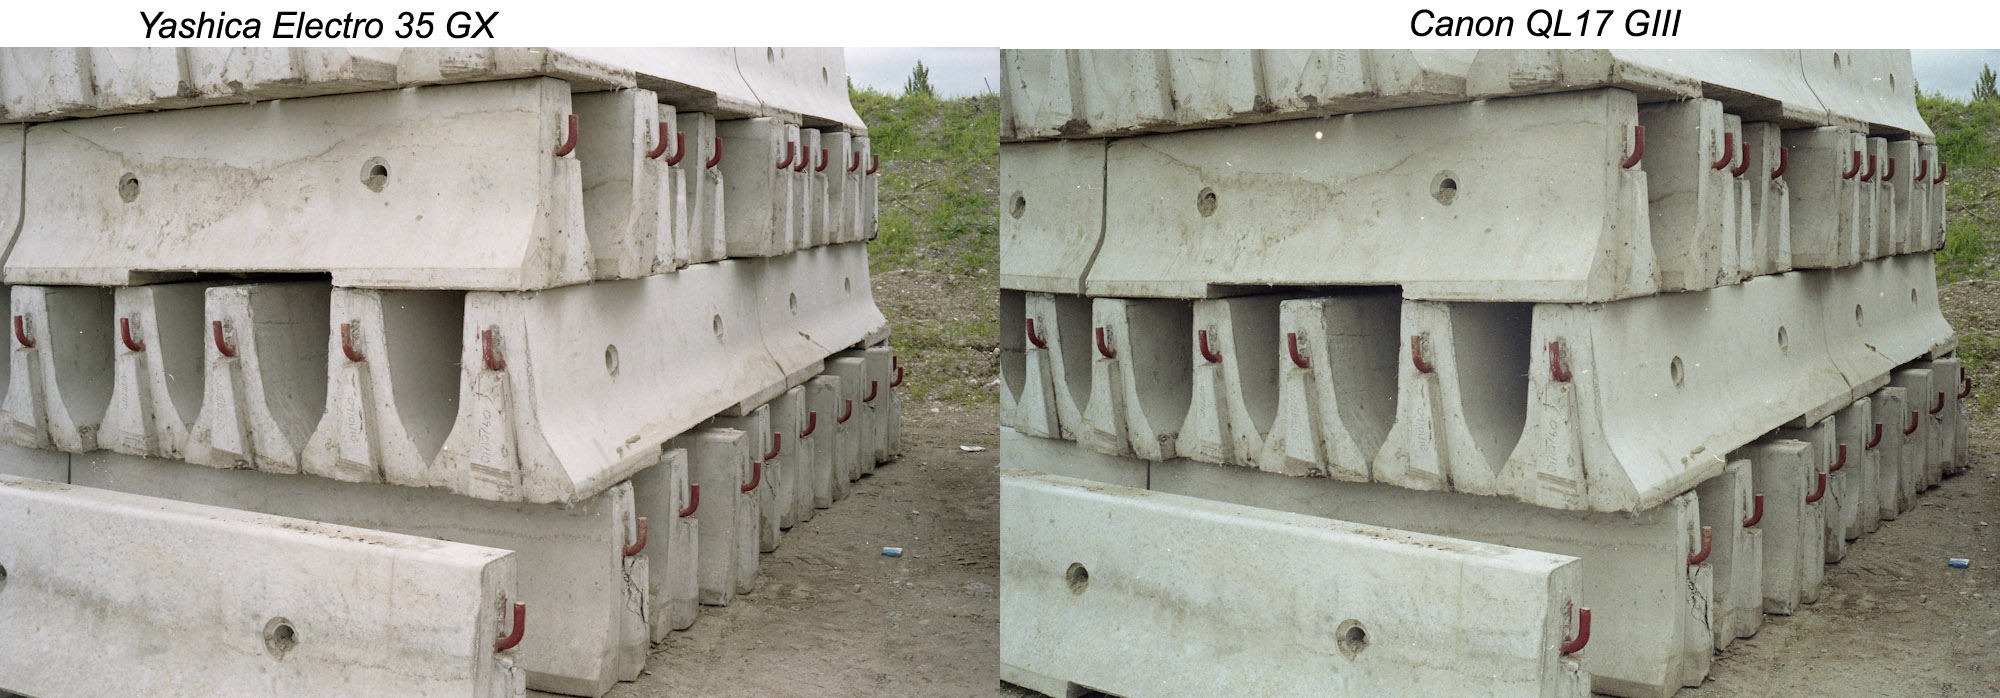
Samples  –  Here are some sample images shot with the two cameras as well as with the Pentax K-7.  With the K-7 I used the FA 28-70 f4 lens at the 28mm focal length which equates to about 42mm in terms of 35mm film.  I could have used the SMC A 28mm but I wanted to have other focal lengths available when I wasn’t taking test shots. 

So what did I find.  Well they are very close in output, so much so that more difference occurs during scanning and editing than from the actual image capture.  However the Yashica did seem to get the exposure better in more cases resulting in cleaner negatives with less grain after processing.  This could simply be down to the specific cameras and batteries I have though as the cameras are now undeniably old.  So which one would I pick?  Well I do really like the ability to shoot manually with the Canon and I do like the flexibility of the shutter on the Yashica, so I have to give them both a place on the shelf.  I will definitely be trying some better film in the Yashica and it’s rarity makes it a conversation piece.  I have to say that even though I used cheap Kodak 200 I was pleased with the look of the images.  It takes some work to get the digital files to have a similar look because not all the differences between colours are equal.  I didn’t in this case make any changes to the digital files just for the comparisons.

Part Two        Part One


Jun 17 2011

Canon Ql17 G-III vs Yashica Electo 35 GX Part two

Operation and handling

While  these cameras where state of the art in their day, compared to a modern digital camera they are extremely simple devices.  The Canon uses a electro mechanical system to set the aperture.  It is a simple galvanometer needle that’s position is trapped when the shutter is pressed, this is then translated into an aperture through a linkage.  I found that the metering is very susceptible to underexposure due to back lighting.  With the Yashica you set the aperture and the camera sets the timing of the shutter, where one of the variables in the circuit is how much light is falling on the silicon sensor.  Beyond that they really are a lens and a system of moving the film forward.    A small but noticeable difference is in the film advance lever.  The Canon requires a longer throw of the lever while the Yashica advance is just a small flick of the thumb.  I much prefer the Yashica in this respect.  On the other hand the focus control on the Canon is superior, it includes a knob off to the left that makes focus adjustments effortless.  The Yashica’s focus however is adjusted with rubber patches around the lens barrel near to the camera body and I find that I almost have to reach around the camera to change it making it difficult to focus and shoot without a slight hand position change.  Update: A change in how I hold the camera, with my left hand underneath, has made them about equal for focusing.

  Both camera’s are rangefinders with focus patches but they appear very different in operation.  The Canon is more subtle with it’s square focus patch not impinging on the scene through the viewfinder.  The Yashica has a very contrasty diamond shaped patch that I find too intrusive but slightly easier to confirm focus with.  The Canon viewfinder is much brighter than the Yashica’s but they both have frame lines that adjust for parallax error.  They also have the exact same magnification, I verified this by holding them to my eyes at the same time,  An interesting effect of doing this is that you can see in 3D despite looking through them, a not interesting effect is that this can make you feel queasy.

So all that remains is to get my negatives back and do a comparison.  I do have a sense that the Canon metering was off in some circumstances as it seemed to be selecting too small an aperture for the conditions.  This isn’t normally a large problem though as under other conditions I would use this camera in full manual mode, which is not an option for the Yashica.

Part one