High key conversion
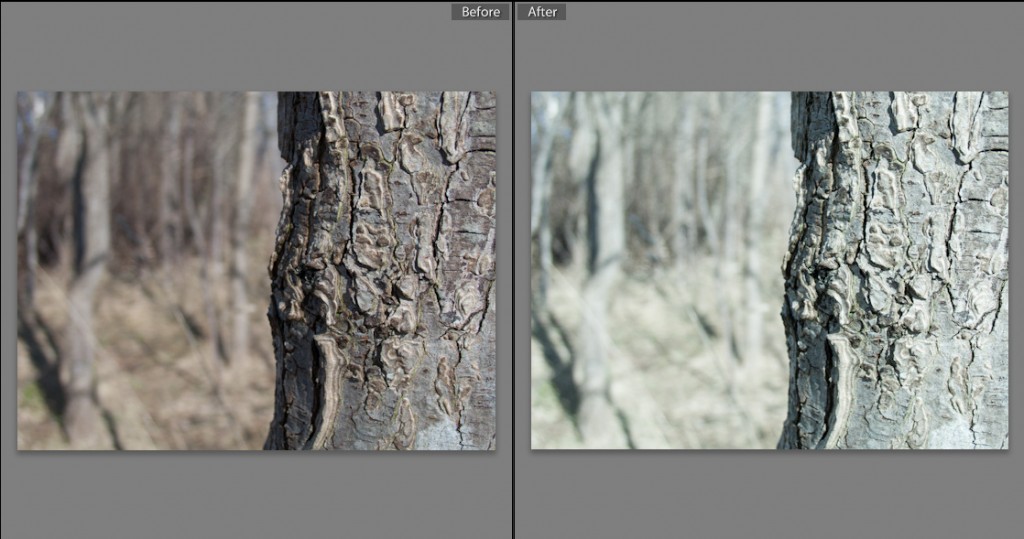
A reader Dave asked me how I created the high key look of a particular image so rather than going into a wordy explanation I thought I would do it visually, I am a photographer after all.
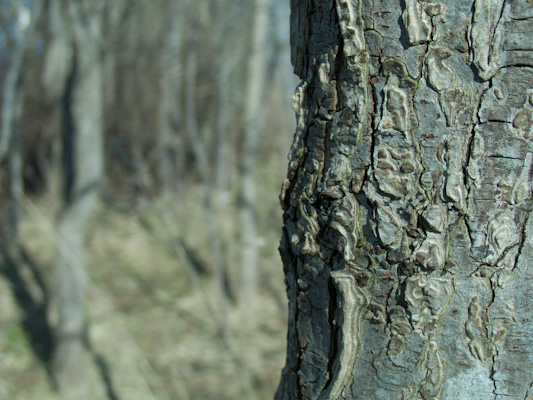
The image asked about was this one and how I modified it to get that particular look.
The first thing I did was to decrease the colour temperature of the image by 450 degrees to make the image cooler.
This is the result of that change.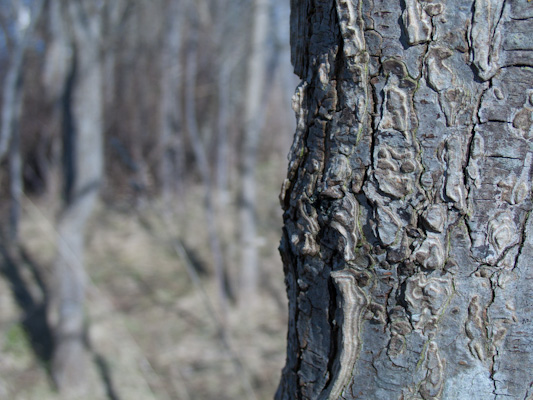
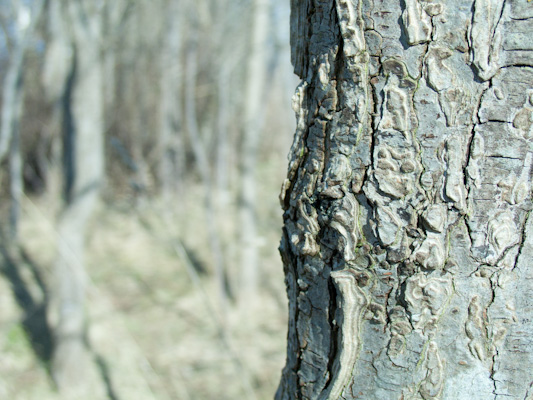
The next thing to be done was to add a slight green tint also to modify the overall colour and feel of the image.
I then increased the exposure about 1 stop. This is could be done at the time of capture as well but in this case I had a properly exposed image to begin with.
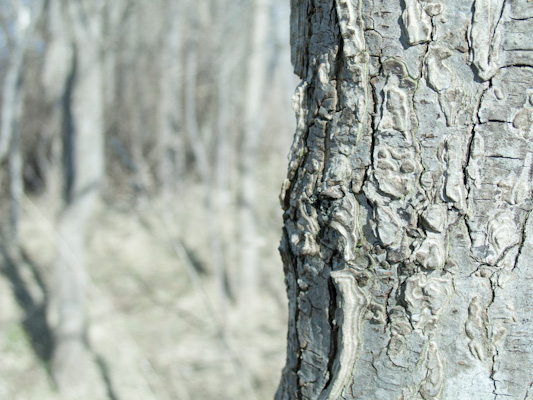
The last step was to desaturate the image and add a small amount of fill light which opens up the shadow side of the tree giving a flatter yet more silvery final image.
Of course any one or more of these parameters could be treated differently and while I like presets for convenience I also believe it’s necessary to treat each image individually to get the best look.
